DIY Christmas Blocks from Wood Scraps

Quick and Easy Christmas Decorations using Wood Scraps, Vinyl and Stencils.

Got any old wood scraps lying around?

My Dad used to keep a box of old wood scraps for the kids to build and play with.

I grabbed a few of the worn out blocks for my holiday projects.

To make the Holiday Blocks…

Shop Your Fav Brands at Scrapbook.com

*Disclosure:  This blog uses ads and affiliate links.  If you choose to make a purchase using one of the links, I receive a small commission (at no additional cost to you) that helps offset the costs of maintaining this blog.  Thanks for your support!

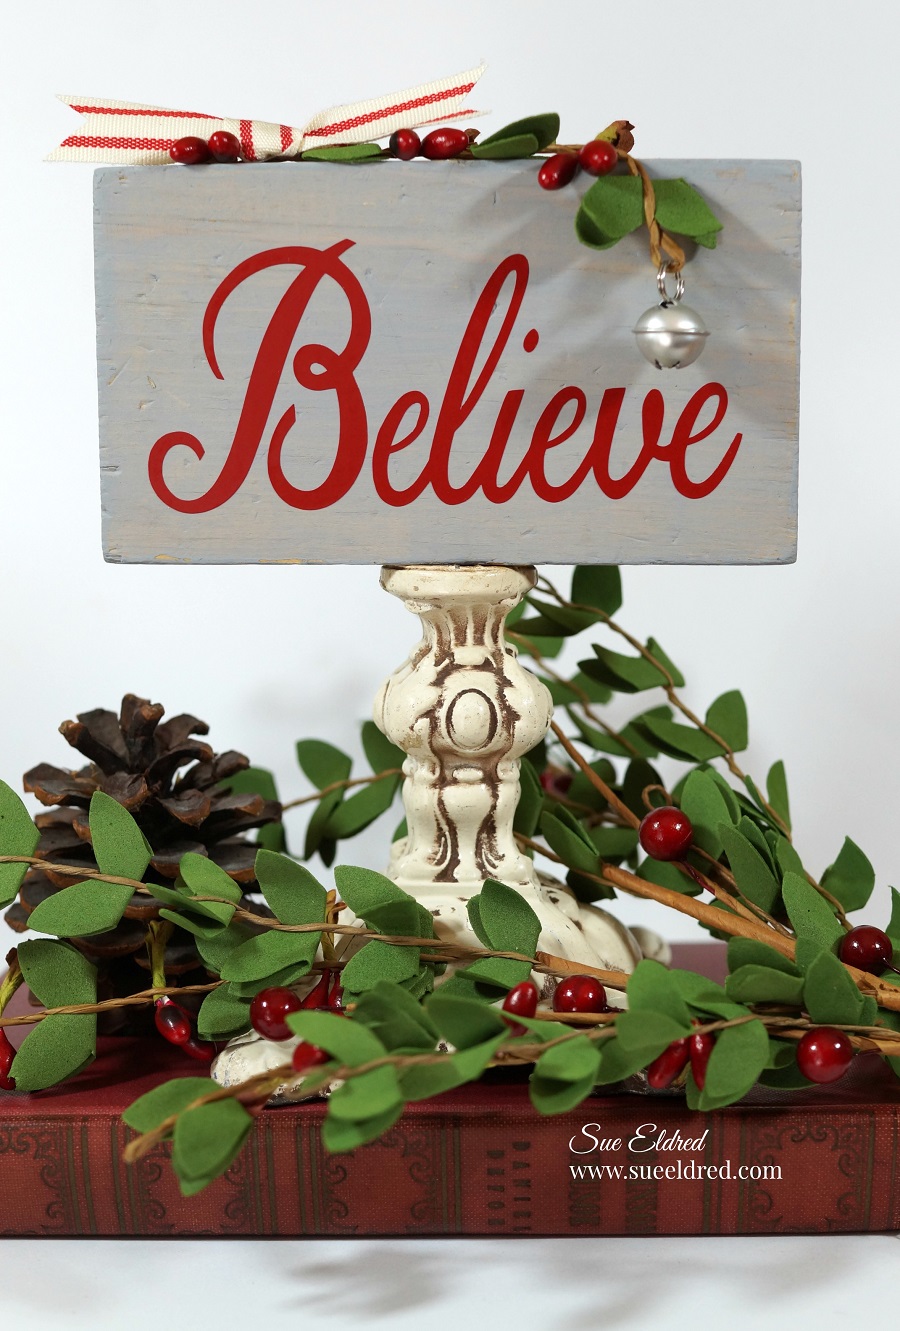
  • Use Vinyl Transfer Tape* to pick up and apply the word directly onto the block of wood.
  • Rub over the letters using a vinyl scraper tool to remove bubbles and help the vinyl cling to the wood surface better.
  • Remove transfer tape.

  • Tie a simple ribbon around holiday berries and glue it to the top of the painted wood block using a quick dry glue*.
  • I placed the block onto an old vintage metal base scrounged and saved from my Dad’s garage.  (I love reusing cool old vintage junk.)
  • The Stag and Merry Christmas images were also created using my Silhouette Cameo and applied the same way as the Believe block.)

really simple Holiday Décor.

StyleTechCraft Christmas Colors Bundle on Amazon*

If you don’t have access to an electronic die cutter you might want to try a little DIY stenciling.

  • The “Believe” wood block was painted with red acrylic paint and stenciled using the Believe stencil from DecoArts and a stencil brush*  

Another quick and easy Holiday DIY.

Need Stencils?  I have several DecoArts Stencils in my Etsy Shop.

“This is a sponsored post.  As a member of the StyleTechCraft Design Team I have been provided product and compensation in exchange for my creative ideas.  The views and opinions are my own.

      

Don’t Miss a Thing…Make Sure to Follow me

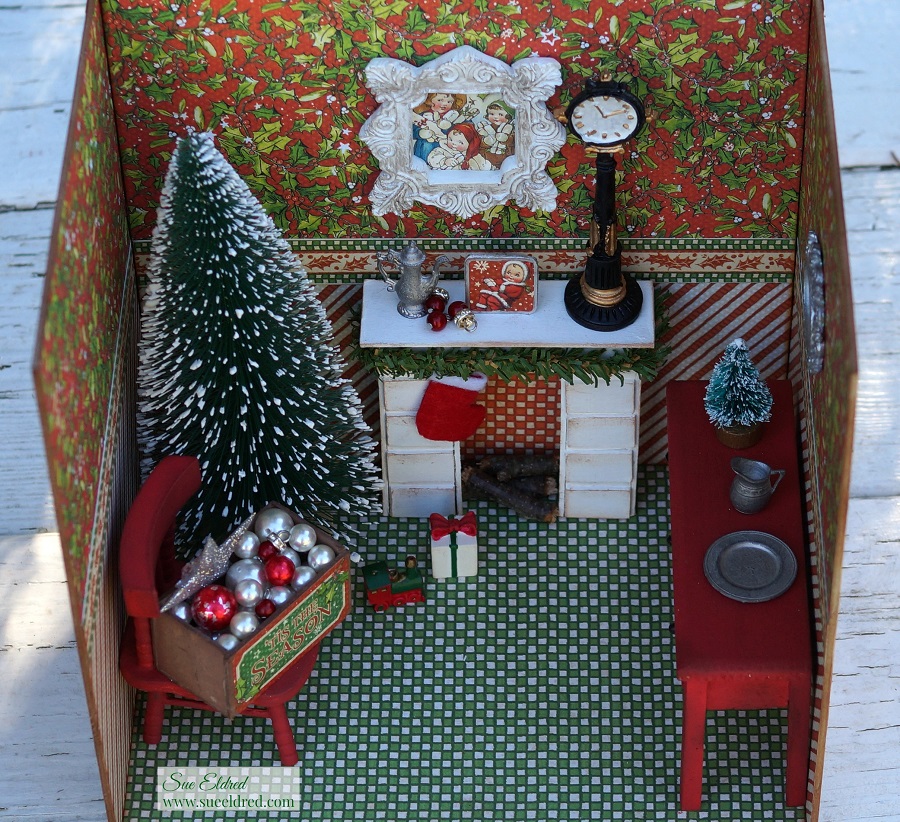
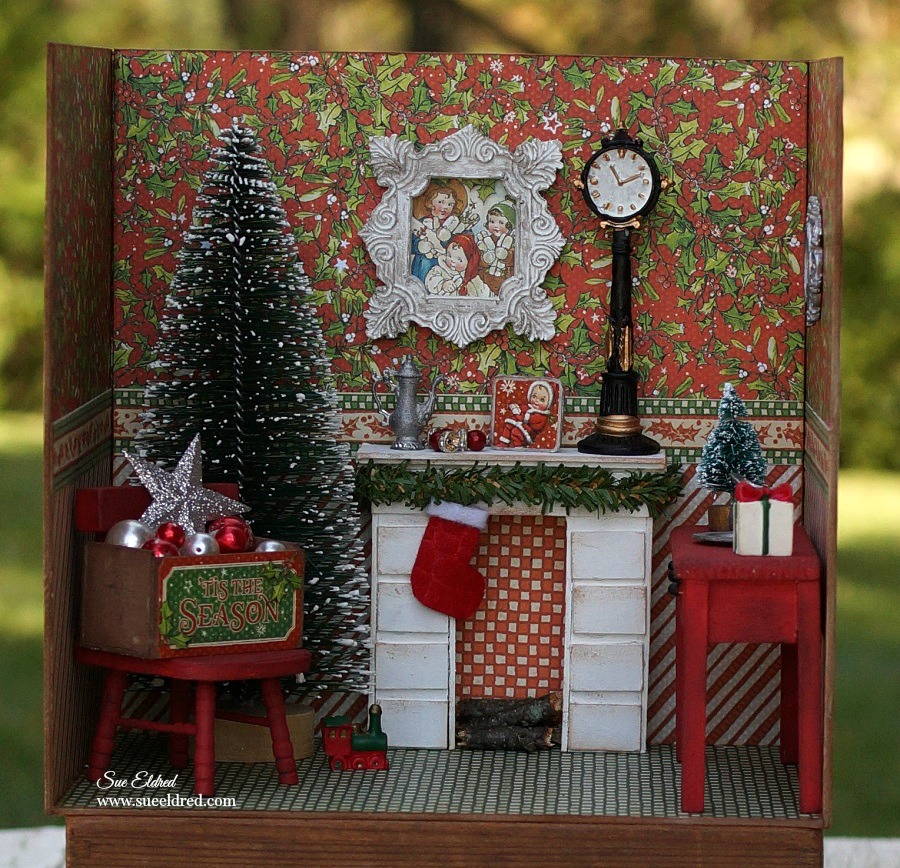
Creating A Miniature “Christmas Magic” Room with Graphic 45 and Xyron

How to Create A Miniature Christmas Room…

Graphic 45 Christmas Magic…Decorating the tree.

I knew as soon as I started working with Xyron that one day I would make a miniature room.

When I got the opportunity to work with Graphic 45’s “Christmas Magic” Collection,

I knew the time had come.  (Graphic 45 and Xyron are the perfect combination.)

Here’s What I used to make my Miniature Christmas Magic Room:            (*affiliate link)

*Disclosure:  This blog uses affiliate links.  If you choose to make a purchase using one of the links, I receive a small commission (at no additional cost to you) that helps offset the costs of maintaining this blog.  Thanks for your support!

How to make a miniature Christmas Magic Room…

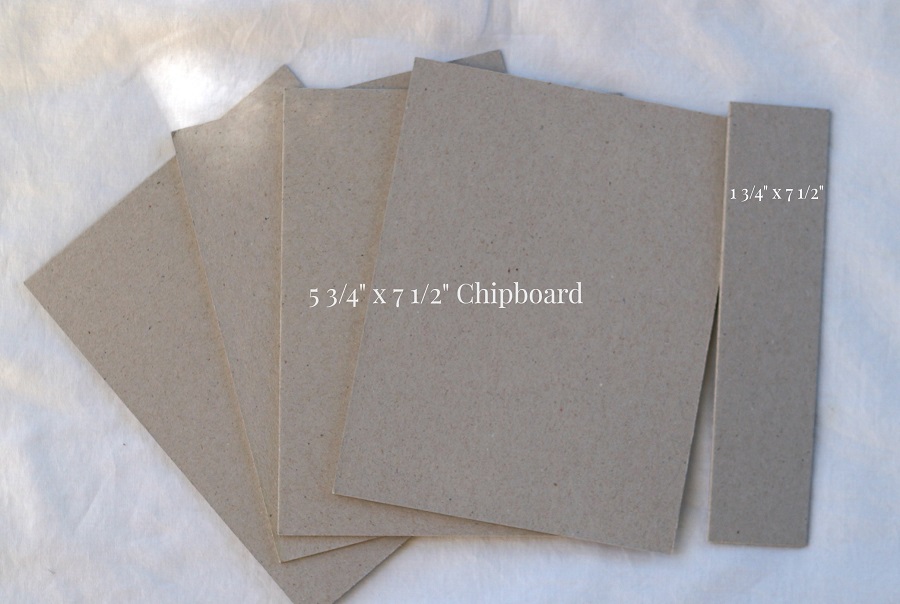
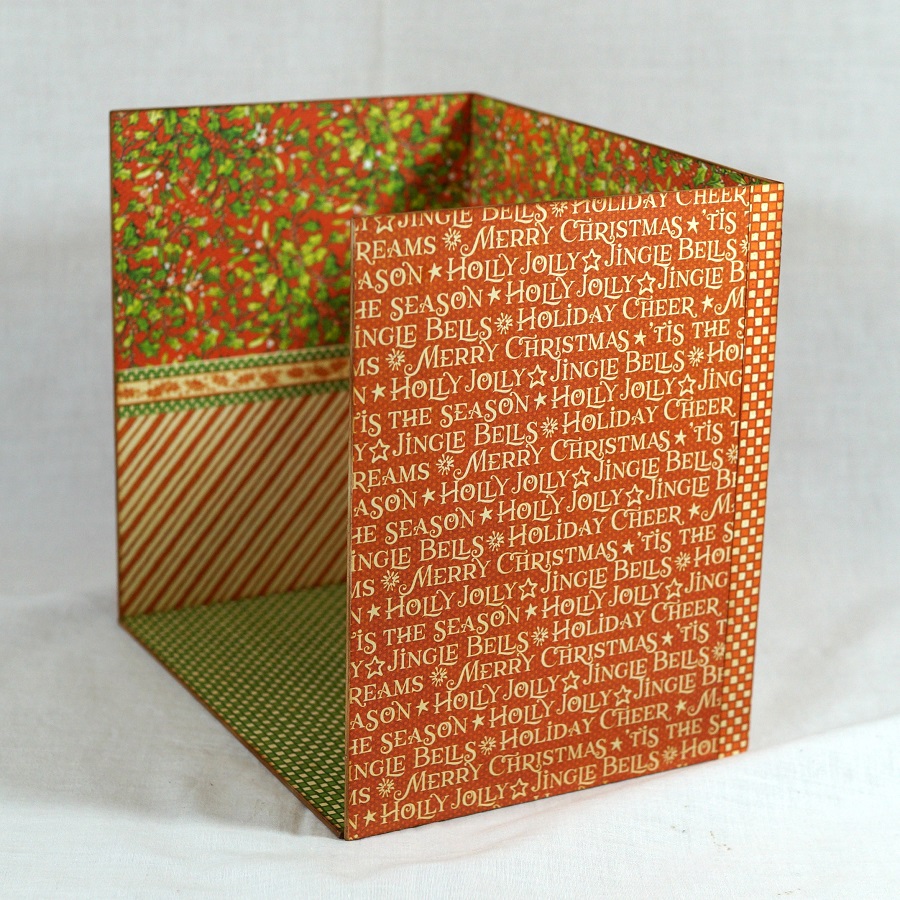
  • My Christmas Room is 7 1/2″ wide, 7 1/2″ tall and 5 1/2″ deep.  I used 5 3/4″ x 7 1/2″ chipboard pieces.  (that’s what I had on hand)  You could use a 7 1/2″ x 7 1/2″ piece of chipboard for the back wall instead of piecing it together like I did.

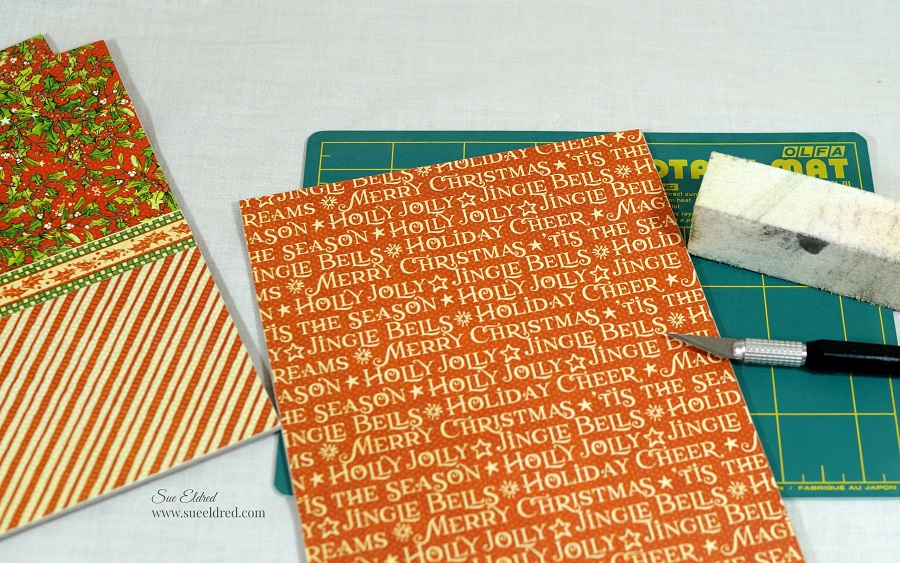
  • I cut paper for my walls into 3 3/4″ strips.
  • I cut a small strip of paper for my decorative border.
  • I ran each of my strips through the Xyron Creative Station*.
  • Adhere paper to the chipboard.

The Creative Station is perfect for projects like this.  I wanted complete adhesive coverage on every corner and edge of the paper.  (No wrinkles, no bubbles, easy to use.)

  • I cut my paper slightly wider than I need so I can trim the edges with a craft knife.
  • Gently sand edges with a extra fine sanding block for the perfect edge.

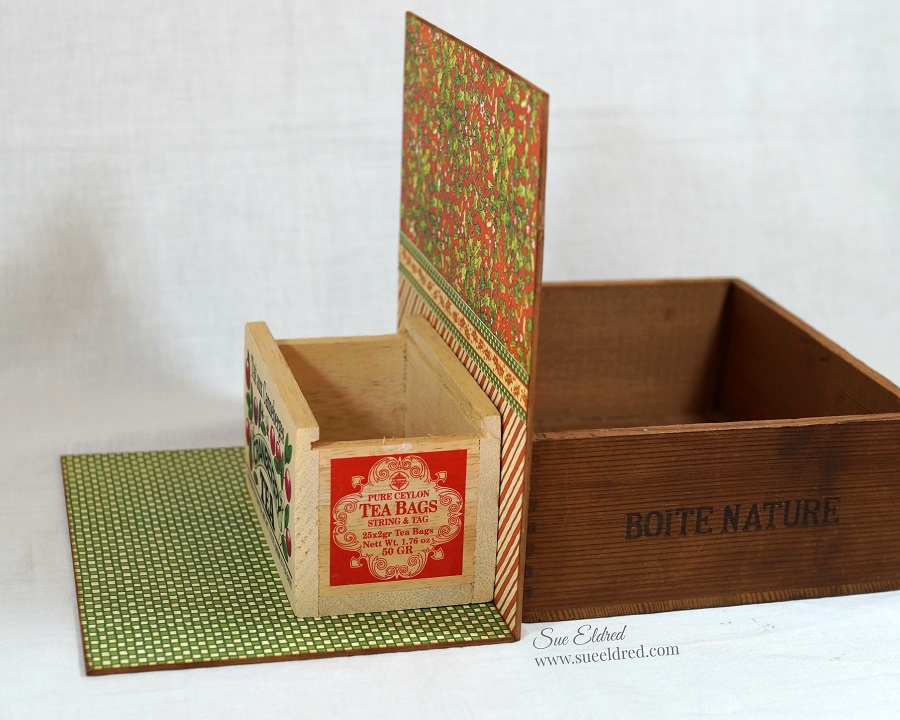
  • Glue the walls together using a good craft glue.  I used wood boxes to hold my wall up while the glue dried.  (If you have a better idea I’d love to hear it.)

  • I covered the back of my room with coordinating paper and added small strips of paper on the back corners for added support.

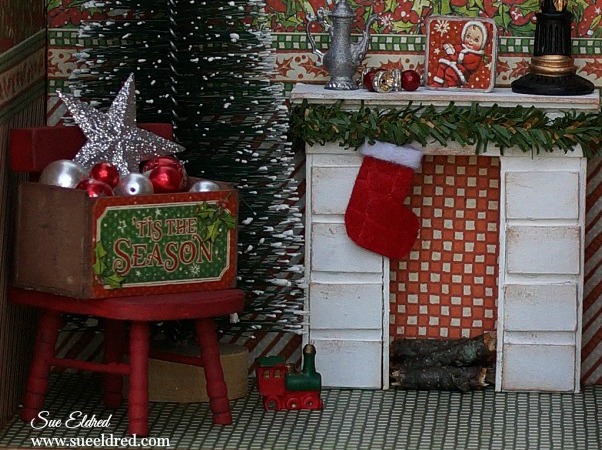
  • I made a small fireplace out of chipboard.  (I needed a place to hang my stocking)
  • Paint the fireplace with white paint.  Give it a vintage feel by rubbing a little ink on the edges.

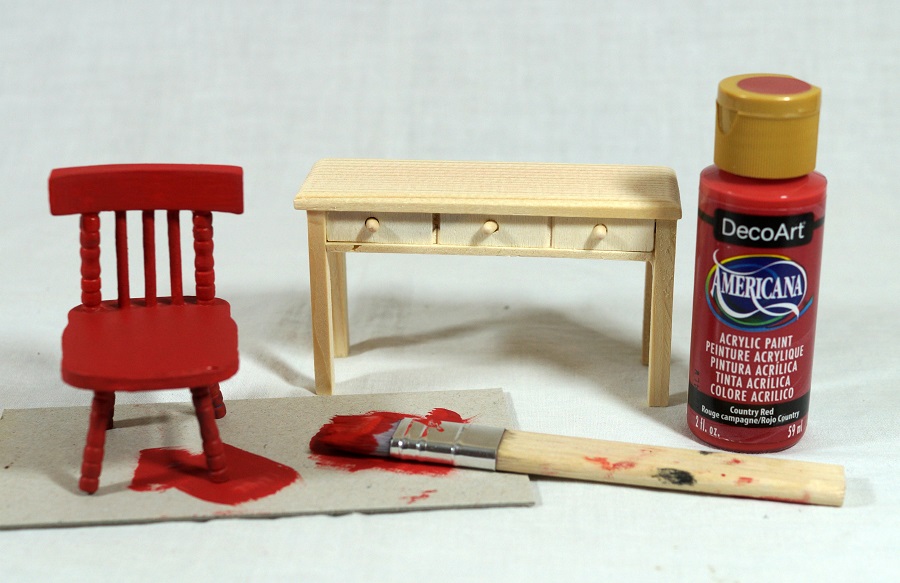
  • I purchased inexpensive unfinished doll furniture at the Dollar Tree* and painted it red.
  • For a vintage look add ink to the edges of the furniture.

  • I used stickers from the collection kit to make little framed art.

  • I made a small little crate to hold my “ornaments” out of chipboard and painted it brown.  I added a small “tis the season” sticker on the front.

  • I created a small picture using a sticker and chipboard and a small felt stocking to add to the mantel.

I have spent way to much time rearranging the furniture and playing with it.

It was a real labor of love.  (and I loved every minute of it)

“This is a sponsored post.  As a member of the Xyron Design Team I have been provided product and compensation in exchange for my creative ideas.  The views and opinions are my own.

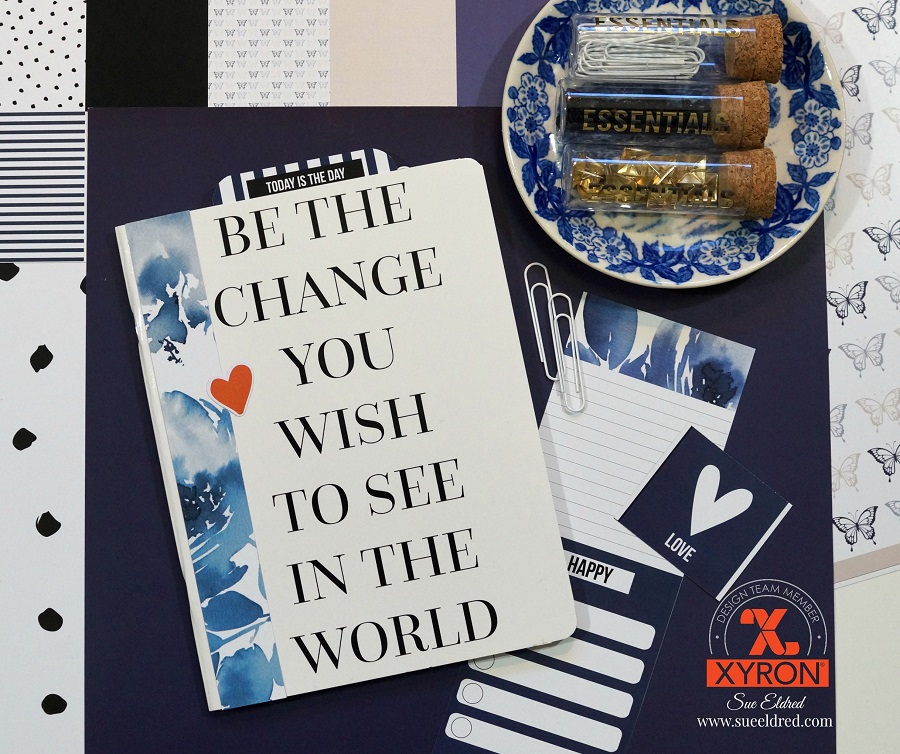
“Be the Change” Journal

Be the CHANGE you wish to see in the World

A little motivational pickup to start your day…

made using this sweet and simple 6″ x 8″ Teresa Collins notebook.

This week the Xyron Design Team has partnered with the lovely Teresa Collins .

I’ve been a fan and follower of Teresa’s Blog and Instagram for years.

(I almost feel like I know her and her family.)

For my design team project…

I was really torn between embellishing the front cover of the notebook or keeping it simple.

I decided to keep it simple.

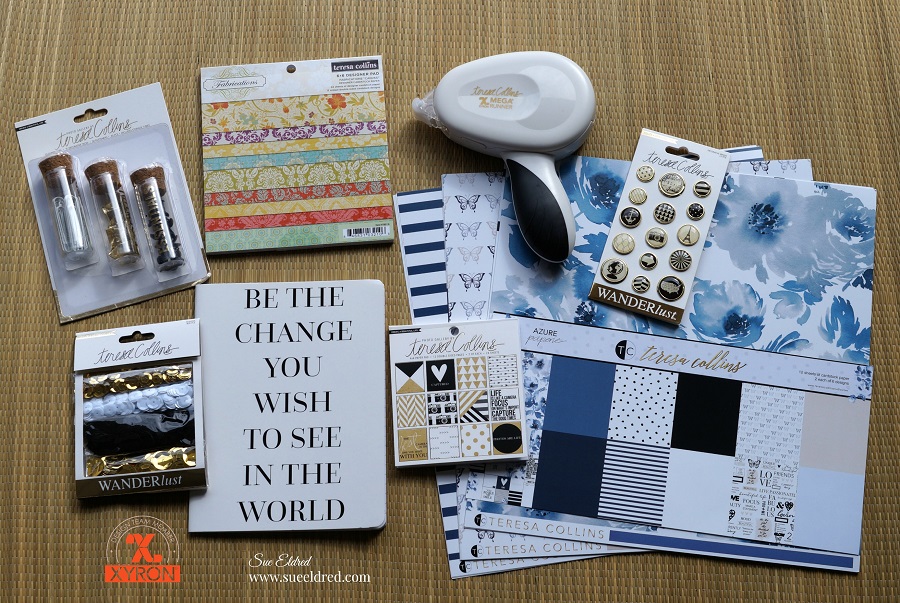
Xyron and Teresa Collins Products Used:                       (*affiliate link)

FYI…Teresa’s new paper line and planner products with be available at Hobby Lobby.

*Disclosure:  This blog uses affiliate links.  If you choose to make a purchase using one of the links, I receive a small commission (at no additional cost to you) that helps offset the costs of maintaining this blog.  Thanks for your support!
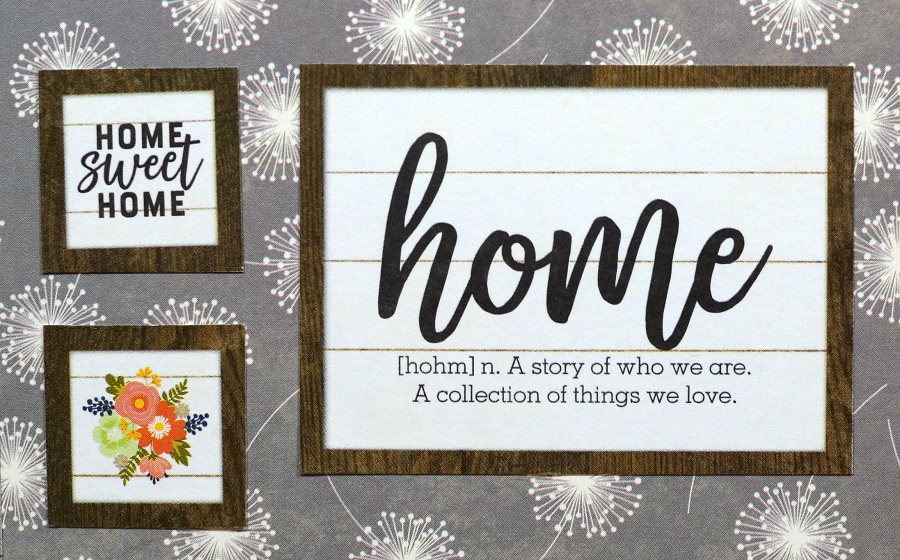
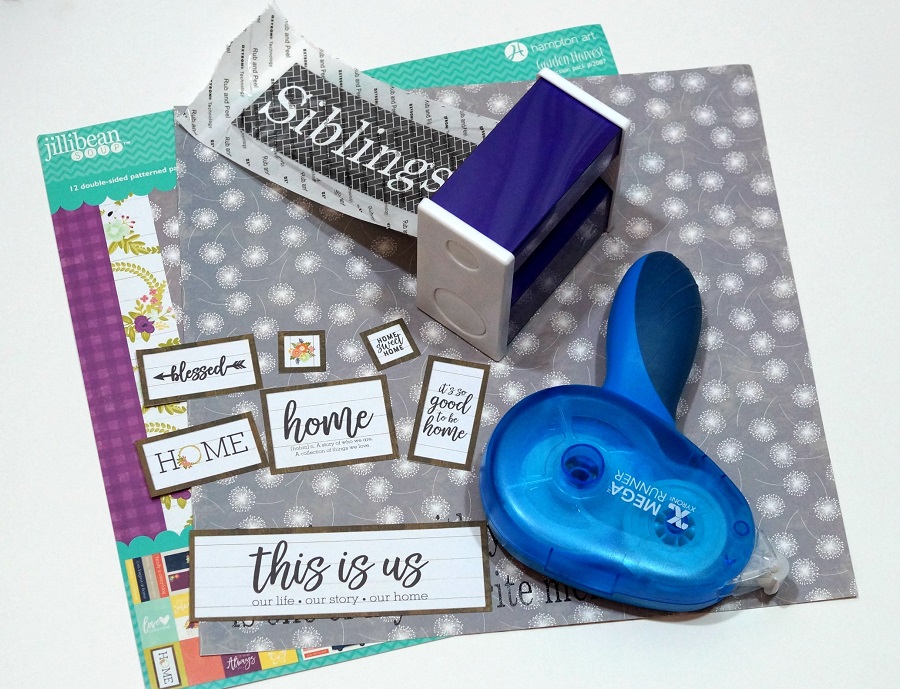
I used both the Xyron Creative Station* and the Teresa Collins Mega Runner*

to quickly put my notebook together.

For die cuts and smaller pieces I like to run those through the Creative Station*.

To use the *Xyron Creative Station* crank the handle to run the paper through the

machine.  As it moves through the Xyron Creative Station it adds adhesive to the back side

of the paper.  Easy to use and it doesn’t need any electricity.

       You get complete coverage, no gluing, no wrinkling, no bubbles!

I used the Teresa Collins Mega Runner by Xyron* for the inside pages.

I think this notebook would make a great scrapbook or journal.

A special thanks to Xyron and Teresa Collins for providing the wonderful products used.

“This is a sponsored post.  As a member of the Xyron Design Team I have been provided product and compensation in exchange for my creative ideas.  The views and opinions are my own.

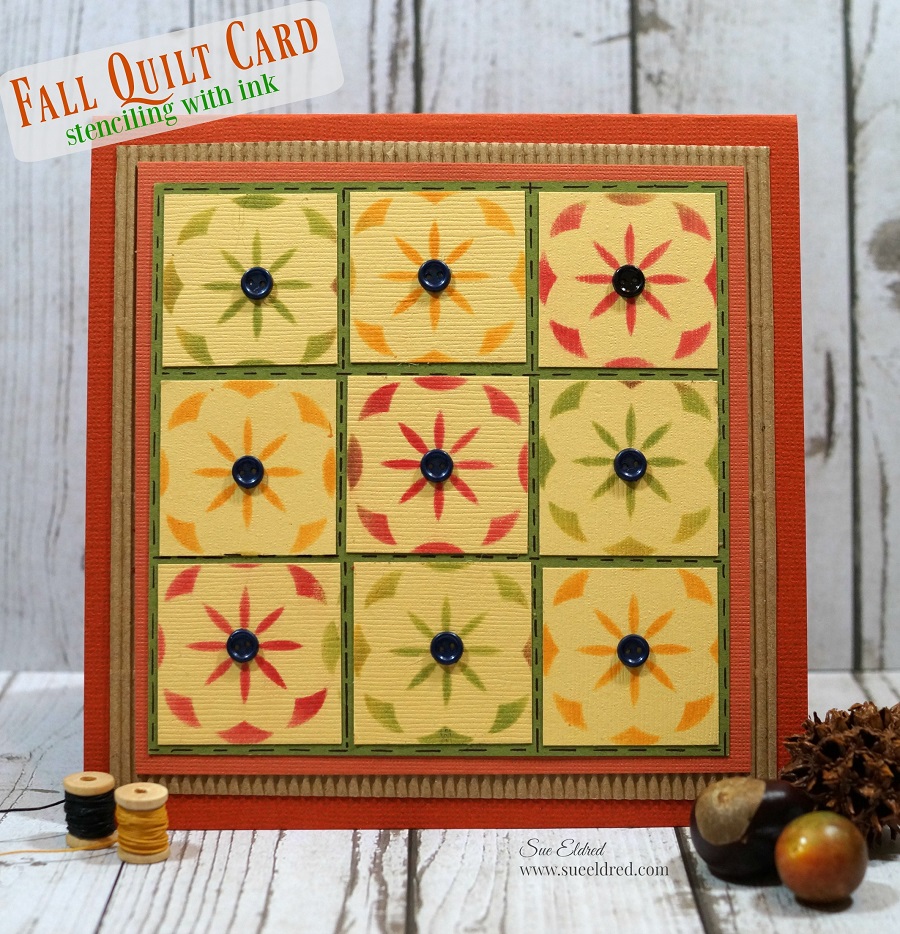
Fall Quilt Card…stenciling with ink

Fall Quilt Card…stenciling with ink

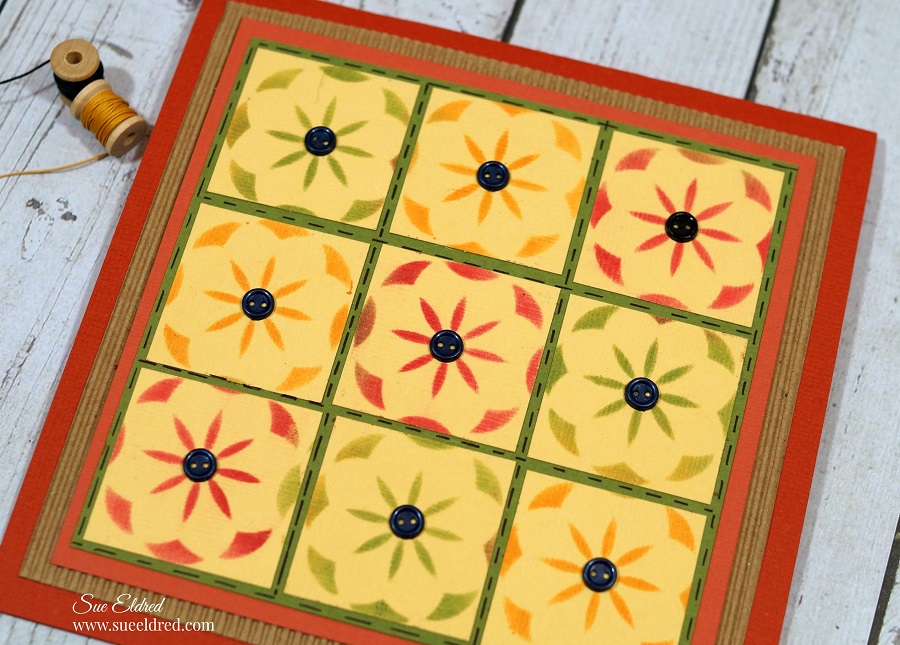
a quick and easy fall card.

This week the Xyron® Design Team partnered up with Clearsnap® the maker of Colorbox® inkpads and more for some fun projects.

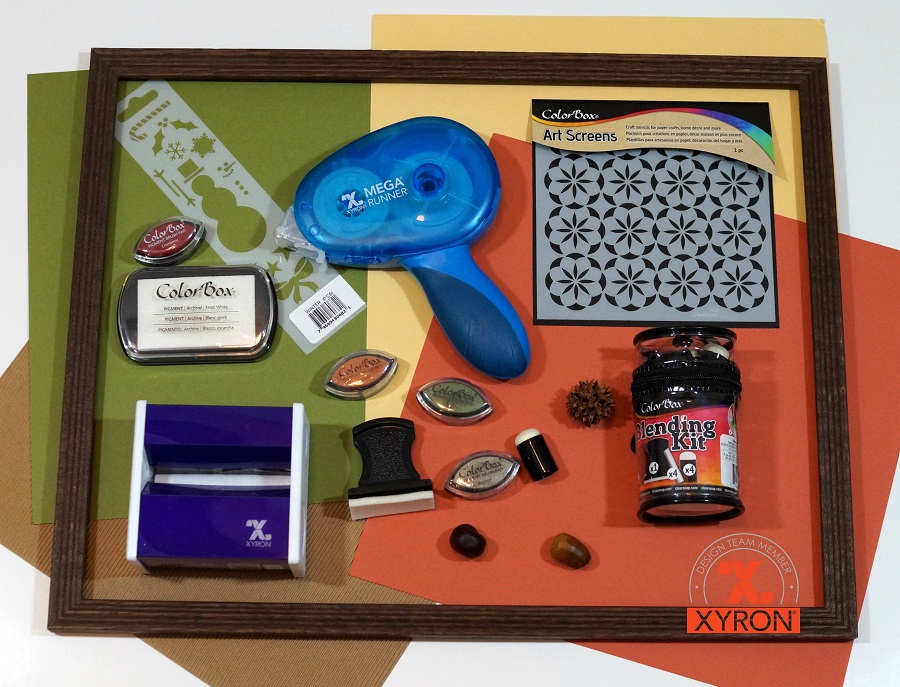
Here’s what I used:                  (*affiliate link)

Directions:

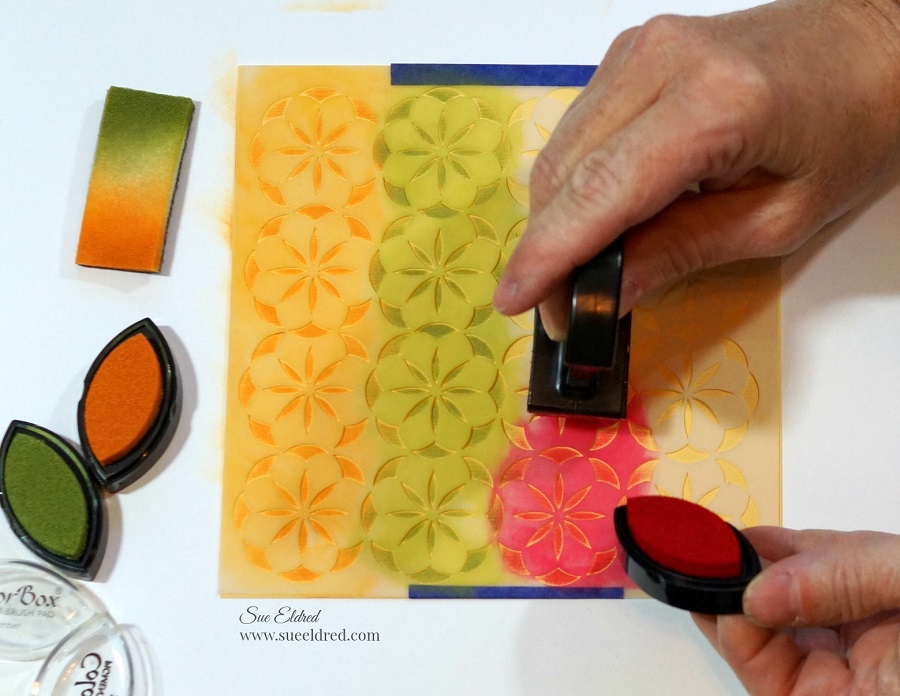
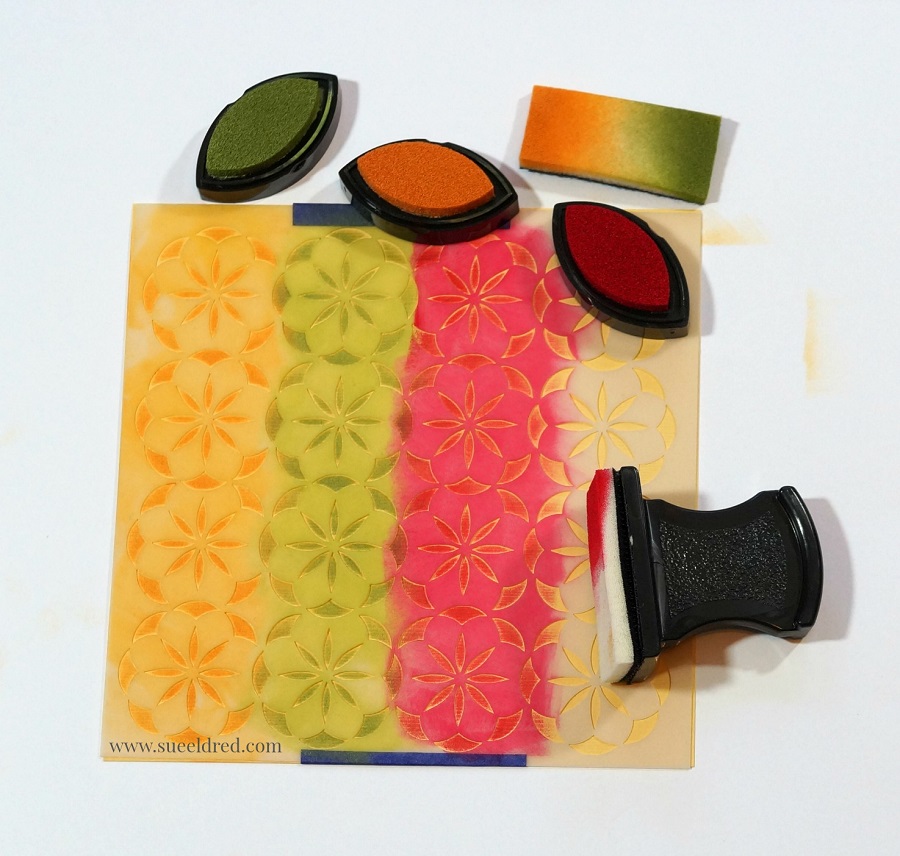
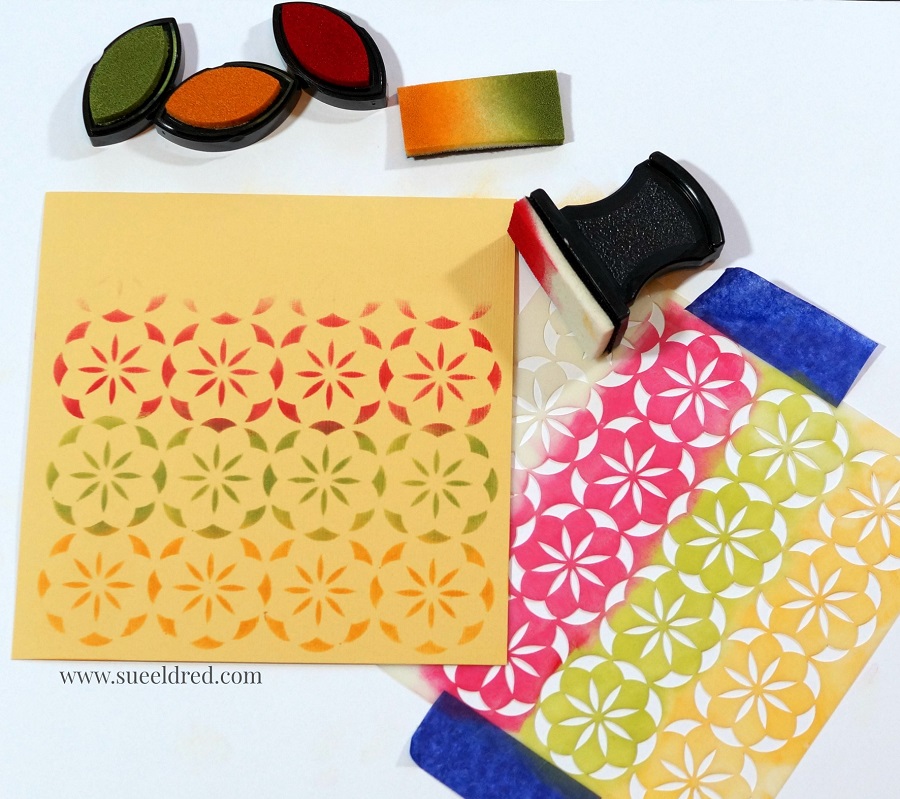
Place the stencil onto yellow cardstock and secured it with removable painters tape.

Ink the cardstock using the blending tool and Amber, Turtle and Cranberry Colorbox Inks.

The Art Screen stencil cleans up easily with water.

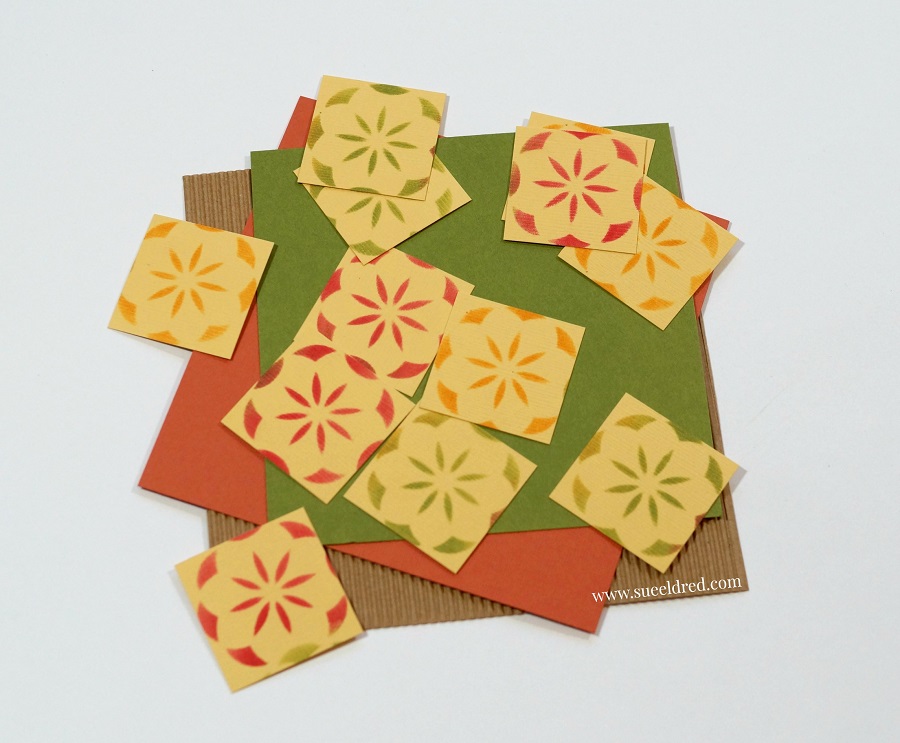
Cut the stenciled cardstock into small squares.    (Mine were slightly smaller than 1 inch.)

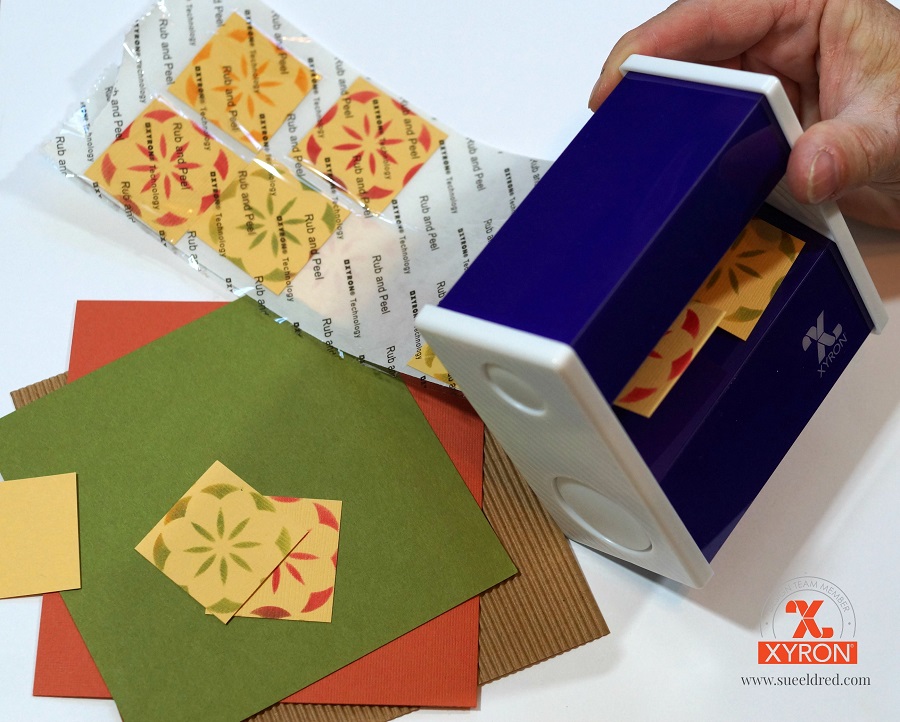
Place the squares through the Xyron 3″ Sticker Maker* for the perfect little sticker.

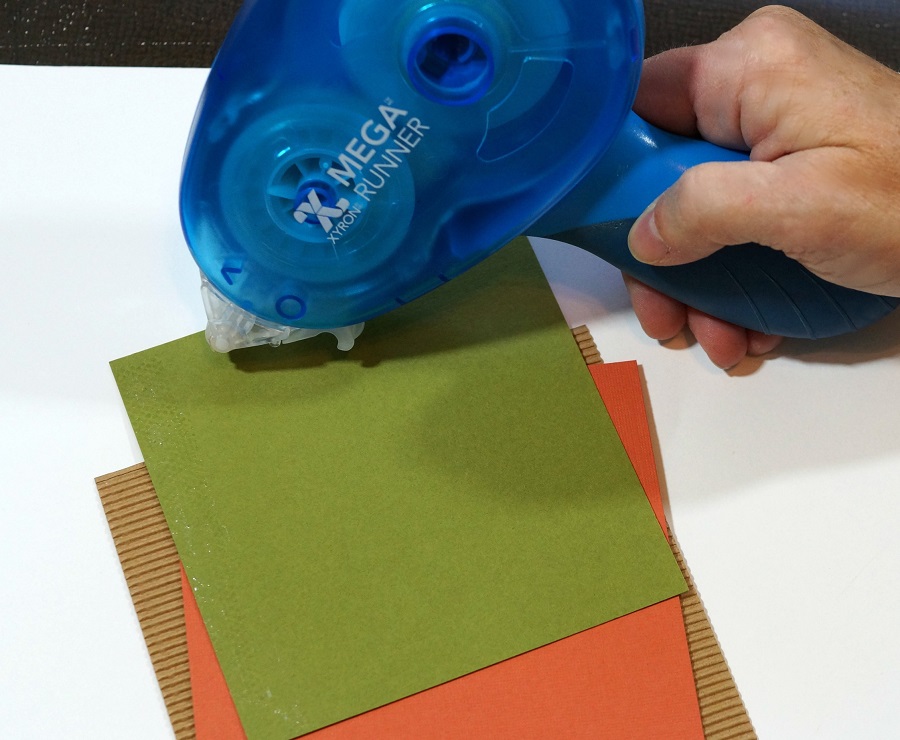
Adhere all the card layers using the Xyron Mega Runner*.

For added detail…draw in small stitch lines using a fine point marker and glue teeny tiny buttons into the center of each square..

“This is a sponsored post.  As a member of the Xyron Design Team I have been provided product and compensation in exchange for my creative ideas.  The views and opinions are my own.

*Disclosure:  This blog uses affiliate links.  If you choose to make a purchase using one of the links, I receive a small commission (at no additional cost to you) that helps offset the costs of maintaining this blog.  Thanks for your support!

Dollar Store Pumpkin Makeover

I love the look of heirloom pumpkins and those cute little white pumpkins called “baby boo”.

But…I always have a hard time finding them.

This year, I decided to make my own.

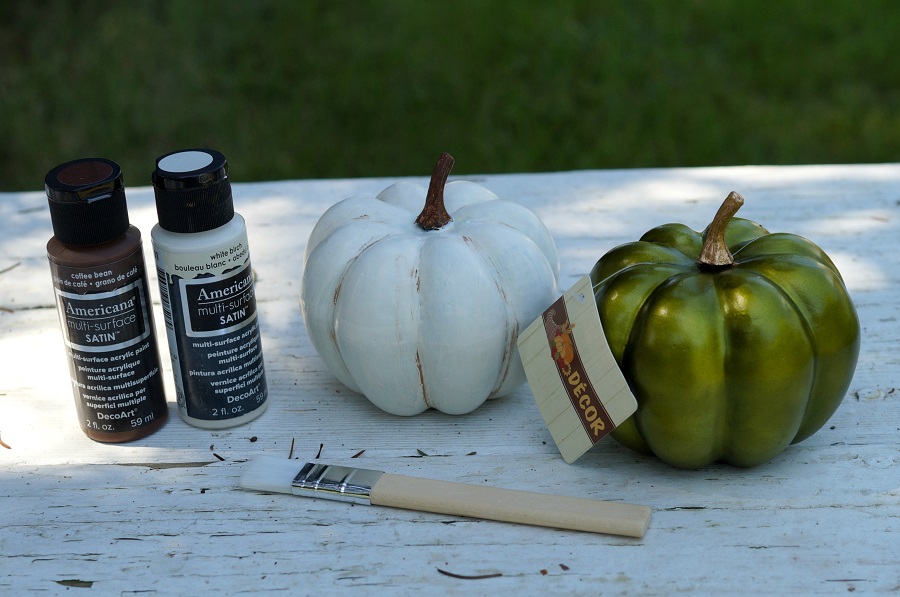
I found these cute little 4″ metallic pumpkins* at my local Dollar Tree*.

At $1.00 each, I couldn’t pass them up.

I painted the pumpkins with Americana Multi-Surface Satin Acrylic Paint in White Birch*.

It took 4-5 coats.  In hindsight, I wish I would have left a little green showing through.

I used Americana Multi-Surface Satin Acrylics Paint in Coffee Bean* to paint the stem and

accent the grooves of the pumpkin.  To make it look more realistic, I used a baby wipe to

strategically wipe off some of the extra brown paint.

I really please with the way they turned out.

Best part is… they won’t spoil and I can reuse them year after year.

Shop Your Fav Brands at Scrapbook.com

*Disclaimer:  This post uses ads and affiliate links.  If you choose to make a purchase using one of the links, I receive a small commission (at no additional cost to you) that helps offset the costs of maintaining this blog.  Thanks for your support!

Save

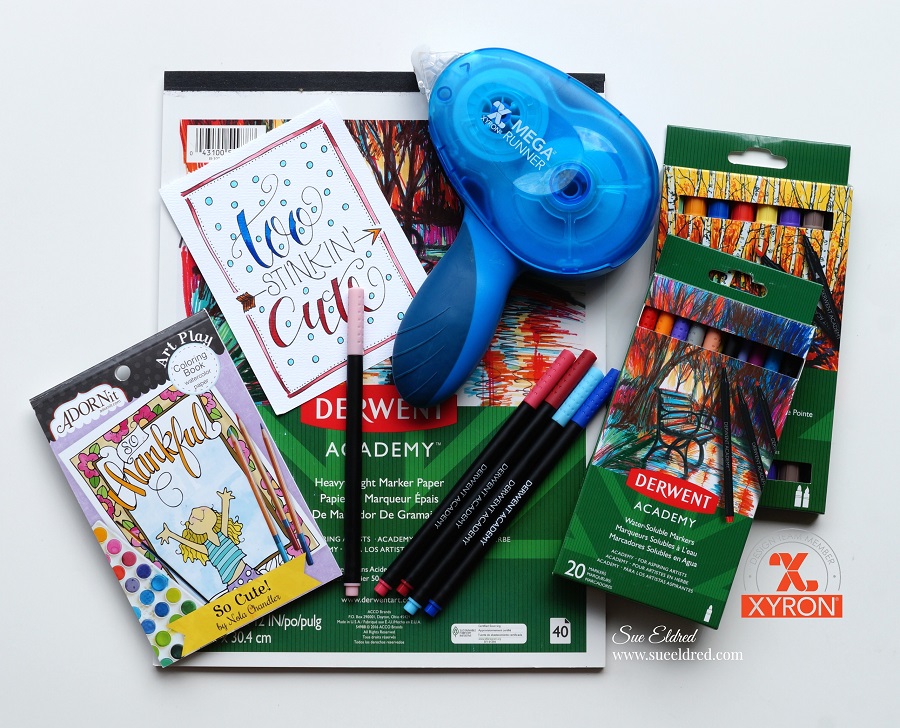
Too Stinkin Cute with Xyron and Derwent Markers

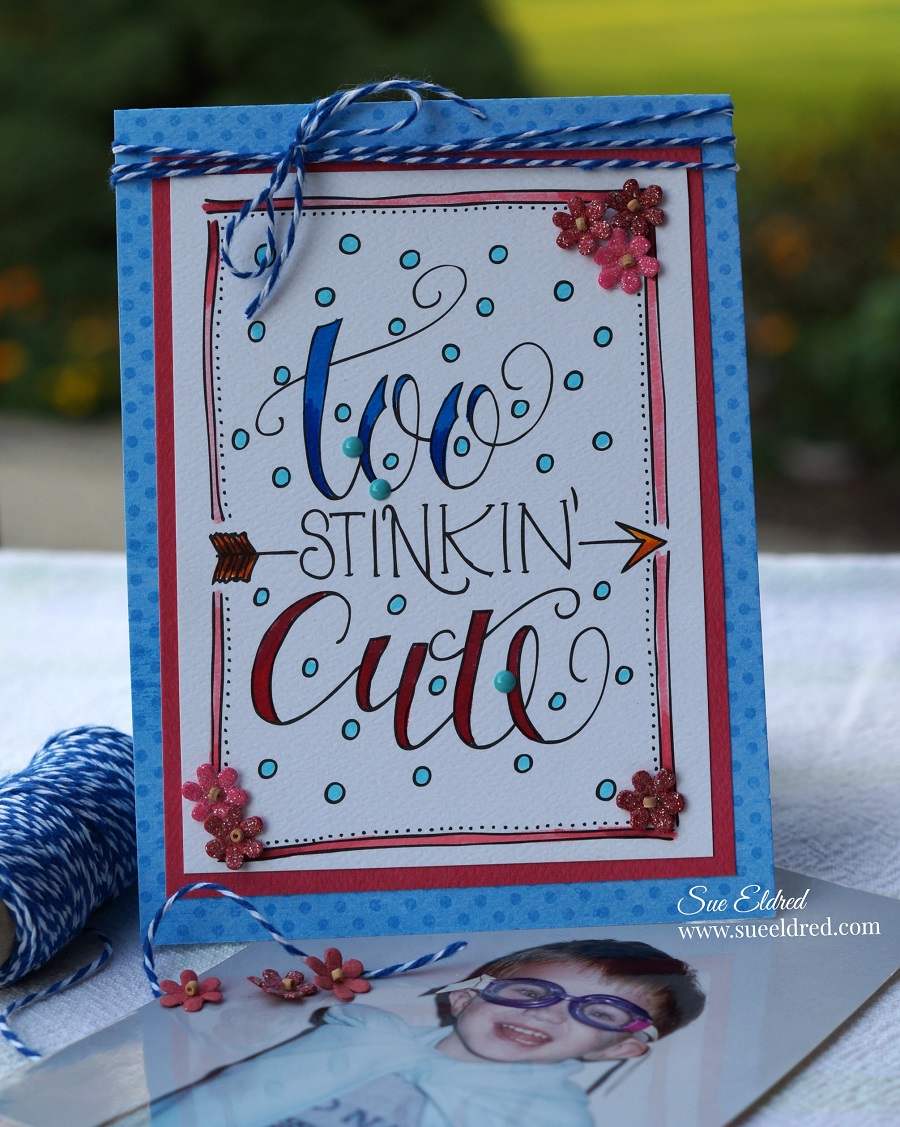
Clean and Simple Card made with Xyron and Derwent Markers.

You know that look on a kids face when he knows he being “super cute”.

This Super Hero picture of my son taken when he was 3 is one of my all time favorites.

He knew he was being “so stinkin cute”!

I always love getting new things to play with and try.

This month the Xyron Design Team was sent Derwent Markers and Paper to play with.

To Make my Card…

I used a small coloring sheet from a mini coloring book for adults as my card base.

I simply colored in the words with my Derwent Markers for a quick and easy layered card.

But… Because I’m a perfectionist and my coloring skills are adequate at best,

I embellished my card with a few small flowers, twine and enamel dots.

(No mistakes… just more opportunities for embellishments.)

Here’s what else I used to make my Clean and Simple Card:

“This is a sponsored post.  As a member of the Xyron Design Team I have been provided product and compensation in exchange for my creative ideas.  The views and opinions are my own.

*Disclosure:  This blog uses affiliate links.  If you choose to make a purchase using one of the links, I receive a small commission (at no additional cost to you) that helps offset the costs of maintaining this blog.  Thanks for your support!

Personalizing My Ikea Finds for the Kitchen…

Personalizing My IKEA finds for the kitchen…

When you live 3 hours in any direction from the nearest IKEA,  you make your husband

stop anytime you’re close.

5278042B-6B77-4667-85CE-66B09D4BA3BF

Since I didn’t have advance notice to prepare and my husband only has the patience to

go around once.  I just grabbed without real purpose.

I really wish I would have bought more, a return trip is needed.

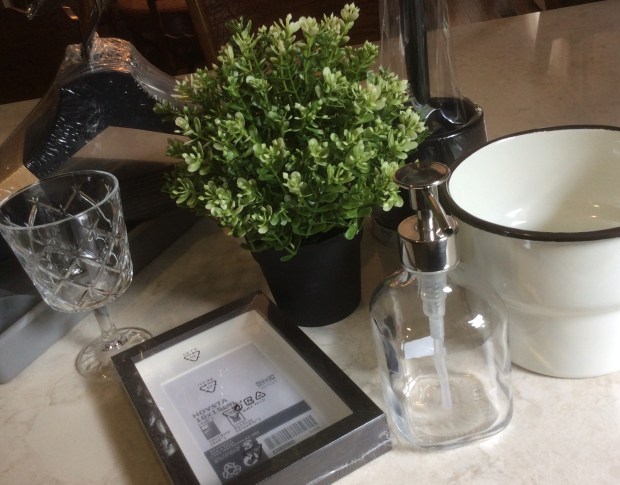
Here are the plain Ikea finds before being personalized!

This summer, we’ve been working on updating our kitchen.

It’s been a slow process.

Recently we had a kitchen sink dilemma…which halted choosing a backsplash tile.

For a distraction…a couple cute little DIY projects were in order.

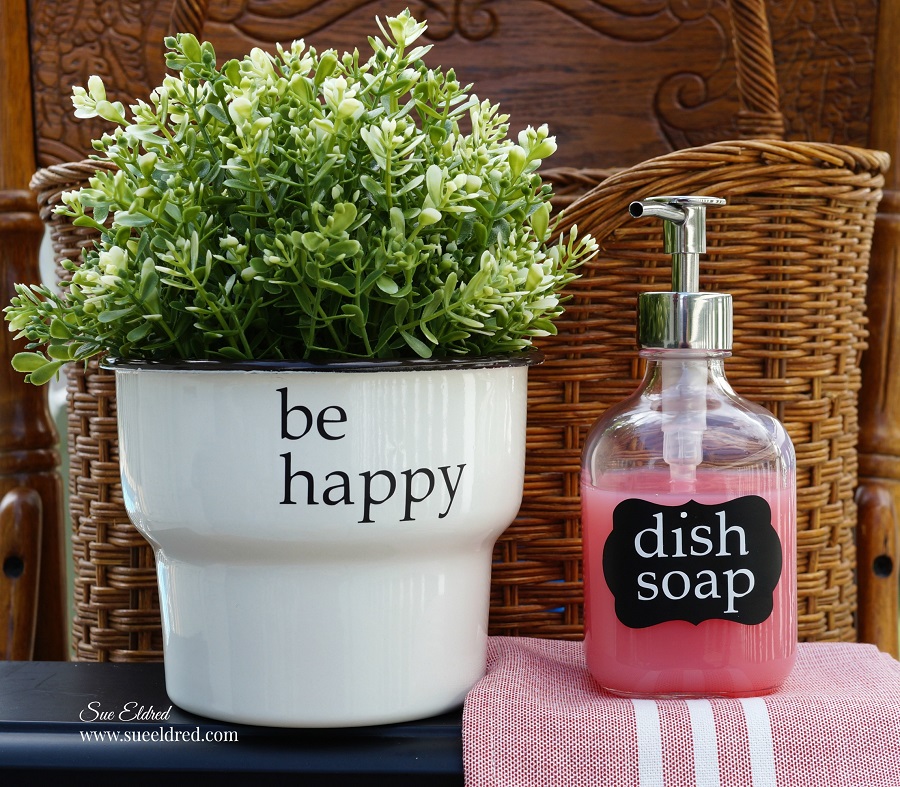
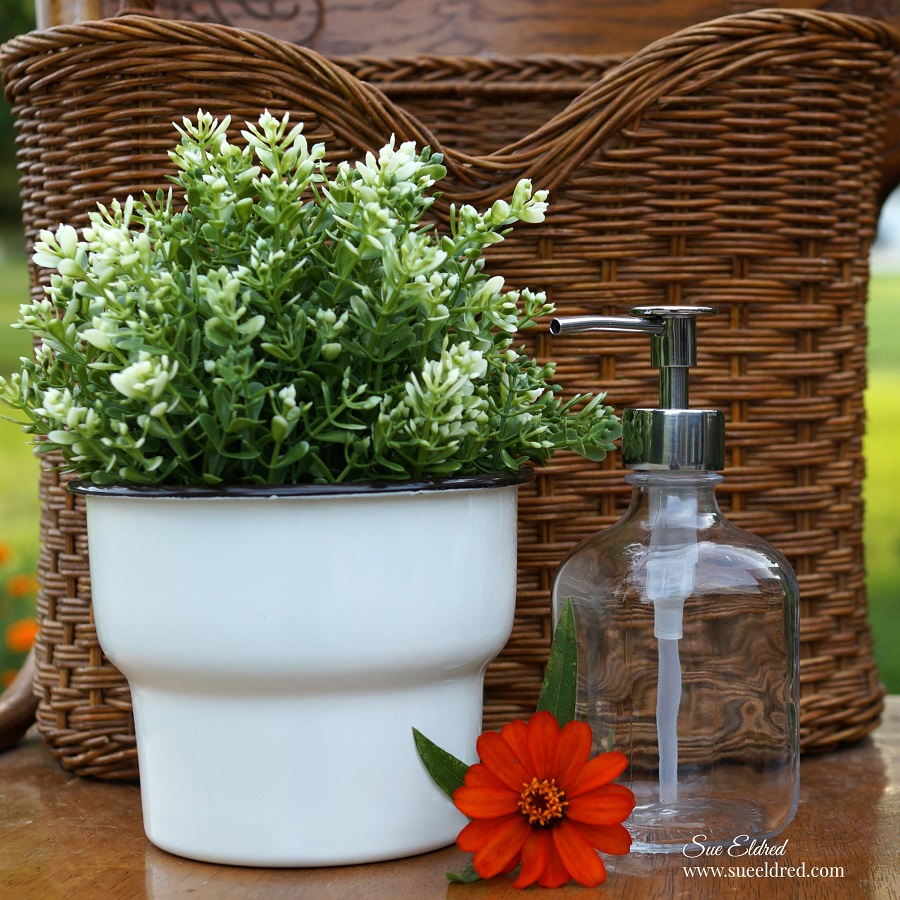
A “Rae Dunn” inspired planter.

I love working with vinyl.  For my “Rae Dunn” inspired planter,

I used a Silhouette Cameo Electronic Die Cutting Machine*to create the words “be happy”

out of Matte Black Removable Adhesive Vinyl* from StyletechCraft.  (*affiliate links)

I simply applied the words onto my planter using Vinyl Transfer Tape*.

So easy to do.

Removable vinyl makes it easy to change out my words with the seasons.

Did you know that this vinyl will remove cleanly for up to two years?

This vinyl film is great for decorating a kid’s room, a classroom or just about

anywhere you just need a temporary graphic.

And, with 27 colors available, it’s not hard to find the perfect color

for whatever you can dream up!

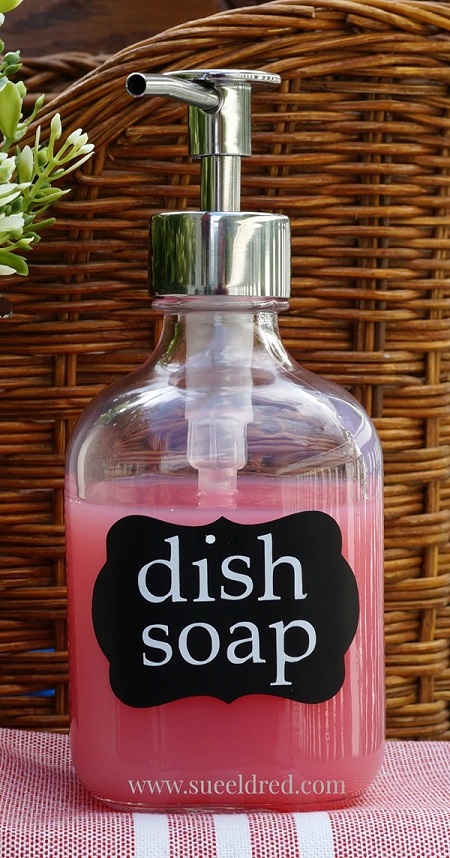
I have dish soap issues.

I like to keep it handy, but, hate the way the regular sized

plastic bottle looks on the counter.

I usually buy the smaller bottles.  (just slightly better)

Solution… I picked up the cute soap dispenser during my last trip to IKEA

and also personalized it with the Silhouette Cameo Electronic Die Cutting Machine*.

This time I created a small label using Matte Black Removable Adhesive Vinyl*  

and words using Matte White Removable Adhesive Vinyl*.

It looks so much better than plastic soap bottles.

Fingers crossed, I’ll be sharing the kitchen project soon!

“This is a sponsored post.  As a member of the Tape Technologies Design Team I have been provided product and compensation in exchange for my creative ideas.  The views and opinions are my own.

Shop Your Fav Brands at Scrapbook.com

*Disclosure:  This blog uses ads and affiliate links.  If you choose to make a purchase using one of the links, I receive a small commission (at no additional cost to you) that helps offset the costs of maintaining this blog.  Thanks for your support!

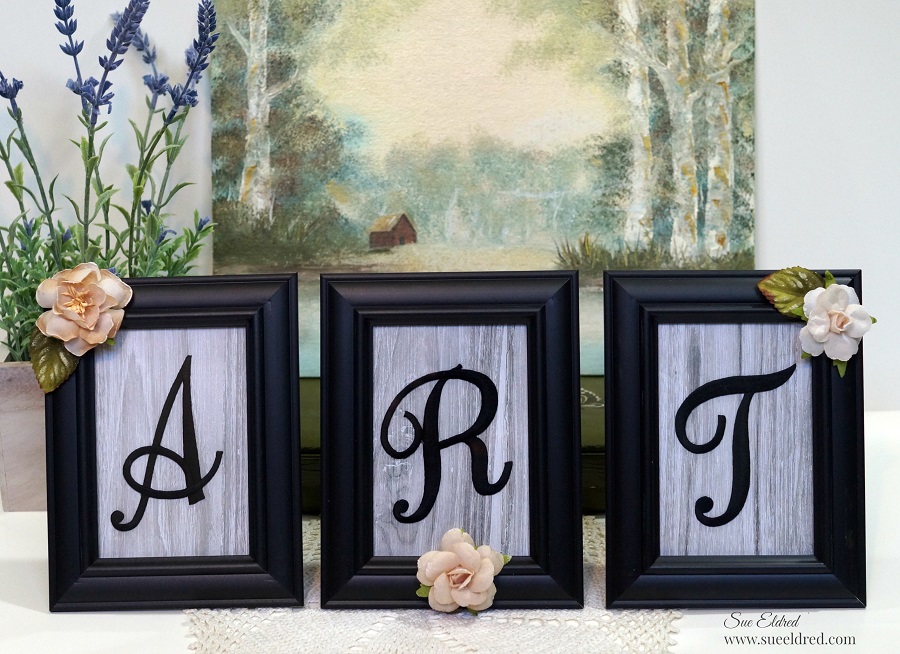
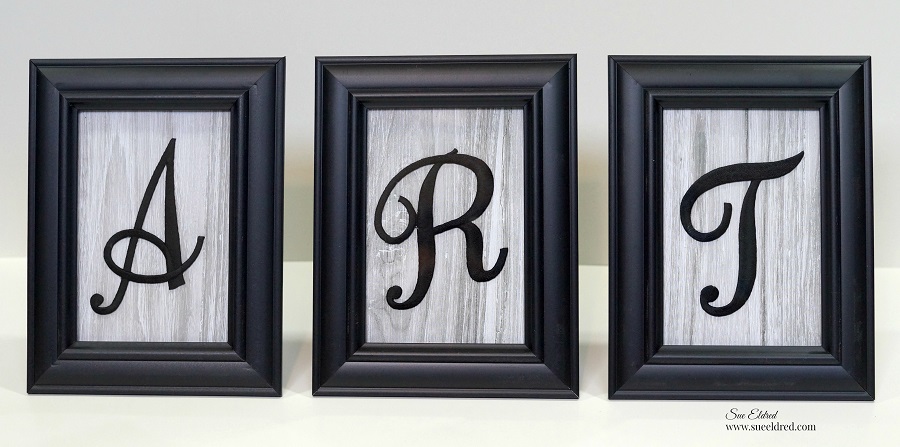
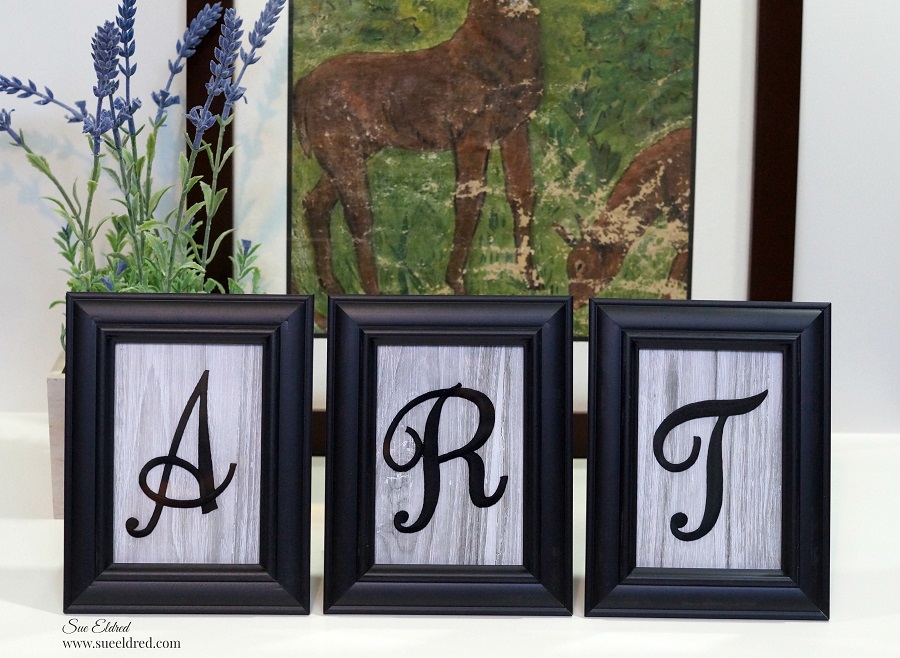
Creating Word Art with Monograms

Create Personalized Word Art for your home with framed Monograms.

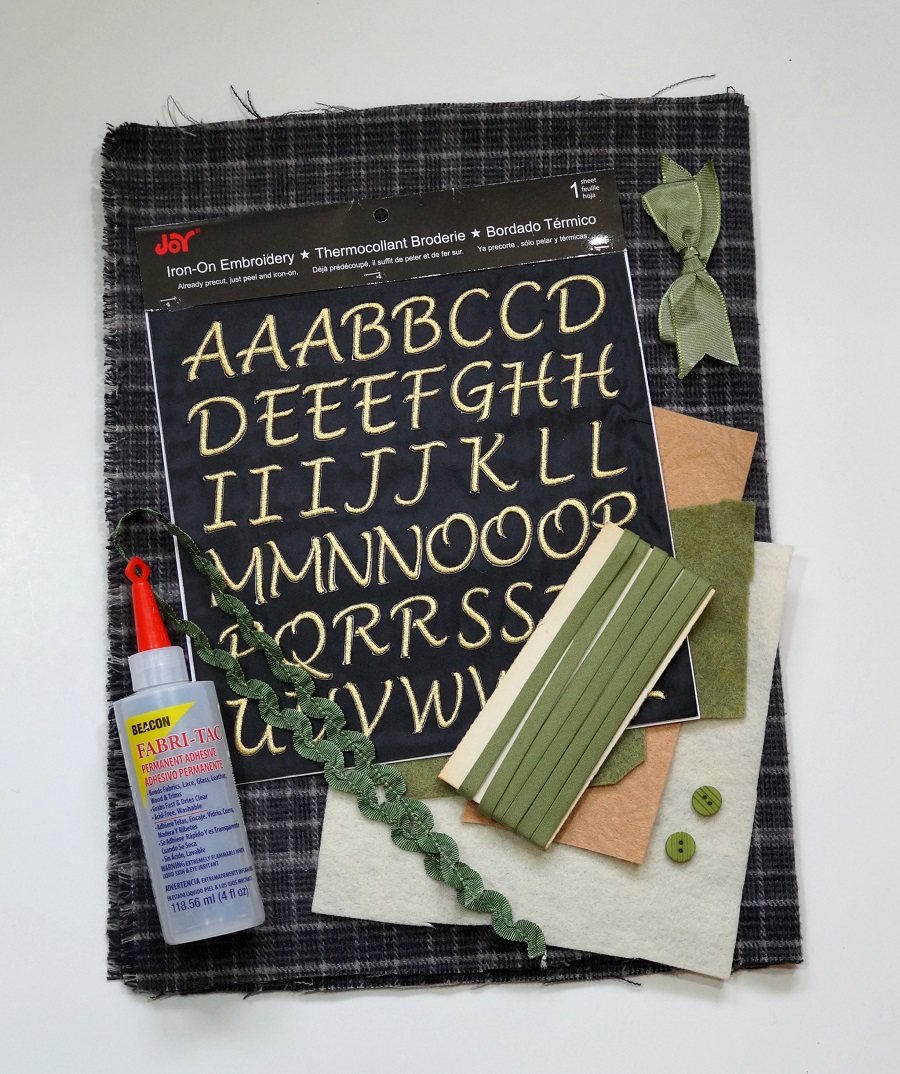
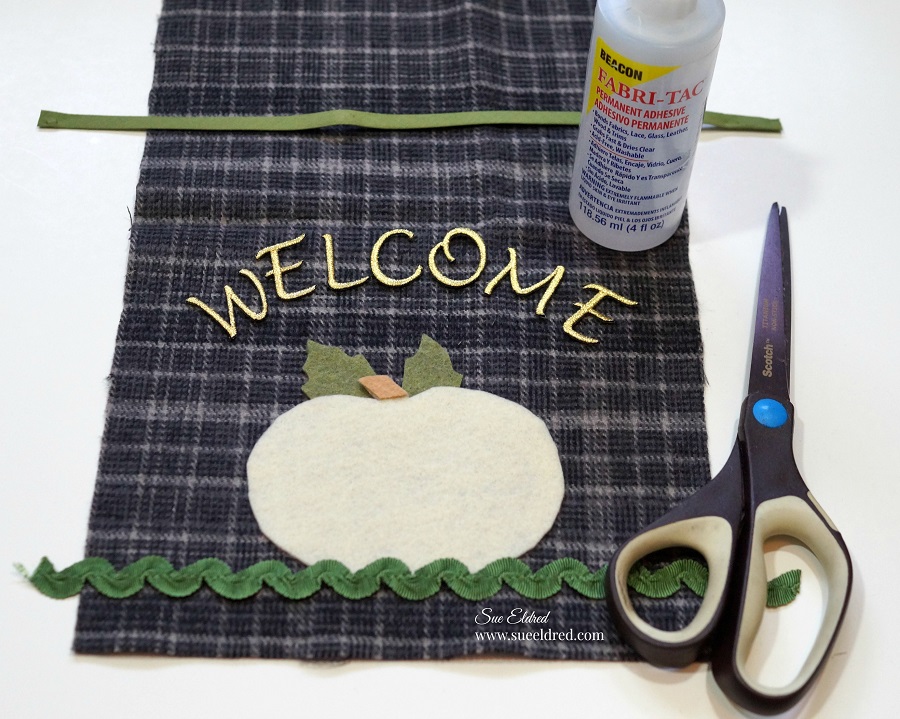
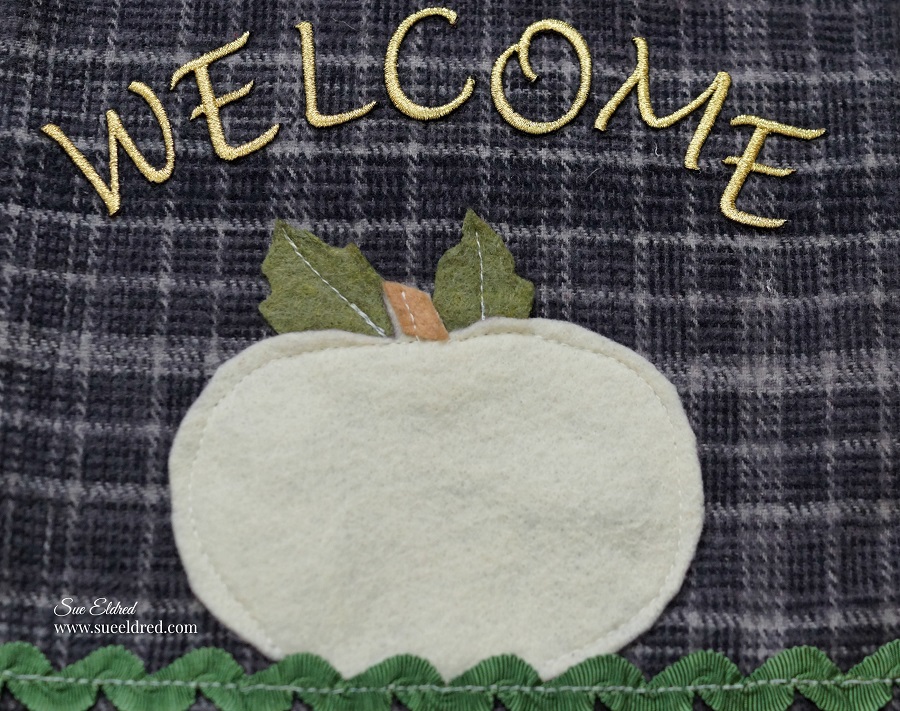
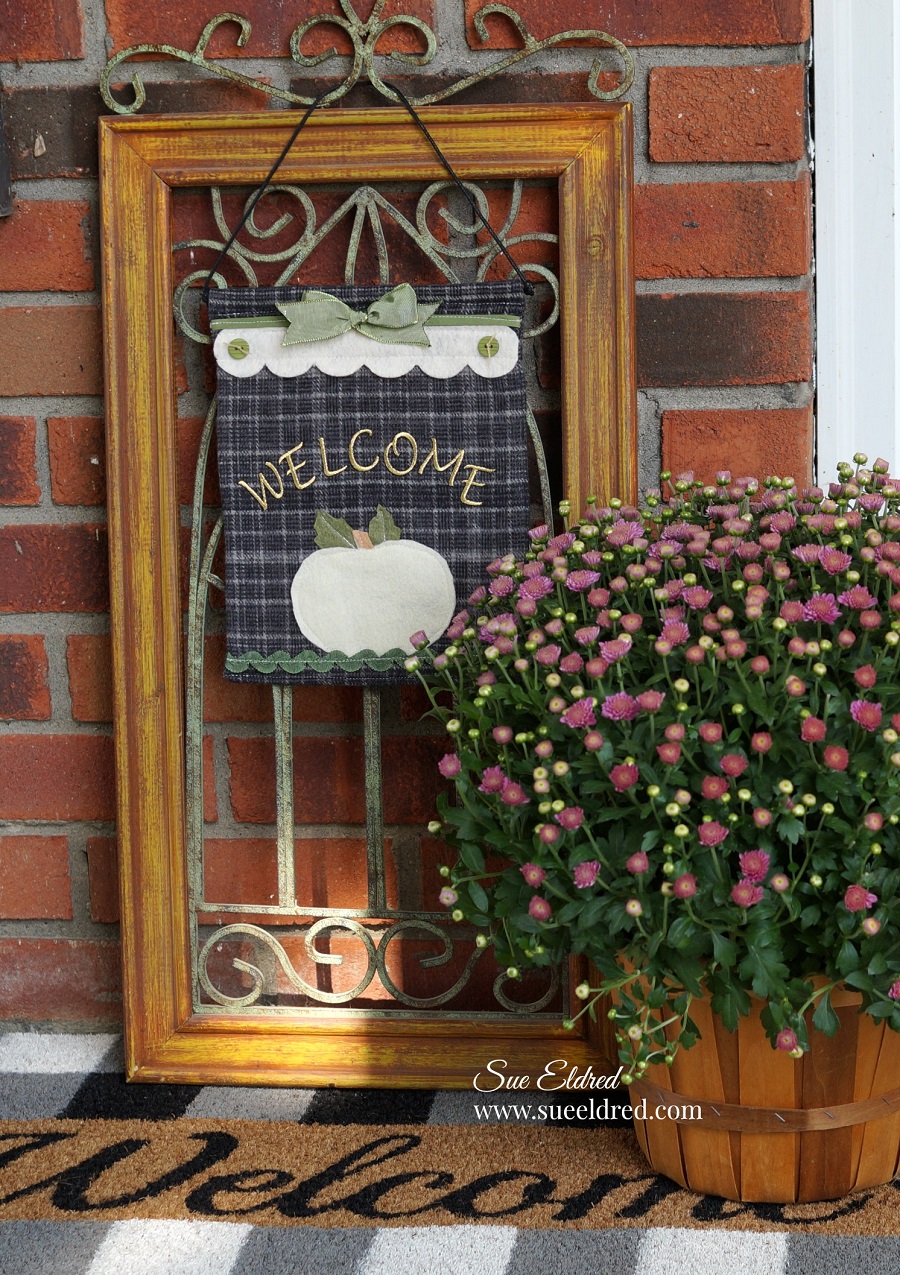
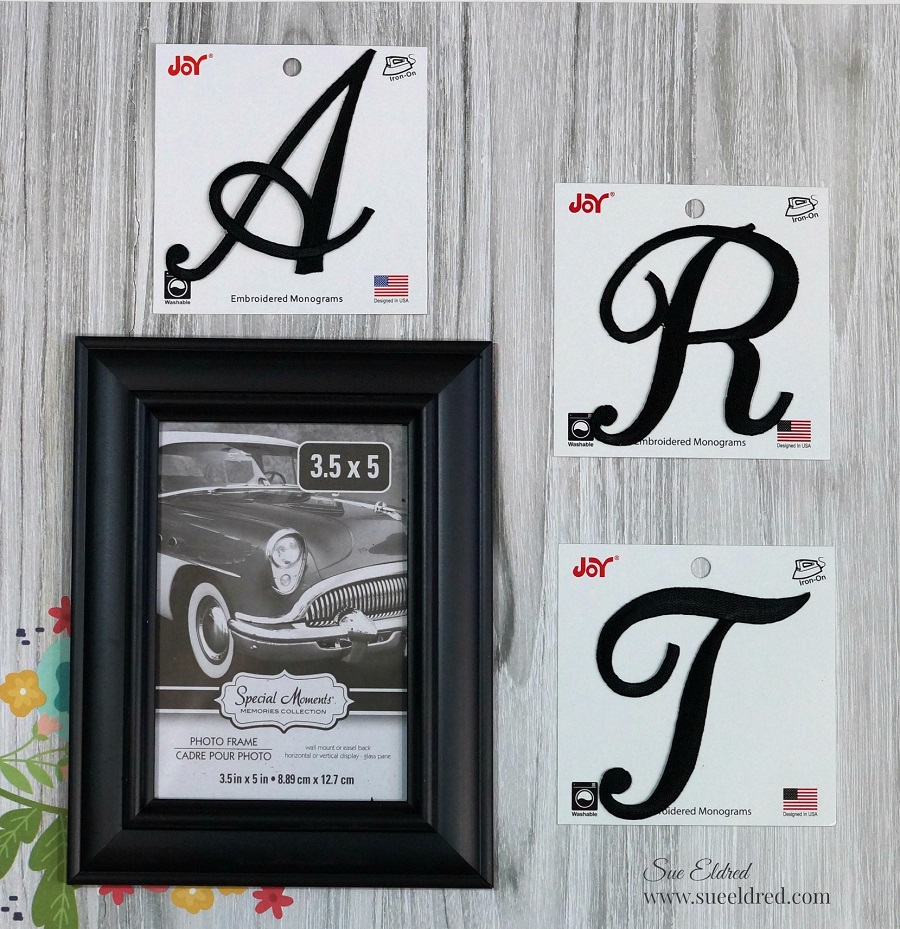
A Quick and Easy DIY Home Décor project to make using Joy Embroidered Monogram letters.

Here’s what I used:

*Disclaimer:  This post uses ads and affiliate links.  If you choose to make a purchase using one of the links, I receive a small commission (at no additional cost to you) that helps offset the costs of maintaining this blog.  Thanks for your support!
  • Cut the paper to fit inside frame.
  • Glue monogram letters to paper.
  • Insert into frame.
  • Glue flowers to outside of frame.


Try creating a custom wall display using the word “FAMILY”.

Additional sizes of embroidered monograms are available for endless word fun.

You can find Joy Iron-On letters at your favorite craft stores!

This project was sponsored by Joy SA.

Shop Your Fav Brands at Scrapbook.com

Shop Amazon Scrapbooking Supplies*

Gnome Gardening with Boys

Gnome Gardening with boys can be kind of tricky.

You need to be extremely prepared and very patient.

It’s messy and everything moves real quickly.

Earlier this summer the boys and I created Gnome Gardens.

It’s our annual tradition.  (Nicholas and I’ve been doing this for 5 years)

Thanks to some wonderful supplies donated by Leisure Arts, Inc.

and a few left over items from previous gardens we had a wonderful time and a lot of fun.

Leisure Arts Mini Garden Supplies…        (*affiliate link)

LeisureArts.com has a fun selection to choose from.

For our Gnome Gardens I like to use succulents, plants specific for mini gardens

and plants that won’t get too big.  And of course good potting soil!

Spray bottles are also a must.  (beware you might WILL get wet!)

Making the Gnome Gardens are a fun way to spend time with the boys.

The boys get to plant, water, watch the plants grow and play with the gnomes.

It’s very educational.

Nick’s Gnome Garden

For Nick’s Gnome Garden we used an old broken down wagon. 

It’s fun to use unconventional items when Gnome Gardening.

Warren’s Gnome Garden

For Warren’s Gnome Garden we used a simple round planter bowl. 

I think it turned out real cute. 

I’m still on the look-out for something a little bit different for his garden next year.

All and all it’s fun, rewarding and hopefully something they’ll remember in the future.

Maybe, just maybe, I’m installing a love of gardening.

Emerson the Littlest Brother  (maybe next year)

Nick and Grandma’s very first mini garden (Read about it HERE!)

A Special Thanks to Leisure Arts for providing the Mini Garden Supplies. 

We think you’re awesome!

Shop Your Fav Brands at Scrapbook.com

*Disclosure:  This blog uses ads and affiliate links.  If you choose to make a purchase using one of the links, I receive a small commission (at no additional cost to you) that helps offset the costs of maintaining this blog.  Thanks for your support!

So many reasons to Laminate…

Laminating with Xyron…

When Xyron sent me the Double Sided Lamination Refill Cartridge* to use in my

Xyron Creative Station* you might say I got a little carried away.

There are so many uses and things to laminate I couldn’t stop at just one project.

My favorite project and one of the easiest was using the laminating as an overlay…

I cranked the handle of my Xyron Creative Station* with the Laminate Cartridge* inserted

and actually laminated nothing.                              (*affiliate link)

I wanted a clear sheet of laminate to use as an overlay on my “all about ME” mini album*

I added glitter vinyl letters on top my laminated sheet before putting the album together.  

After creating the overlay, I inserted the Xyron Permanent Adhesive Refill Cartridge*

back into the Xyron Creative Station*  to add adhesive on the paper used to cover my album.

Complete coverage and no wrinkling!

I also wanted to make a bookmark using freshly pressed flowers.

I grabbed a few blooms from the garden and stuck them into a heavy book overnight.

Ideally, you’re supposed to leave them alone for 2-3 weeks.

Since I’m an impatient crafter,

I found online that you can speed up the process with a low temp iron.

I used craft glue to lightly and gently glue the flowers onto cream cardstock.

Insert the cardstock in the Creative Station with the Laminating Cartridge.

Laminate, trim, punch a small hole for twine and your ready to read.

Almost every one in the airport has a black suitcase.  (am I right?)

I’m getting ready for vacation in a few weeks and I want my bag to stand out for easy

recognition.   I created a small 3″ x 4″ decorated name tag and added my business card

to the back of the tag.  Then I laminated it.  (so easy)

Technically, this could almost be chalked up to a craft fail…

There’s always the question floating around my house, is the dishwasher clean or dirty?

To solve the problem, I decided to create laminated signs to put on the front of the dishwasher

and added magnets to the back.  Smart?  Right?

I forgot that magnets do not stick to stainless steel dishwashers.

My Mom worked at a middle school for several years before she retired.

One of her jobs, among many others, was laminating things for the teachers.

When we went through her things this summer, we found…

  • Laminated Brochures
  • Laminated Maps
  • Laminated Ticket Stubs
  • Laminated Cartoon Strips
  • Laminated Newspaper Clippings
  • Laminated Recipes

I guess Mom liked laminating too.

“This is a sponsored post.  As a member of the Xyron Design Team I have been provided product and compensation in exchange for my creative ideas.  The views and opinions are my own.

*Disclosure:  This blog uses affiliate links.  If you choose to make a purchase using one of the links, I receive a small commission (at no additional cost to you) that helps offset the costs of maintaining this blog.  Thanks for your support!