
This year marks the 7th year for Sue’s Holiday Workshop. (and I can’t wait)
I’m finishing up some last minute details and I’ll be posting the sign-ups real soon.
But in the mean time…. Save the Date…. Saturday, November 7th
This year marks the 7th year for Sue’s Holiday Workshop. (and I can’t wait)
I’m finishing up some last minute details and I’ll be posting the sign-ups real soon.
But in the mean time…. Save the Date…. Saturday, November 7th


Is it too early to start thinking about Christmas?
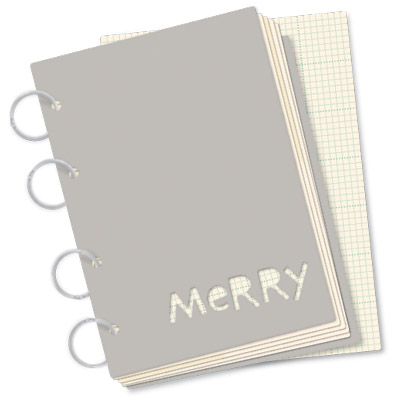
I bought this “Merry” Album from October Afternoon with hopes of using it during
my Annual Christmas Workshop.


While most of you are outside basking in the Summer’s warmth…
some of us are inside thinking “cool” thoughts.
As you know… I love participating in the Designer Craft Connection’s Monthly Design Challenges.
This month’s Manufacturer Design Challenge was sponsored by Robin’s Nest and Smoothfoam.
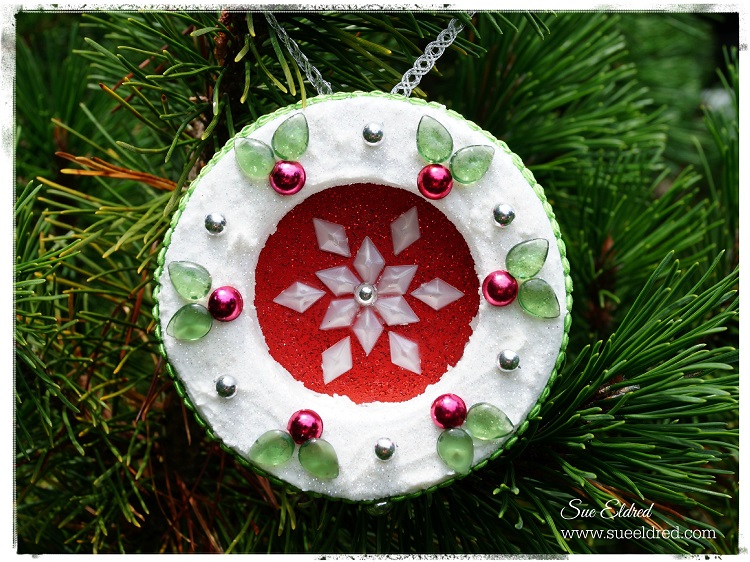
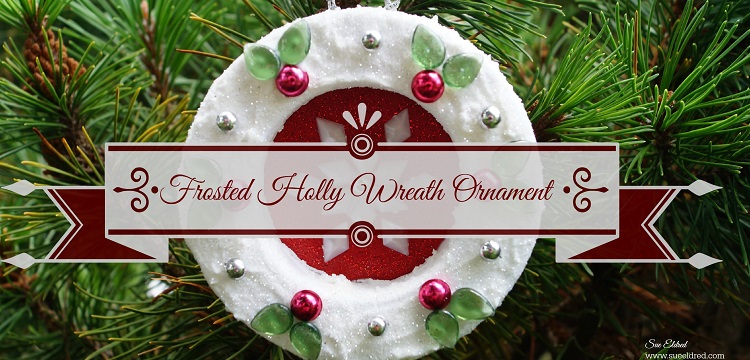
My project for the challenge is a simple ornament using a small Smoothfoam Wreath
and a variety of dew drops, tear drops, diamond drops and trim from Robin’s Nest.
To Make the Wreath:

A Big Thanks to Smoothfoam and Robin’s Nest for providing the products to work with.

To see what the other designers have come up with.
Click on the Designer Craft Connection Logo on my right sidebar to start hopping.

This may be the last Tie Dye Post from me. (or not?)
On Father’s Day we tie dyed shirts with the kids. It turned out to be a really great group activity.
Because we had to let the shirts set, rinse and then be washed….
I was not able to get pictures of all the kids and their shirts. (you know…the big kids)
Last Wednesday my sister brought my niece over for a play date with my grandsons and
I was able to get a few cute ones.
You may be wondering why only one kid got the last red white and blue popsicle.
Well…. the really cute and innocent looking littlest one had just recently taken a good hard
bite on the tip of his big brothers nose. “Ouch!”
It didn’t take long before he forgave his little brother and was sharing his popsicle.
Little brother wouldn’t have had it any other way.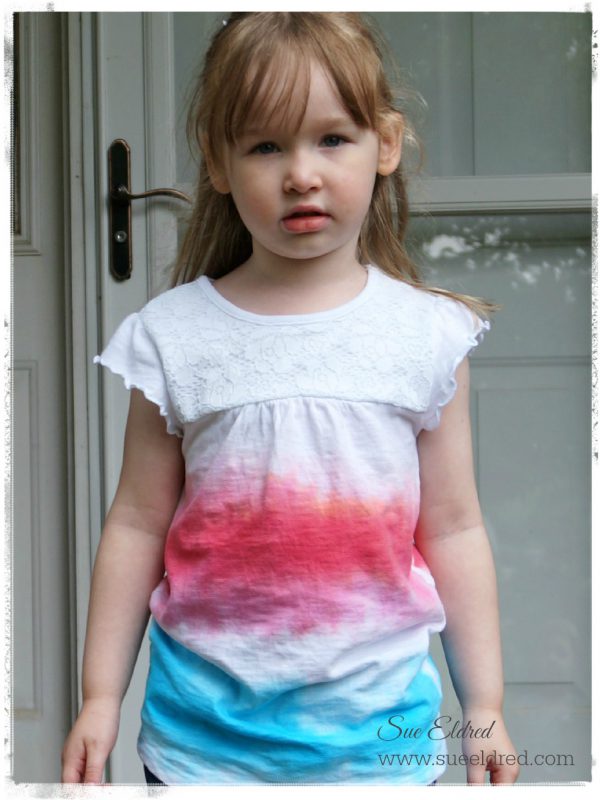
Isn’t she adorable?
On her shirt, the dye was painted directly onto the shirt with a paintbrush.
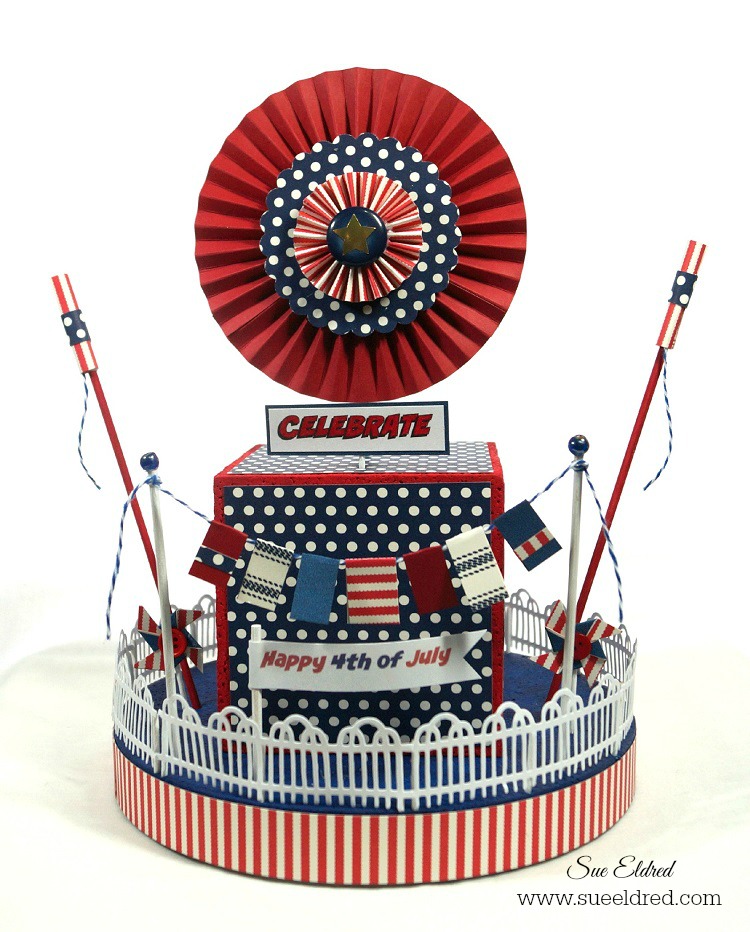
White picket fences, the good old red white and blue.
A 4th of July Celebration with Fireworks, Flags, Banners and Pinwheels all rolled into one
fun Party Centerpiece.
Products Used: (*affiliate link)


Cut 11 toothpicks in half. Glue one toothpick half on each end and middle of the fence with the pointed end facing down.
Insert fence sections onto the top edge of the disc.
Paint the 4” cube red.
Cut five 3 ¾” x 3 ¾” pieces of Navy & Ivory dot paper. Adhere to the sides and top of the cube. Glue cube to center of the disc.

9. Paint two bamboo skewers white. Cut skewers to 5”.
10. Glue small blue beads to top of each skewer.
11. Create small ½” flags from scraps of paper and cardstock. Adhere onto a 12” piece of blue and white twine. Tie ends of the twine to top of the skewers to make a flag banner. Insert into disc.

12. To create Bottle Rockets: Paint two bamboo skewers red. Cut two pieces of red striped paper 1 3/4” x two. Wrap around pencil to curve paper. Remove pencil and roll tightly to form a small tube. Wrap a 1/2” strip of navy dot paper around tube. Glue a small piece of twine inside of tube to create the bottle rocket wick. Glue tube onto red bamboo skewer and insert into disc. Create second bottle rocket for other side of the disc.

13. Punch two 3” Navy and Ivory Dots scalloped circles.
14. Cut two strips of red card-stock: 1 1/4”” x 12” and 2 1/4” x 6 1/2” . Adhere the two strips together to form one long 2 1/4” x 18” strip of red card-stock.
15. Using scoring board and scoring tool. Score card-stock every 1/4” down the entire length. Fold strip accordion fold. Glue ends together with a strong adhesive to form a cylinder.
16. On a flat surface, gather the bottom of the cylinder tight while spreading and pushing down on the top to create the Rosette.
17. With a strong adhesive, attach one of the scalloped circles to the center of the Rosette. Hold into place until the adhesive starts to hold.
18. Turn the Rosette over and attach the second scalloped circle onto the other side of the rosette.
19. Create a second smaller rosette using a 1” x 12” strip of red striped paper. Score strip ever 1/4”.
20. Glue blue button into center of the rosette to hold in place. Glue onto center of the scalloped circle. Add star sticker to center of button.
21. Paint a bamboo skewer with Navy paint. Cut into a 5” piece. Insert into back of finished Rosette.
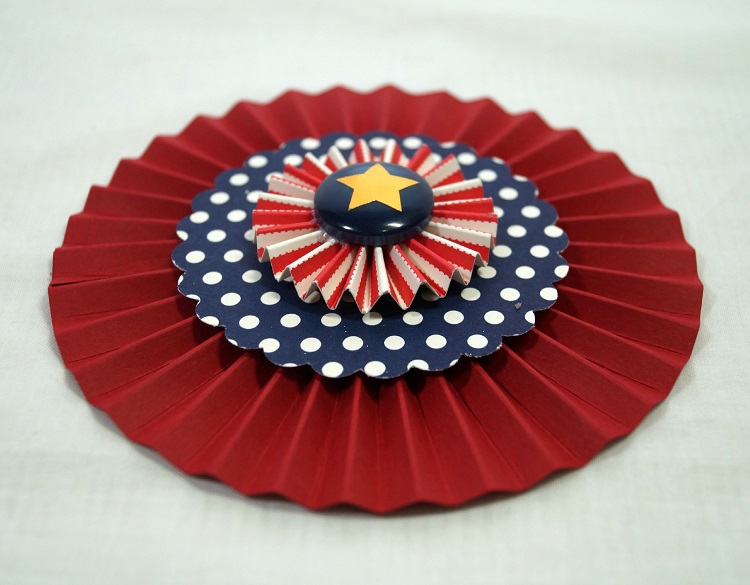
22. Insert finished Rosette into top of the 4″ cube.

23. Create small pinwheels by adhering two pieces of 1” x 1” paper together. On each corner, cut diagonally two-thirds of way to square’s center, dividing each corner into two points. Bring every other point to center so that the points overlap. Glue into place.
24. Glue small red button to center of each pinwheel. Glue onto white painted toothpick and insert into base.
25. Create and print computer generated “CELEBRATE” and “4th of July” onto white card-stock. Cut and layer to size and adhere onto picks and skewers and insert onto centerpiece.
This project was created for Smoothfoam and sponsored by Smoothfoam and Canvas Corp Brands.
For summer fun… click on ad below.

Disclaimer: This blog uses ads and affiliate links. If you choose to make a purchase using one of the links, I receive a small commission (at no additional cost to you) that helps offset the costs of maintaining this blog. Thanks for your support!


Sunshine, Spring Flowers, Easter Baskets, Chocolate Bunnies, Family, Easter Sunday.
I hope your day is filling with fun and loving memories.
Have a Wonderful Easter!
FYI:
The Bunny was cut using the Sizzix Bigz Die – Easter Elements by Tim Holtz and tan embossed felt from
Kunin Felt. The background paper is from the “Easter Parade” collection from Doodlebug Design.

Are you ready for Spring?
Warm Weather, Pretty Flowers and Sweet Little Bunnies and Easter Eggs.
My project today is a Sweet Glittery Little Bunny made from a Smoothfoam Egg.

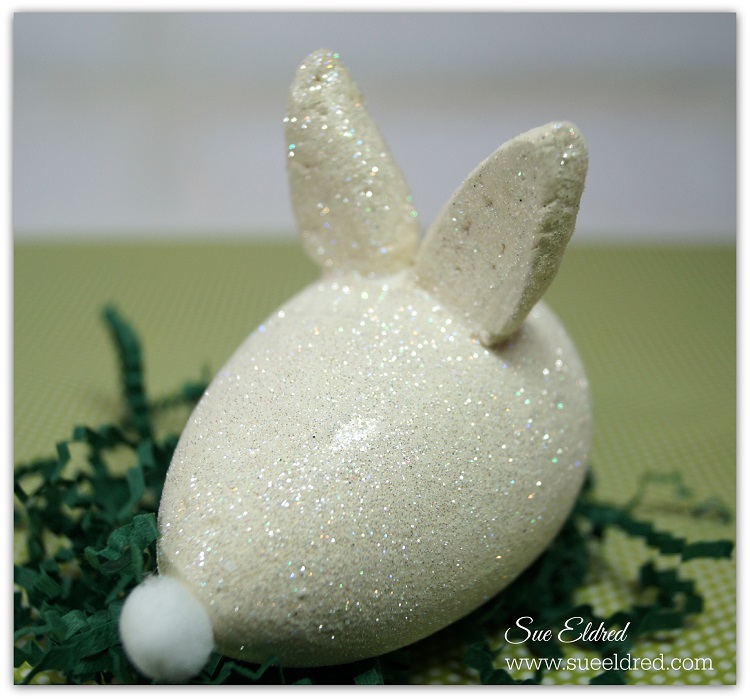
To Make the Glittered you’ll need: (*affiliate links)


 and Craft Cutting Mat*
 or File

This project was created for and sponsored by Smoothfoam.

*Disclosure: This blog uses ads and affiliate links. If you choose to make a purchase using one of the links, I receive a small commission (at no additional cost to you) that helps offset the costs of maintaining this blog. Thanks for your support!

Using only a few Smoothfoam shapes you can make yourself a Lucky Hat centerpiece
in no time. A fun centerpiece for all your “GREEN” celebrations.

Here’s what you’ll need: (*affiliate link)


 , Kelly Green*
 and Black*


Directions:
Have a great day and may the “Luck of the Irish” be with you!


Disclosure: This post uses affiliate links. If you choose to make a purchase using one of the links, I receive a small commission that helps offset the cost of maintain this site. Thanks for your Support!
This project was created for and sponsored by Smoothfoam.

Shop Amazon Scrapbooking Supplies*

When we think Valentine’s Day we think hearts, right?
These DIY vintage hearts would also make a sweet gift for a special friend
or they could be used as a decoration in a vintage inspired wedding centerpiece.
Hearts are not just for Valentine’s Day.
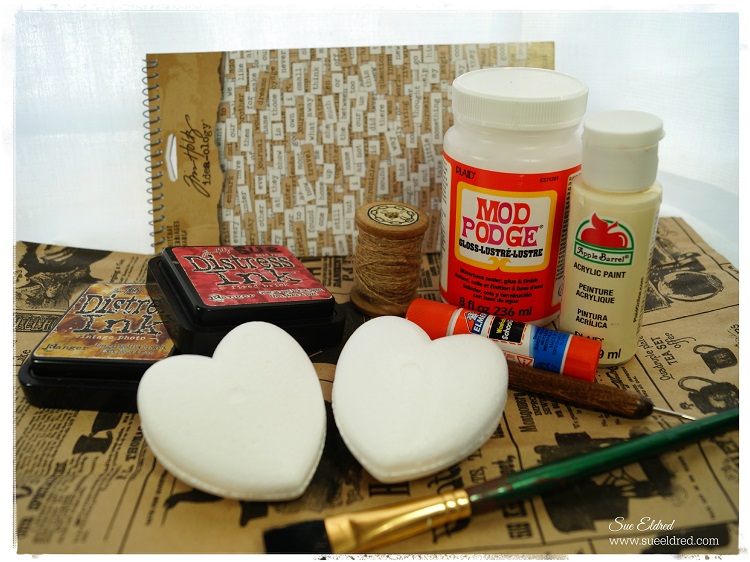
How to make Vintage Inspired Hearts (*affiliate link)


*Disclosure: This blog uses affiliate links. If you choose to make a purchase using one of the links, I receive a small commission (at no additional cost to you) that helps offset the costs of maintaining this blog. Thanks for your support!

Directions:


To make the heart an ornament:
“This is a sponsored post. As a member of the Smoothfoam Design Team, I have been provided product and compensation in exchange for my creative ideas. The views and opinions are my own.

CHRISTMAS…
the time of the year when decorating in excess is completely acceptable.

A time when every surface is thoughtfully decorated.

I usually wait until the day the kids go back to school to take the decorations down.
What took a whole day to decorate, comes down in just one evening. (it’s kind of sad)
The house is starting to look empty with that big old tree out of the corner.
Now What?

Yesterday, we had our first significant snow of the season.
Everything is coated in a beautiful white. A clean slate.
It made me think…
Just because Christmas is over doesn’t mean the house can’t still look warm and cozy.
Why not leave out any winter decoration that doesn’t scream Christmas?
The red berry spray, the snowflake pillow, the snowmen, the lanterns.
It’s Winter…. it’s going to be around for the next several months.
So while we’re hibernating indoors this winter, let’s make it COZY.
Why not celebrate it.
I’ve decided…. the mini sleds are staying up on the mantel and I’m decorating
with a Winter theme. (who’s with me?)


