I’ll take a slice of pumpkin, please.
My favorite Fall Pie hands down is a good slice of Pumpkin Pie with lots of whipped cream.
My grandma used to make the Pumpkin pies every year for Thanksgiving.
And because my husband would carry on about how it was the very best pumpkin pie,
she would bake an extra pie for him and drop it off at his work.
It was our little secret because she never wanted to be accused of having any favorites.

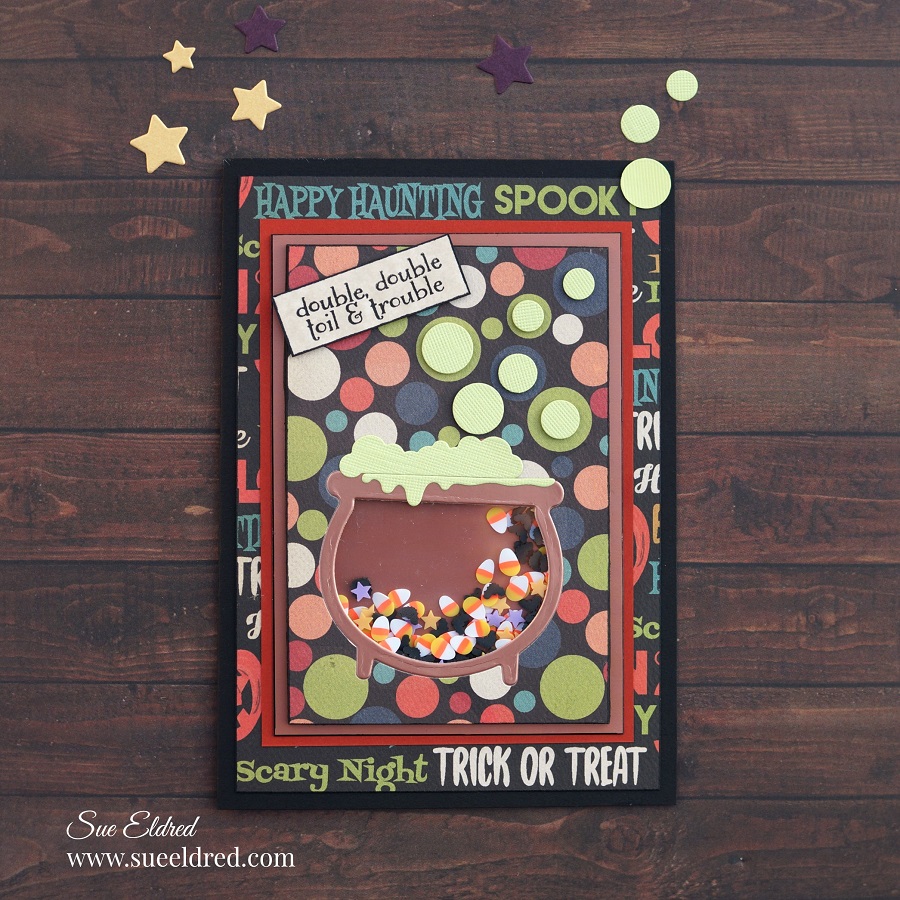
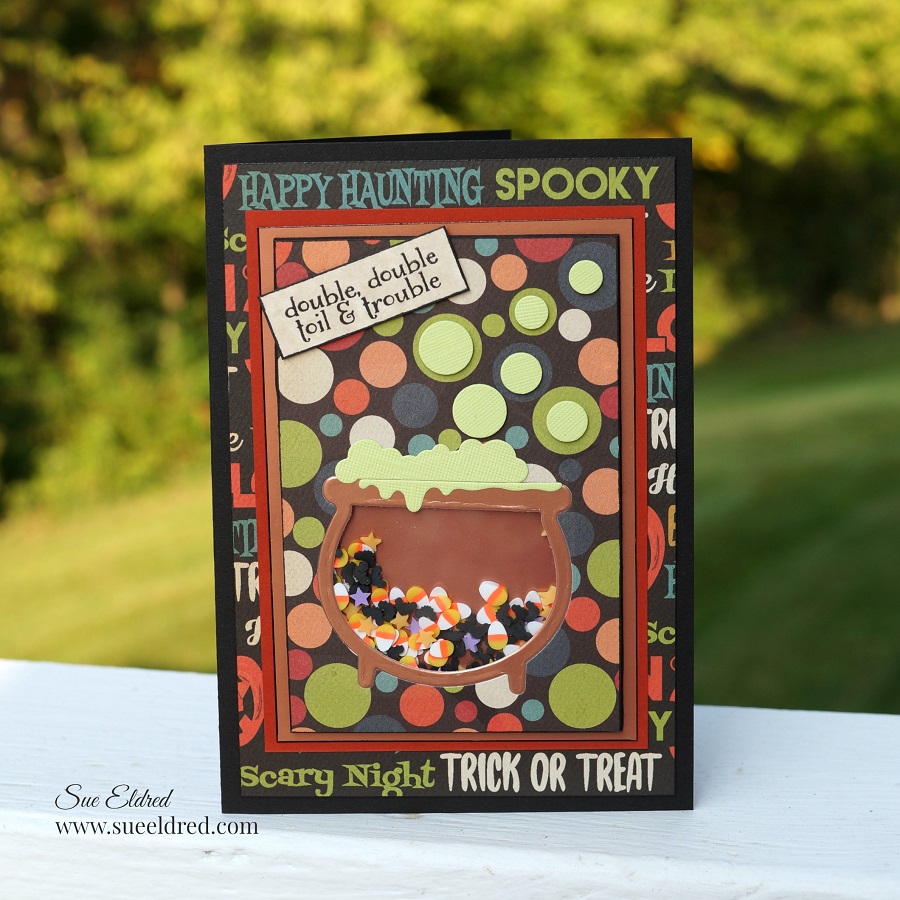
My pumpkin pie card was made with the “Hey, Pumpkin” stamp and die set from The Maker’s Movement.
Supplies Used: (*affiliate link)
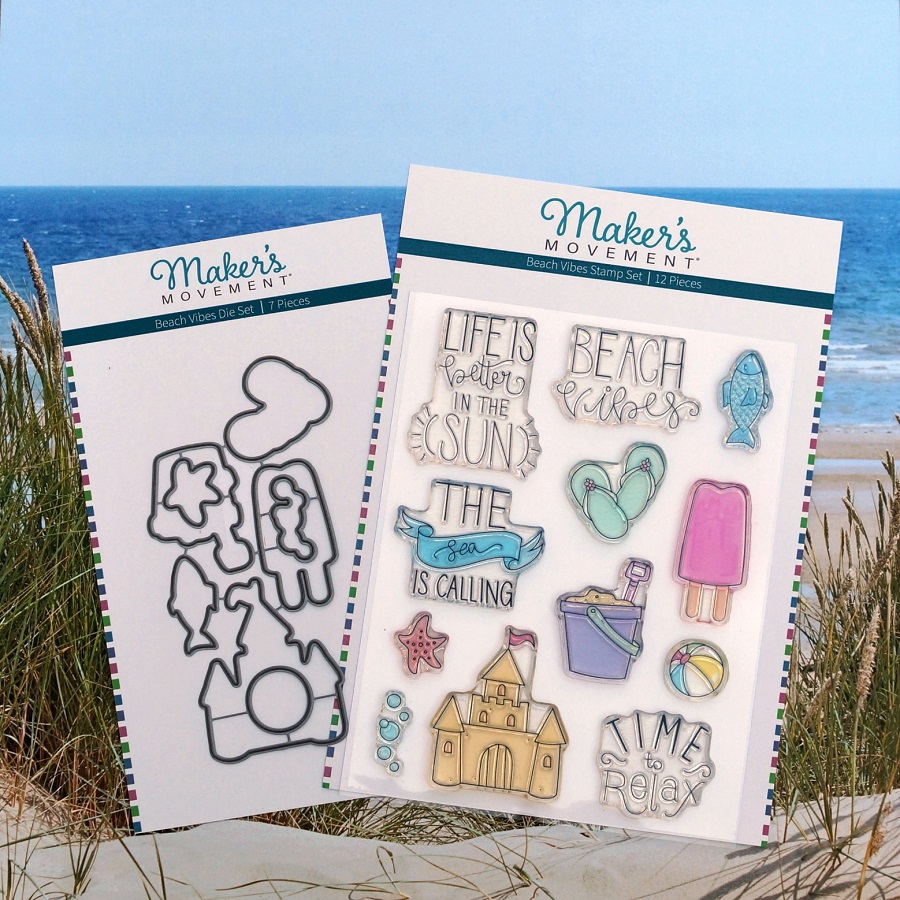
- MSD224 Hey, Pumpkin Stamp and Die Set
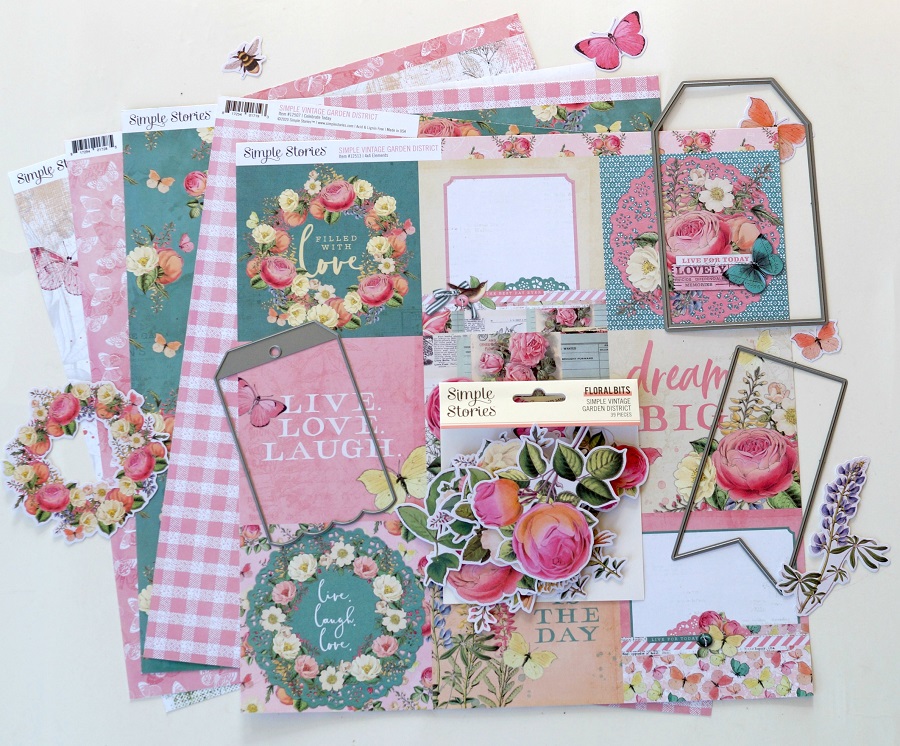
- Carta Bella Paper-Hello Autumn Collection- Journaling Cards*
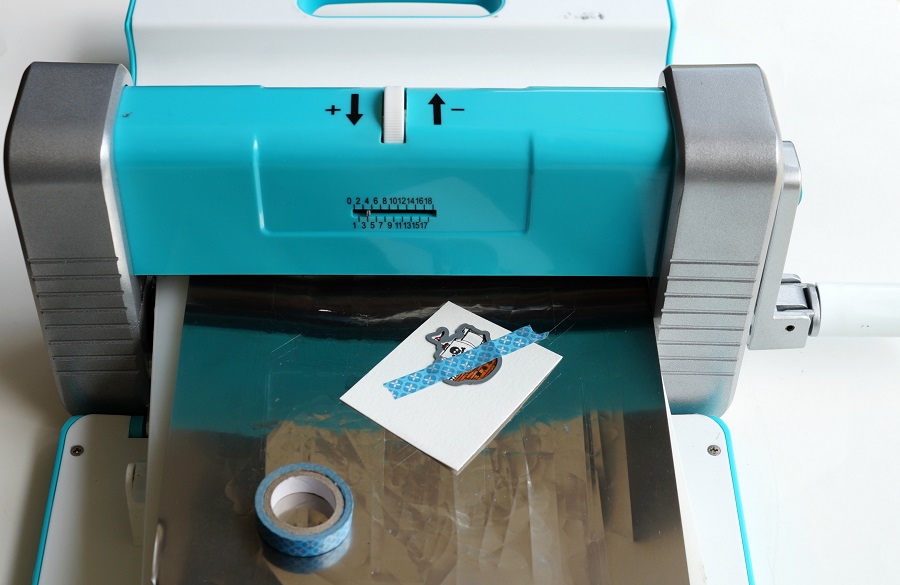
- MMT213 Mini Maker Die Cutting Machine
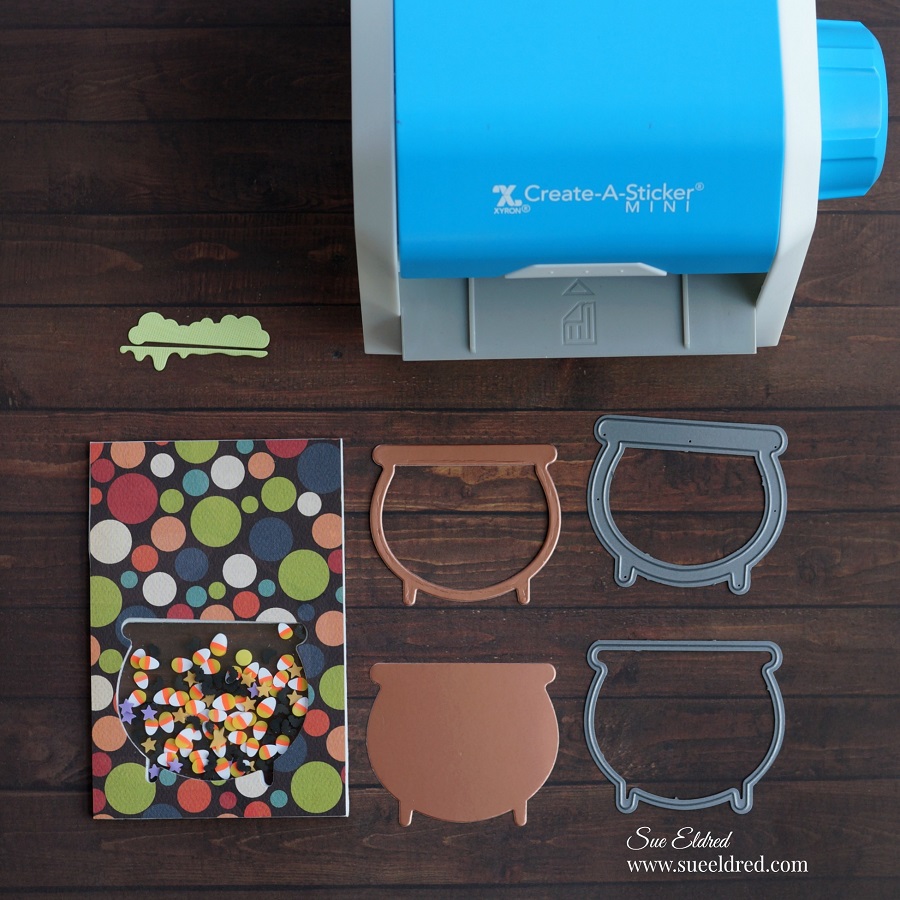
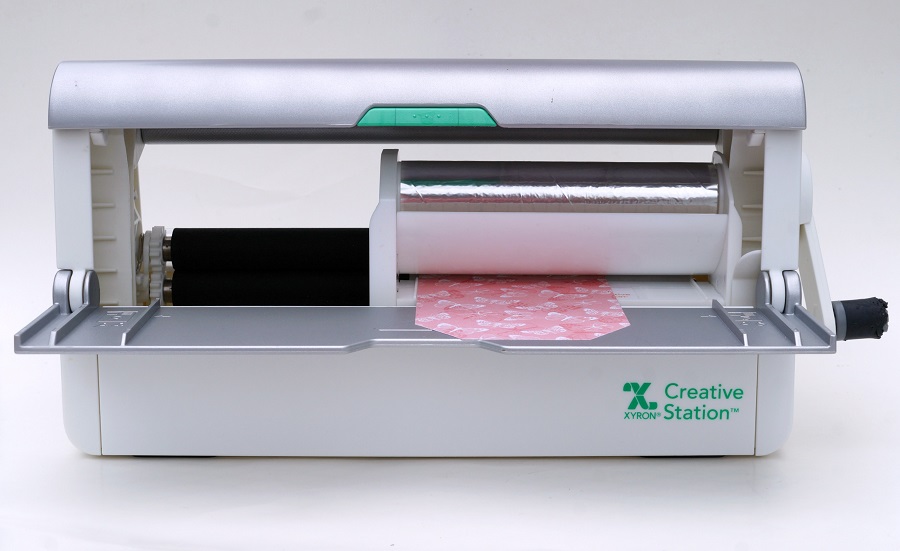
- Xyron Create-A-Sticker*
- Xyron Tape Runner*
- Vintage Photo Distress Ink Pad*
- Ink Blending Tool*
- Black Ink Pad
- Clear Acrylic Stamping Block*
- Cardstock, Cream, Burnt Orange, White, and Gold Textured
- Scrapbook Adhesives by 3L Thin Foam Mounting Squares*

*Disclosure: This blog uses ads and affiliate links. If you choose to make a purchase using one of the links, I receive a small commission (at no additional cost to you) that helps offset the costs of maintaining this blog. Thanks for your support!

Directions:
- Cut out the “our fall favorites” journal card from the scrapbook paper sheet.
- Use mini maker die cut machine and the scalloped heart-shaped die to cut out the pieces for the pie out of cream and burnt orange cardstock.
- Cut a white swirl using the small swirl die and the white cardstock.
Tip…I like to run the small pieces of cardstock through the Xyron Create-A-Sticker* before I die cut them. It makes it so much easier to adhere the small pieces onto the card.

- Because pumpkin pie is always brown around the edges, I inked the edges of the cutout pieces using Vintage Photo Distress Ink Pad*
and an Ink Blending Tool*
.

- Put the finished pie pieces together, and using the small “v ” shaped die, cut a small pie-shaped piece out of the pie.
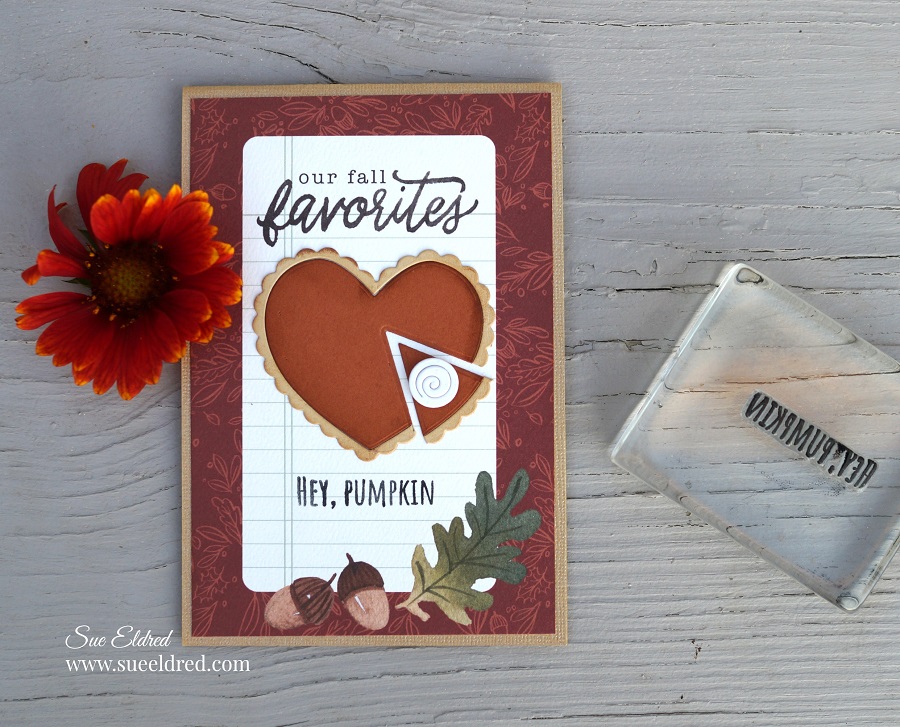
- Adhere the pie pieces onto the “our fall favorites” journaling card. I added a small thin foam mounting square to add the whipped cream onto the pie.
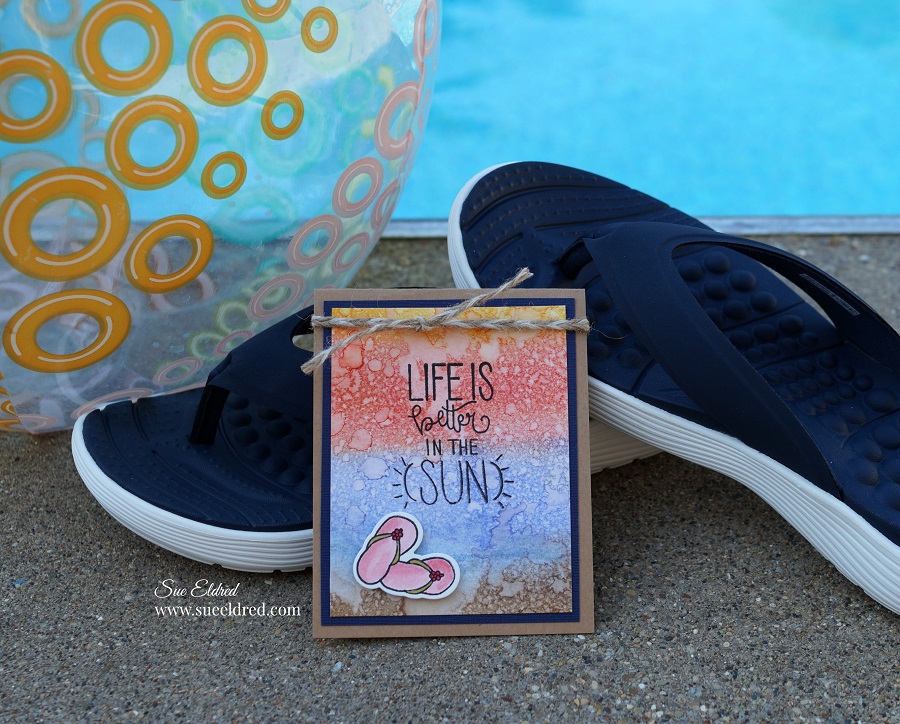
- Stamp the words “Hey, Pumpkin” onto the bottom of the card.
- Layer the card onto a piece of gold textured card.

Disclosure: This is a sponsored post for Maker’s Movement. I have been provided product and compensation in exchange for my creative ideas. The view and opinions are my own.