At the Lake…

At The Lake Title Page

I recently asked my daughter Stephanie to send me some pictures for a family album I was working on.

Stephanie sent me these lovely pictures of her and her husband Zach at the lake.

His parents own a little place by the lake in Conover, Wisconsin that they love to visit.

I love these pictures.  It looks so peaceful there.  (I want to visit.)

Lake Life 4868

I find it hard to believe that she took these beautiful pictures with her phone.

At the Lake 4866

The “At the Lake” layout is my first Design Team project for Paper House Productions.

When it comes to scrapbooking, I consider myself to be fairly simple.  I like layers and clean lines.

I used a variety of Paper House Products from several different collections on this layout.

I love how the Paper House collections work well with each other.

Here’s what I used for my “At the Lake ” layout…

at the lake close up 4919


This project was created for and sponsored by Paper House Productions.

Graphic 45… A Time to Celebrate Frame

Time to Celebrate 4599

I have a hard time resisting the beautiful patterns of Graphic 45 paper and love using

it in my creations whenever possible. The other day, while I was shopping at my local

Scrapbook Store  I picked up a few sheets of the “Time to Celebrate Collection”.

I thought it would be perfect for a Spring Frame I wanted to make.  I couldn’t decide on

which way I wanted to go with the frame so I created two looks for the same frame.

Time to Celebrate Frame 4709

For a slightly more contemporary look….

I used a older black and white picture of my daughter.  (I love the contract.)

Time to Celebrate Frame Close Up 4835

There’s a bit of fussy cutting involved with this frame.

I used the border on the Time to Celebrate paper to create a border around my green frame.

Then, I started cutting out the butterflies and flowers, giving them slight bends with my fingers

before layering them onto the frame with foam mounting squares.

The finished frame is 6″ x 8″ and is made to hold a 4″ x 6″ picture.

Green Craft Frame 2

Here’s what I used:

Deflecto Craft Frame, Green Border, 4x 6 Inches (69574CR)

I used two sheets of paper from Graphic 45’s “Time to Celebrate” collection.


Graphic 45 Time To Celebrate Paper Pad, 12 by 12-Inch(available on Amazon*)


“This is a sponsored post. As a member of the Deflecto Design Team I have been
provided product in exchange for my creative ideas, views and opinions.”

*This post uses Amazon Affiliate links.  I am an Amazon Affiliate


My 2016 Personalized Planner

Have you noticed how popular Specialized Planners have become?

You can find them all over in stores and online in almost any color or size…

with places to doodle, write scriptures, stay organized, you name it.

Sue's 2016 Planner

I am a planner, a list maker and a person who likes to stay organized.

I’ve used planners for years and I’m picky.  I know exactly what I want.

I’m also simple and don’t want or need a big fancy planner.

I need a month at a glance, thin, big enough space for writing, with lines planner.

The last couple of years, I have found this super cheap planner for $1.00 at Walmart.

My 2016 Planner

The color selection was bright, but, I knew that didn’t matter.

It was perfect for decorating.

And… better yet, it came with a clear protective cover.

So armed with my inexpensive planner and a few sheets of scrapbook paper and stickers.

I personalized my planner, just how I want it.  I now have the perfect planner.

From Drab to Fab, Cheap to Designer.  I love it and I couldn’t be happier!

Inside of Planner 2466

Plenty of space for notes.

(FYI:  I save my planners each year, it’s a handy reference to vacations and special occasions you might want to document in your scrapbooks)

Simple Stories Simple Set Collection Kit 12″X12″-You & Me

Together is my Favorite Place to be…

Together is my Favorite Place to be

We took this photo a couple of months ago, the last time we were all together.

I always make them do a group picture.  (it’s what I do)

My youngest son had the idea to take the picture in front of the old barn.

So we set up the tri-pod and self timer and I got this fun shot.

I am so Thankful for my Family.

After we got this picture, the real run began.

The boys started kicking the soccer ball around.

There were foot races, push ups and a lot of good family fun.

Echo Park Family Album

I found The Story of Family Collection by Echo Park and knew it was perfect for these pictures.

Echo Park Family Album Inside

Happy Thanksgiving.


How to make a Holly Jolly Flip Album…

Holly Jolly Flip Book

I wanted to share with you today one of my favorite projects from my Holiday Workshop

last Saturday.  It is the “Holly Jolly Flip Album” using paper from Canvas Corp Brands

Farmhouse Christmas Collection and a 5″ x 7″ Black Acrylic Frame from Deflecto Craft Solutions.

It’s a fairly simple project and the ladies were able to complete the album in just a couple of hours.

Farmhouse Christmas Flip Book Front Cover7638  Farmhouse Flip Book Supplies 07392

Holly Jolly Flip Album

Here’s the complete supply list:

Directions:

  1. Mark and measure hole placement on black acrylic frame.
  2. Drill 3/8” holes into frame.
  3. Cut a 7” x 9” piece of Red & Kraft Ribbon Stripe paper and insert into frame.
  4. Album Cover: Cut the “Holly Jolly Christmas” section from the Better Not Pout Tags on Kraft. Layer it onto black cardstock, kraft corrugated paper and then another back cardstock layer.
  5. Cut a 4 3/4” x 6 3/4” piece of Red & Black Stitched Diamonds and adhere it onto a piece of 5” x 7” Red Cardstock layer. Add a 3/4” x 4 3/4” strip of Red & Kraft Ribbon Stripe. Adhere “Holly Jolly” layers onto the Red & Black Stitched Diamonds.
  6. Punch a 1 11/16” circle from the Better Not Pout Tags and glue onto the back of the Optical lens by adding craft glue along the outside edges of the lens. Add jump ring to Optical Lens.
  7. Mark and measure holes to line up with black acrylic frame on the Album Cover and punch holes. Add eyelets to holes with the Crop-a-dile.
  8. Tie a piece of gold ribbon around the front of the album cover.
  9. Cut several pieces of black 5” x 7” cardstock layers to use as the pages of the album. Decorate album pages using additional scrapbook paper layers, strips, flips, pockets, trim, cords, tickets and mini bags.
  10. Align, measure and punch holes in the top of the album pages.
  11. Add album cover and pages to the black acrylic frame using medium book rings. Add Optical lens to ring.
  12. Embellish the stand by adding gold decorative trim with Fabri-Tac glue.

Pg. #4 Farmhouse Christmas Flip Book Special Delivery Side view 07658    Pg #1 Farmhouse Christmas Flip Book Made with Love Pocket Page 7646


“This is a sponsored post.  As a member of the Deflecto Design Team I have been provided product in exchange for my creative ideas, views and opinions.”

Merry Album

Merry Album

Is it too early to start thinking about Christmas?

I bought this “Merry” Album from October Afternoon with hopes of using it during

my Annual Christmas Workshop.
To decorate my album:

  • I painted the chipboard with red acrylic paint.
  • After the album dried, I splattered it with white acrylic paint using an old toothbrush.
  • I added an extra 5″ x 7″ page of green cardstock behind the cover to make the word “merry” stand out.
  • I decorated the album with paper and stickers from Graphic 45’s “Twas the Night before Christmas” Collection.
  • Tie it off with some gingham ribbon, jingle bell and greenery.

October Afternoon Make it Merry Album


Preserving Summer Memories

Summer Layout 9108

I’m holding on to Summer as long as I can.

This summer Nicholas learned how to swim the entire length of the pool without the aid

of a floatie and he learned how to float on his back.

Warren learned how to jump off the side of the pool.

Pretty impressive when you consider they’re only 4 and 1 1/2.

Nicholas loves the water, we call him a polar bear because it doesn’t matter how

cold the water is.

Yesterday… we had our last pool party of the season.  Thanks to a little 95º heat wave.

I’m going to miss summer.

My Summer Layout uses:

  • Simple Stories Collections: Summer Vibes and Freedom
  • Bo Bunny’s Boardwalk

Join Amazon Kindle Unlimited 30-Day Free Trial

Disclaimer:  This blog uses ads and affiliate links.  If you choose to make a purchase using one of the links, I receive a small commission (at no additional cost to you) that helps offset the costs of maintaining this blog.  Thanks for your support!

American Vintage Travel Dungaree Album

American Vintage Travel Dungaree Album 06693

With Summertime comes the Road Trips.

Whether you’re hitting the beach or hiking up trails, you’ll want to savor these memories forever.

My Travel Album made using Canvas Corp Brands  “American Vintage Collection” and Dungaree

Album is a great place to save all the pictures and memorabilia you’ll be collecting along the way.

American Vintage Dungaree Journal Open 6705

Instructions to make the American Vintage Dungaree Travel Album…

Canvas Corp Brands Products Used:

Additional Products Used:

(Disclosure:  I will get a small commission if you click and purchase through my product links.)

American Vintage Album 6178

  1. For the Travel Album, start with the Dungaree Journal.  (available in three sizes.)
  2. Glue a piece of plain canvas around the spine with Fabri Tac glue and cover the edges of the canvas with a piece vintage lace.
  3. Tear a strip of gingham fabric and tie it around the album for a bow.

American Vintage ALbum Close Up 6244

4.  Take a photo from the American Vintage Photo’s and punch it into a 1″ circle.  Apply glue with a gluestick to the front of the picture and place inside the optical lens.

5.  Stick the vintage pin into the knot of the bow and hang the optical lens and key.

6.  Cut the letters “travel” from one of the pieces of paper from the 8″ x 8″ paper pad and glue onto a piece of chipboard for added dimension.  Edge around each of the letters using Vintage Photo Distress Ink and a ink applicator.  Glue the letters on the front of the album with Fabri Tac glue.  Wrap a length of twine around the album.

7.  Add pictures and memorabilia into the album.

American Vintage Dungaree Album Inside Front Cover 6700

The Dungaree Journal includes two chrome rings for binding as well as 10 page protectors. 

American Vintage Dungaree Album Inside Pages 6683

American Vintage Dungaree Album Page #1 6673

American Vintage Dungaree Journal Inside Pages 6675

Have a Great Summer.

How to make a Farm House Kitchen Recipe Book

How to make Farm House Kitchen Recipe Book

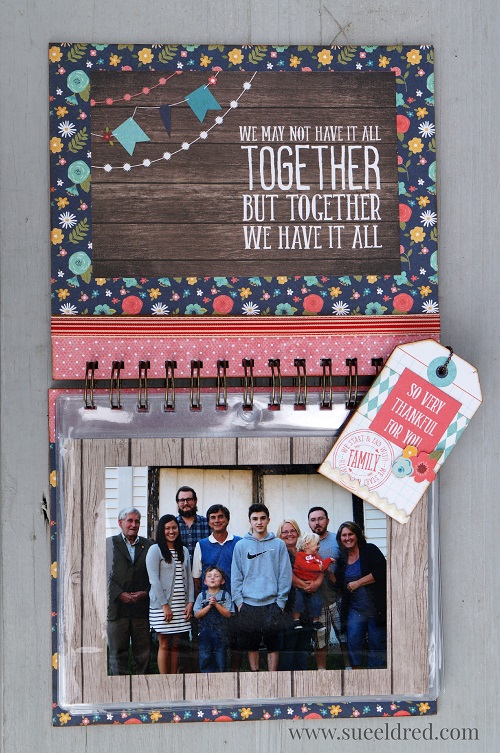
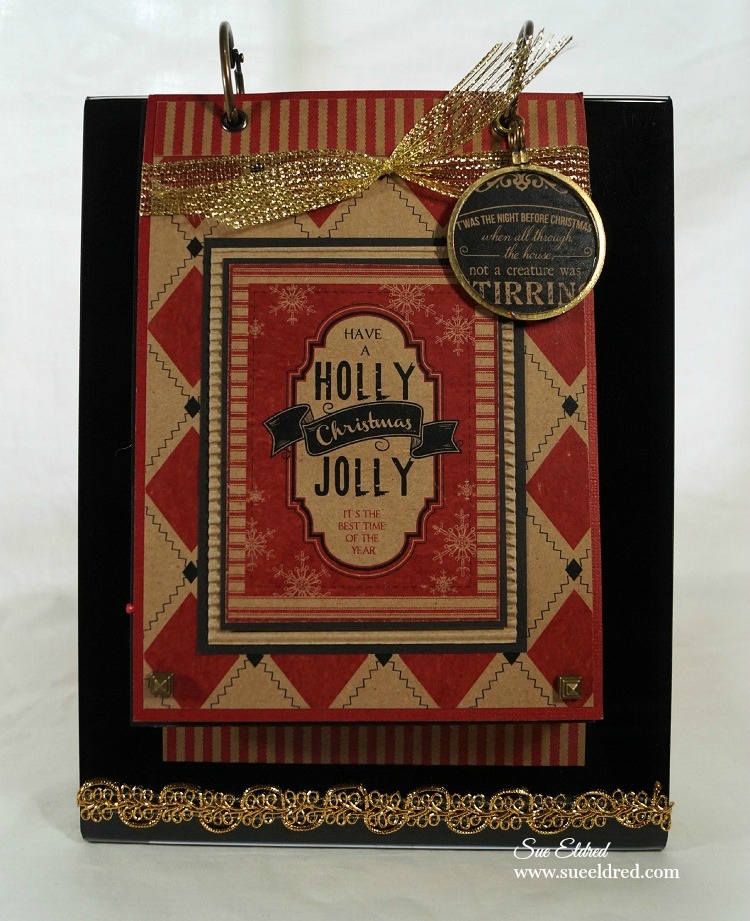
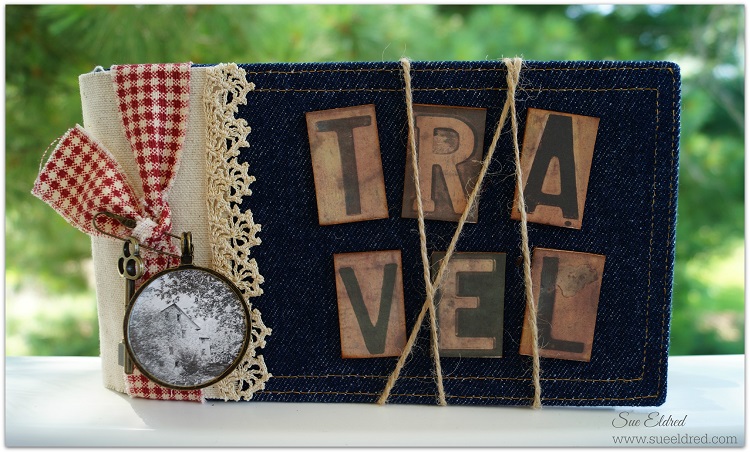
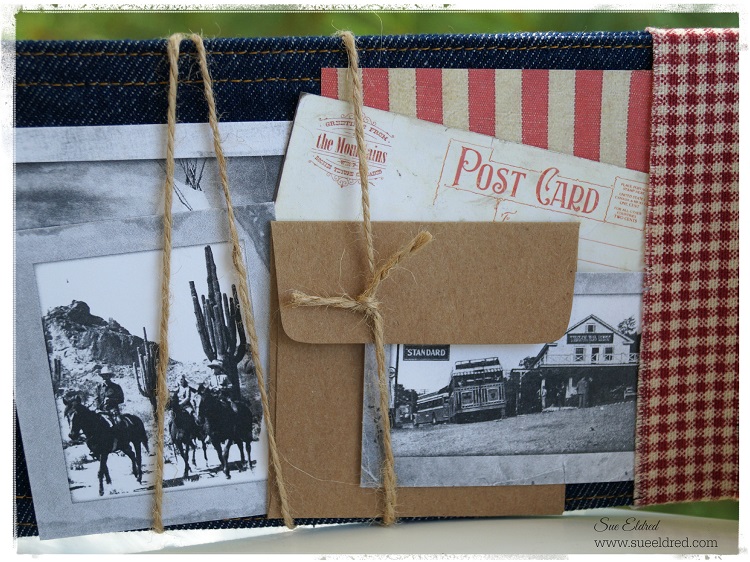
The Farm House Kitchen Recipe Book

was made using papers and embellishments from Canvas Corp Brands Farm House Kitchen line.

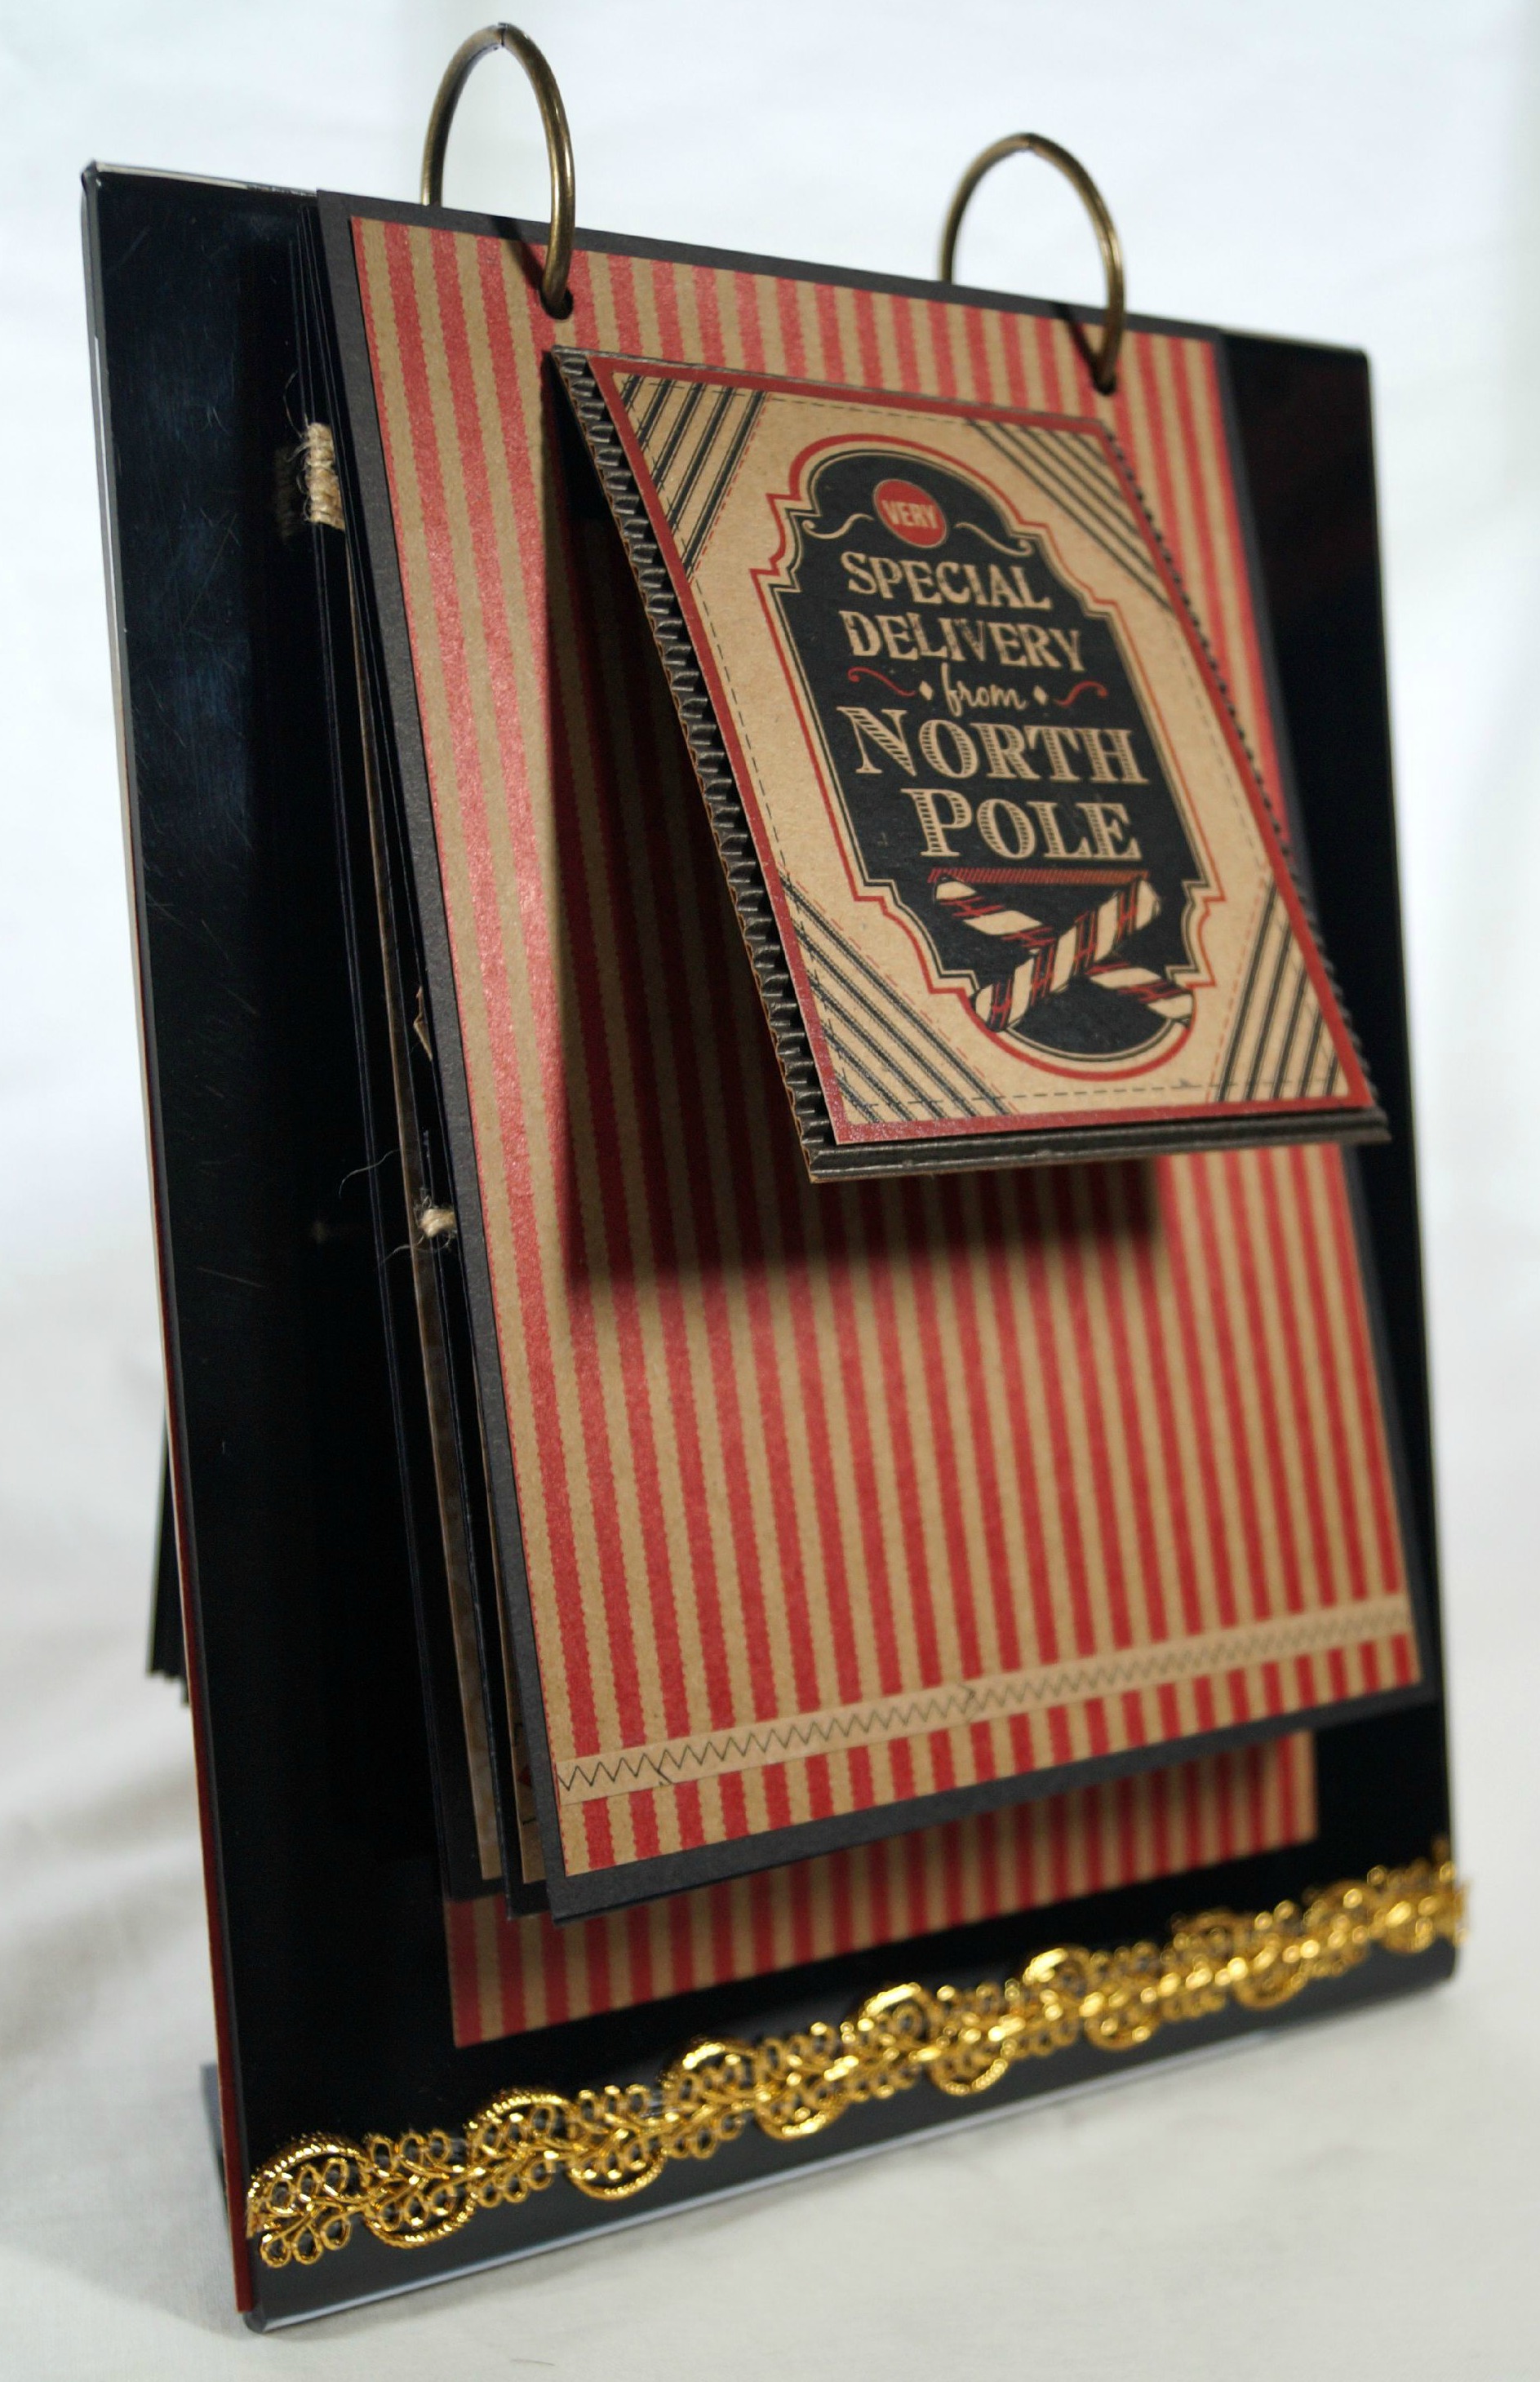
This recipe book is a fairly easy but  still detailed, I’ve included lots of photos and instructions

so you can make one for yourself.  If you have any questions on the project please leave them in

the comments and I will answer them as soon as I can.  Enjoy!

Designed by Sue Eldred for Canvas Corp Brands.

Recipe Book Papers 04159

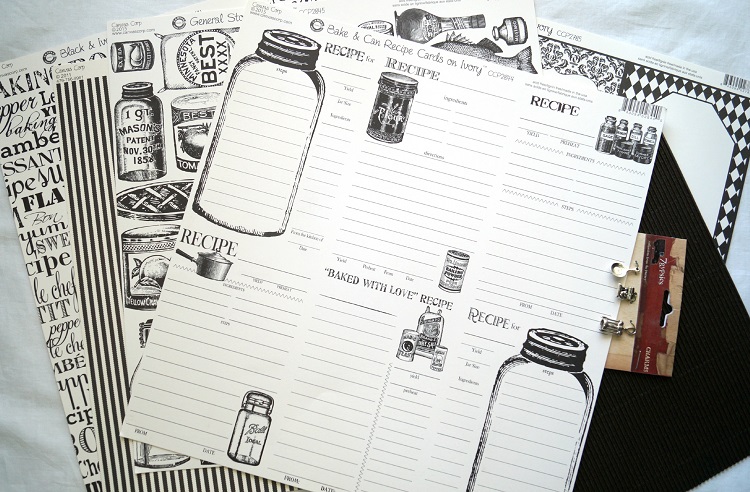
Canvas Corp Brands Products:

  • CCP2868 Black & Ivory Fleur De Lis Reverse
  • CCP2609 Black & Ivory Ribbon Stripe
  • CCP2745 Black & Ivory Pin Dot
  • CCP2785 Little Black Pages on Ivory
  • CCP2631 Black & Ivory Bon Appetit (2 sheets)
  • CCP2845 General Store On Ivory
  • CCP2829 Black & Ivory Zig Zag
  • CCP2844 Bake & Can Recipe Cards (3 sheets)
  • CCP2817 Journal Lines on Ivory
  • Black Corrugated Paper
  • 12717 Charms Kitchen
  • Cream Cord
  • Silver Jump Rings

Additional Products Used:

  • Chipboard
  • Black Cardstock
  • Dbl. Stick Tape Runner
  • Bind It All & Coil
  • Black Foam Mounting Squares
  • 1/16” hole punch

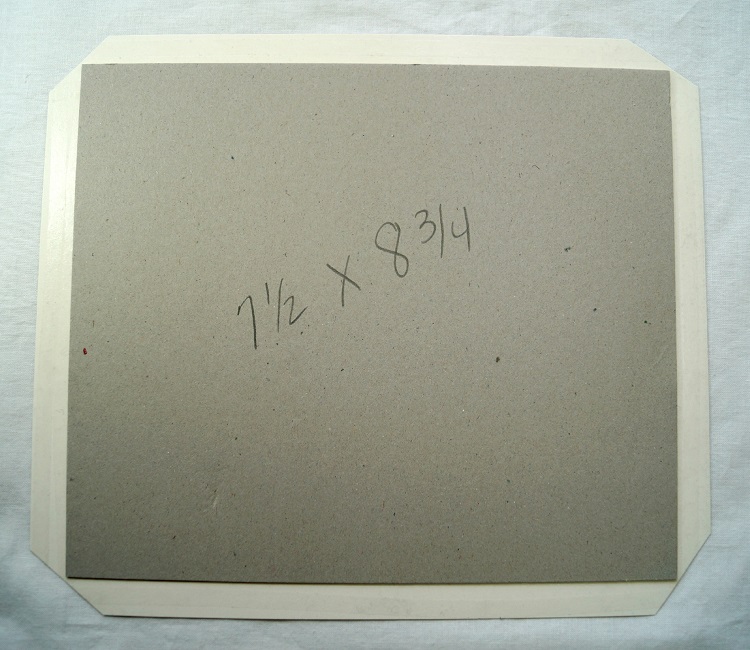
Finished Book: 7 1/2” x 8 3/4”

Inside Pages: 7 1/4” x 8 3/4”

Cover w mitred corners 4170

  1. Cut two pieces of chipboard 7 1/2” x 8 3/4”.
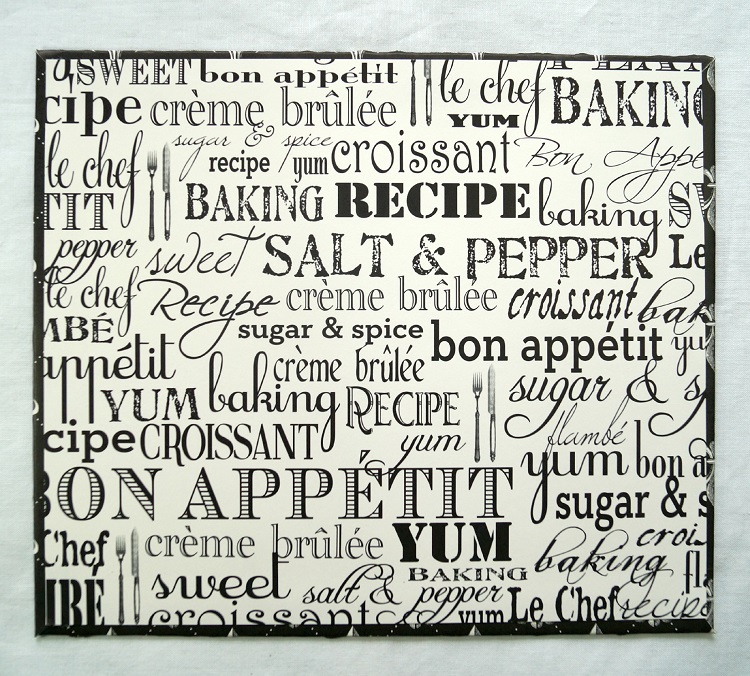
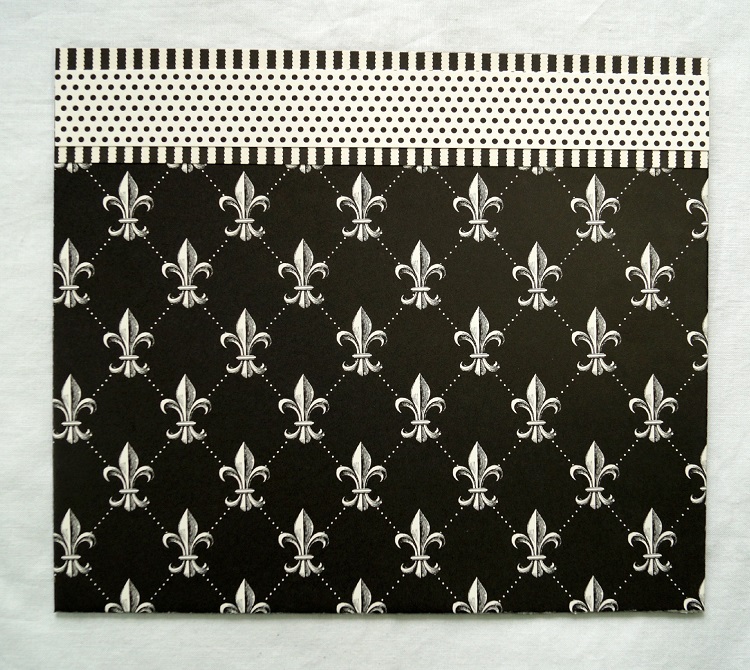
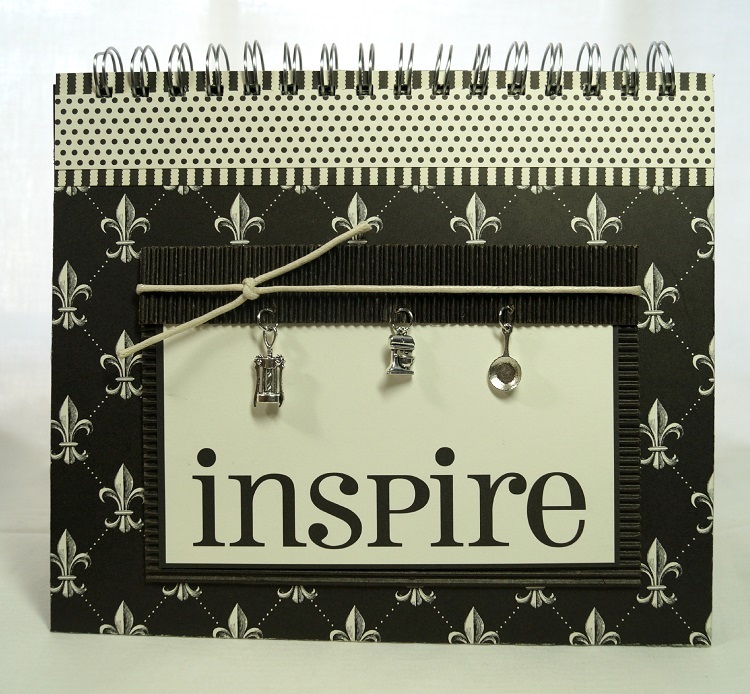
  2. Cut one piece of Fleur De Lis paper 8 1/2” x 9 3/4” for the front cover and one piece of Black and Ivory Zig Zag 8 1/2” x 9 3/4” for the back cover.
  3. Generously apply adhesive to the back of the scrapbook paper, make sure to go to the edge of the paper. Lay and center the cut chipboard onto the back of the paper.
  4. To make mitered edges: Cut at a diagonal a triangle off each edge of the four corners of the scrapbook paper. Leave approx. 1/8” space between chipboard when cutting. (tip-save triangles to cover edges if corners don’t meet.

inside cover 4177

5. Fold over and adhere each edge to the reverse side of the chipboard. Repeat with the second piece of chipboard and scrapbook paper. Rub with bone folder for better adhesion.

inside cover 04181

6.  Cut two pieces of Black & Ivory Bon Appetit paper 7 1/4” x 8 1/2” and adhere to the inside of the album.

Cover 04183

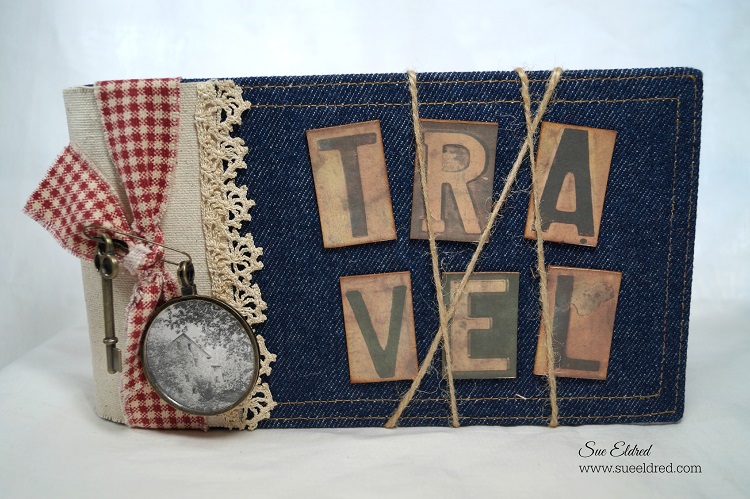
7.  Decorate the front cover with a 1 1/2” strip of Black and Ivory Ribbon Stripe paper and a 1” strip of Black and Ivory Pin Stripe paper.

Inspire Pieces 4186

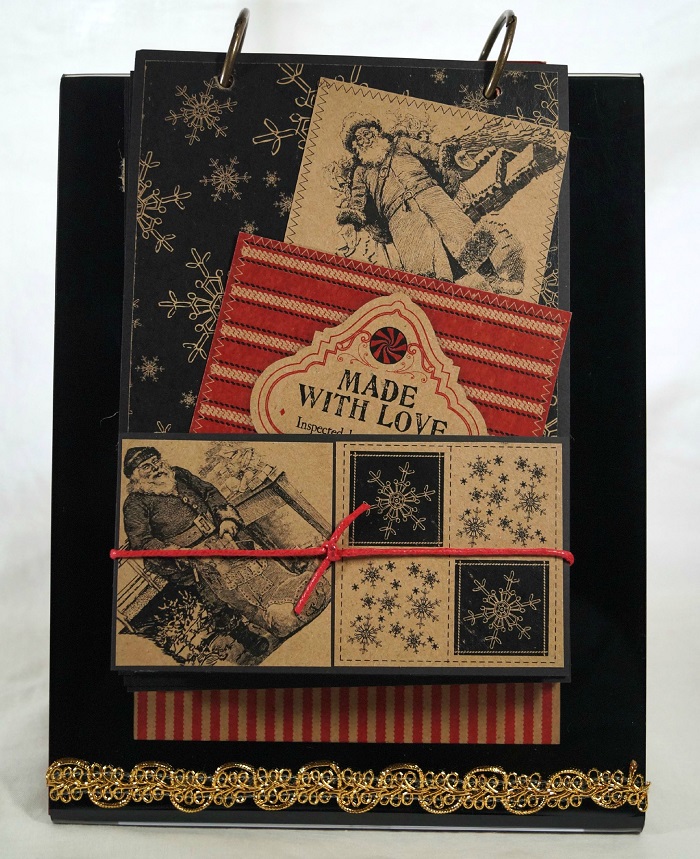
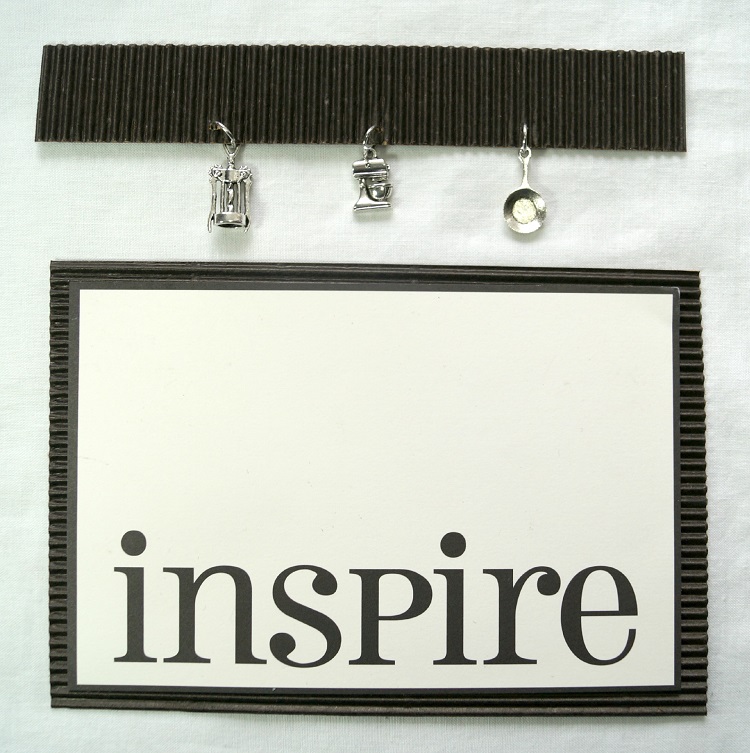
8.  Cut two pieces of black corrugated paper, 4 1/2” x 6 1/2” and 1” x 6 1/2”.

9.  Cut and the 4” x 6” section with the word “inspire” from the Little Black Pages on Ivory paper and adhere to the 4 1/2” x 6 1/2” piece of black corrugated paper.

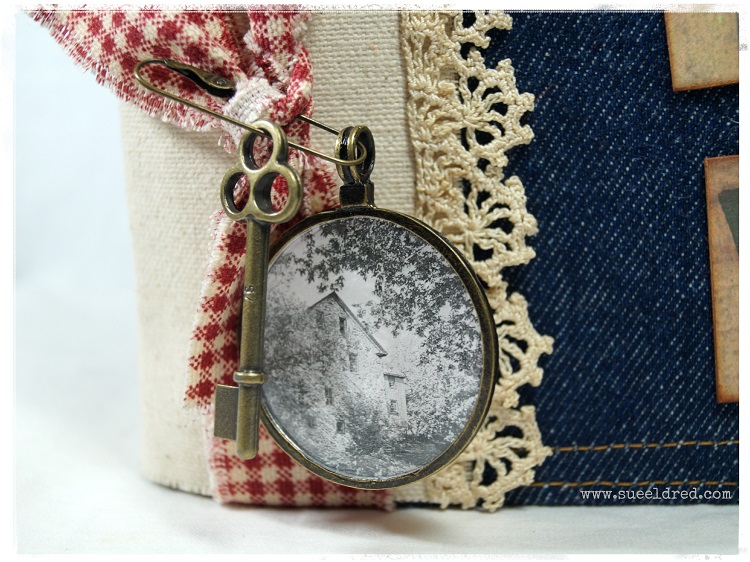
10.  Punch three small holes on the 1” strip of black corrugated paper and hang kitchen charms with silver jump rings.

inspire close up 04192

11.  Glue on top of “inspire” paper.

12.  Tie White Cord around layers and adhere to the front of the album.

inside album 04197

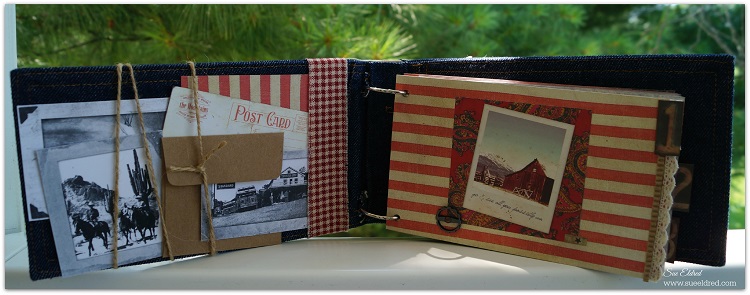
13.  For the Inside Pages: Cut several pieces of black cardstock 7 1/4” x 8 3/4”.

14.  Cut and add recipe cards from the Bake and Can Recipe Cards paper to your book.

Cut Outs 4163

15.  Decorate your pages with additional strips of paper and cut outs from the General Store on Ivory paper.

Farm House Recipe Book 4189

16.  Bind the Farm House Recipe Book with the Bind It all Machine and coils.

Disclaimer:  This project was created for and sponsored by Canvas Corp Brands.

TBT: Hawaii Revisited

Hawaiian Hibiscus Scrapbook Page A little Throwback Thursday: 

Eight years ago, I got the chance to revisit Hawaii with my honey.

Hawaii is the place where I met this good-looking guy.

Oh how I’d love to be able to go back today.

Good Times, Good Memories.

I can’t believe how much younger and tanner I/we look.  (not to mention how short my hair is)