Using Stazon Ink on Acrylic

Using Stazon Ink on Acrylic

How to Create a Multi-colored Acrylic Tag using StazOn Ink.

I tried this technique last year and have been wanting to recreate another project

so that I could share the process with you all.  (I’m not sure what took me so long.)

And with so many different acrylic sizes and shapes available, the ideas are endless.

Every Moment Counts Acrylic Tag

StazOn Ink is a permanent ink that is archival-quality.

It dries very quickly and can be used on porous (cardstock) and non-porous (glossy paper, vinyl, glass, acrylic) surfaces.
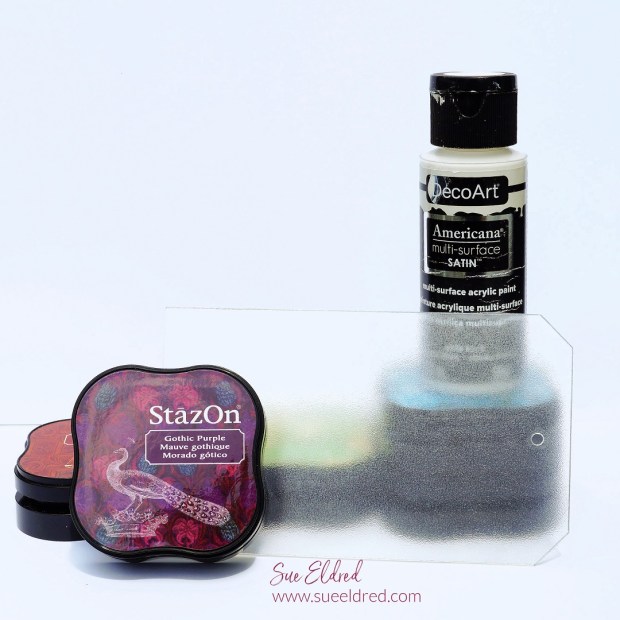
Using Stazon Ink on Acrylic

Materials Used:     (*affiliate links)

*Disclosure:  This blog uses ads and affiliate links.  If you choose to make a purchase using one of the links, I receive a small commission (at no additional cost to you) that helps offset the costs of maintaining this blog.  Thanks for your support!

How to use Stazon Ink on Acrylic

Directions:

  • Most acrylic pieces usually come with a thin protective covering on both sides of the acrylic.  Remove protective covering off only one of the sides.  You will be working on one side at a time so only remove the protective cover off one side.  If your acrylic doesn’t have a protective covering you’ll need to make sure to protect the other side.
  • Give the acrylic piece a quick once over with a sanding block.  This helps ensure that everything adheres.
  • Rub the StazOn ink pad directly onto the acrylic to add the first color.

How to use Stazon Ink on Acrylic

  • Continue adding additional colors to the tag.  
  • You can experiment with different swipes and swirls to find the pattern you like.
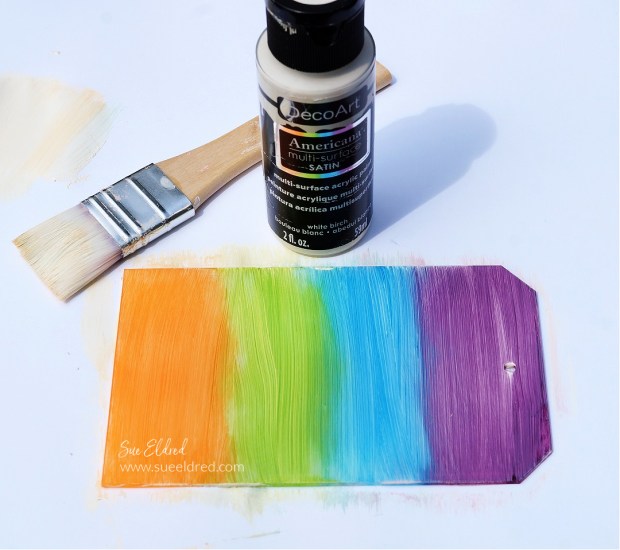
Using Stazon Ink on Acrylic

  • Paint one or two coats of light multi-surface acrylic paint over the ink.  The multi-surface paint is perfect for surfaces like acrylic.  The paint makes the colors of the ink pop and not as translucent.

Using Stazon Ink on Acrylic

  • For added protection and a scratch-resistant tag, I sprayed the tag with a matte acrylic sealer. (the color won’t be coming off my tag)
  • After everything has fully dried, turn the tag over and remove the second piece of protective covering from the acrylic.

Using Stazon Ink on Acrylic

For the other side of the tag.  

  • I created a saying using an SVG file from the Silhouette Store and cut it out of white glossy adhesive craft vinyl using my Silhouette Electronic Die-Cutting Machine*.
  • I used the vinyl tools to remove the excess vinyl in and around the letters.
  • Cut a piece of Clear Transfer Tape* slightly larger than the word.
  • Using the vinyl scraper tool, gently rub over the letters to make sure they have transferred.
  • Lift the word off the white backer paper.

Apply Craft Vinyl to Acrylic Tag

  • Center and position the words over your acrylic tag and gently rub over the transfer paper with the vinyl scraper tool.
  • Carefully remove transfer paper from the acrylic tag.
  • Add ribbon or twine through the hole of the tag.

Makes a great inspirational bag tag.

Every Moment Counts Acrylic Tag

Interested in the Products Used on the Every Moment Counts Tag?

Click on Images below for Amazon Ordering.

Amazon Audible Promo    Amazon Audible Free Trial*

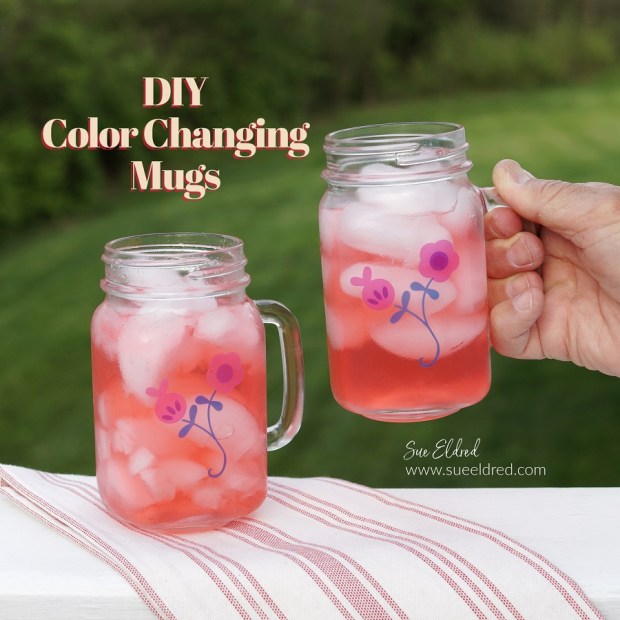
DIY Color Changing Mugs

How to make color changing mugs.

DIY Color Changing Mugs.

How to take ordinary mugs from the Dollar Store and create a colorful surprise for your Summer table.

A fun project using StyleTechCraft’s Cold Color Changing Vinyl.

How to make color changing cups.

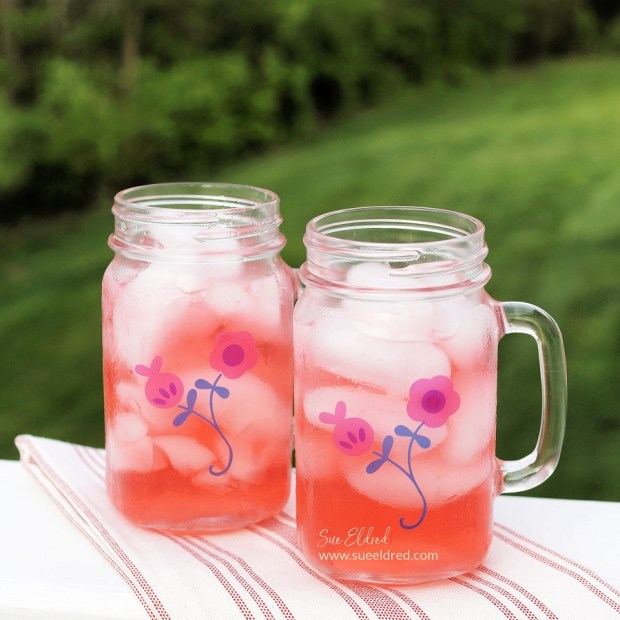
For this project, I’m thinking Summer and a nice ice-cold mug of Strawberry Lemonade.

How to use color changing vinyl on glassware.

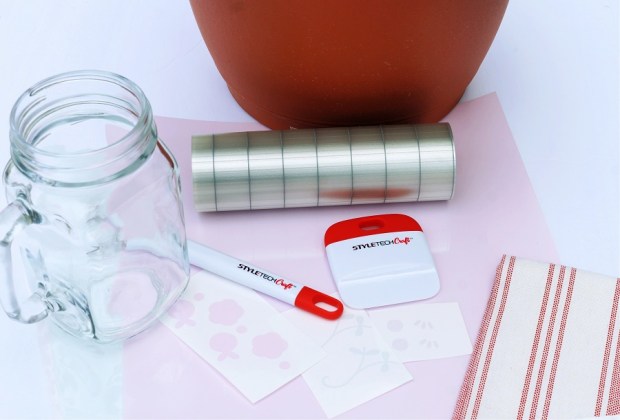
Materials Used:

*Disclosure:  This blog uses ads and affiliate links.  If you choose to make a purchase using one of the links, I receive a small commission (at no additional cost to you) that helps offset the costs of maintaining this blog.  Thanks for your support!

StyleTechCraft's Cold Color Changing Vinyl.

Directions:

StyleTechCraft's Cold Color Changing Vinyl.

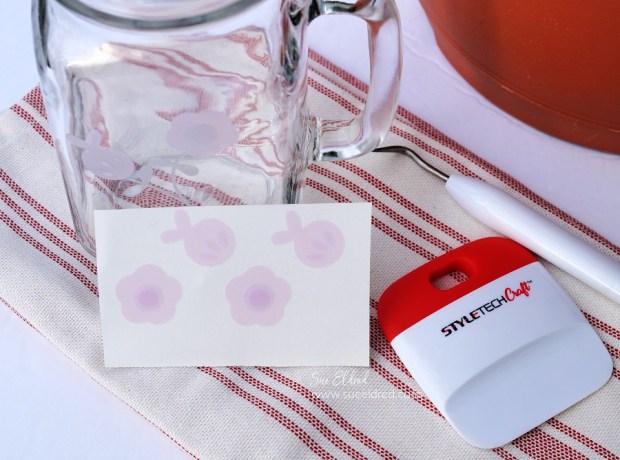
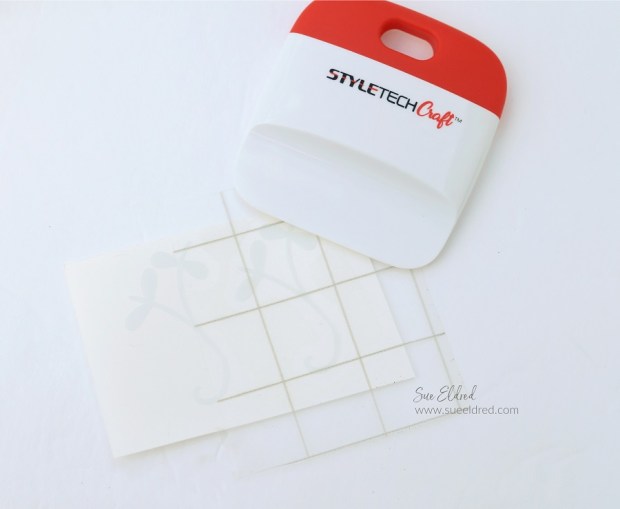
  • Cut a piece of Vinyl Transfer Tape* to fit over the vinyl image.  Gently rub over the transfer paper using the squeegee tool.

DIY Color Changing Mug

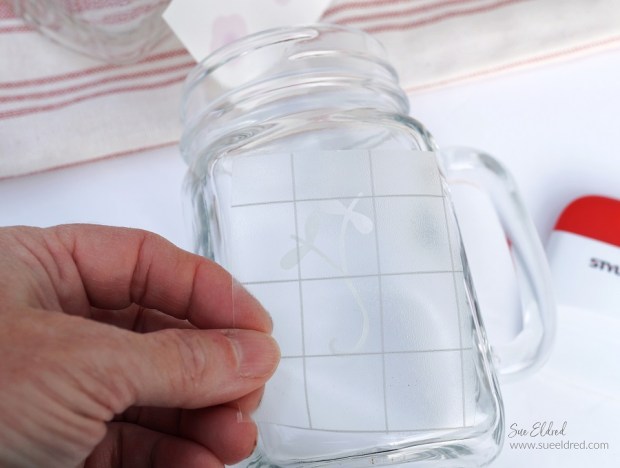
  • Remove the vinyl from the white liner, center the image on the front of the mug.
  • Gently rub over the Vinyl Transfer Tape* to make sure all the image has transferred.  Remove the transfer tape.

StyleTechCraft's Cold Color Changing Vinyl

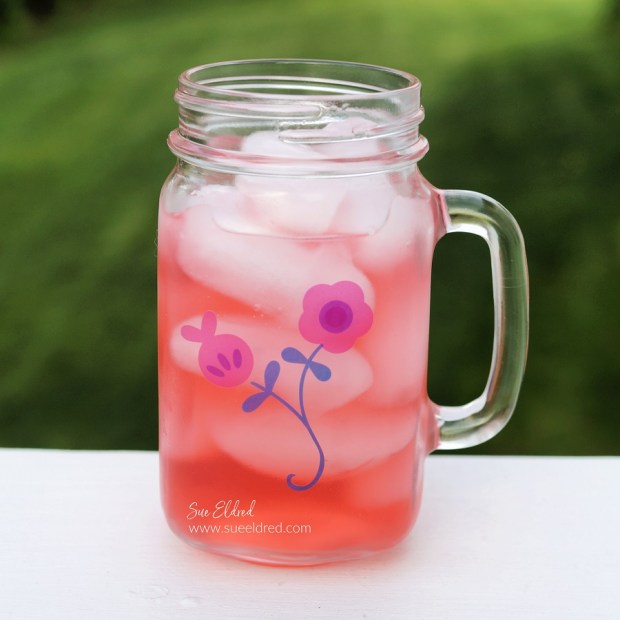
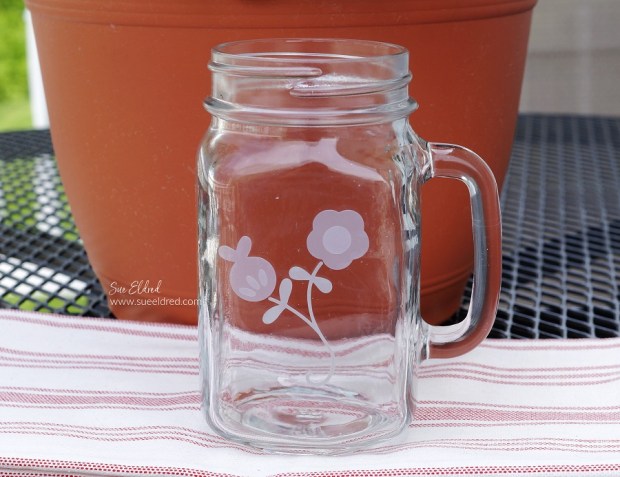
The flower pattern on the mug (before changing) has a subtle etched glass appearance.   

DIY Color Changing Mugs

Imagine their surprise when the pattern changes right before their eyes.

A fun complement to Summer.

What would you make with color changing vinyl?

“This is a sponsored post.  As a member of the StyleTechCraft Design Team I have been provided product and compensation in exchange for my creative ideas.  The views and opinions are my own.

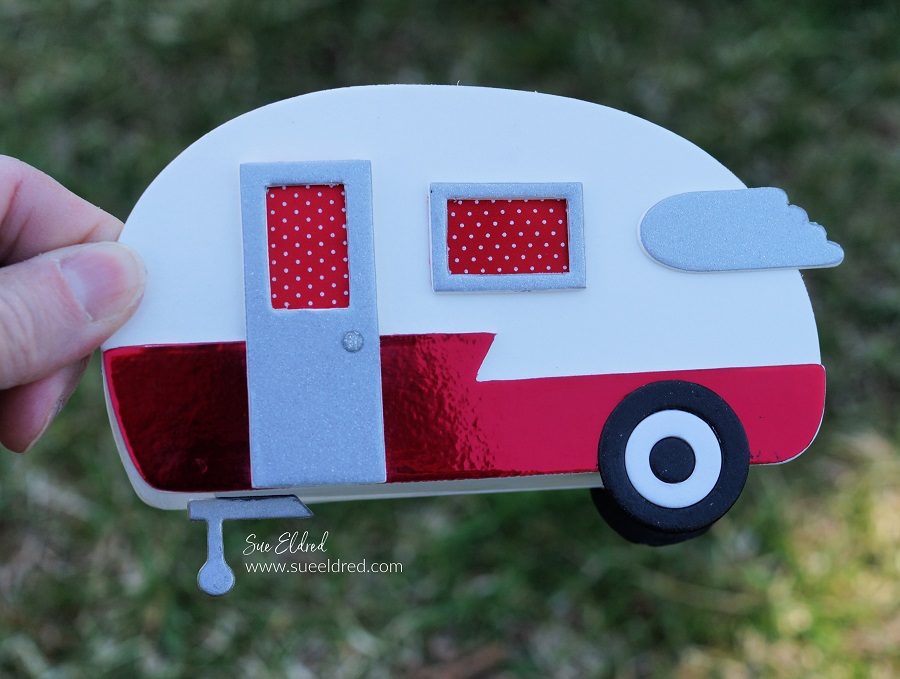
Snazzy Little Red Camper

Snazzy Little Red Trailer-Sue's Creative Workshop www.sueeldred.com 7169

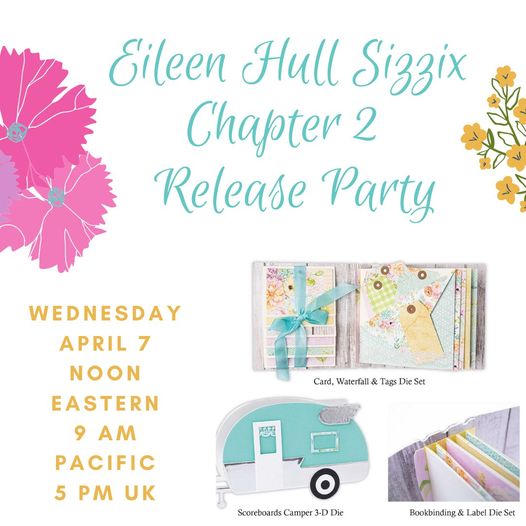
Eileen Hull Sizzix Chapter 2 Release Party

Today, I’m participating with the Eileen Hull Teams to share our projects using the

NEW Eileen Hull/Sizzix Chapter 2 Release Dies.

My project uses the NEW Eileen Hull Camper Die*.

trailer parts no logo 7066

The Camper Parts…

When cut from Sizzix Making Essentials Mat Board* the Camper Die* enables you to create

a wonderful box to hold all sorts of items. 

(You’ll need to cut two of everything to create the box.)

*Disclosure:  This blog uses ads and affiliate links.  If you choose to make a purchase using one of the links, I receive a small commission (at no additional cost to you) that helps offset the costs of maintaining this blog.  Thanks for your support!

Snazzy Little Red Camper-Sue's Creative Workshop www.sueeldred.com 7180

My Snazzy Little Red Camper is tricked out with white glitter vinyl and red chrome vinyl.

Tip…Place the adhesive vinyl on both sides of the matboard before cutting the piece

with a Big Shot Die-Cutting Machine*.

red trailer 4 (1)

My Snazzy Little Red Camper was inspired by a Camper I saw a couple of years ago.

This beautiful Red Camper was a Holiday Prop, the perfect place for a picture. 

This little camper was so adorable, I fell in love.  

I remember saying to myself that if I ever decide to go camping, it better be

in something like this.

Eileen Hull Chapter 2 Release Party

Welcome to our Chapter 2 Release Party!
 
We are sharing Folio Journal accessory dies- the Waterfall & Tags and Book Binding dies and the new Bigz L Camper ScoreBoards die! But don’t be limited to keeping them in a book- you can also use these elements in different size journals, cards, and layouts!
 
Check out all the different ways to use these dies on our Blog Hop.
 
 
Click through and leave a comment on each of the designers’ posts and be eligible to win a $25 gift certificate in Eileen’s Etsy Shop!
 
Join us on Facebook Live and YouTube Live for an up-close and personal look at the team’s projects.  Eileen will also demo how to use the dies during the show. Hope you can join us for this fun event- prepare to be surprised. Thanks for joining us.
 

Journaling Sale


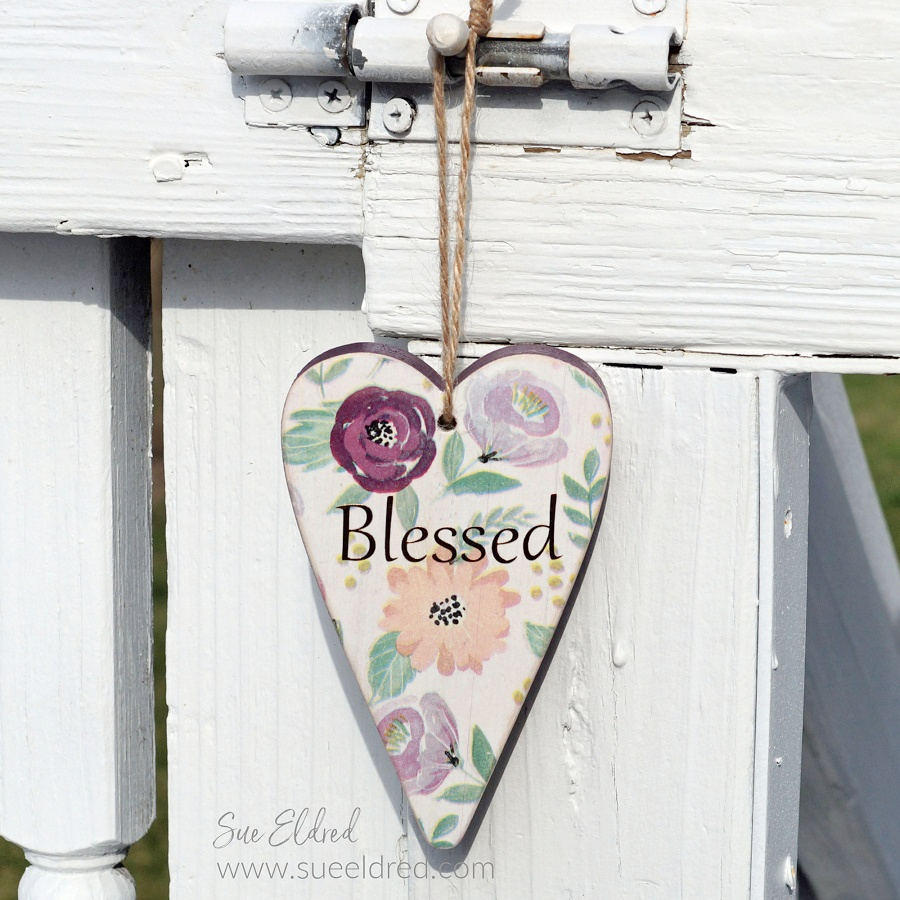
Bless My Shabby Heart

Bless My Shabby Heart-Sue's Creative Workshop www.sueeldred.com 7142

How to create a Shabby Floral Decoupaged Heart…

As a midwestern girl, I always thought southern women to be some of the most polite

and kindest women with their sweet southern drawl. 

I mean, they go around saying “bless your heart” all the time.

It wasn’t until last year, that I learned that “bless your heart” can also be an insult by some

southern women.  Kind of like a giant “eye roll”.

Don’t get me wrong.

Bless your heart can still be an expression of sincere sympathy or genuine concern.

Call me naive, but that’s what I’m going to think.  (especially for this project)

Bless My Shabby Heart-Sue's Creative Workshop www.sueeldred.com 6999

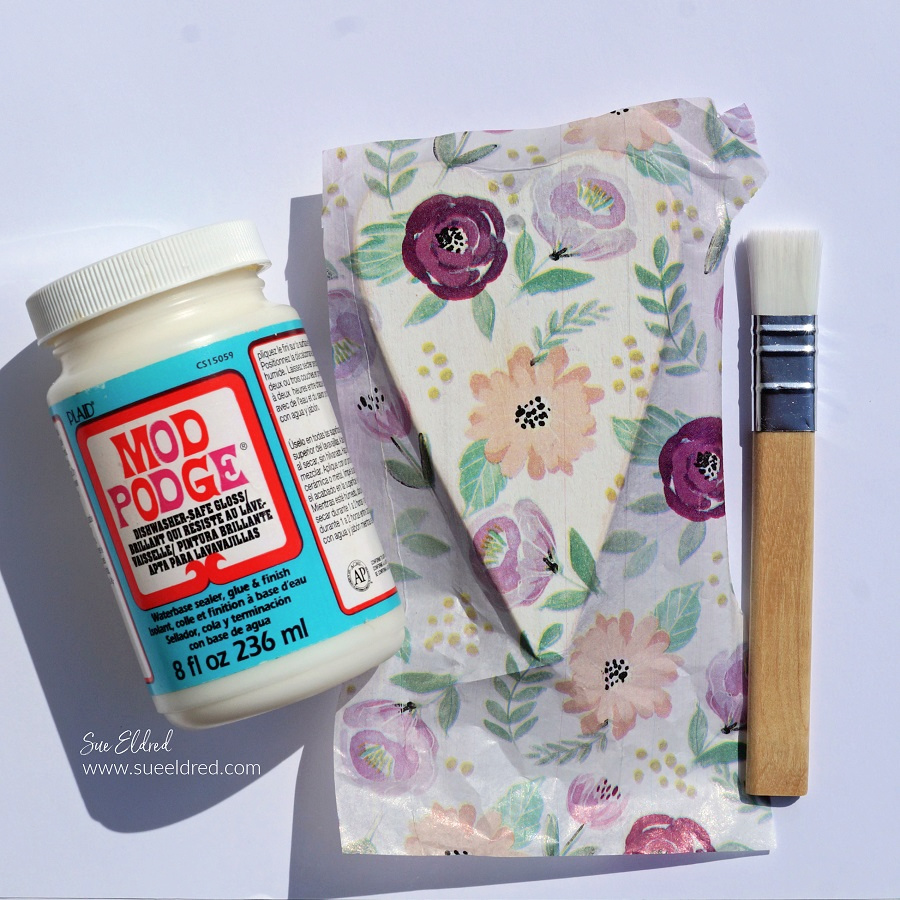
My blessed shabby heart was made using an inexpensive wood heart from Dollar Tree*,

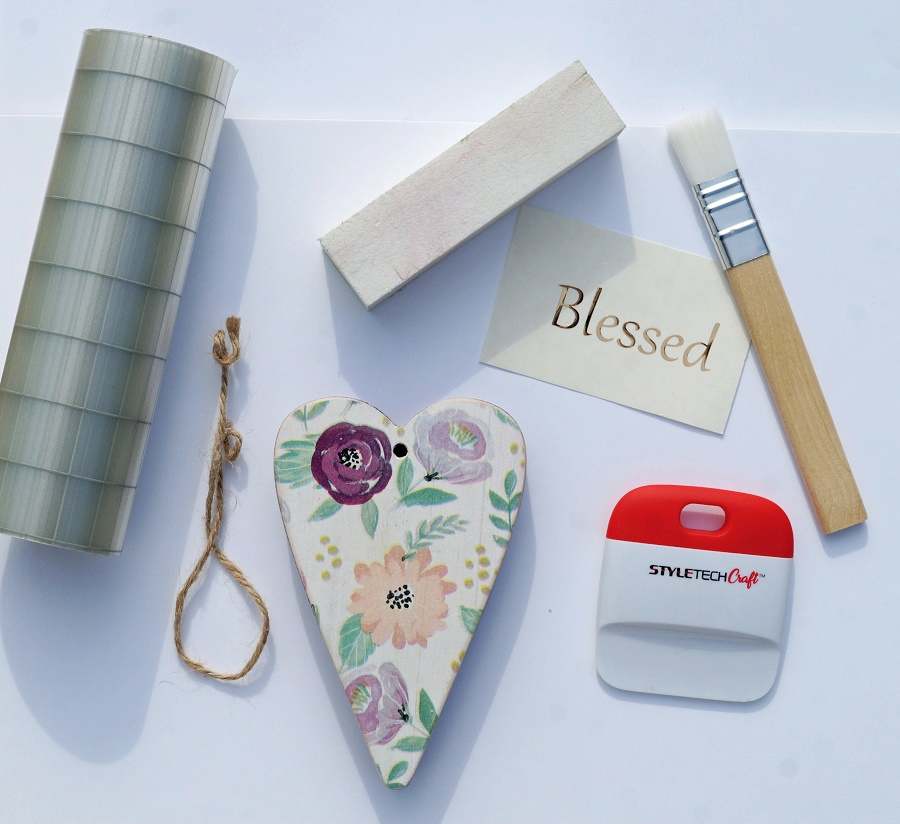
floral tissue paper, decoupage medium, and StyleTechCraft Gold Chrome Adhesive Vinyl*.

Materials Used:     (*affiliate links)

*Disclosure:  This blog uses affiliate links.  If you choose to make a purchase using one of the links, I receive a small commission (at no additional cost to you) that helps offset the costs of maintaining this blog.  Thanks for your support!

Bless My Shabby Heart-Sue's Creative Workshop www.sueeldred.com 7085

Directions: 

  • Remove the twine tag and sand both sides of the wood heart.
  • Paint the front and back of the heart with white paint.
  • My wood heart is a “chunky” heart and is 3/4″ thick.  I painted the sides of my heart a coordinating color of the darkest flower.
  • Cut two pieces of floral tissue paper to cover the front and back of the heart.
  • Apply Mod Podge to the front of the heart.  While wet, lay the tissue onto the front of the heart.  Gently smooth tissue paper onto the surface.
  • Allow time for the paper to dry.  Using fine-grit sandpaper, lightly sand the edges of the heart to remove the excess tissue paper.
  • Repeat on the other side of the heart.
  • Add a second coat of Mod Podge sealer over both the front, back, and sides of the wood heart.
  • The tissue paper gives the appearance of a softly painted water-colored floral background.

Bless My Shabby Heart-Sue's Creative Workshop www.sueeldred.com 7089 (1)

Bless My Shabby Heart-Sue's Creative Workshop www.sueeldred.com 7118

  • Cut a piece of Clear Transfer Tape* slightly larger than the word.
  • Using the vinyl scraper tool, gently rub over the letters to make sure they have transferred.
  • Lift the word off the white backer paper.

Bless My Shabby Heart-Sue's Creative Workshop www.sueeldred.com 7124

  • Position the words over your heart to decide where you want it to go.
  • Lay the transfer paper onto the heart and gently rub over the transfer paper with the vinyl scraper tool.
  • Gently remove transfer paper from the heart.

Bless My Shabby Heart-Sue's Creative Workshop www.sueeldred.com 7141

Add twine or ribbon and use a decorative knob hanger.  And always remember how blessed you truly are.

“This is a sponsored post.  As a member of the StyleTechCraft Design Team I have been provided product and compensation in exchange for my creative ideas.  The views and opinions are my own.

Hello Spring Banner

Hello Spring Banner 2537

Welcome Spring with a Cute Bunny Inspired Wreath.

Using a few inexpensive wood cut-outs from Dollar Tree I created a fun Spring Banner to hang

on my wreath.  With the help of my Xyron Creative Station*, it was quick and easy to make.

Hello Spring Banner 932

Materials Used:      (*affiliate links)

*Disclosure:  This blog uses affiliate links.  If you choose to make a purchase using one of the links, I receive a small commission (at no additional cost to you) that helps offset the costs of maintaining this blog.  Thanks for your support!

Hello Spring Banner 2403

Directions:

  • Put the paper design side up on the Xyron Creative Station* crank the handle to run the paper through the machine.  As it moves through the Xyron Creative Station it adds adhesive to the back side of the paper.  Easy to use and it doesn’t need any electricity.

Hello Spring Banner 2420

  • Lay wood cut-outs onto the adhesive side of the paper.
  • Cut around the shape with a craft knife.
  • Sand the rough cut edges of the shape with a sanding block*.  You can use an Emory board to get into small places to sand.

Hello Spring Banner 2464

  • String the finished wood pieces onto a piece of ribbon or twine.
  • I used the New Xyron Multi-Stick Glue Gun to add the flowers and leaves embellishments.
  • One of my favorite features of the New Xyron Multi-Stick Glue Gun is that you can add up to three glue sticks so that you don’t have to keep reloading while you work.
  • FYI…I also added a bit of hot glue strategically under the wood pieces to help keep them from twisting on the twine.
  • I used letters cut from StyleTechCraft adhesive vinyl to spell the word “Hello”.  You could also use chipboard letters or letter stickers.

Hello Spring Banner-2526

“This is a sponsored post for Xyron.  I have been provided product and compensation in exchange for my creative ideas.  The views and opinions are my own.

Pinch Proof for St. Patrick’s Day

Doing A little Pinch Proof Preparedness for St. Patrick’s Day.

GREEN is the color of the day on St. Patrick’s Day…

and, I’ll be the first to admit that I look horrible in green. (It’s just not my color.)

So what do you do when green is not your color and you still want to celebrate?

You get creative and make a simple “Pinch Proof” button so you can wear a little green

and keep those pinches at bay. (It’s kind of like cootie protection when you were a kid.)

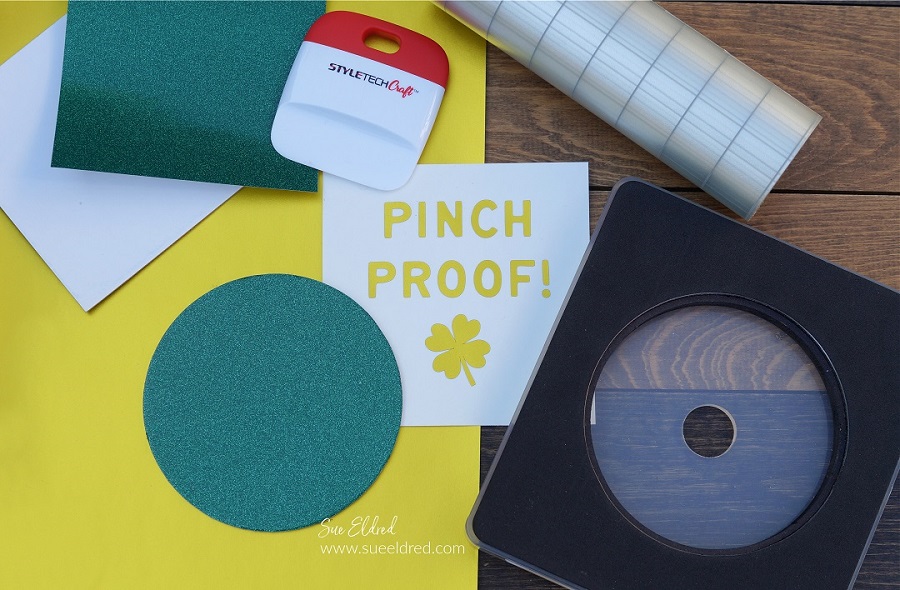
To make my Pinch Proof Button I used:     (*affiliate link)

*Disclosure:  This blog uses affiliate links.  If you choose to make a purchase using one of the links, I receive a small commission (at no additional cost to you) that helps offset the costs of maintaining this blog.  Thanks for your support!

Directions:

  • Gently rub over the vinyl transfer tape using the squeegee tool to make sure all the image has transferred.   Remove the transfer tape.

Now you’re Pinch Proof and ready to Celebrate.

“This is a sponsored post.  As a member of the StyleTechCraft Design Team I have been provided product and compensation in exchange for my creative ideas.  The views and opinions are my own.

Balloons and Confetti Birthday Girl Card

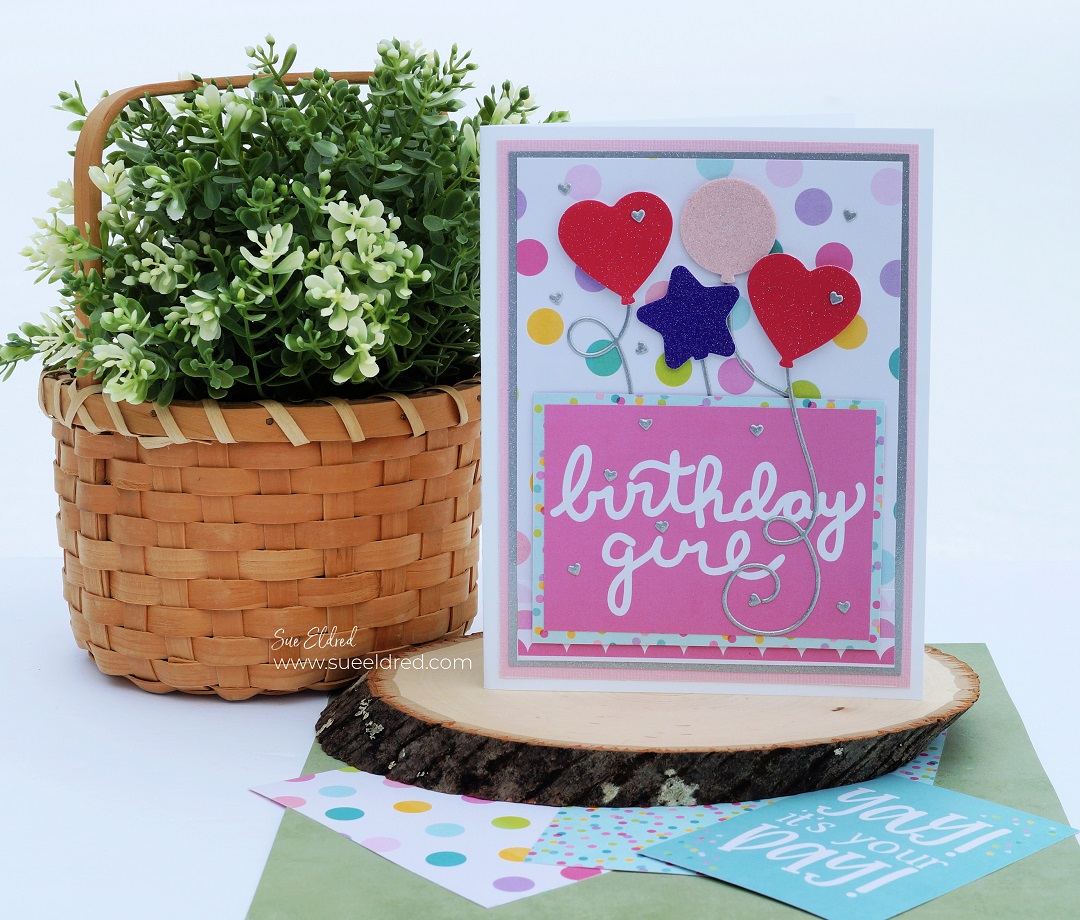
A fun birthday card for a sweet girl who just turned 10.

Because 10-year-old girls need a little sparkly glitter, the balloons were made using Ultra Metallic

Glitter Vinyl from StyleTechCraft.

The card uses the Confetti and Balloons Die Set from the Maker’s Movement.

Disclosure:  This is a sponsored post  for the Maker’s Movement.  I have been provided product
and compensation in exchange for my creative ideas.  The view and opinions are my own.

Card Details…

  • I like a little dimension when I create cards, so I added the glitter vinyl onto cardstock before die-cutting it.  I added foam mounting squares under the balloons to pop them up.
  • It’s hard to tell by my picture but the heart balloons are hot pink not red.  The strings on the balloons were cut using silver ultra-metallic glitter vinyl.
  • I used the tiny heart die-cuts to make heart confetti.  It adds a little extra fun.

Materials Used:        (*affiliate link)

*Disclosure:  This blog uses affiliate links.  If you choose to make a purchase using one of the links, I receive a small commission (at no additional cost to you) that helps offset the costs of maintaining this blog.  Thanks for your support!

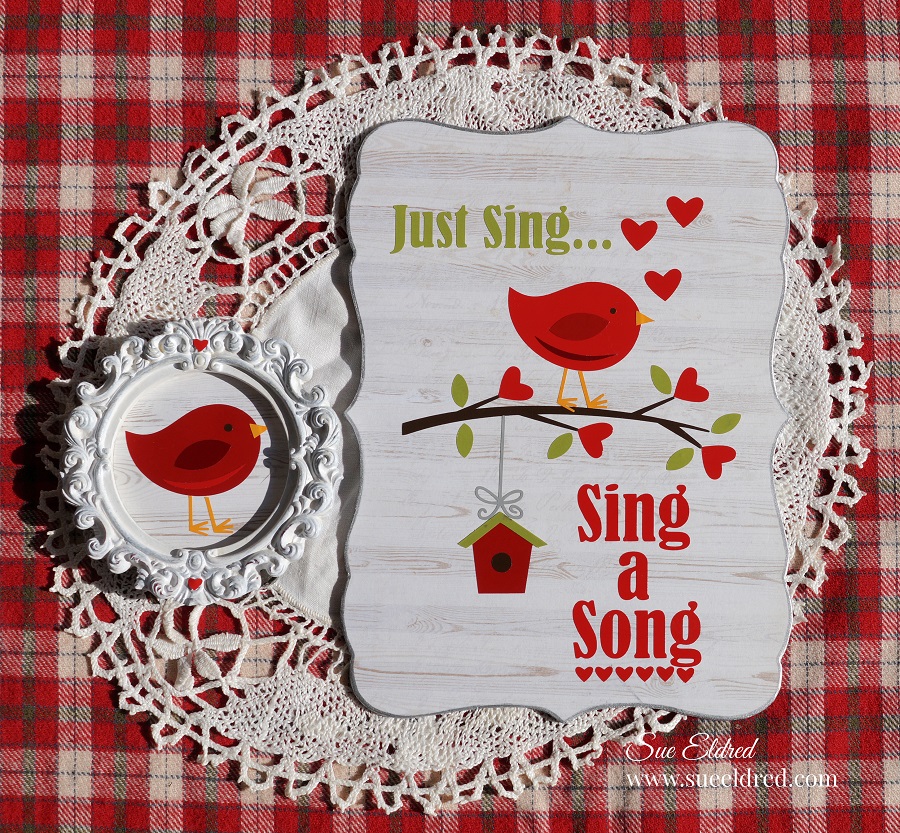
Cute Valentine/Spring Décor with Vinyl

Creating Cute Valentine/Spring Décor with StyleTechCraft Vinyl.

Did you ever get a song stuck in your head while working on a project?

I’m showing my age here, but this Karen Carpenter song kept going through my mind while

I was putting together the Bird on the Branch and, I just had to create the words to go with it.

“This is a sponsored post.  As a member of the StyleTechCraft Design Team I have been provided product and compensation in exchange for my creative ideas.  The views and opinions are my own.

I love creating projects for my home using vinyl. 

My favorite vinyl is the Glossy Craft Vinyl from StyleTechCraft.

There are so many great color choices to choose from.

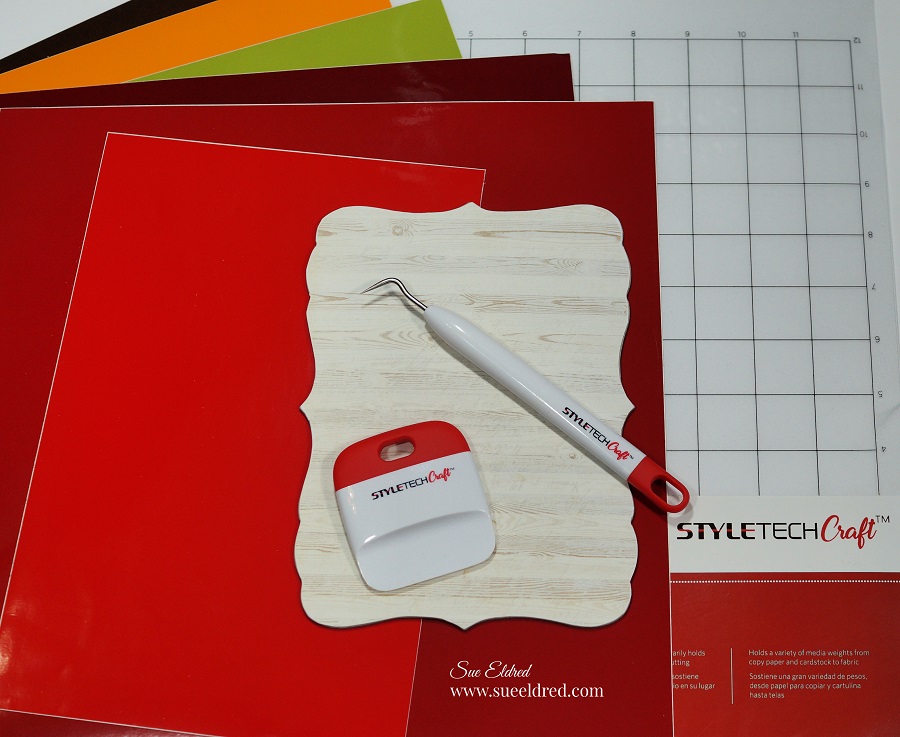
Materials Used to make the Valentine Projects:              (*affiliate links)

*Disclosure:  This blog uses affiliate links.  If you choose to make a purchase using one of the links, I receive a small commission (at no additional cost to you) that helps offset the costs of maintaining this blog.  Thanks for your support!

Project Details:

  • I used a 5″ x 7″ decorative piece of chipboard that I’d had around for a while.
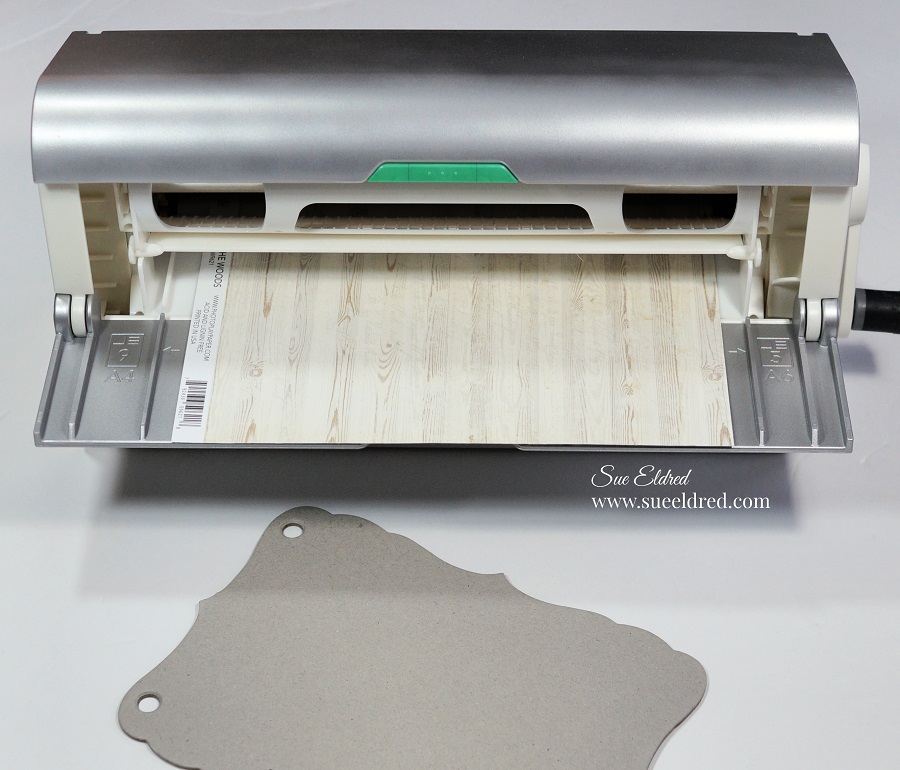
  • I cut a piece of woodgrain paper a little larger than the chipboard.  
  • Place the paper in the Xyron Creative Station* design side up through. As you turn the handle, it runs through the machine and adds a complete layer of adhesive onto the back of the paper.

  • Adhere the paper to the chipboard and cut away the excess using a craft knife and cutting mat.
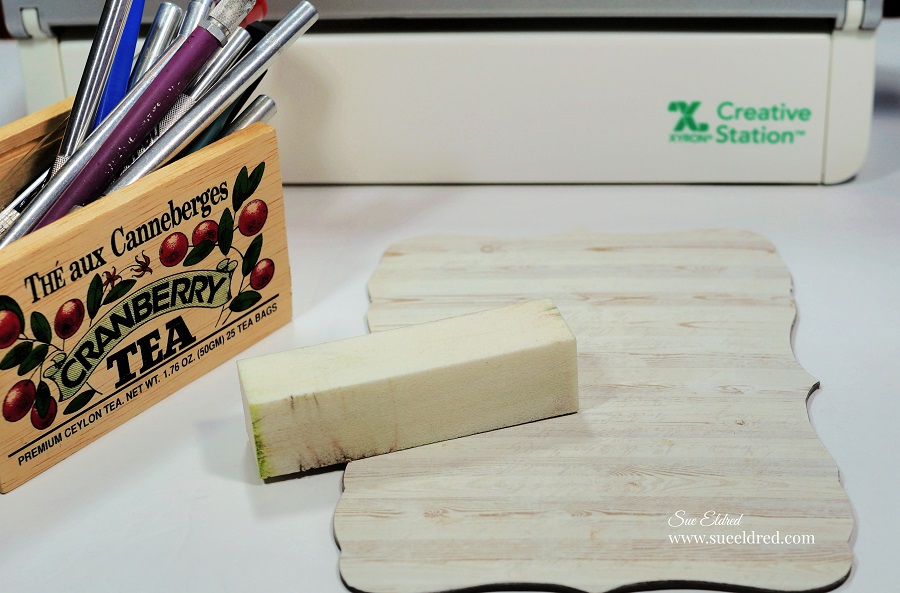
  • Use a fine Sanding Block* to smooth out the edges of the chipboard.

  • I used my Silhouette Cameo Electronic Die Cutting Machine* and the “Bird on the Branch” SVG file to create my design.
  • I sized the image to fit onto my chipboard and cut the various layers of the red in three shades to make a cardinal.  
  • After weeding the excess vinyl from around my images, I transferred them onto the chipboard using the Clear Transfer Tape*.
  • After having the song stuck in my head, I decided to create a few words for my sign.
  • For added detail, I went around the edge of my sign with a Silver Leafing Pen*.

  • I cut an extra little cardinal to fit inside a small circle frame and added small red hearts on the top and bottom.
  • To complete my decorations, I added my small faux heart topiary to a reddish metal and added the words “choose happy” in Olive vinyl.

I have Cute Valentines Decorations that will take me into Spring.  (and maybe longer)

Easy Craft Room Organizing Tip

Sue’s Easy Craft Room Organizing Tip…

Purchase inexpensive photo storage boxes in the same color or pattern to bring calm to the clutter.  Perfect for Craft Room, Office or most any room of the house.

I’m generally a neat and tidy person and not a fan of clutter.  

That being said, I still have a lot of stuff I need to deal with.

For instance, last week, I spent a couple days going through and shredding old paperwork.  I’m ashamed to admit how many years of paper was shredded.  Once it was put away neatly and out of sight, I like to forget about it.  (or put off for another day.)  Last week was the day.  With the help of my husband, we collected three large garbage bags full of shredded paper.  

My home is always a work in progess.  

One of my favorite parts of organizing is labeling.

*Disclosure:  This blog uses affiliate links.  If you choose to make a purchase using one of the links, I receive a small commission (at no additional cost to you) that helps offset the costs of maintaining this blog.  Thanks for your support!

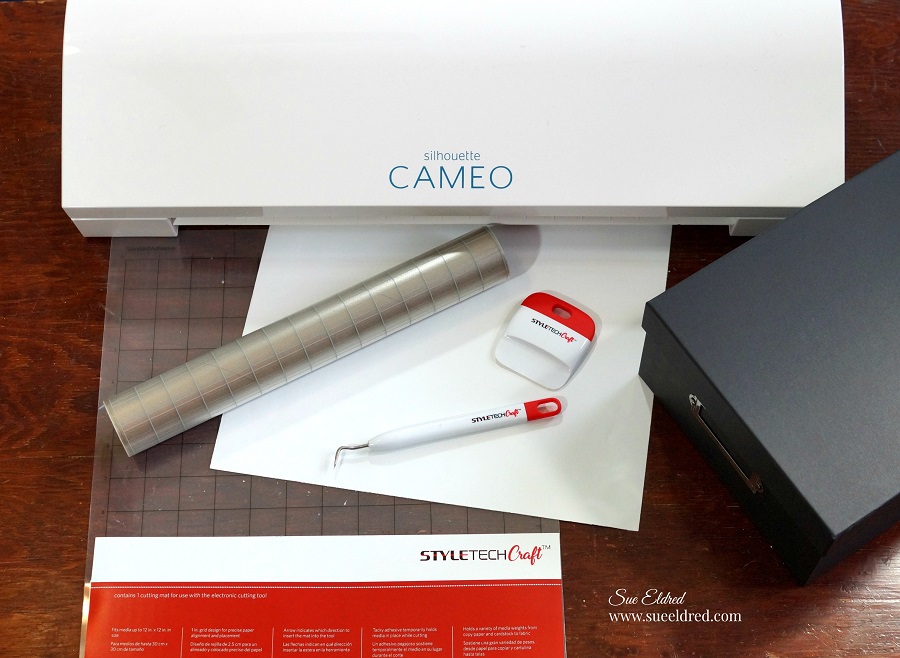
  • After my supplies were neatly organized, I cut out the words to go on the side of the lids because that’s the way the boxes will be going onto my shelves.
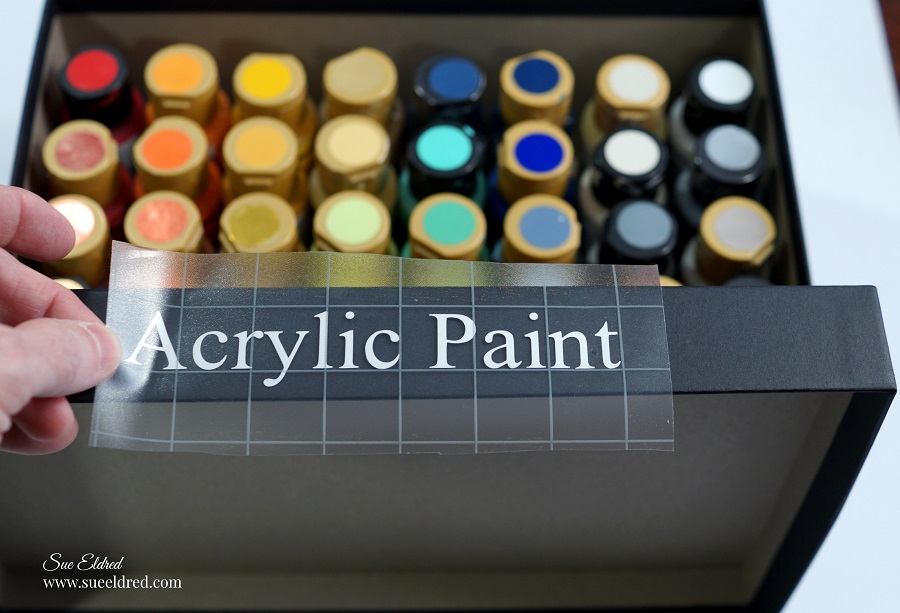
  •  Cut a piece of Vinyl Transfer Tape* to fit over the vinyl words.   

  • Gently rub over the vinyl transfer tape using the squeegee tool to make sure all the image has transferred.   Remove the transfer tape.

These are the little things that make me happy.  

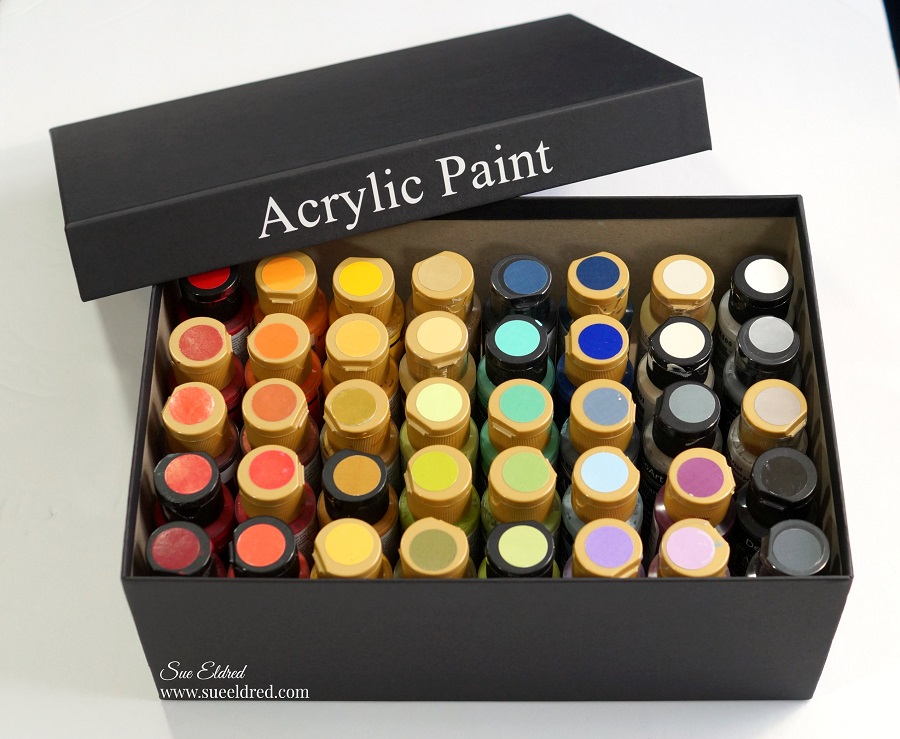
I was able to fit forty small bottles of acrylic paint into one 7″ x 11 1/2″ photo box.

Neat, tidy, and easy to find what’s inside.

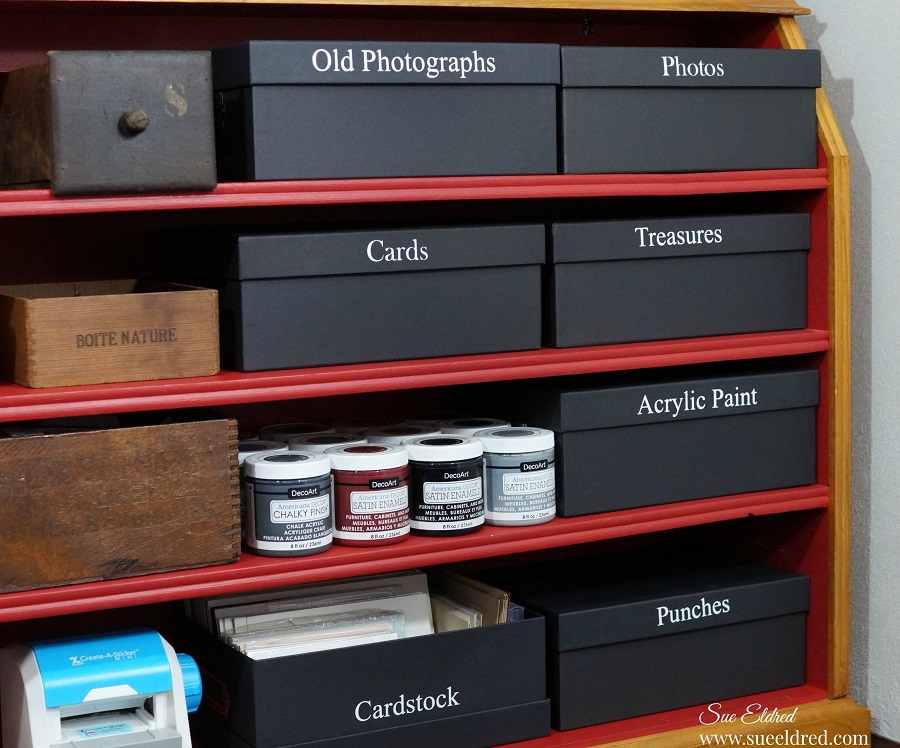
Here’s the way the shelves looked the last time I shared my craft room.

They are still neat but not as visually accessible.

Black Photo Boxes labeled with White Craft Vinyl.  Because organized spaces make me happy.  

“This is a sponsored post.  As a member of the StyleTechCraft Design Team I have been provided product and compensation in exchange for my creative ideas.  The views and opinions are my own.

Links to Materials Used:               (*affiliate links)

Let it Snow Mug with Color Changing Vinyl

The new color changing vinyl from StyleTechCraft is fun for all ages.

Today we got our first Christmas snow.

So, when I should have been finishing up Christmas Cards, I spent the last couple

of hours playing with the heat color change vinyl and making this 30 second video.

You can find all StyleTechCrafts Color Change Vinyl here.

*Disclosure:  This blog uses affiliate links.  If you choose to make a purchase using one of the links, I receive a small commission (at no additional cost to you) that helps offset the costs of maintaining this blog.  Thanks for your support!

Materials Used:

The design was cut using SVG files from The Silhouette Store and my Silhouette Cameo Electronic Die Cutting Machine*.