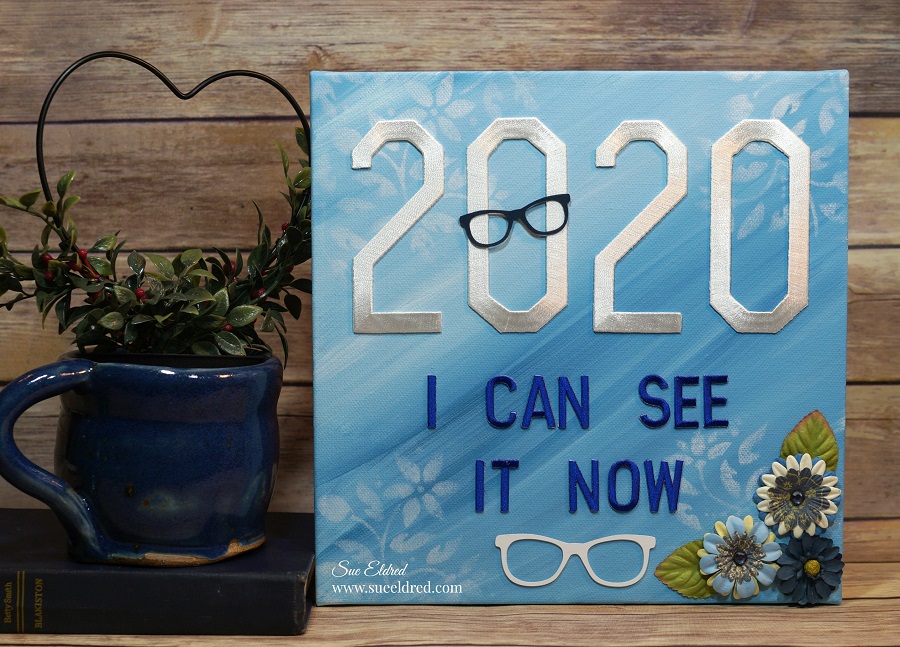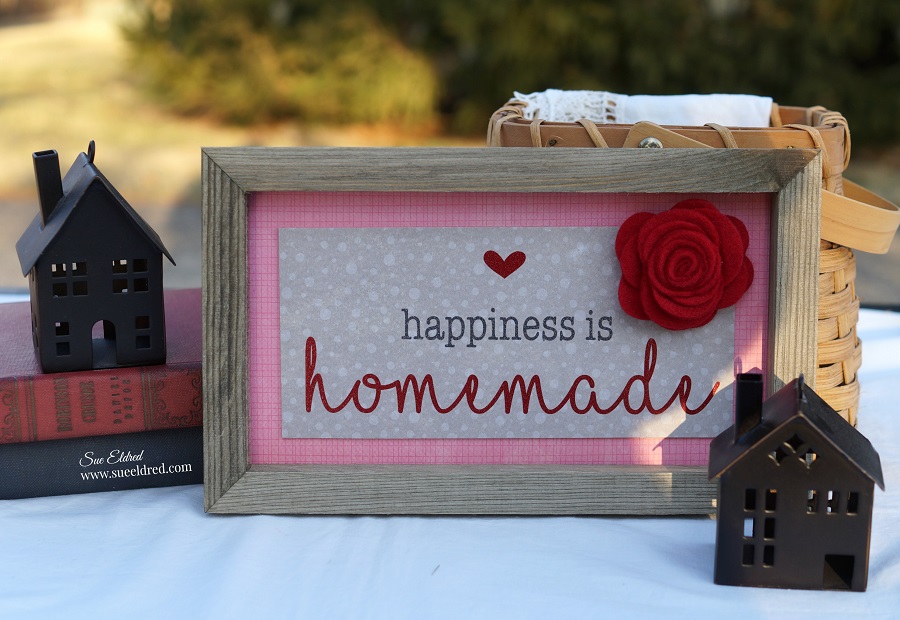
How to make a DIY Happiness is Homemade Rustic Frame…
The DIY Happiness is Homemade Frame is a simple home décor vinyl project that we made
in my StyleTechCraft Workshop at Creativation 2020 in Phoenix last month.

DIY Happiness is Homemade Frame Products Used: (*affiliate link)
- StyleTechCraft 146 Dk Red Ultra Metallic Vinyl*
- StyleTechCraft 144 Dk Gray Ultra Metallic Vinyl*
- StyleTechCraft Grid Transfer Tape*
- StyleTechCraft Vinyl Tools*
- Silhouette Cameo Electronic Die Cutting Machine*
- Jillibean Soup JB1637 Rustic Frame 6×10*
- JB1430 Jillibean Soup Felt Flowers-Shades of Red
- Jillibean Soup – Rainbow Roux Collection – 12 x 12 Double Sided Paper – Bite Size Bits*
- Jillibean Soup – Rainbow Roux Collection – 12 x 12 Double Sided Paper – Drop of Fantasy*
- Matboard
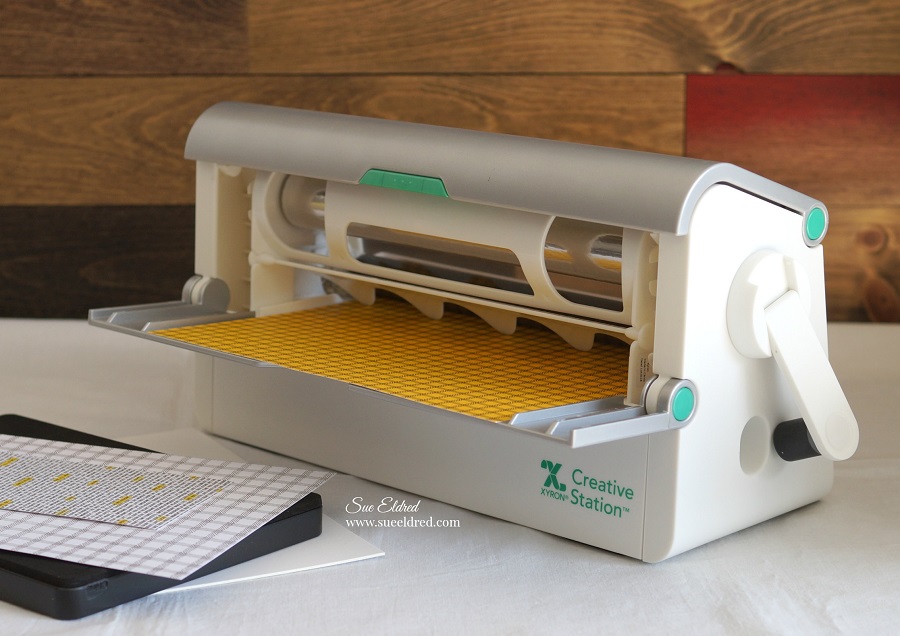
- Xyron Creative Station*
- Xyron Tape Runner*
Disclosure: This blog uses affiliate links. If you choose to make a purchase using one of the links, I receive a small commission (at no additional cost to you) that helps offset the costs of maintaining this blog. Thanks for your support!

Directions:
- Cut an 8″ x 10″ piece of red scrapbook paper and insert inside rustic frame.
- Cut a piece of 3 1/2″ x 7 1/2″ matboard and a 3 1/2″ x 7 1/2″ piece of gray scrapbook paper.

- Lay the 3 1/2″ x 7 1/2″ gray scrapbook design side up on the Xyron Creative Station*
, crank the handle to run the paper through the machine. As it moves through the Xyron CreativeStation*
- Adhere the gray scrapbook paper onto the 3 1/2″ x 7 1/2″ piece of matboard.

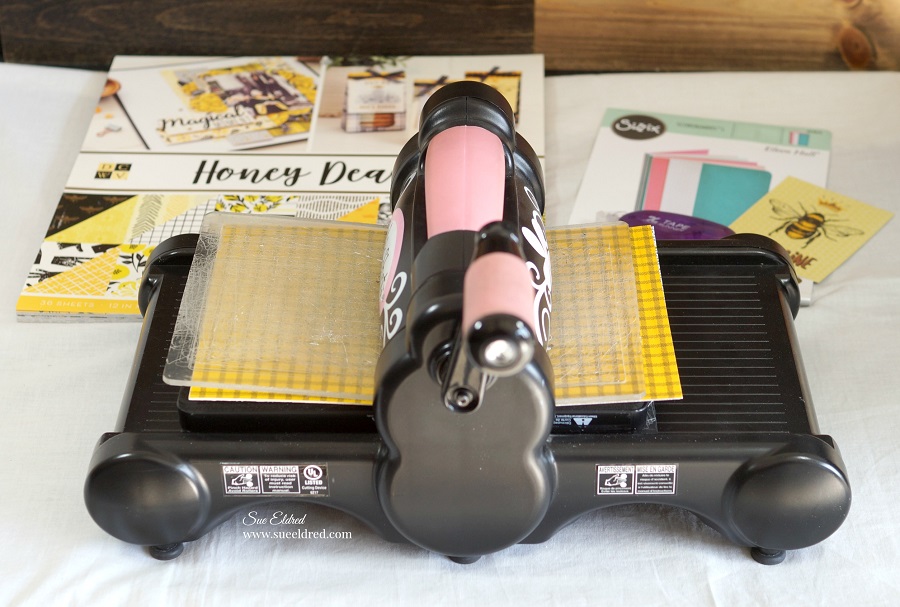
- Using a Silhouette Cameo Electronic Die Cutting Machine*
, create and cut the words “Happiness is” and “homemade”.
- Using the weeding tool, carefully remove the negative spaces in and around the letters.

- Cut a piece of transfer paper a little larger than the “heart and homemade” words.
- Lay transfer paper over “heart and homemade”. Give a gentle rub using scraper tool.

- Apply onto the gray chipboard paper. Remove transfer paper.
- Center the words “happiness is” between “heart and homemade” and repeat the process.
- Apply adhesive to the back of the chipboard layer using the Xyron tape runner.
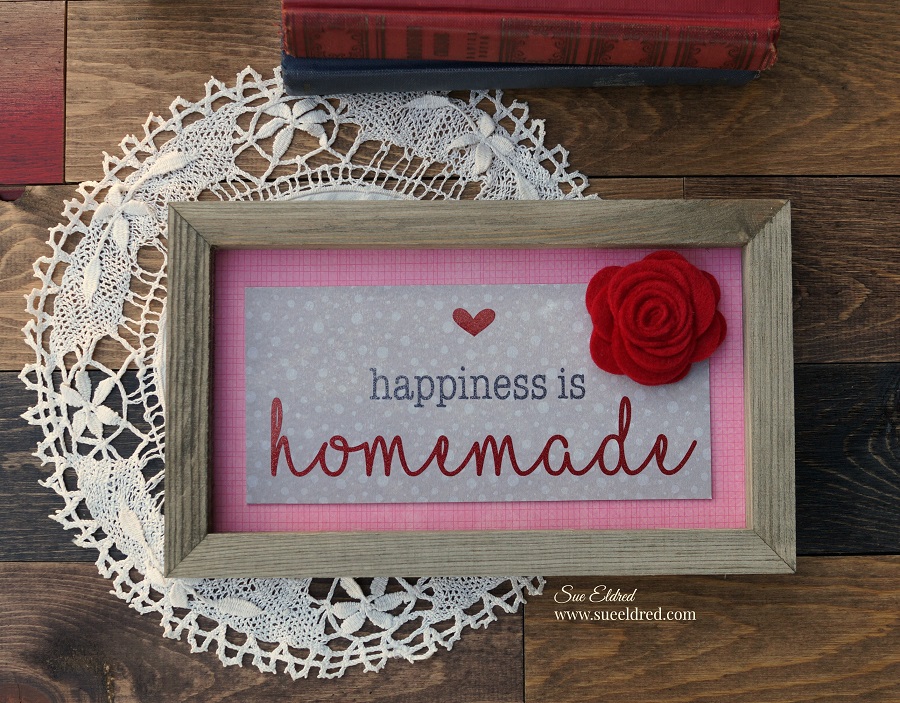
- Adhere the chipboard layer centered in the frame.
- Add red felt flower to right corner of the frame.
![]()
“This is a sponsored post. As a member of the StyleTechCraft Design Team I have been provided product and compensation in exchange for my creative ideas. The views and opinions are my own.
Click on Pictures for Links*