How to make a Farm House Kitchen Recipe Book

How to make Farm House Kitchen Recipe Book

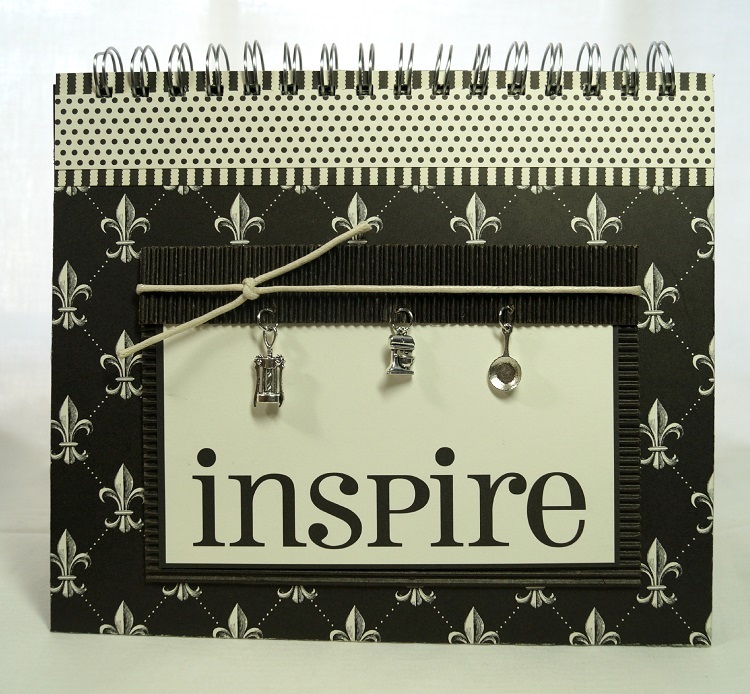
The Farm House Kitchen Recipe Book

was made using papers and embellishments from Canvas Corp Brands Farm House Kitchen line.

This recipe book is a fairly easy but  still detailed, I’ve included lots of photos and instructions

so you can make one for yourself.  If you have any questions on the project please leave them in

the comments and I will answer them as soon as I can.  Enjoy!

Designed by Sue Eldred for Canvas Corp Brands.

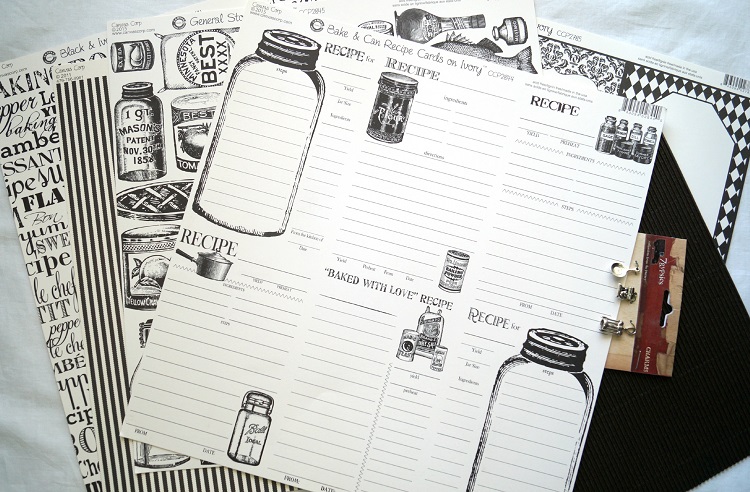
Recipe Book Papers 04159

Canvas Corp Brands Products:

  • CCP2868 Black & Ivory Fleur De Lis Reverse
  • CCP2609 Black & Ivory Ribbon Stripe
  • CCP2745 Black & Ivory Pin Dot
  • CCP2785 Little Black Pages on Ivory
  • CCP2631 Black & Ivory Bon Appetit (2 sheets)
  • CCP2845 General Store On Ivory
  • CCP2829 Black & Ivory Zig Zag
  • CCP2844 Bake & Can Recipe Cards (3 sheets)
  • CCP2817 Journal Lines on Ivory
  • Black Corrugated Paper
  • 12717 Charms Kitchen
  • Cream Cord
  • Silver Jump Rings

Additional Products Used:

  • Chipboard
  • Black Cardstock
  • Dbl. Stick Tape Runner
  • Bind It All & Coil
  • Black Foam Mounting Squares
  • 1/16” hole punch

Finished Book: 7 1/2” x 8 3/4”

Inside Pages: 7 1/4” x 8 3/4”

Cover w mitred corners 4170

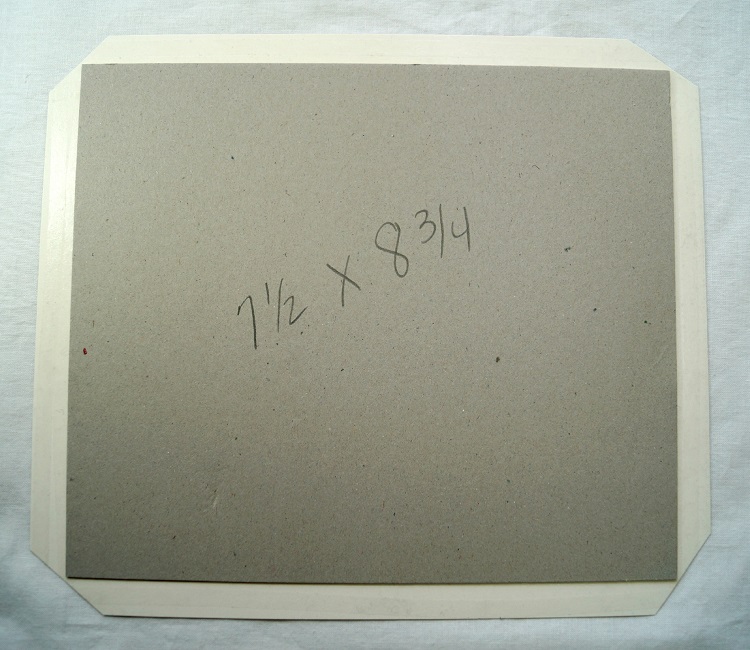
  1. Cut two pieces of chipboard 7 1/2” x 8 3/4”.
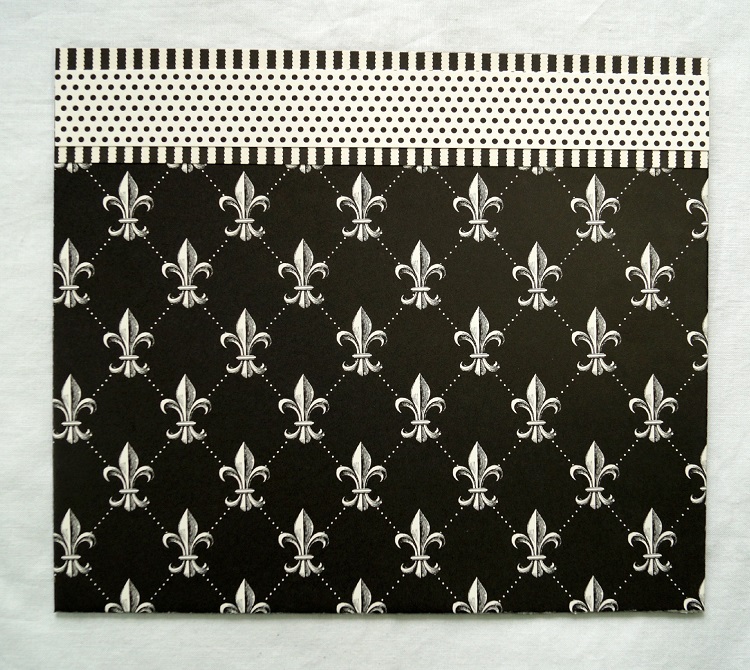
  2. Cut one piece of Fleur De Lis paper 8 1/2” x 9 3/4” for the front cover and one piece of Black and Ivory Zig Zag 8 1/2” x 9 3/4” for the back cover.
  3. Generously apply adhesive to the back of the scrapbook paper, make sure to go to the edge of the paper. Lay and center the cut chipboard onto the back of the paper.
  4. To make mitered edges: Cut at a diagonal a triangle off each edge of the four corners of the scrapbook paper. Leave approx. 1/8” space between chipboard when cutting. (tip-save triangles to cover edges if corners don’t meet.

inside cover 4177

5. Fold over and adhere each edge to the reverse side of the chipboard. Repeat with the second piece of chipboard and scrapbook paper. Rub with bone folder for better adhesion.

inside cover 04181

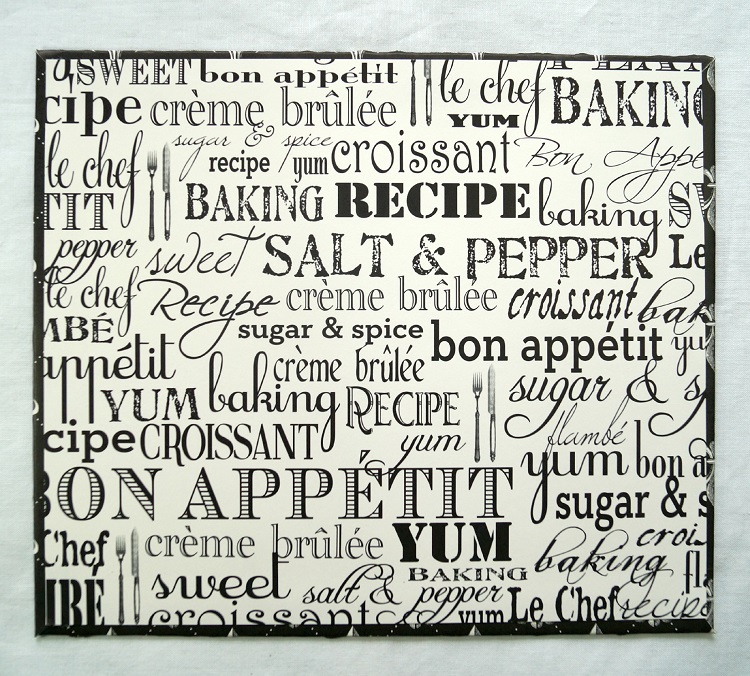
6.  Cut two pieces of Black & Ivory Bon Appetit paper 7 1/4” x 8 1/2” and adhere to the inside of the album.

Cover 04183

7.  Decorate the front cover with a 1 1/2” strip of Black and Ivory Ribbon Stripe paper and a 1” strip of Black and Ivory Pin Stripe paper.

Inspire Pieces 4186

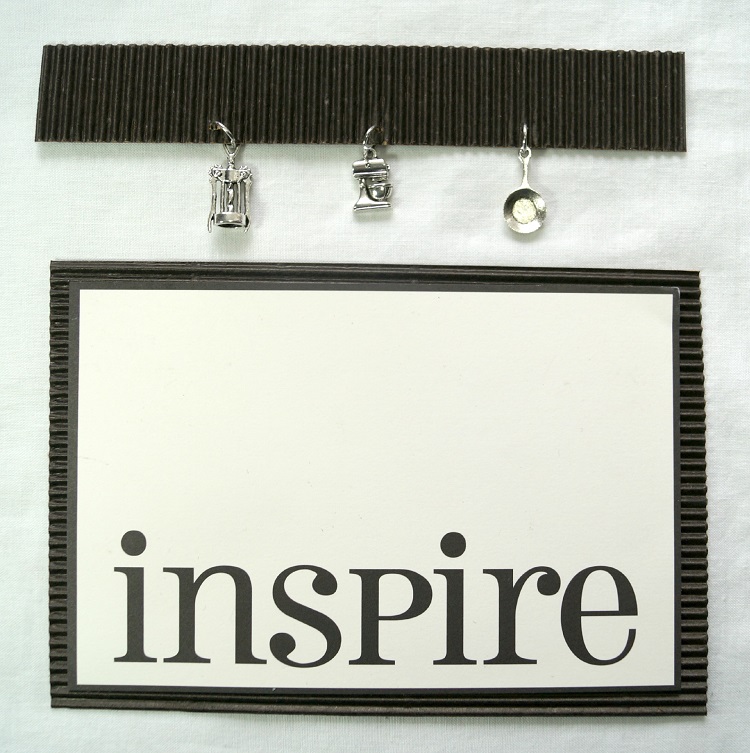
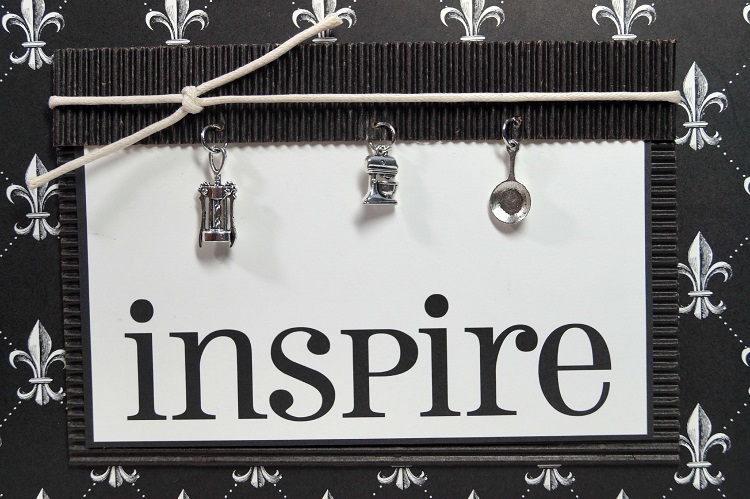
8.  Cut two pieces of black corrugated paper, 4 1/2” x 6 1/2” and 1” x 6 1/2”.

9.  Cut and the 4” x 6” section with the word “inspire” from the Little Black Pages on Ivory paper and adhere to the 4 1/2” x 6 1/2” piece of black corrugated paper.

10.  Punch three small holes on the 1” strip of black corrugated paper and hang kitchen charms with silver jump rings.

inspire close up 04192

11.  Glue on top of “inspire” paper.

12.  Tie White Cord around layers and adhere to the front of the album.

inside album 04197

13.  For the Inside Pages: Cut several pieces of black cardstock 7 1/4” x 8 3/4”.

14.  Cut and add recipe cards from the Bake and Can Recipe Cards paper to your book.

Cut Outs 4163

15.  Decorate your pages with additional strips of paper and cut outs from the General Store on Ivory paper.

Farm House Recipe Book 4189

16.  Bind the Farm House Recipe Book with the Bind It all Machine and coils.

Disclaimer:  This project was created for and sponsored by Canvas Corp Brands.

The Cooker Guy

Another fun kid friendly project with one of my favorite helpers.  The Cooker Guy!

Kids love helping in the kitchen and this guy’s no exception.  Whenever he catches me

working on something in the kitchen, a scooting chair is soon to follow.

The Cooker Guy

I’ve been told several times, “Grandma you need a kid apron for me.”

So… I decided we should make a special one just for him.

Misting the Apron

I purchased a small apron from Canvas Corp Brands.

They call it a Toddler Apron, but it’s plenty big enough for this 4 year old.

Stenciled and sprayed

We misted and sprayed the apron with various colors of Glimmer Mists from Tattered Angels.

We also used a couple of stencils to create designs on the apron.

Personally, I think it looks more like a Art Apron than a Chef Apron.

But really?  Who’s to say?  He’s happy and that’s all that matters.

Custom Letters

To make this apron special I used these really nice iron-on embroidered letters I received from

I used the Funky Style Hobo Font in white.

I like getting the letters in white so that I can customize them any color I want.

Make sure to check out their Creating with Joy Blog.  www.creatingwithjoy.blogspot.com

I asked Nick what he wanted his apron to say and he choose the words “Cooker Guy.”

Cooker Guy Collage

Here’s my happy “Cooker Guy”, doing what does best.  Helping out.

“This is a sponsored post.  As a member of the Joy® Design Team I have been provided product and compensation in exchange for my creative ideas.  The views and opinions are my own.

Shop Your Fav Brands at Scrapbook.com

*Disclosure:  This blog uses ads and affiliate links.  If you choose to make a purchase using one of the links, I receive a small commission (at no additional cost to you) that helps offset the costs of maintaining this blog.  Thanks for your support!

Creating a Keepsake Memory Box with Decorative Trimmings

Sue Eldred's Keepsake Memory Box

I recently got a beautiful assortment of ribbons and trims from Decorative Trimmings to use

on a special project.  It was hard choosing which trims I wanted to use, because their selection

is wonderful.  I decided to Create a Keepsake Memory Box.

You know… for all those special little things that you want to keep and remember forever.

A perfect little box to fill with small gifts for Weddings, Mother’s Day, Bridal or Baby Showers.

Or maybe old love letters from your husband.   (Hmmm… I’d need a bigger box.)

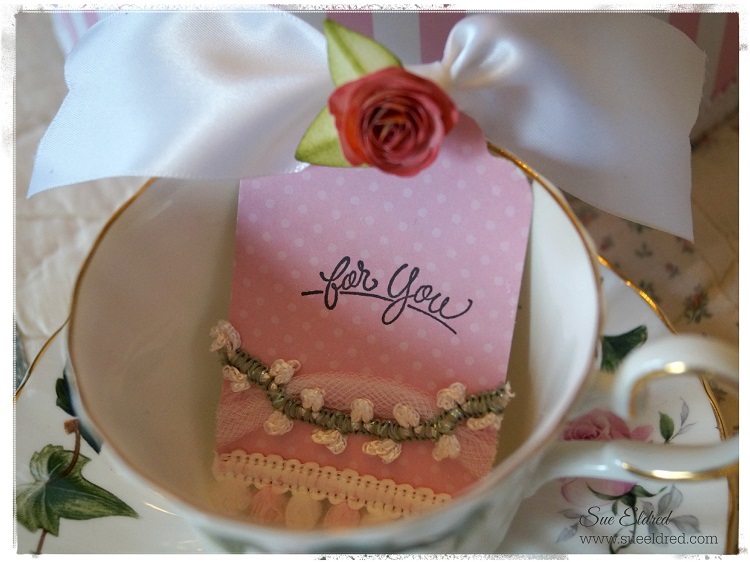
Keepsake Box and Tag Close Up 4973

For my Keepsake Memory Box and Tag I used three of the trims.

  • 1/2″ Pink & White Mini Polar Puff
  • 3/4 Inch Pink Rose Tulle Trim
  • Chinese Braid White
  1. Paint a large papier mache box with white acrylic paint.
  2. Cover it with scrapbook paper.   (I purchased mine from Michael’s.)
  3. Glue the Decorative Trimmings using Beacon Fabri-Tac Permanent Adhesive* (affiliate link)
  4. Stamped greeting is from Serendipity Stamps.

Tea Cup and Tag 4969

Today’s post is part of a blog hop hosted by Decorative Trimmings.

Shop Handmade – The Wedding Store

Disclaimer:  This blog uses ads and affiliate links.  If you choose to make a purchase using one of the links, I receive a small commission (at no additional cost to you) that helps offset the costs of maintaining this blog.  Thanks for your support!

How to Make a Garden Butterfly Sign

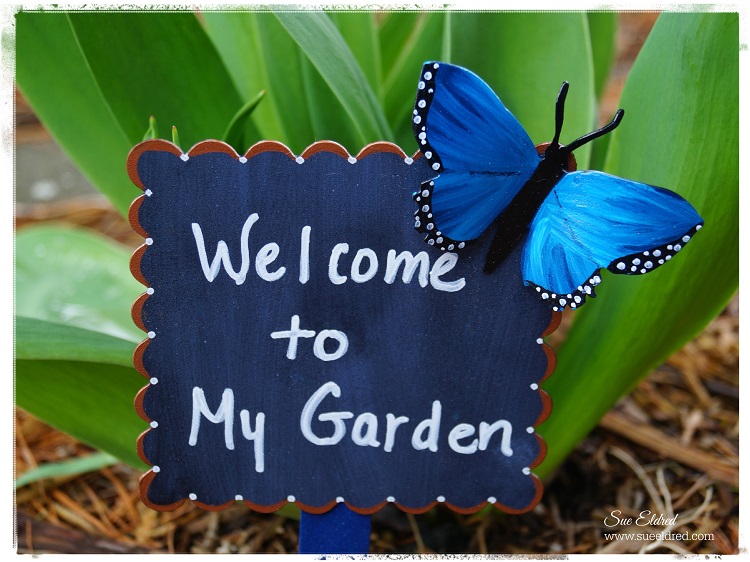
Welcome to My Garden Butterfly Sign 4758

How to make a Garden Butterfly Sign.

A fun technique using Black Sign Tags from Deflecto Craft Solutions.

According you my you tube account it’s been 4 years since I made my first video.

I guess it was finally time for my second one.  (let me know what you think)

“This is a sponsored post. As a member of the Deflecto Design Team I have been provided product in exchange for my creative ideas, views and opinions.”

Eco Friendly Projects with Walnut Hollow and Kunin Felt

Eco Friendly Projects with Walnut Hollow and Kunin Felts

Today, I’ve teamed up with Walnut Hollow and Kunin Felt, both eco friendly companies,

with some fun projects for Spring.

For my projects I used Walnut Hollow’s:     (*affiliate links)

Earth Day Step Out Collage

Earth Day Projects Collage

Walnut Hollow Earth Day Project 04385

I added Eco-Friendly tableware consisting of Bio-degradable cutlery and Bamboo plates.

Did you know?

Walnut Hollow has always been a huge advocate of environmental sustainability within the art, craft and hobby industry. Walnut Hollow has a strong commitment to environmental initiatives by preserving natural resources through their raw material consumption practices, production processes and recycling activities as well as maintaining an active involvement in the community.

Kunin Felt is made from Eco-fi,® a high-quality fiber made from 100% post-consumer recycled and BPA-free plastic bottles.

Earth Day is April 22nd.  Let’s make a difference.

Disclaimer:  This blog uses ads and affiliate links.  If you choose to make a purchase using one of the links, I receive a small commission (at no additional cost to you) that helps offset the costs of maintaining this blog.  Thanks for your support!

Join Amazon Kindle Unlimited 30-Day Free Trial

Simply Beautiful Handmade Flower

Learn how to make a Simply Beautiful Handmade Flower in a few easy steps.

To make the flower you’ll need:      (*affiliate link)

Disclosure:  This blog uses affiliate links.  If you choose to make a purchase using one of the links, I receive a small commission (at no additional cost to you) that helps offset the costs of maintaining this blog.  Thanks for your support!

Directions:

  1. Punch 3 daisies from each one of the punches for a total of 12 punch outs.
  2. Using the end of a pencil or skewer, round each of the petals up.
  3. Turn the punched shaped over and press down into the center.
  4. Glue two of the largest flowers together slightly off centered.  Add the third flower.
  5. Continue adding and gluing the next size flower and glue on top.  Repeat with the third size.
  6. Pinch the smallest flowers up tight and stagger and glue onto the center of the flower.
  7. Spray the finished flower with Glimmer Mist until you get the desired shade of color.
  8. Once the flower is dry add a small adhesive pearl in the center of the flower.
  9. Create card using Captivating Squares shapes and layers misted with Glimmer Mist

*FTC Disclosure… “This is a sponsored post.  I have been provided product in exchange for my creative ideas.  The views and opinions are my own.”

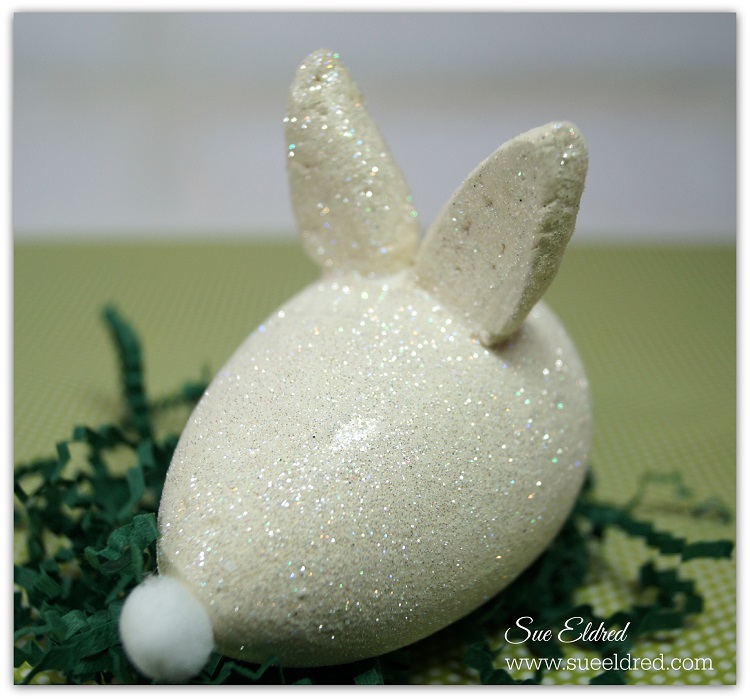
Glittered Bunny Egg

Are you ready for Spring?

Warm Weather, Pretty Flowers and Sweet Little Bunnies and Easter Eggs.

My project today is a Sweet Glittery Little Bunny made from a Smoothfoam Egg.

Bunny Parts and Supplies 3178 Glittered Bunny Egg 3224

To Make the Glittered you’ll need:        (*affiliate links)

  1. Cut two bunny ears from the smoothfoam sheet
  2. Lightly sand Smoothfoam egg and bunny ears.
  3. Glue ears onto Smoothfoam egg.
  4. Paint with cream paint.  Paint inside of the bunny ears pink.
  5. Cover the entire bunny with a thin coat of mod podge and sprinkle with glitter.
  6. Insert micro brads for the eyes and heart brad for the nose.
  7. Draw small mouth with fine black marker.

This project was created for and sponsored by Smoothfoam.

Shop Your Fav Brands at Scrapbook.com

*Disclosure:  This blog uses ads and affiliate links.  If you choose to make a purchase using one of the links, I receive a small commission (at no additional cost to you) that helps offset the costs of maintaining this blog.  Thanks for your support!

Spring Bling for your Garden

Spring Bling for your Garden 3640

Add a little Spring Bling to plain boring terra cotta pots.

With Spring Fever setting in, I decided I needed a new flower to perk up the place.

I chose a pretty little African Violet that reminds me of my grandma.

Grandma loved African Violets.

In no time at all, armed with a few simple products, I transformed a boring terra cotta pot into

something sparkly and fun.  Just what I needed.

Spring Bling 3596

 To make my Spring Bling Pot you’ll need:      (*affiliate links)

  1. Start with a 4 1/2″ Terra Cotta Pot painted with black acrylic paint.
  2. Cut Black Damask tissue paper the width of the lower portion of the pot.  Cut the strip into smaller sections.  (my sections were 2 3/4″ x 1 1/2″)
  3. Apply a thin layer of Mod Podge to a small section of the pot, add tissue paper and apply another layer of Mod Podge over tissue.
  4. Continue adding tissue sections until the bottom of the pot is covered.
  5. Apply a thin layer of Mod Podge over the top of the pot to give it a nice shiny finish.
  6. Cut a strip from the Black Crystal Sheet to fit around the rim of the pot.
  7. Glue crystal sheet onto rim of the pot.
  8. Glue vintage button over seam for added sparkle.
  • FYI:  I could have used the Weldbond glue shown in the picture above which is a good permanent glue.  But, because of the weight of the crystals I decided to use my Quick Grip glue instead.

Spring Bling 3606  Spring Bling 3607

My Spring Bling Pot was created for and sponsored by Connie Crystal.

connie crystal logo

Disclosure:  I am an Amazon Affiliate.  If you chose to make a purchase using one of the links, I receive a small commission that helps offset the cost of running this blog.  Thanks for your support!

Vintage Home Sweet Home Layout

Home Sweet Home 3088 Lately, I’ve been noticing more and more people using embossing paste on their scrapbook layouts.

Hmmm…. I haven’t used embossing paste in years.

Matter of fact… my jars of embossing paste are over 10 years old.  (and still good)

So, I thought I’d give it a try with a simple layout and this old house picture.

Quick, Simple and adds a subtle punch to this layout.  I think I like it.

Embossing Paste Border 3092

Using embossing paste is easy: 

  • Lay stencil onto cardstock, fix in place with removable masking tape.
  • Apply a thin layer of embossing paste over the stencil using a palette knife.
  • Remove stencil and allow time to fully dry.
  • Make sure to clean embossing paste off stencil right away.
  • It’s as easy as icing a cake.

Products Used:

Click on the pictures above for more information through Amazon*

Disclosure:  This project was created for and sponsored by Clear Scraps.

I am an Amazon Affiliate.

Fave Crafts 2015 Best Blogger Contest: Baby Girl Tag

This sweet “Baby Girl” tag was made with the products I received after the

2015 Blogger Networking Event at the Craft and Hobby Association Show in January.

The tag is also my submission into Fave Crafts Best Craft Blogger Contest 2015.

(Needless to say, I’ll be shamelessly asking you for your vote at the end of the post.)

Little B Baby Tag 1488 2

Baby Girl Tag

Designed by Sue Eldred

Little B: (littlebllc.com)

  • 100366 Honeycomb Punch
  • 100434 Silver Foil Pink Harlequin Decorative Tape
  • 100418 Pull Flowers Chrysanthemum
  • 100146 Footprints Dimensional Sticker Embellishments
  • 100395 Party Dies

Additional Supplies:

  • Large White Tag 3 1/2” x 6 1/4”
  • Cardstock: White, Pink
  • Large White Button (Buttons Galore and More)
  • Fabri Tac Adhesive (Beacon Adhesives)
  • Tape Runner
  • Thin 3-D Foam Squares (Scrapbook Adhesives by 3L)
  • 5/16 Hole Punch
  • Silver Ribbon (Offray)
  • Computer Generated Font.

Directions:

  1. Punch a 3 1/2” pink cardstock border using the Honeycomb punch.
  2. Add a 3 1/2” strip of decorative tape onto a piece of white cardstock. Trim a very thin border on each side of the tape. Add decorative trim tape piece onto center of the Honeycomb border.
  3. Adhere border on the bottom of the tag.
  4. Cut 12” from the White Pull flowers trim. Fold trim in half and pull strings as directed to create flower.
  5. Add small pink feet stickers to a large white button. Glue embellished button to the center of the flower. Glue flower onto center of the tag.
  6. Create a pink banner from the Party Dies. Add to top of the top using thin foam mounting squares.
  7. Print out the letters: B A B Y using a computer and printer onto white cardstock.
  8. Punch out each letter using a 5/16th hole punch. Add the letters onto the banner with small thin mounting squares.
  9. Tie top of the tag with silver ribbon.

Little B LLC Baby Girl Tag

Confession:  I’m not sure if you noticed or not… 

I did not use a plain white strip under the washi tape on the first picture on this post.

You can see the honeycomb underneath.  I like it better with the white strip.  It’s a little crisper.

I tried retaking the picture of the tag over 100 times.  That one was my favorite.  (so I stuck with it)

Best Blogger Craft 2015

After the favecrafts 2015 Blogger Networking Event at the Craft and Hobby Association Show in January, bloggers received a sample of new products from participating sponsors of that party.  The projects created from these brands and samples are simply amazing! You’re getting the first look at these exclusive projects made with new products hot in the craft market.

They need your help determining which project to crown Best Blogger Craft of 2015! You can only vote once. Voting ends March 10th, 2015 midnight CST.

I submitted this tag as part of Fave Crafts Favorite Blogger Contest.

Please check out all the entries.  (feel free to “vote” for me, if you’d like)