Learn How to make a Fabulous Card with Fancy Folds in just a few Simple Steps

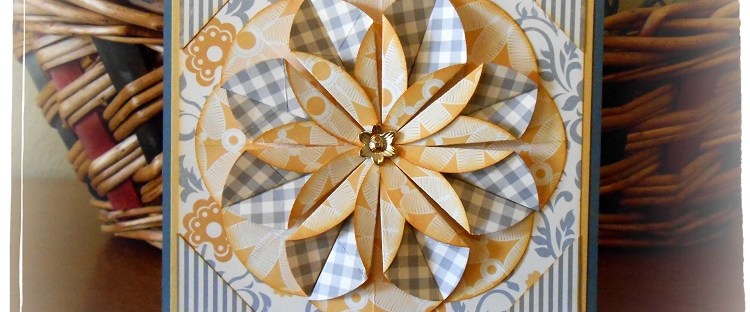
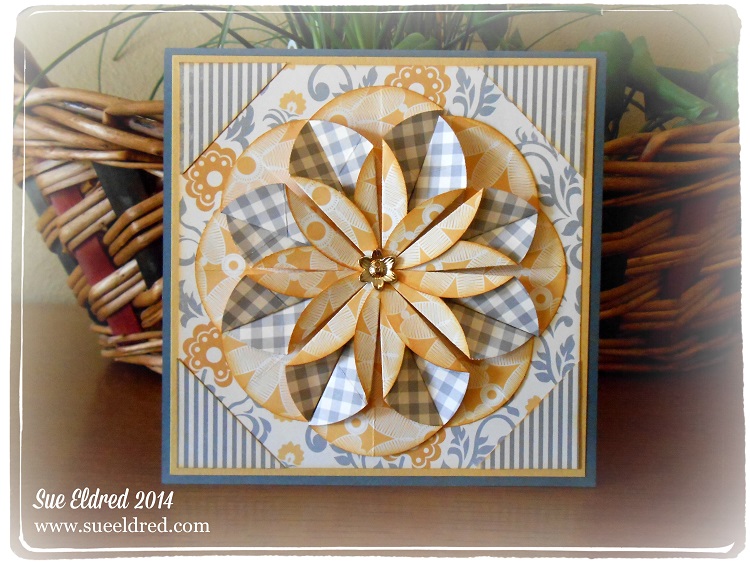
Fancy Fold Card Want to learn how to make a fabulous looking card in a few simple steps? Fancy Folds Instructions I learned this technique from the book
Fabulous Folds for Card Making*
Design by Lisa Silver

  1. Punch 9 circles.  (mine is a 2″ circle)  I edged each circle with Butterscotch Ink.
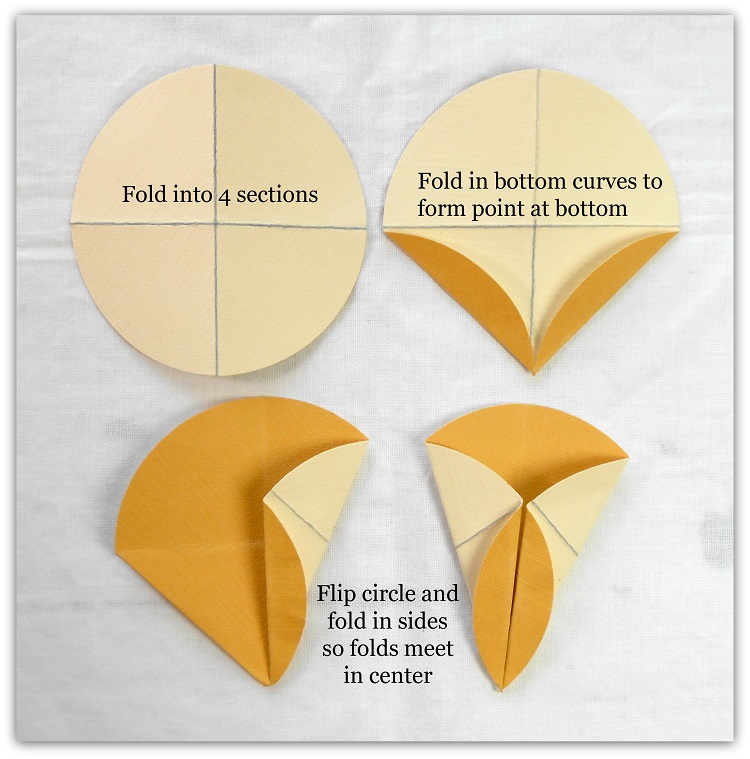
  2. Fold each circle into four sections.  (lines on the above picture are to make it easier to view)
  3. Fold in bottom curves to make point at the bottom.  (do this with 8 of the circles)
  4. Flip Circle and fold in sides so folds meet in center.
  5. Arrange petals on remaining circle to make a total of eight petals.
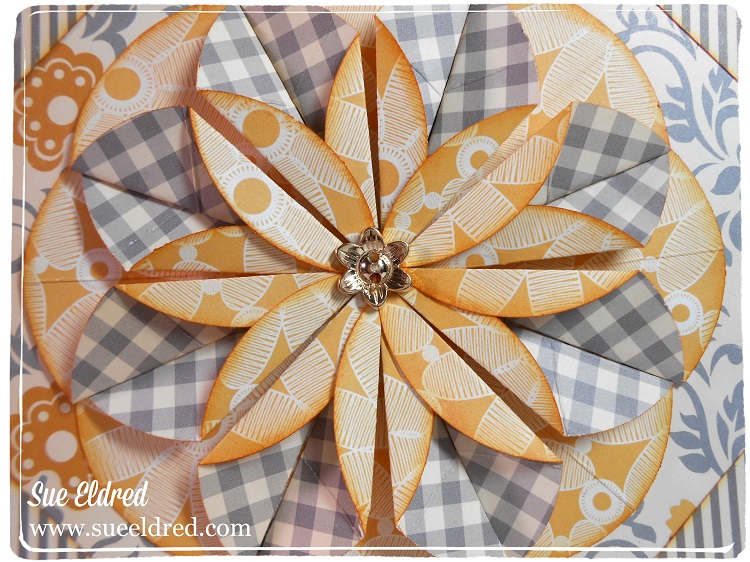
Fancy Fold Card Close Up I added a little gold flower button from Buttons Galore and More. FYI:  If you happen to pick up the book, I’m on pages 148, 160 & 164

(*Disclosure:  I am a Amazon Affiliate.)

Ugly Chair Make-Over

Ugly Chair Before

I picked up this ugly green chair last fall at a garage sale for only one dollar.

The man who sold it to me that morning wanted to hurry up and sell it before his wife came home

from taking the kids to school and changed her mind.

To him, it was an ugly chair.  To me, I saw possibilities.

As luck would have it, the very same week-end, I picked up a wonderful length of red and cream

ticking fabric for 50 cents.  It was perfect, it was meant to be.

But…because I just couldn’t cut the lovely fabric just yet,

I left the project in the garage to marinate over the winter.

Beautiful Chair After

I discovered in the process of recovering the chair that it used to have a red velvet seat.  (yuck!)

It was gross.  I took everything off and added new foam before re-covering the seat.

The chair was glued, reinforced and painted with red paint left over from previous projects.

Last night I put the final coat of red paint on the chair.  (red takes a lot of coats)

I just love it.  Now to find the perfect spot.  Maybe my workshop.

Total cost on the project $4.50.  Not to bad of a bargain.  (Pretty resourceful if I say so myself.)

I can’t decide it I should leave it as is or add some kind of stencil design in the middle.  Thoughts?

Basic Grey’s: Herbs & Honey Home Decor

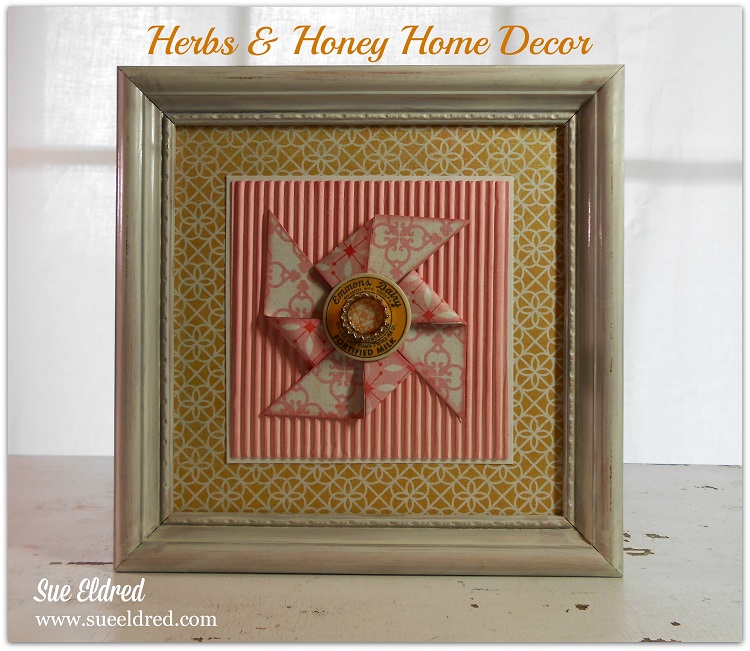
Herbs & Honey Home Decor

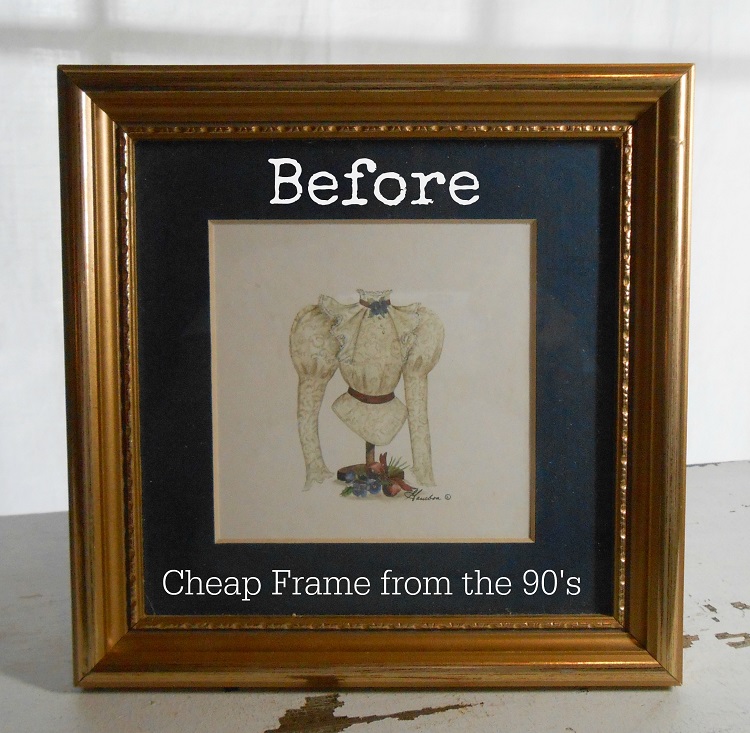
One of the things I look for when I go treasure hunting are picture frames.   Square ones in particular.  I am just drawn to square frames.  Doesn’t matter how ugly the picture is inside.

Herbs & Honey Home Decor before

I gave the gold frame a white wash look with Tim Holtz Distress Paint in Antique Linen. (frame cost .50)

Herbs n Honey Home Deco close up

I made a simple 3″ pinwheel using two different pinks from the “Herbs & Honey” Collection.  The middle of the pinwheel was made using “bottle cap” stickers from the same collection.

What do you look for when you go treasure hunting?  (I think that sounds better than garage sales)

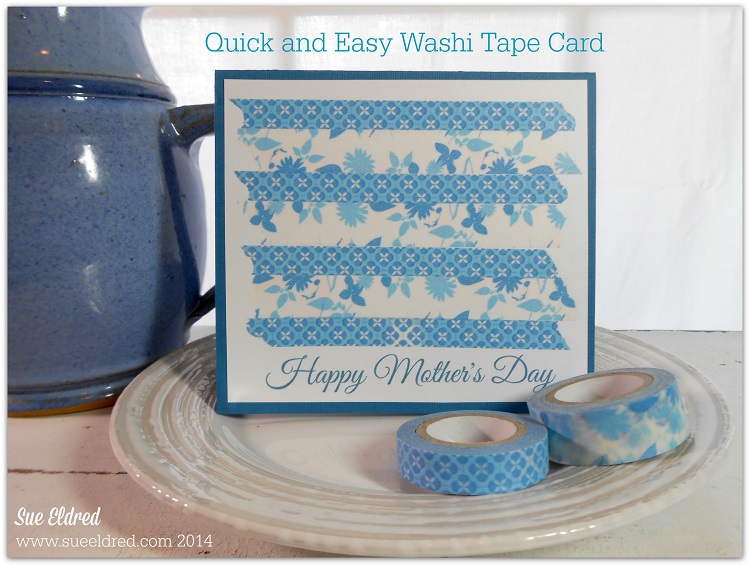
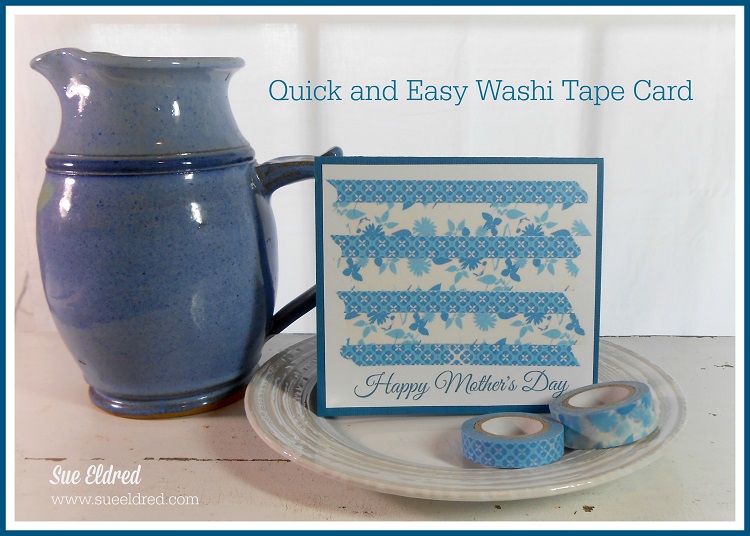
Quick and Easy Washi Tape Mother’s Day Card

Mothers Day is just a few days away.  Your Mom is expecting a special handmade card.

Here’s a Quick and Easy Mother’s Day card that you can make in minutes.

First, I’m assuming like any good paper crafter, you have washi tape on hand.

If not, there’s still time to run out and get some.  (visit your local scrapbook store)

Here’s what you need to do:

  • Using your computer, print your Mother’s Day greeting on a piece of white cardstock.  Make sure it prints approx. half way down the page.
  • Cut the white cardstock 1/4″ smaller than the size you want your card to be.
  • Then tear the washi tape into strips and alternate onto the white cardstock.
  • Adhere it to a cut and folded coordinating colored card that is 1/4″ larger than the white cardstock.

(My finished card is 4 1/2″ x 5″)

Voila!  Now run out and get her a bouquet of fresh flowers from the grocery store and your done.

To my kids:

If you are reading this post, the supplies are on my desk.

Help yourself.

Love, Mom

*Disclosure:  This blog uses ads and affiliate links.  If you choose to make a purchase using one of the links, I receive a small commission (at no additional cost to you) that helps offset the costs of maintaining this blog.  Thanks for your support!

Do you Zentangle?

What is Zentangle?

The Zentangle Method is an easy-to-learn, relaxing, and fun way to create beautiful images by drawing structured patterns. (www.zentangle.com)

I was introduced to Zentangle a year or so ago and I swore I wasn’t interested.

Never say never!  Now, I am fascinated by it.  Such a easy and relaxing artform.

It’s kind of like being a kid again, just sitting, doodling and drawing.

The supplies are simple and cheap, ideas and images are everywhere on the internet.

There are several books available on Zentangle.

If you live in the Mid-West there’s even a Zentangle Art Expo in Madison Wisconsin this summer.

Do you Zentangle?

I do now!

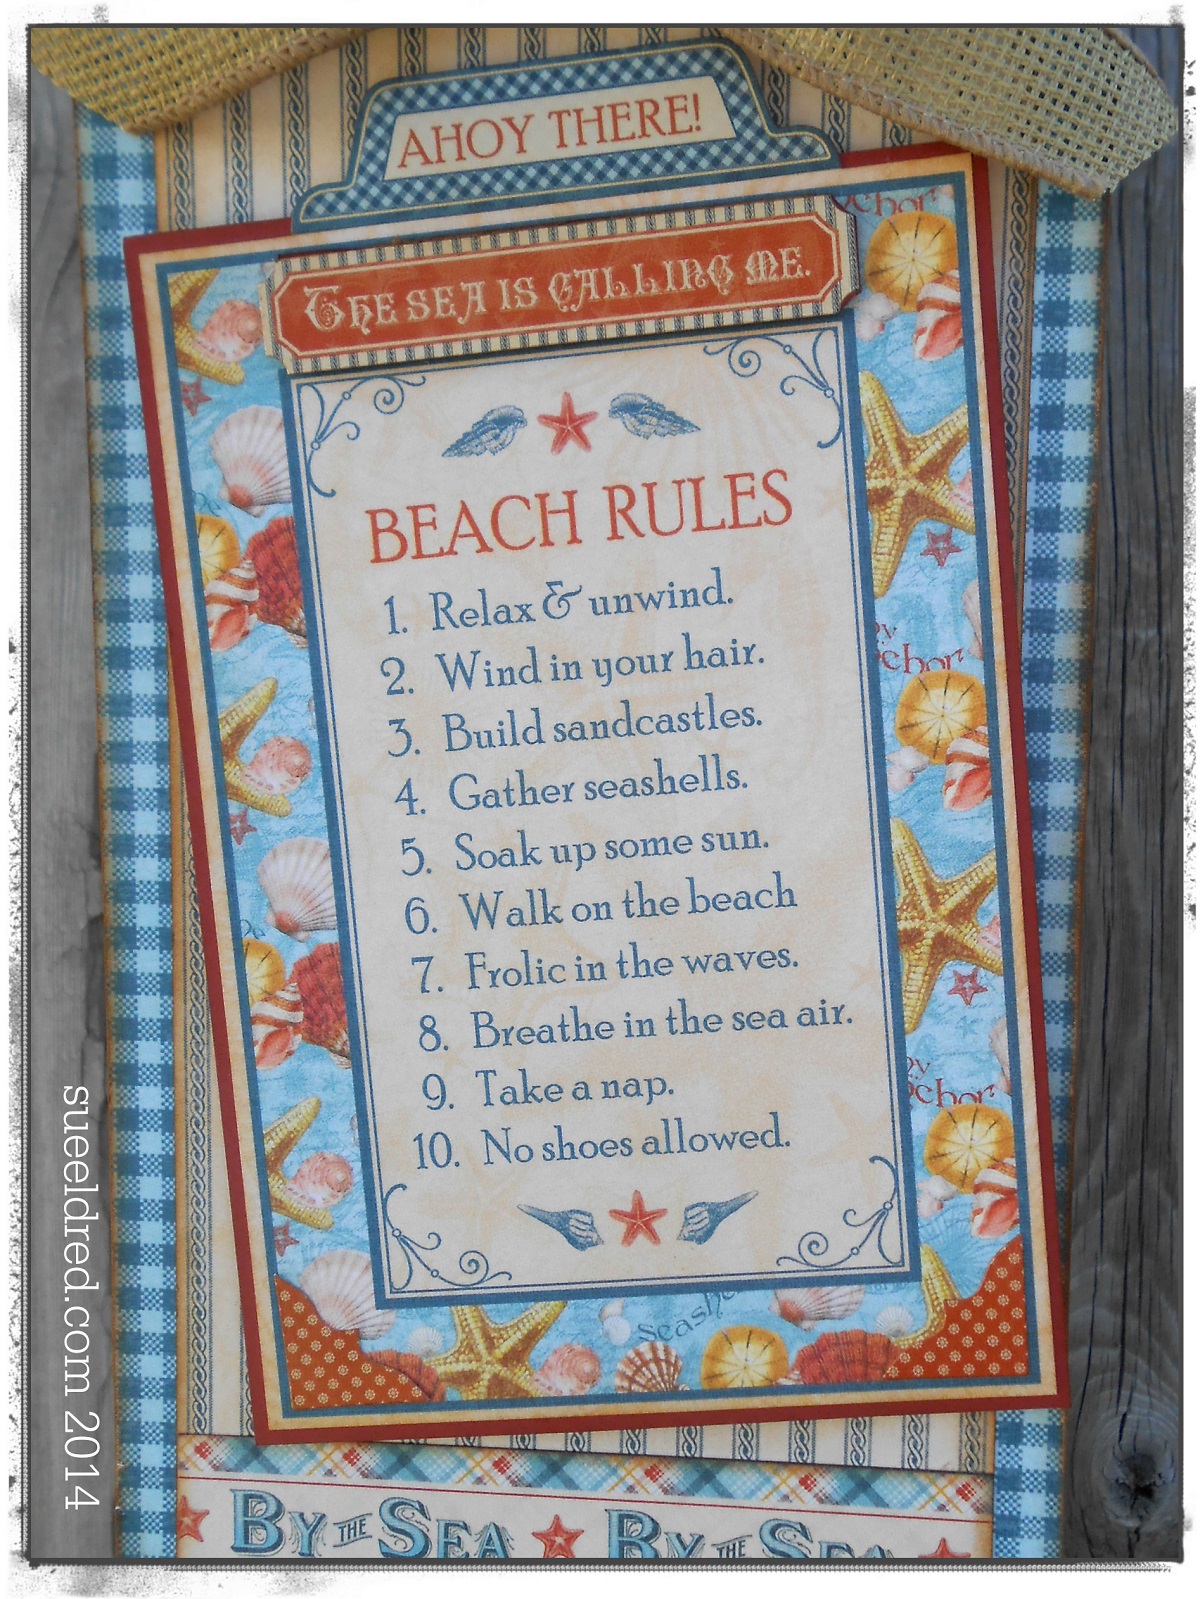
Beach Rules

Beach Rules 2

Planning a Beach Vacation this year?

If so, here are a few rules you may want to consider.

Beach Rules close up

I love it when you can use an item for multiple purposes.

Like the “All Mixed Up” chipboard album from Clear Scraps.

The chipboard album comes with six different overlapping pages.

I used the fifth page in the album to create my “Beach Rules” wall hanging.

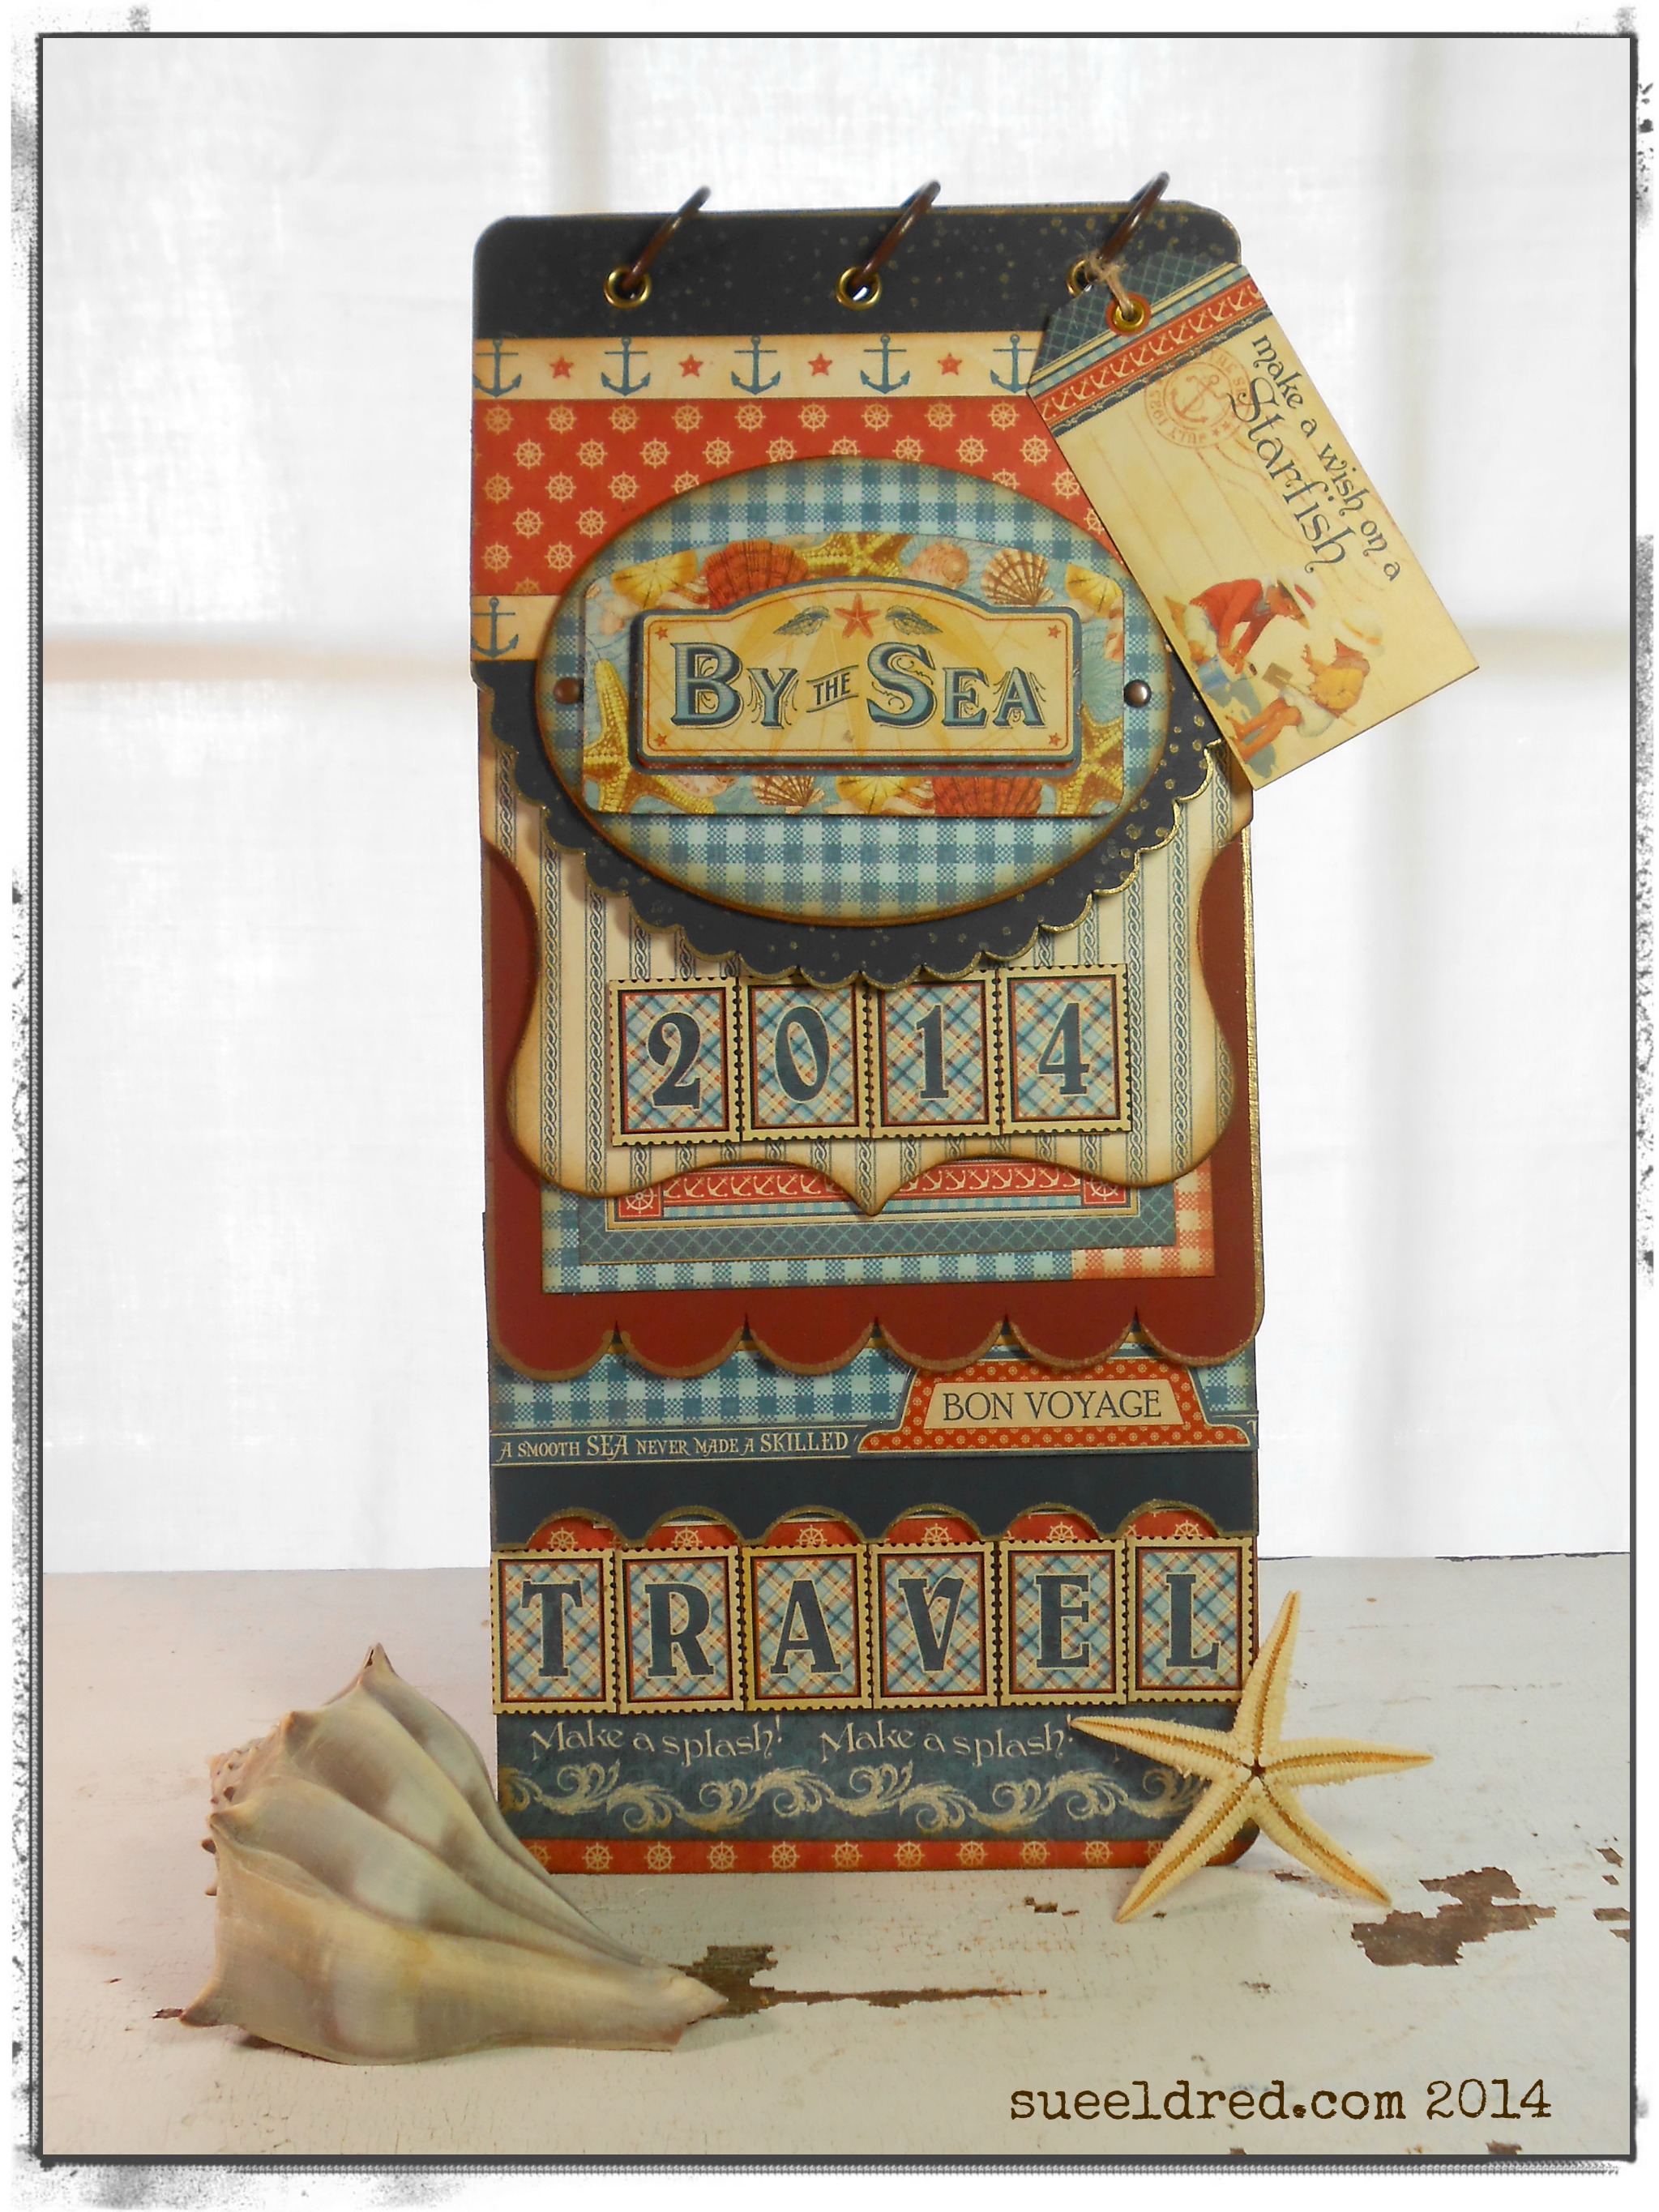
By the Sea Album

To create the “Travel” album, I used the remaining 5 chipboard pages.

I painted three of the pages with acrylic paint the others are covered with papers from

Graphic 45’s “By the Sea” Collection.

I'm dreaming of a beach vacation 2

I’m not sure it’s in the cards for me this year.  But a girl can dream, can’t she.

This project was created for and sponsored by Clear Scraps.

“Big things often have small beginnings” Mini Album

I really enjoy making Mini Albums and  6″ x  6″ is my size of choice.  Clear Scraps 6″ x 6″ Chipboard Album is a great place to start.  I love how sturdy the pages are and that the edges are already distressed for me.

Clear Scraps 6 x 6 purple album

My album was made using the regular  6″ x 6″ chipboard album.

When I make my mini albums I like to trim around my pages with an exacto knife and then sand the edges for a smooth finish.  A standard 1/4″ office hole punch works to punch out the holes once you’ve covered them up with the scrapbook paper.

The paper used on this album is Kaisercraft’s Violet Crush Collection.  The flower on the front is from Petaloo.

Clear Scraps Purple Album close up

A Round Clear Tag works wonderful as an added embellishment.  I glued  left over scrapbook paper to the tag and went around the edges with a Silver Leaf pen.  I easily punched a hole on the top of the album to tie on the tag.

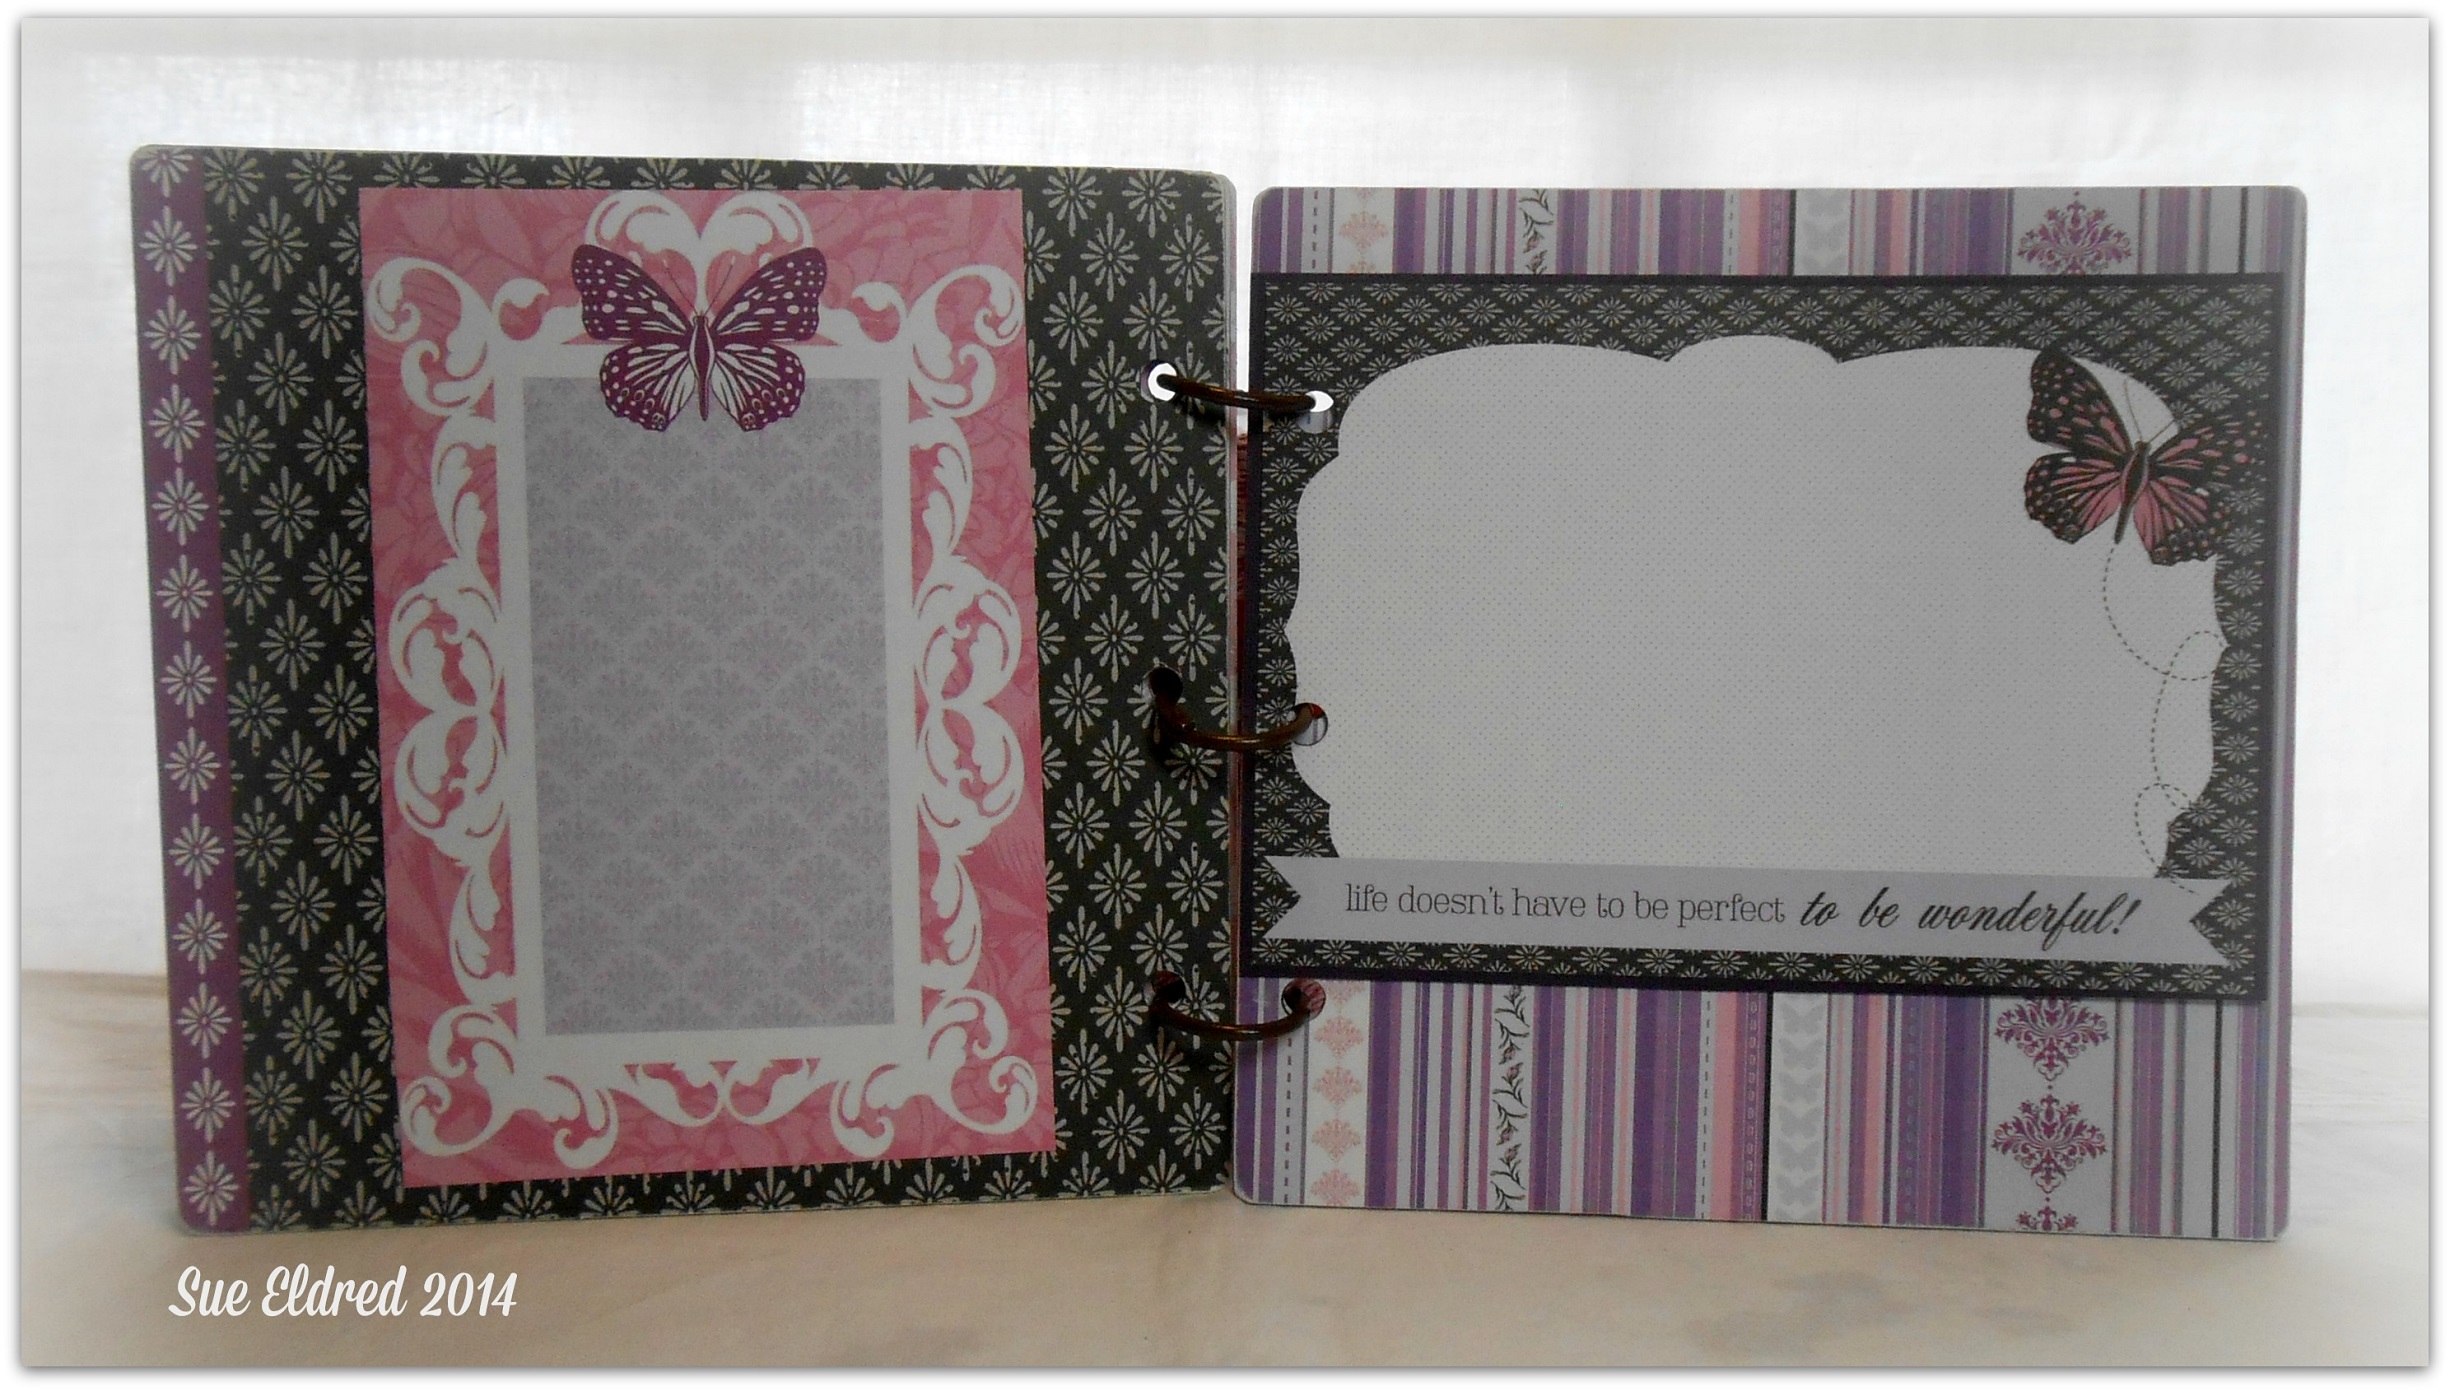
Clear Scraps Purple Album pages 1 and 2

Inside pages.

Below,  I added a small flap page to the inside of the book.

Clear Scraps Purple Album additional pages

Thanks for stopping by.  Have a Creative Day, Sue.

This project was created for and sponsored by Clear Scraps.

Wedding Wish Tree Tag

An old tradition that has been gaining popularity with brides is the Wedding Wish Tree.

The Wish Tree is a Dutch Wedding custom where the guests are given a piece of paper, either shaped like a leaf or tag made of cardstock.  When the guests arrive at the reception, they write their wishes to the happy couple and then hang them on the tree using ribbon, clips or string.

The Wish Tree will make a attractive centerpiece and a great statement to wow your guests.  It can also be used as an alternative to a traditional guest book.  Can’t you just see branches painted white with twinkle lights full of wonderful wishes.

Casual, Elegant, Rustic or Baubles and Beads.  Individualize your tree, the possibilities are endless. While Wedding sites on the internet suggest that Manzanita branches are the best to use, for those more creative souls, let your imagination run wild. The style is up you.

Why stop at weddings?   The Wish Tree could be used for any special occasion.

Marvy Uchida

  • Clever Lever Extra Jumbo Scalloped Circle Punch
  • Clever Lever Extra Jumbo Scalloped Heart Punch
  • Clever Lever Extra Giga Merchandise Tag Punch

Additional Supplies:                (*affiliate link)

Instructions

Making the flower is easy. 

  1. Punch six cream scallop circles.
  2. Using a ink applicator, ink the edge of each scallop circle with the Tea Rose ink.
  3. Mist the circles with water, allowing ink to run.
  4. Stack all the circles together and pierce a hole the the center of all circles.  Attach circles with small brad.
  5. Starting with the top circle,  carefully scrunch the circle to the center.  One by one, continue scrunching the circles until you have a small paper wad.
  6. Gently unfold the circles to start forming the flower.
  7. For extra color, apply a little more ink to the tip of the flower.  This can be done while the flower is still damp or wait until it has dried.  Allow flower to dry.
  8. Punch two cream scalloped hearts.
  9. Ink hearts with Peeled Paint Distress Ink.
  10. Mist hearts and scrunch in your hand.  Carefully unfold.
  11. Glue dried leaf underneath the flower.  Another alternative for the leaf is to pinch the two rounded ends of the heart using the pointed end as the tip of the leaf.

Shop Handmade – The Wedding Store

Disclaimer:  This blog uses ads and affiliate links.  If you choose to make a purchase using one of the links, I receive a small commission (at no additional cost to you) that helps offset the costs of maintaining this blog.  Thanks for your support!

More Creative Love from Kaisercraft’s “Now Boarding”

My first design team assignment with The Paper Forest was to use the

“Now Boarding” Collection from Kaisercraft.

This collection has a great selection of travel images.

I made a quick and easy card, which I turned into a anniversary card.

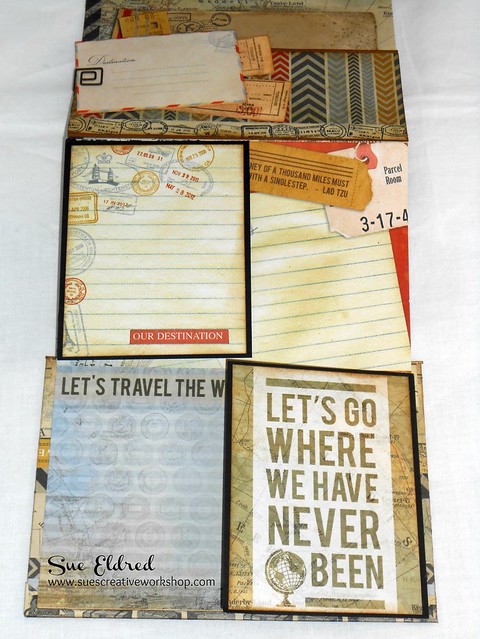
I also made this accordion album with flaps, pockets and plenty of room

for journaling.

In the collection of 12 x 12 papers is a page with six 4″ x 6″ images.

I cut this page in 1/2 vertically, used a small strip of coordinating paper to

join the two strips to make my accordion base.  I then went to town making

flips and pockets.  The front and back of the book is covered chipboard.

(page #1)

(inside of the book)

(Pocket Page)

(Pages #4-6, flaps closed)

I really loved working with this collection.

Very vintage inspired, yet modern.  (is that possible?)

More “Now Boarding” Layouts down below.