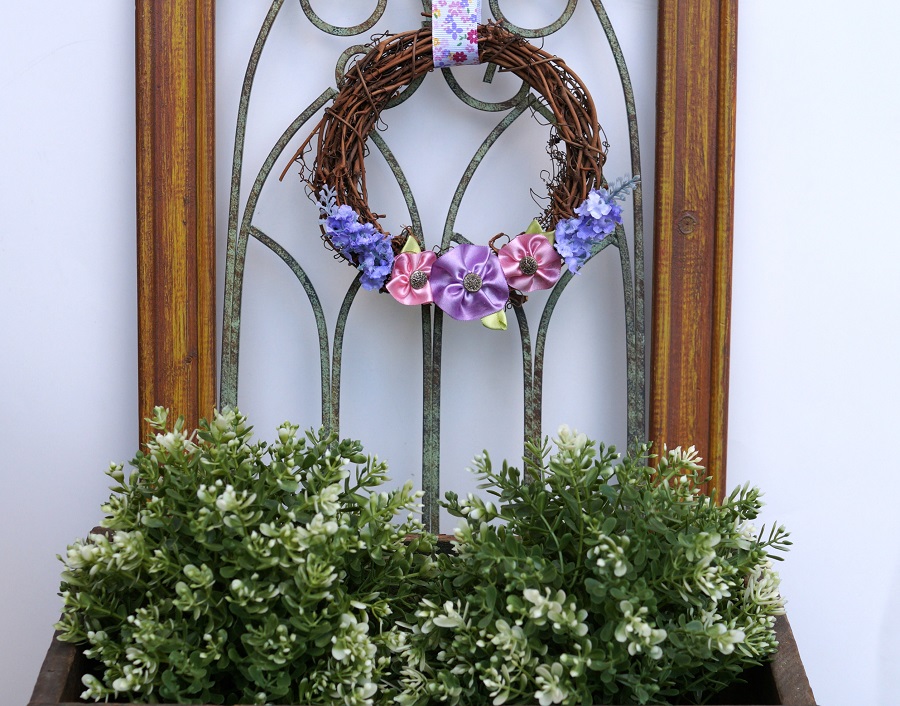
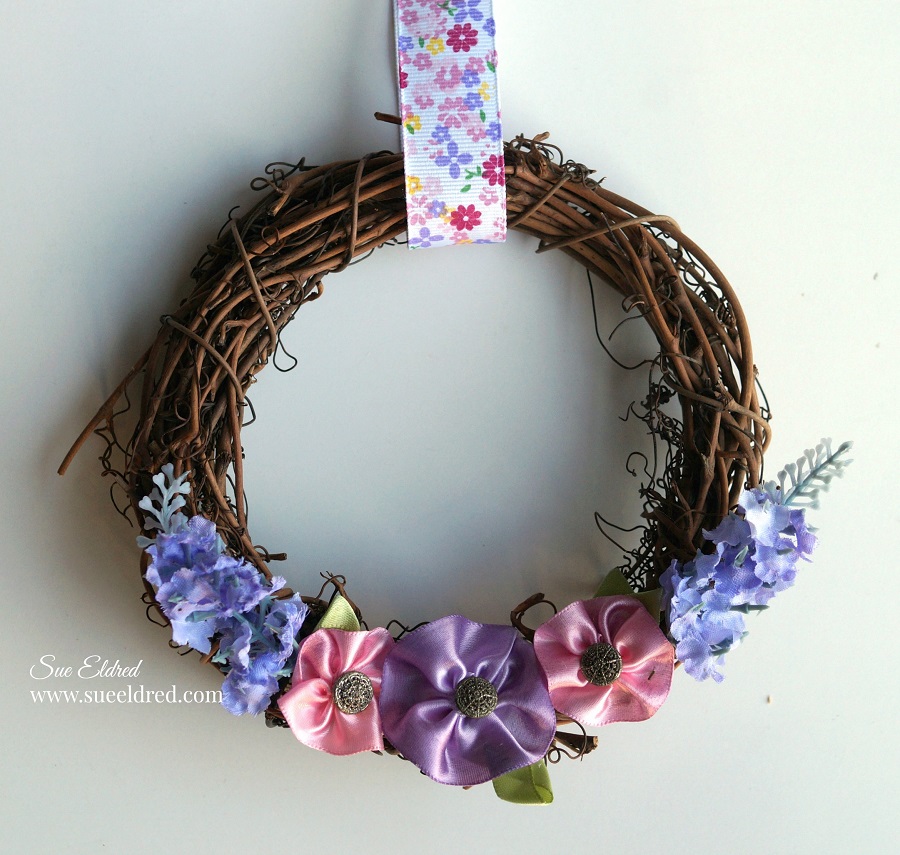
Learn how to create ribbon flowers to embellish a small 6″ grapevine wreath.
A great little Spring decoration.
Ribbon Flowers looks great on bags, gifts, wedding decorations and hair accessories.

to make the Ribbon Flower Wreath you’ll need:
- 5/8″ and 7/8″ Ribbon
- 6″6″ Grapevine Wreath*
- StazOn Gothic Purple Inkpad*
- Ink Blending Tool*
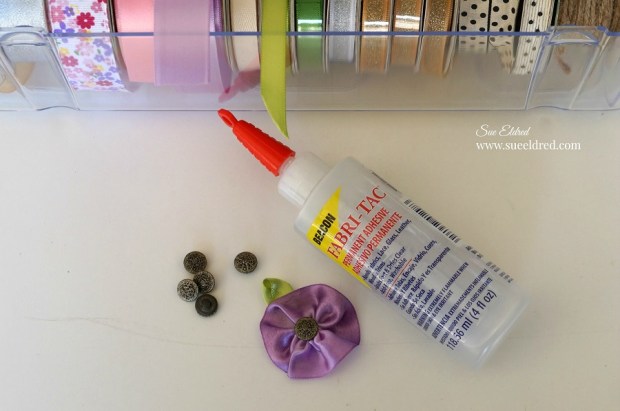
- Beacon Fabri-Tac Adhesive*
- Small Buttons
- Needle and thread
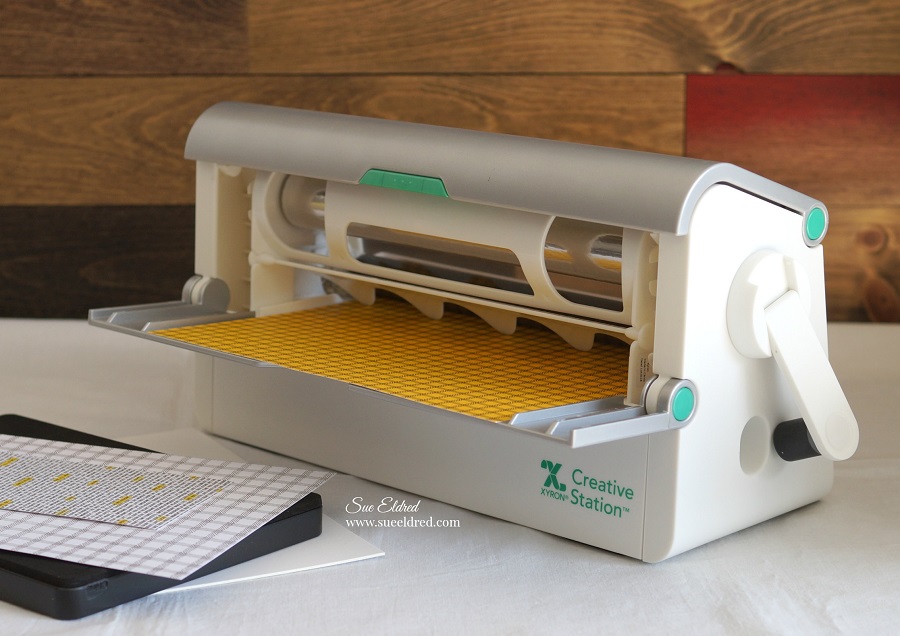
- Deflecto Ribbon Dispenser*
Disclosure: This blog uses affiliate links. If you choose to make a purchase using one of the links, I receive a small commission (at no additional cost to you) that helps offset the costs of maintaining this blog. Thanks for your support!
How to make a Ribbon Flower Wreath:
- Cut a 6″ piece of ribbon.
- Use the ink applicator to apply purple ink to one edge of the ribbon.
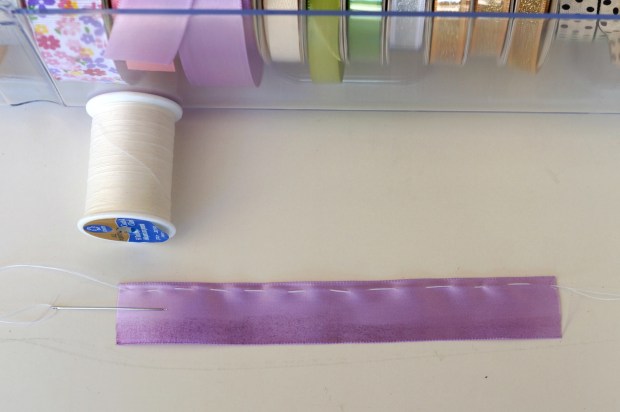
- create a running stitch down one side of the ribbon.

- gather the ribbon and tie thread ends in a knot.
- glue small vintage button to the center of the flower.
- to create leaves: fold a small strip of green ribbon and glue to the back of the flower.

- Glue flowers onto wreath.
- Optional: Glue small sprigs of flowers on each end of the ribbon flowers.
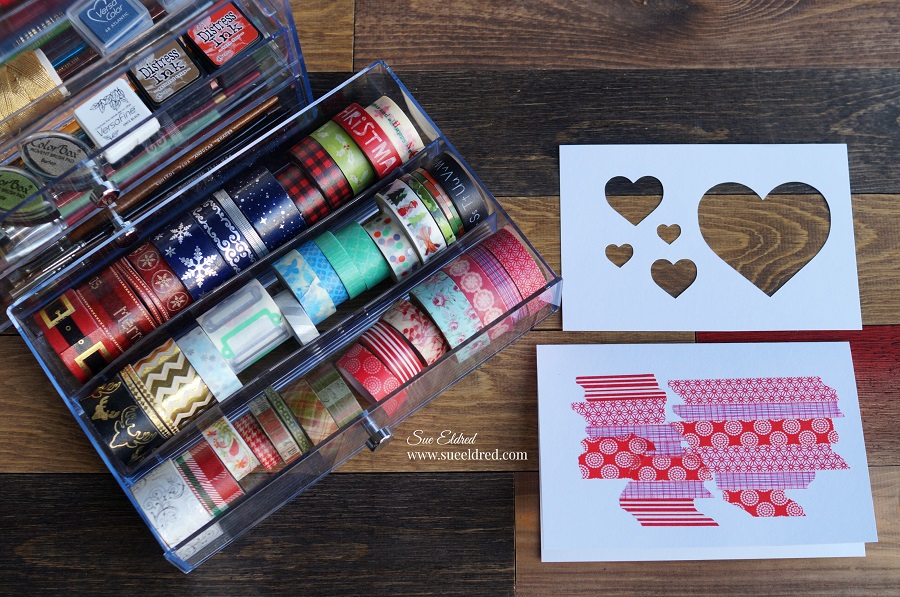
Did you notice? I used the Deflecto Ribbon Dispenser* to organize and hold my ribbon.
The Deflecto Ribbon Dispenser* also fits into the Deflecto Stackable Caddy Organizer*
Hang your small wreath on a doorknob or decorative window and Enjoy.
![]()
“This is a sponsored post. As a member of the Deflecto Design Team I have been provided product in exchange for my creative ideas, views and opinions.”