Craft Ideas Magazine

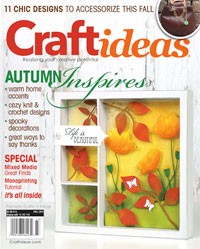
Craft ideas magazine cover

The other day I received this magazine in the mail.

At first, it stumped me.  Why am I getting this magazine?

When I finally got the chance to sit down and look at it I noticed the name had changed.

Craft Ideas was formerly Crafts n’ Things.

Fall Addition!!!  I immediately knew what I was looking for.

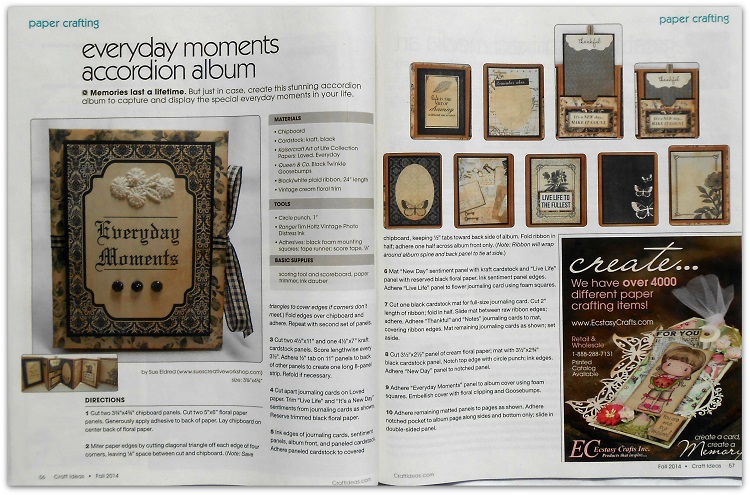
Craft ideas Magazine Everyday Moments

Ta Da!!!  Here I am on pages 56 & 57.

My “Everyday Moments” accordion album with all the instructions so you can make one too.

Another thing that makes me happy:   they used the photographs I took for the article.

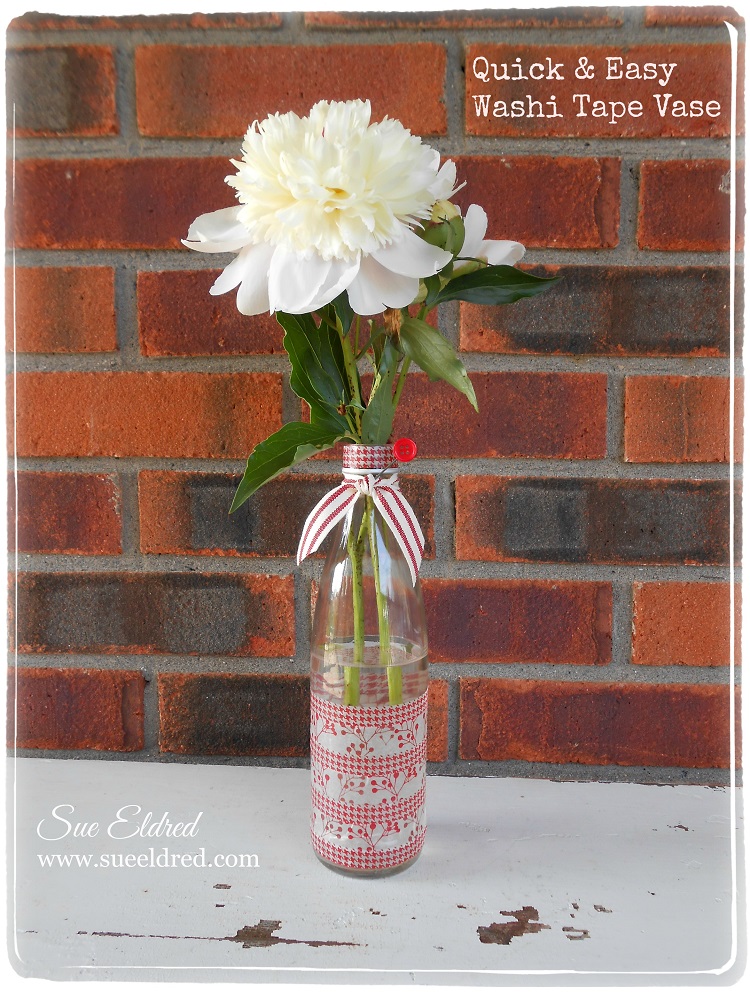
Quick & Easy Washi Tape Vase

Today’s the first Monday of the month time for the Designer Craft Connection Blog Hop.

The Theme this month is Handmade Gift Ideas.  (don’t forget to hop)

Quick & Easy Washi Tape Vase

My project today is a fun, quick & easy project that you can make in minutes.

This would make a great last minute gift.

Washi Tape Vase Close Up  Washi Tape Vase Details

I started with a narrow glass bottle that has a fairly long straight section.

Wrap the bottle with Washi Tape.  Choose two patterns or more.

Having a straight section is important to getting the washi tape on evenly.

You can smooth out any wrinkles in the tape with your thumb nail or a bone folder.

I added a little more detail around the neck of the bottle with some ribbon and a button.

I picked up the ribbon this Spring at The Paper Source in Indianapolis.  (I’ll be hoarding this)

I glued the button onto a Memo Pin* from Tim Holtz and stuck into the ribbon.

Grab a flower from the garden and your ready to go.  It really is that easy.

Just a note in case you’re wondering:

The tape on the vase, just like the flower won’t last for ever.  It’s just pretty.

*Disclosure:  I am a Amazon Affiliate.

Reverse Glass Painting Technique with Decocolor Markers

I learned the Reverse Glass Technique, a long time ago,  from my Mom who loved to paint.

I believe, when did the reverse glass technique, she used Acrylic Paint on her painting.

For mine, I’m using Deco Color Paint Markers* (affiliate link) from Marvy Uchida.

I use these paint markers all the time on a variety of surfaces.

First thing you’ll want to do is to pick out the image.

For me, the simpler the better.

I picked a free graphic from Coloring Hub. (link below)

Stained Glass Clip Art from Coloring Hub

Reverse Glass Paint #1

1.  Lay Clip Art under glass and trace around image with black Decocolor marker.

Reverse Glass Paint #2

2. Use ruler for outside areas to get those lines straight.  Make sure to leave time for the ink to dry before laying ruler on top the previous line.

Here is the design outlined.  I like using the fine point marker better than the extra fine marker.

Reverse Glass Paint #3

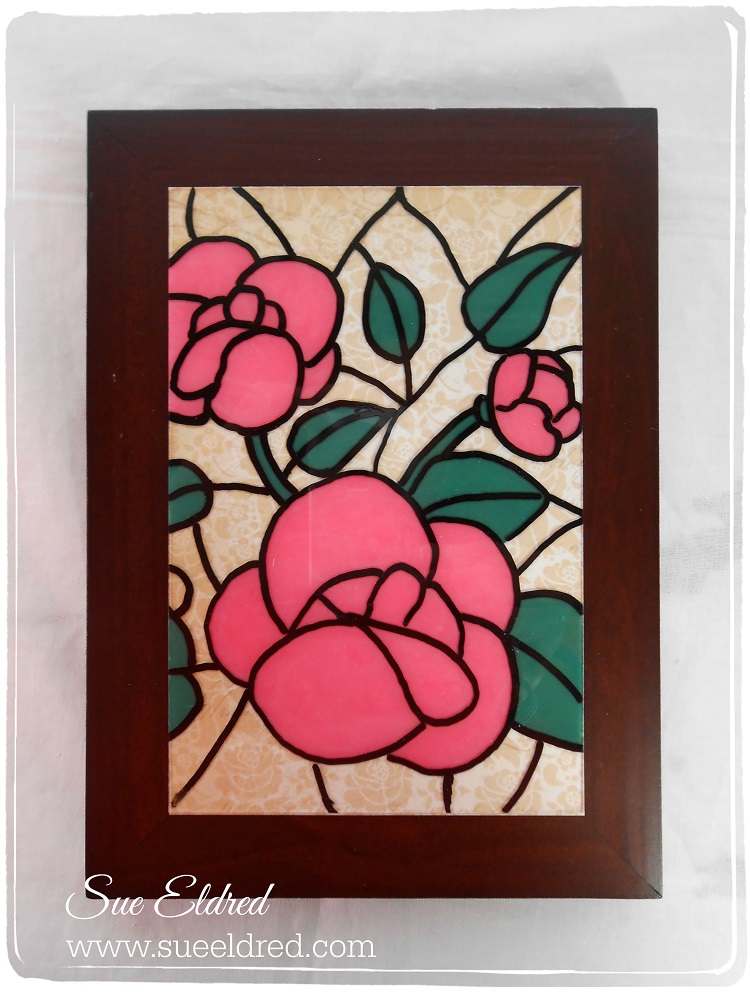
3.  Flip the glass over and do your coloring on the reverse side of the glass.  Make sure to color all the way to the edge of the lines.

Reverse Glass Paint #4

4.  Color in the remaining sections.  Make sure to get the colors as close as possible.  Here is the back of the glass with the full design colored in.

Marvy Uchida also makes a DecoColor Paint Marker Remover* which I absolutely love.  It has saved me on more than one occasion.  It works wonderful to correct any mistakes you make.  I recommend you pick one of those up also.  (FYI:  it also removes alcohol ink from non porous surfaces)
Here’s some interesting history on Reversed Glass Painting.  (it’s been around for a long time)

Reverse Glass with Scrapbook Paper

Here’s another possible way to do a background.  (a more updated version)

Color/Paint only a portion of the image and leave the rest unfinished.

Add a piece of scrapbook paper to the back of the glass before framing.

Shop Amazon Scrapbooking Supplies*

Disclaimer:  This blog uses ads and affiliate links.  If you choose to make a purchase using one of the links, I receive a small commission (at no additional cost to you) that helps offset the costs of maintaining this blog.  Thanks for your support!

Learn How to make a Fabulous Card with Fancy Folds in just a few Simple Steps

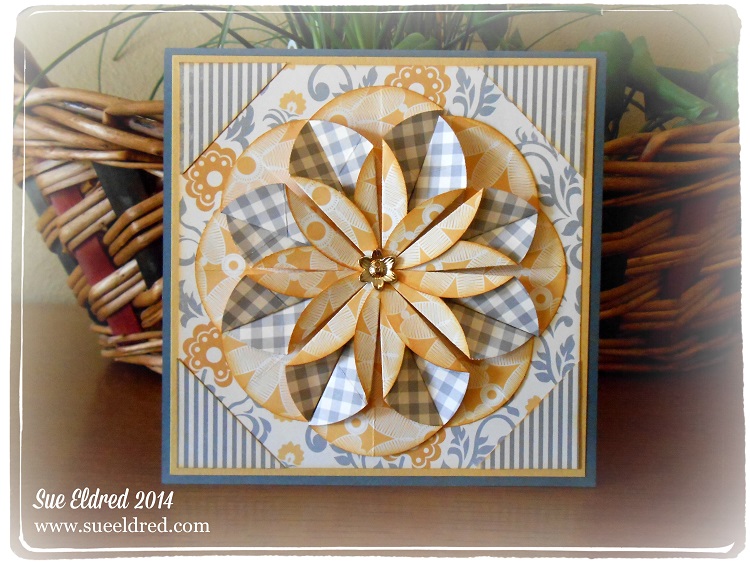
Fancy Fold Card Want to learn how to make a fabulous looking card in a few simple steps? Fancy Folds Instructions I learned this technique from the book

Fabulous Folds for Card Making*
Design by Lisa Silver

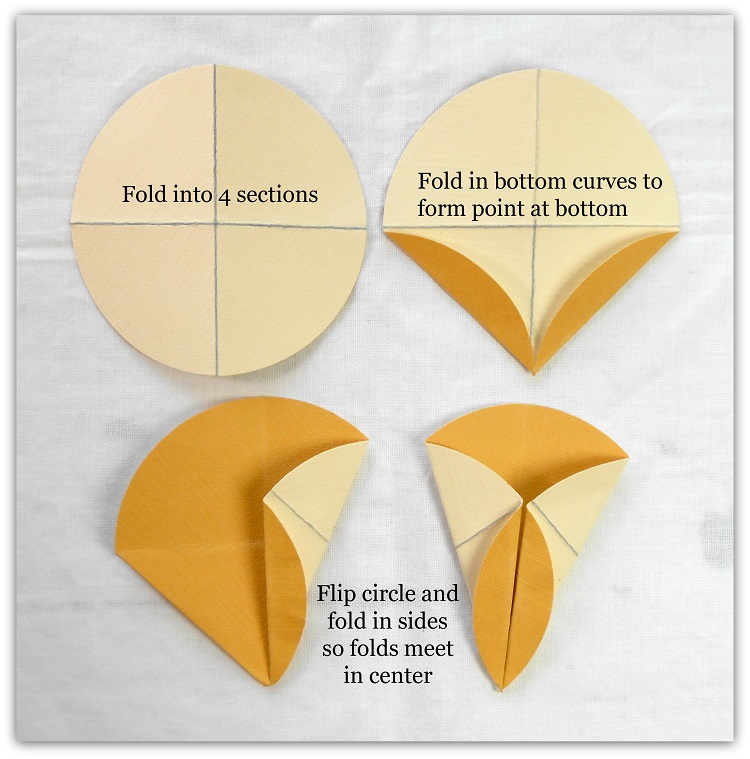
  1. Punch 9 circles.  (mine is a 2″ circle)  I edged each circle with Butterscotch Ink.
  2. Fold each circle into four sections.  (lines on the above picture are to make it easier to view)
  3. Fold in bottom curves to make point at the bottom.  (do this with 8 of the circles)
  4. Flip Circle and fold in sides so folds meet in center.
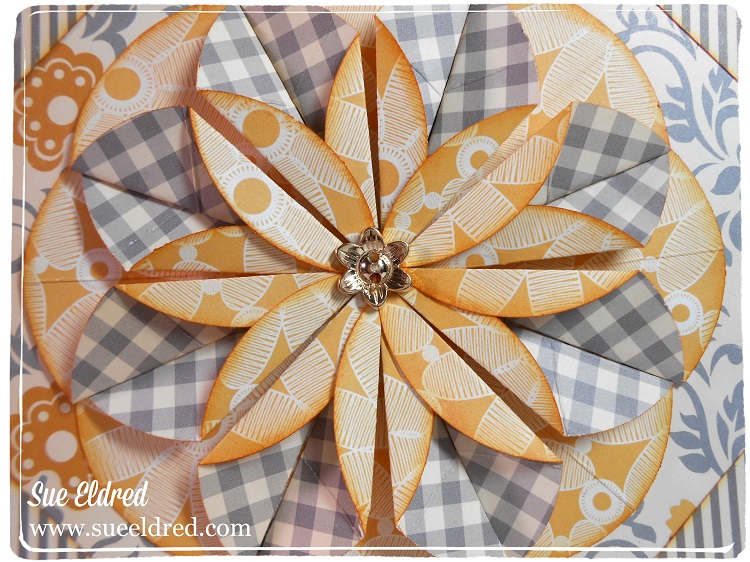
  5. Arrange petals on remaining circle to make a total of eight petals.

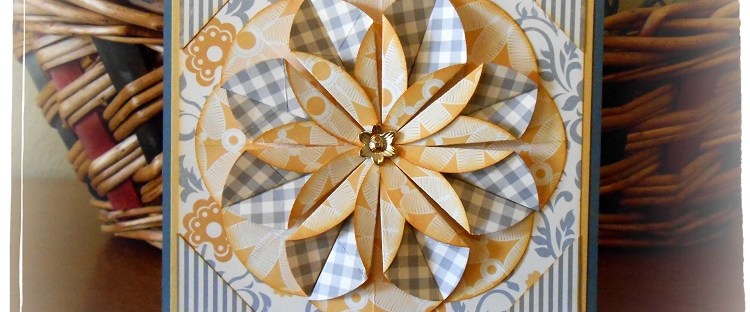
Fancy Fold Card Close Up I added a little gold flower button from Buttons Galore and More. FYI:  If you happen to pick up the book, I’m on pages 148, 160 & 164

(*Disclosure:  I am a Amazon Affiliate.)

Wedding Wish Tree Tag

An old tradition that has been gaining popularity with brides is the Wedding Wish Tree.

The Wish Tree is a Dutch Wedding custom where the guests are given a piece of paper, either shaped like a leaf or tag made of cardstock.  When the guests arrive at the reception, they write their wishes to the happy couple and then hang them on the tree using ribbon, clips or string.

The Wish Tree will make a attractive centerpiece and a great statement to wow your guests.  It can also be used as an alternative to a traditional guest book.  Can’t you just see branches painted white with twinkle lights full of wonderful wishes.

Casual, Elegant, Rustic or Baubles and Beads.  Individualize your tree, the possibilities are endless. While Wedding sites on the internet suggest that Manzanita branches are the best to use, for those more creative souls, let your imagination run wild. The style is up you.

Why stop at weddings?   The Wish Tree could be used for any special occasion.

Marvy Uchida

  • Clever Lever Extra Jumbo Scalloped Circle Punch
  • Clever Lever Extra Jumbo Scalloped Heart Punch
  • Clever Lever Extra Giga Merchandise Tag Punch

Additional Supplies:                (*affiliate link)

Instructions

Making the flower is easy. 

  1. Punch six cream scallop circles.
  2. Using a ink applicator, ink the edge of each scallop circle with the Tea Rose ink.
  3. Mist the circles with water, allowing ink to run.
  4. Stack all the circles together and pierce a hole the the center of all circles.  Attach circles with small brad.
  5. Starting with the top circle,  carefully scrunch the circle to the center.  One by one, continue scrunching the circles until you have a small paper wad.
  6. Gently unfold the circles to start forming the flower.
  7. For extra color, apply a little more ink to the tip of the flower.  This can be done while the flower is still damp or wait until it has dried.  Allow flower to dry.
  8. Punch two cream scalloped hearts.
  9. Ink hearts with Peeled Paint Distress Ink.
  10. Mist hearts and scrunch in your hand.  Carefully unfold.
  11. Glue dried leaf underneath the flower.  Another alternative for the leaf is to pinch the two rounded ends of the heart using the pointed end as the tip of the leaf.

Shop Handmade – The Wedding Store

Disclaimer:  This blog uses ads and affiliate links.  If you choose to make a purchase using one of the links, I receive a small commission (at no additional cost to you) that helps offset the costs of maintaining this blog.  Thanks for your support!