This month, the Eileen Hull Design Team has been celebrating creativity
on a small scale with a series of delightful miniature projects.
(Visit Eileen’s Blog here or join the Eileen Fan Club on Facebook.)
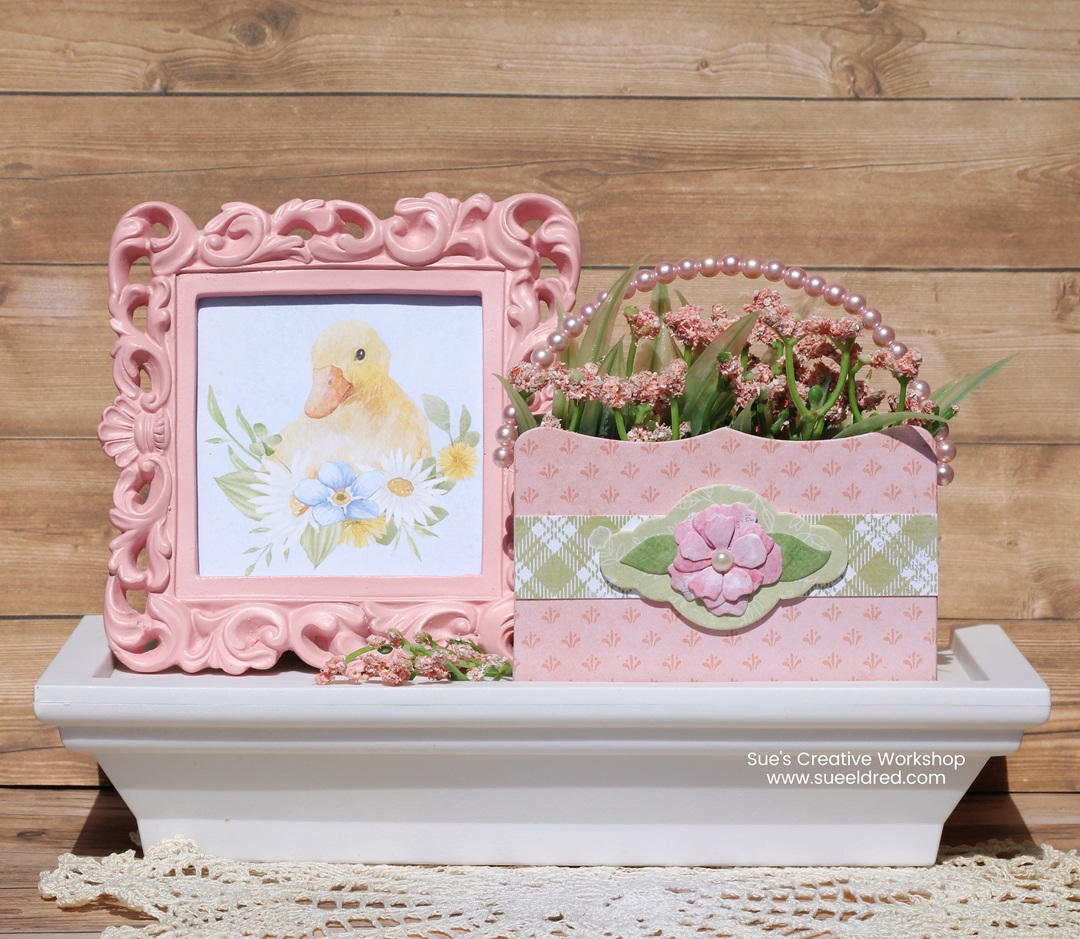
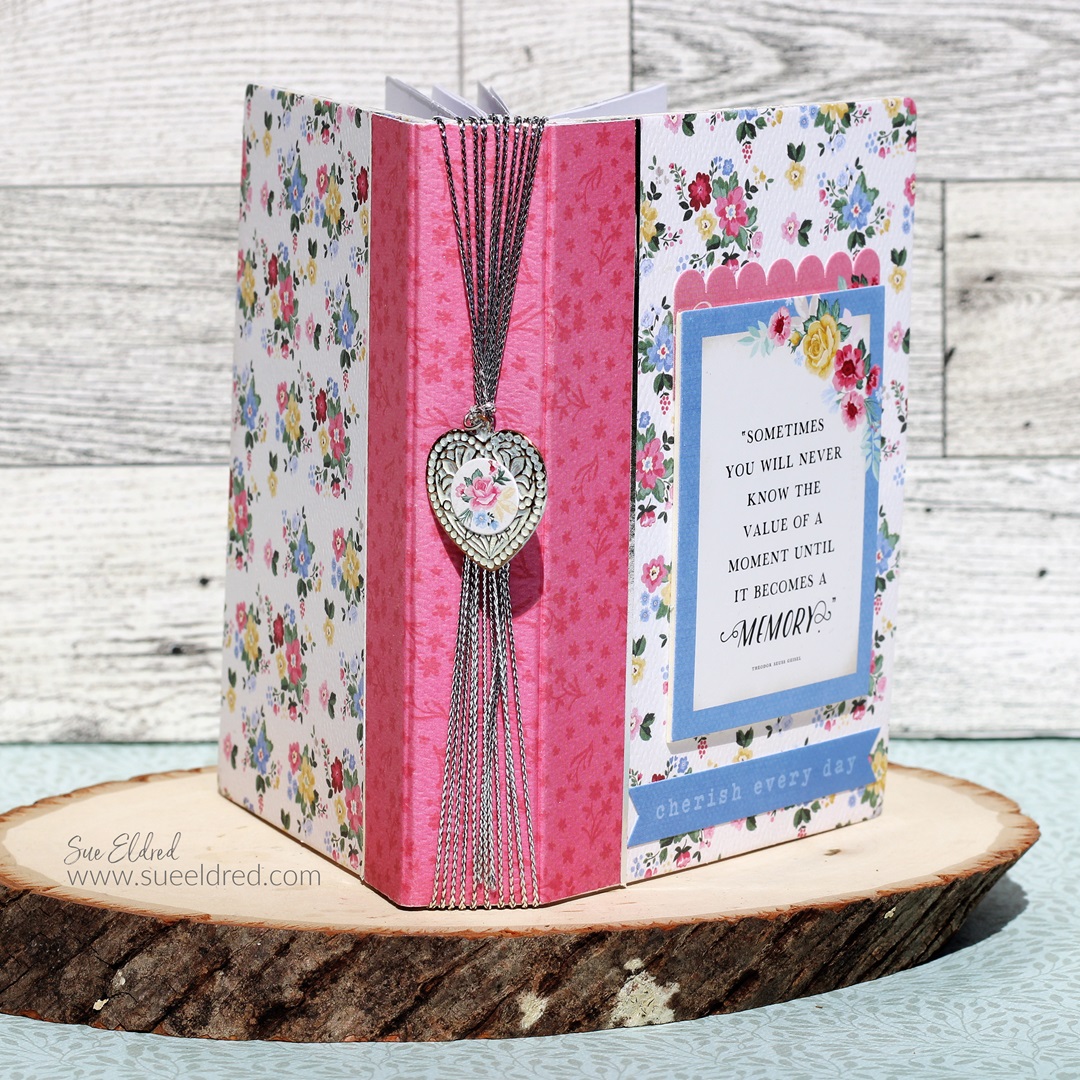
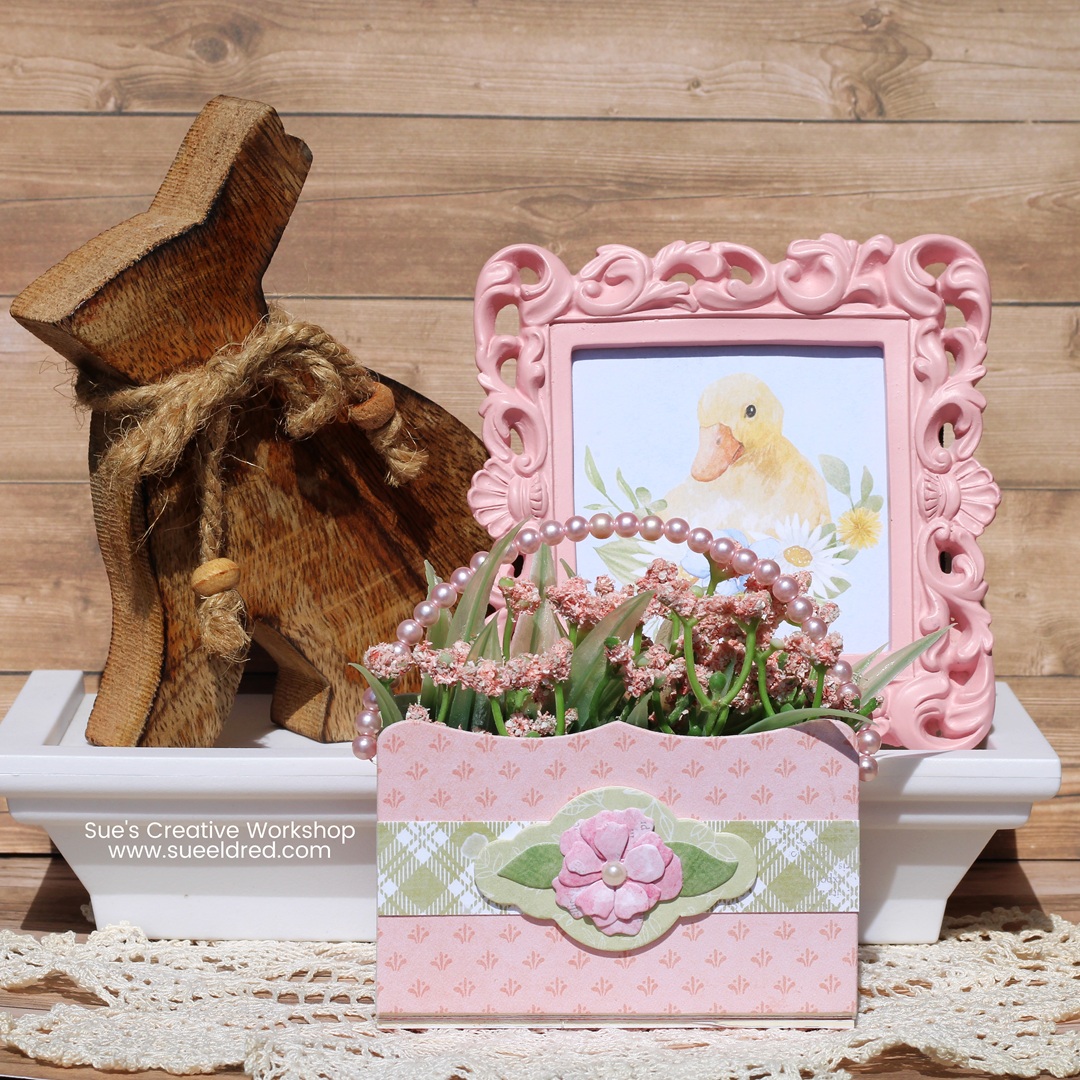
For my contribution, I was inspired to create a Spring Basket
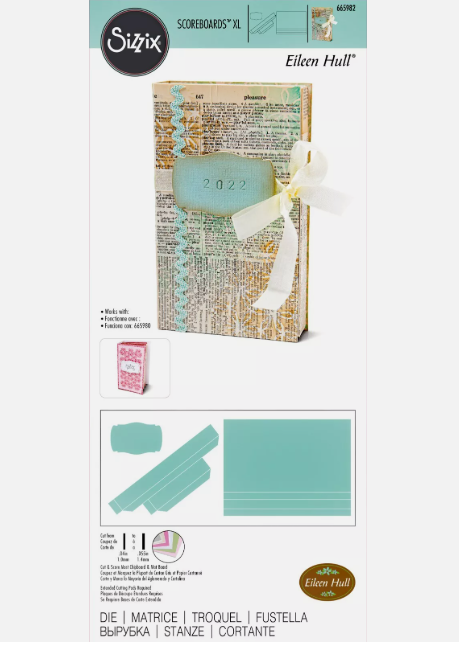
made using Eileen Hull’s versatile Needle Book Die*.
With a little adjustment, the die* makes a cute little basket.

Materials Used to make the Spring Basket: (*affiliate links)
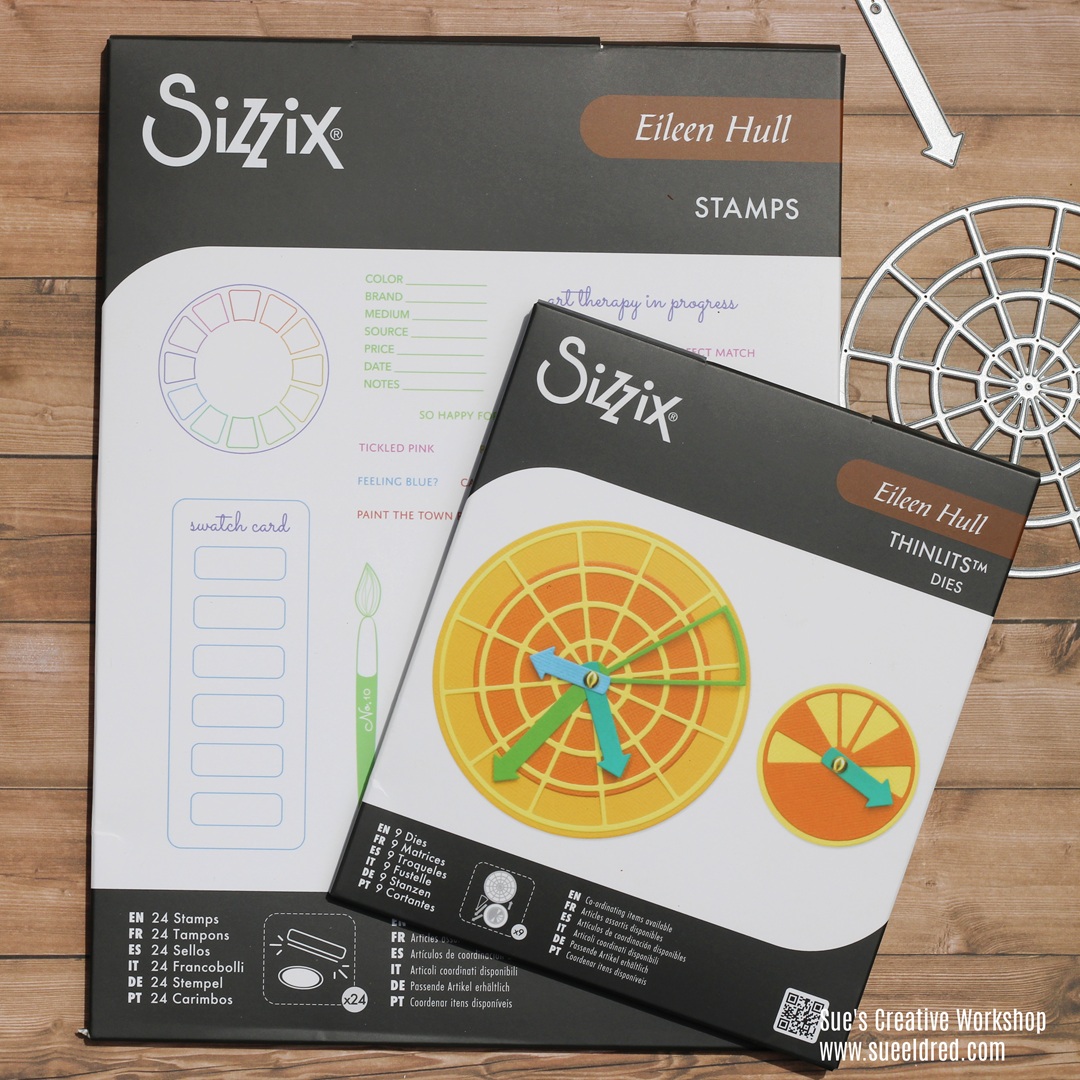
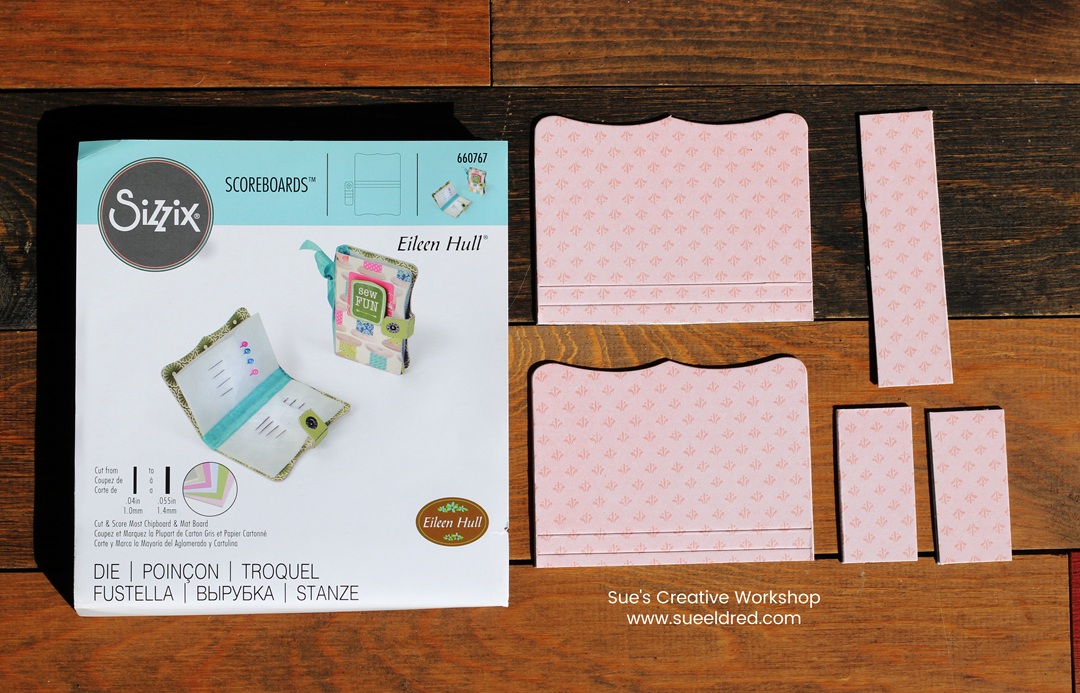
- #660767 Sizzix Needle Book Die by Eileen Hull*
- #666814 Sizzix Journal Hardware Die by Eileen Hull*
- #666689 Sizzix Painterly Blooms & Backgrounds Thinlet Die*
- Decorative Scrapbook Paper from 49th and Market
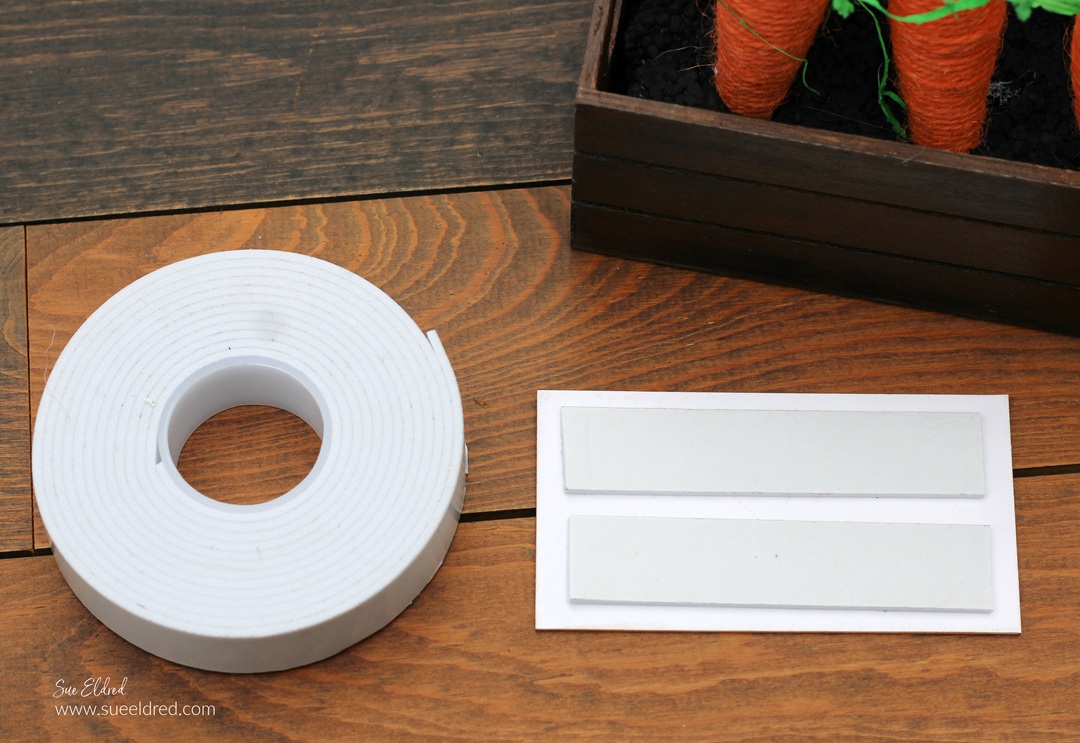
- 656492 Sizzix White Mat Board*
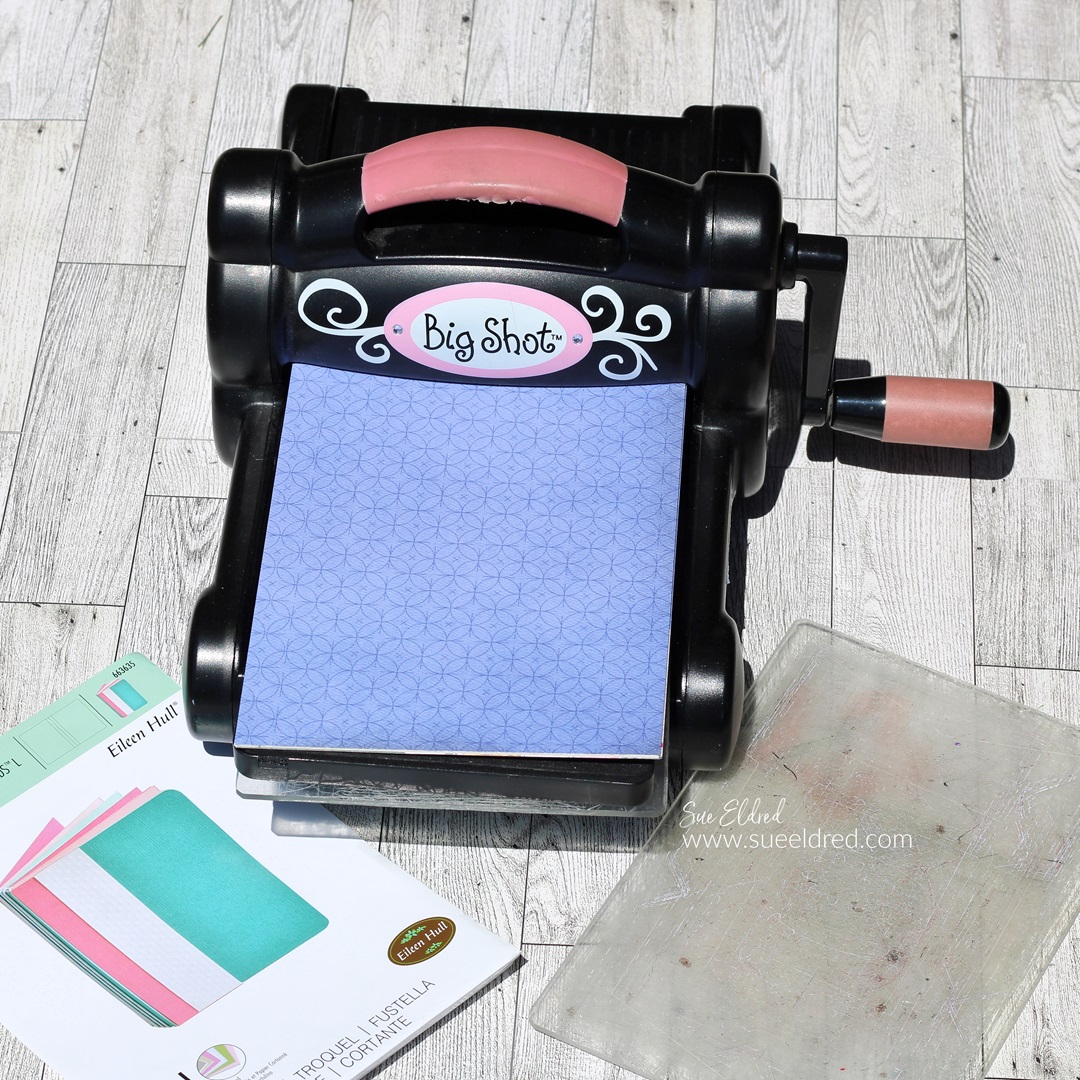
- Sizzix Big Shot Die-Cutting Machine*
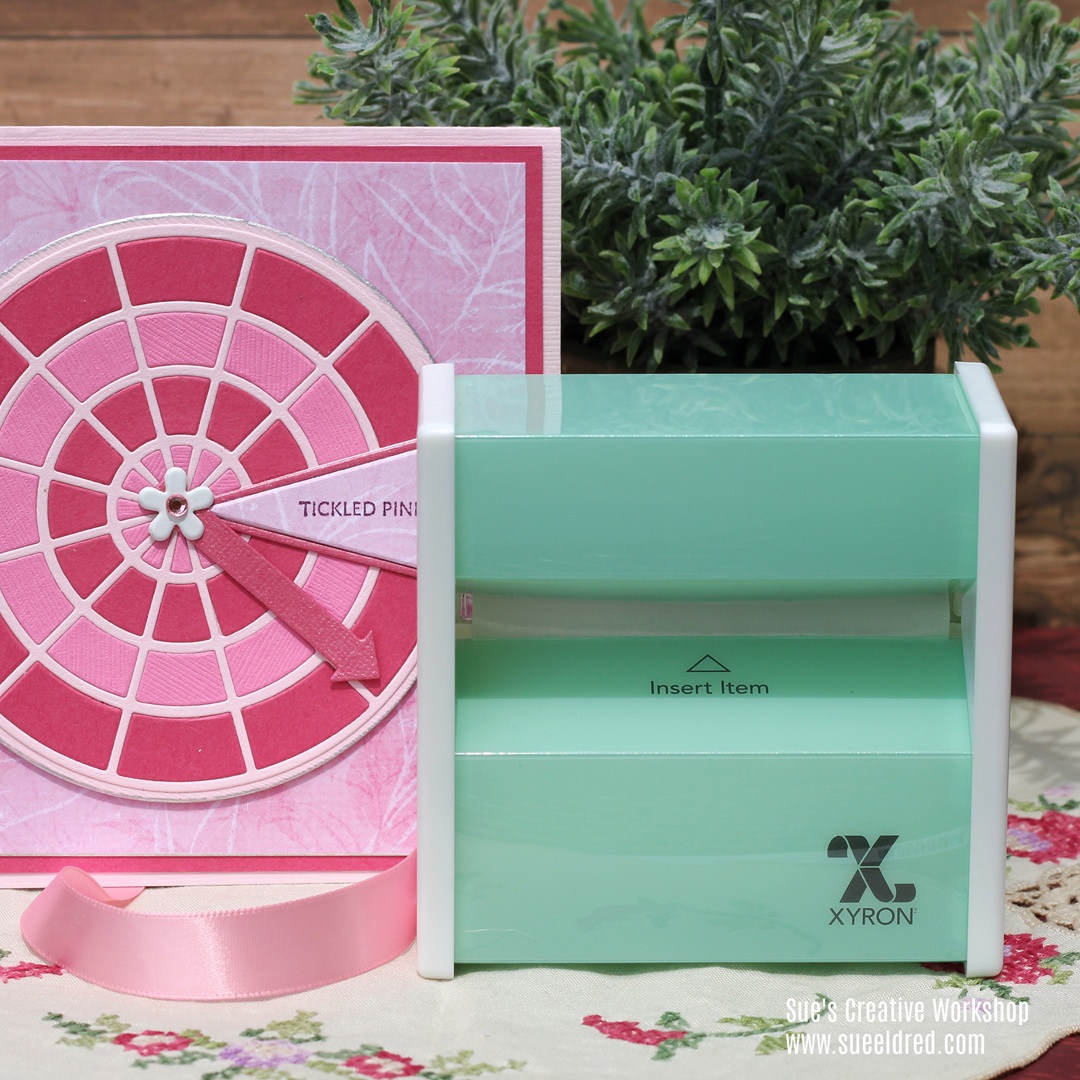
- Xyron Creative Station*
- 1/16″ Hole Punch*
- Small Beads & Wire
- Liquid Adhesive

*Disclosure: This blog uses ads and affiliate links. If you choose to make a purchase using one of the links, I receive a small commission (at no additional cost to you) that helps offset the costs of maintaining this blog. Thanks for your support!
Instructions for Making the Spring Basket:
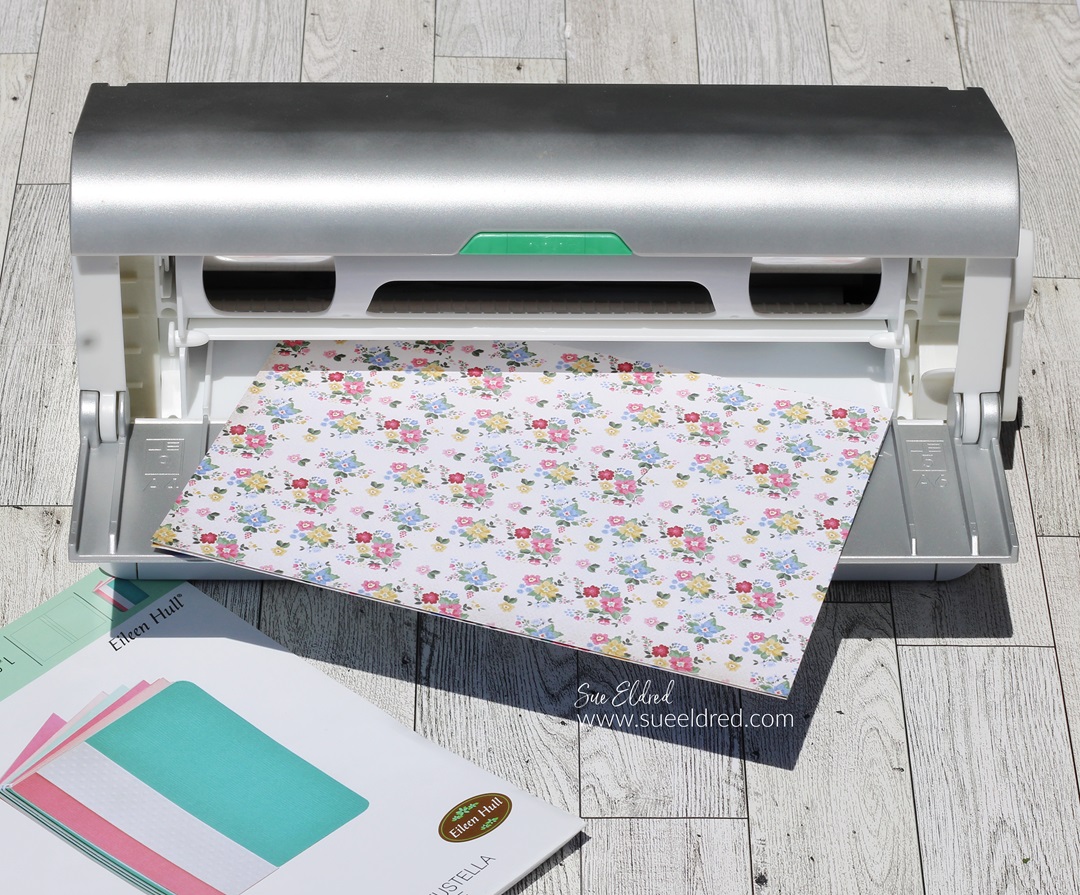
- Cover both sides of a 4 ½” x 6″ piece of Mat Board* with decorative paper. I like to use the Xyron Creative Station* to add adhesive to the paper. The Xyron Creative Station* attaches a layer of adhesive to the paper for complete coverage with no bubbles or wrinkles.
- Die-cut the matboard using the needle book die and Big Shot Die-cutting Machine*.
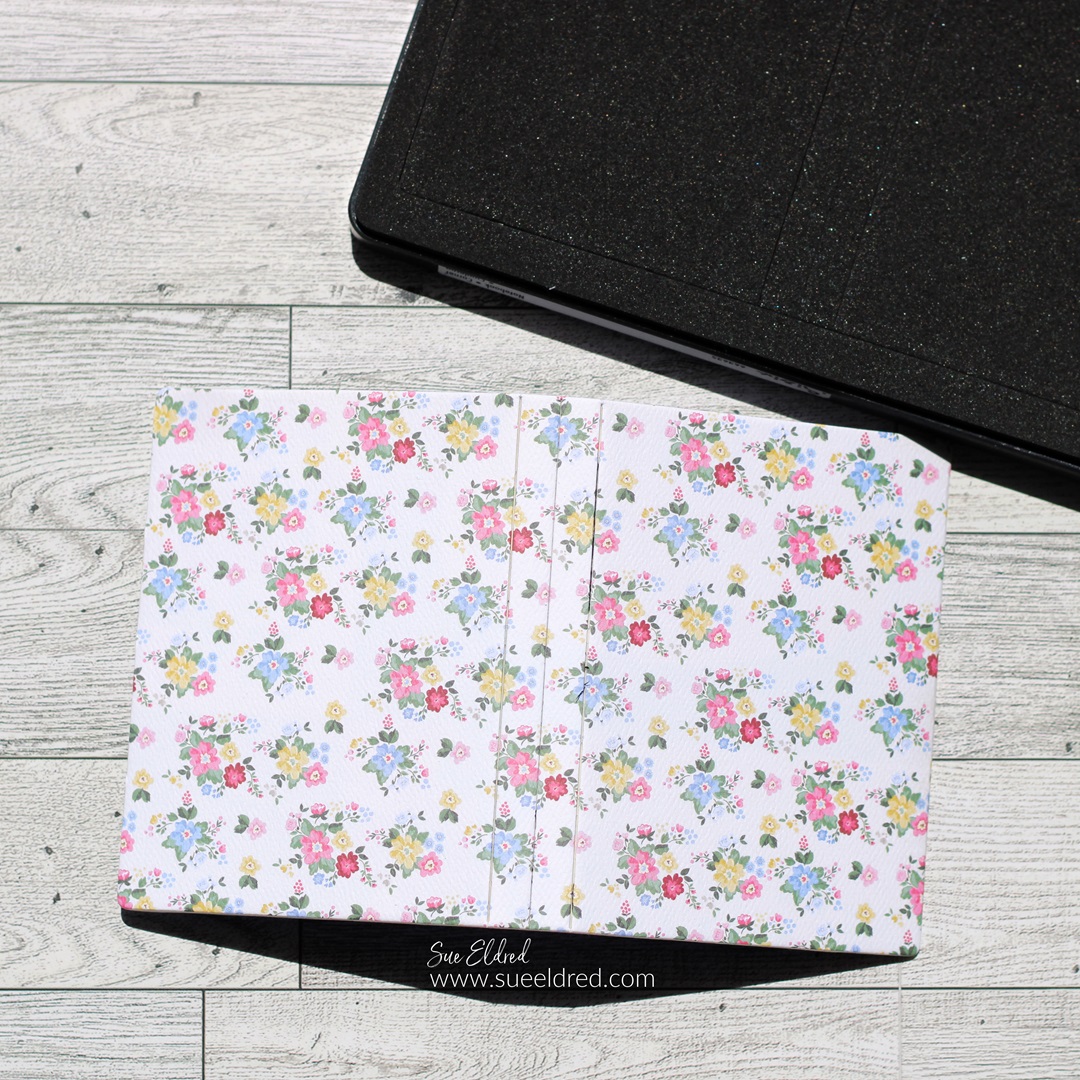
- Cut the needle book in half along the center score line.
- Cut additional pieces of mat board to be used as the bottom and sides of the basket. You will need one 1″ x 3 ½” piece and two 1″ x 2″ pieces.
- Punch a small hole using a 1/16″ hole punch* on one end of each of the 1″ x 2″ pieces of mat board. This will be used later to attach the beaded handle.
- Bend the remaining score line on the needle book. Glue the scored tab onto the 1″ x 3 ½” matboard to create the bottom of the basket.
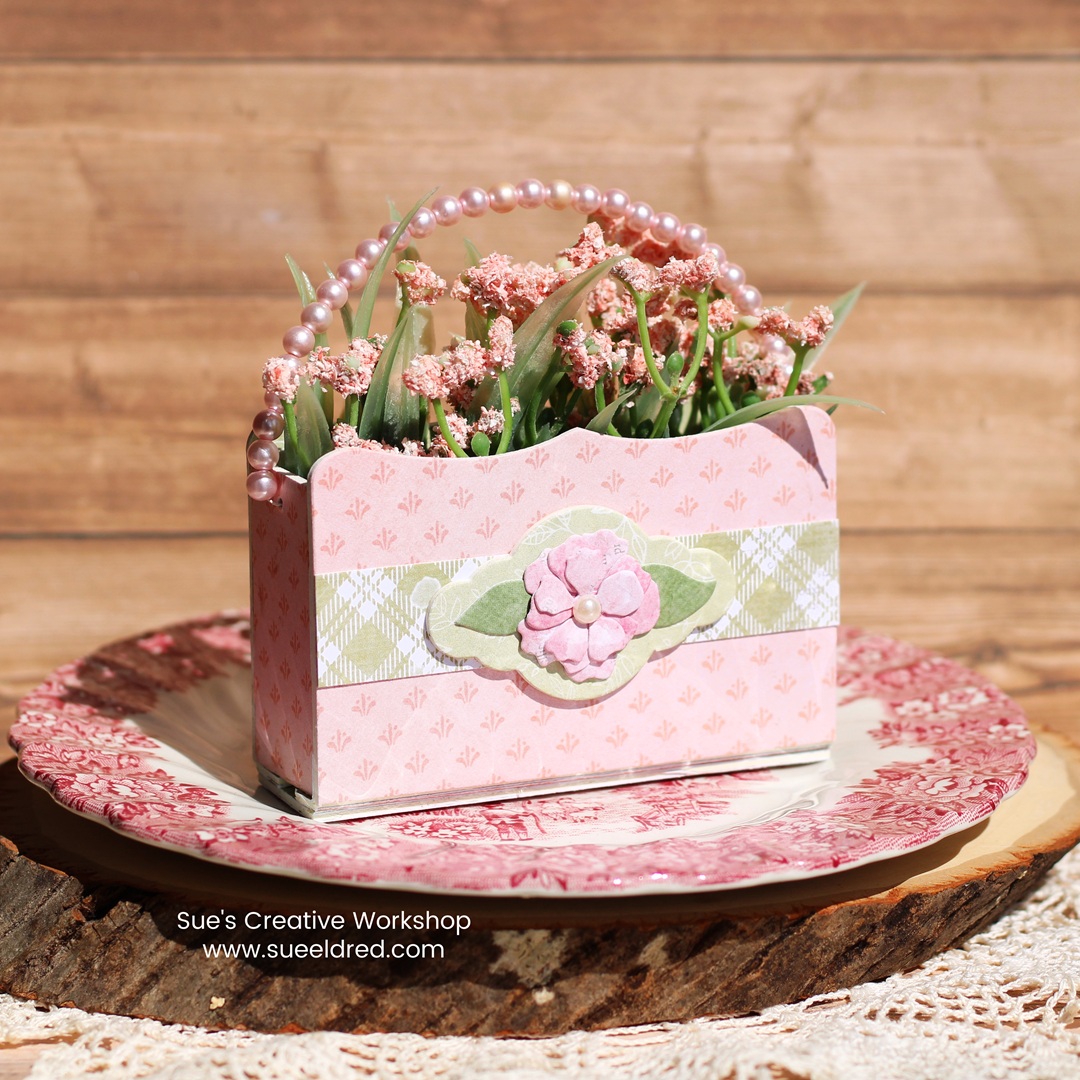
- Once the bottom has dried, add a thin line of glue to three sides of the 1″ x 2″ matboard. Glue those onto the needle book to create basket sides. Allow the basket to fully dry.
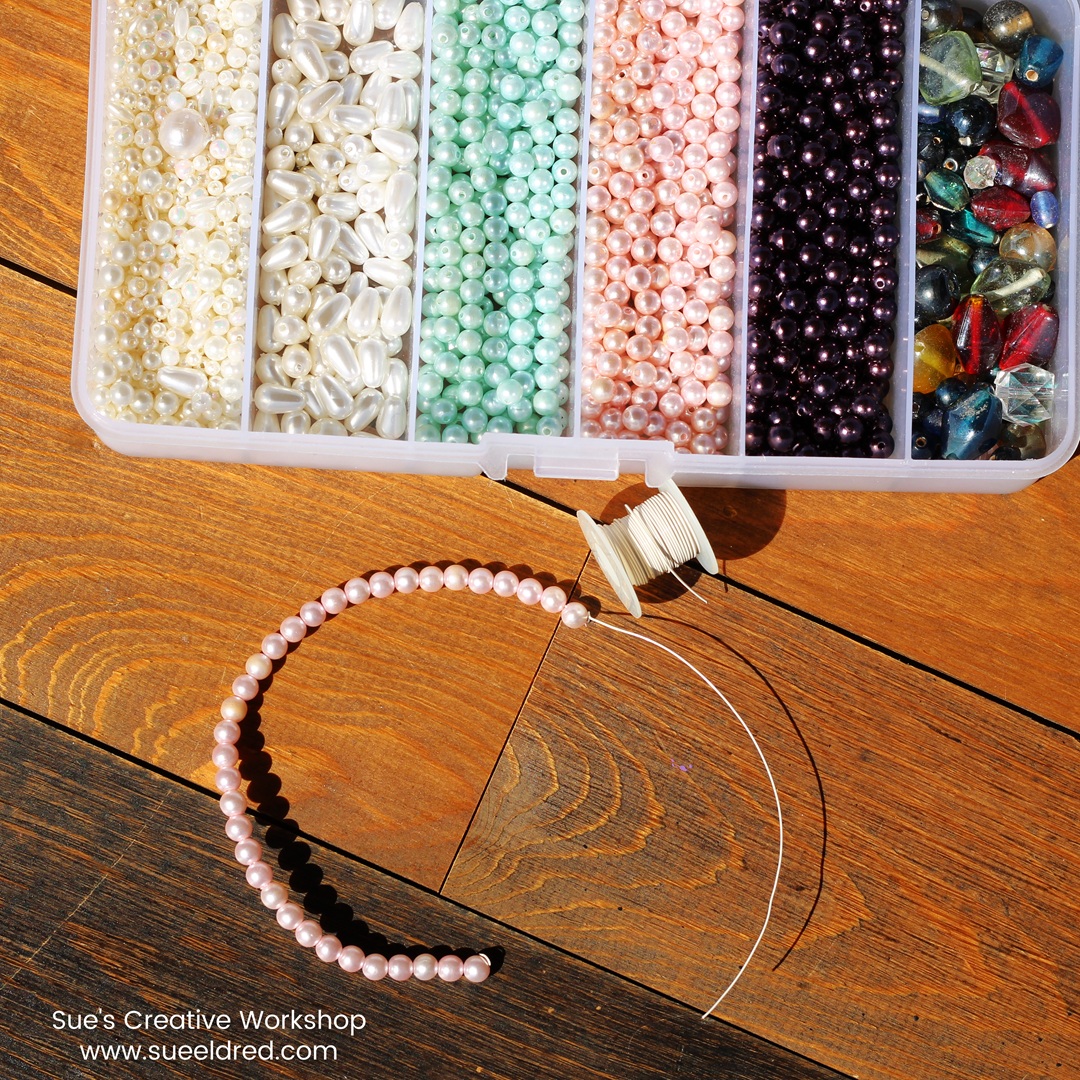
- String beads onto a thin piece of wire. Insert ends into the punched holes on the sides of the basket. Create a small knot with the wire on each end. Cut excess wire with a wire cutter.

- I embellished the front of the basket with a covered die-cut label from the Sizzix Journal Hardware Die*.
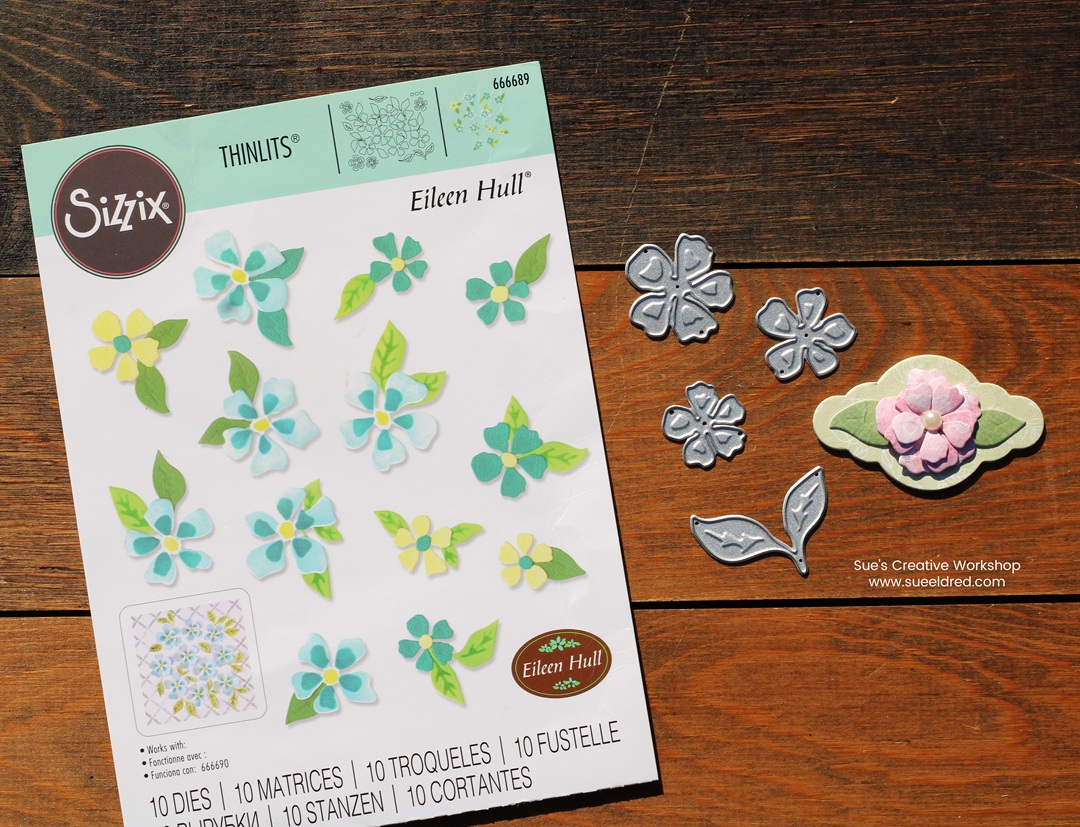
- I created a small flower for the center of the label using the Sizzix Painterly Blooms & Backgrounds Thinlet Die*.
- Glue embellishment to the front of the basket.
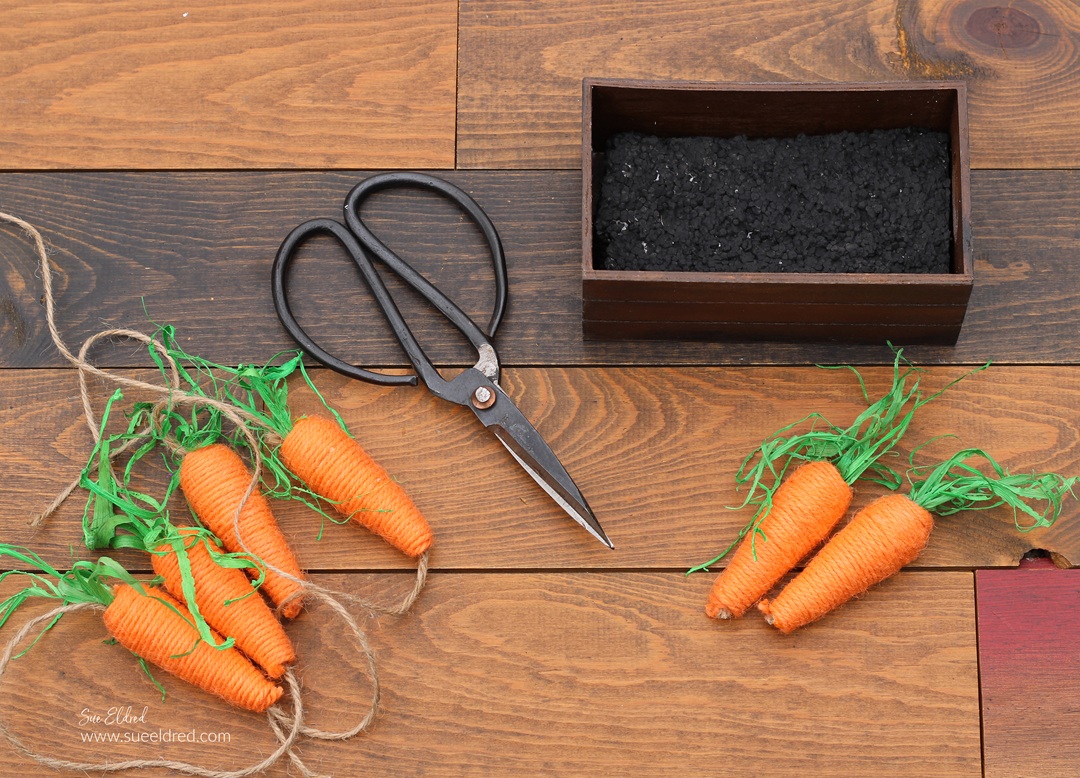
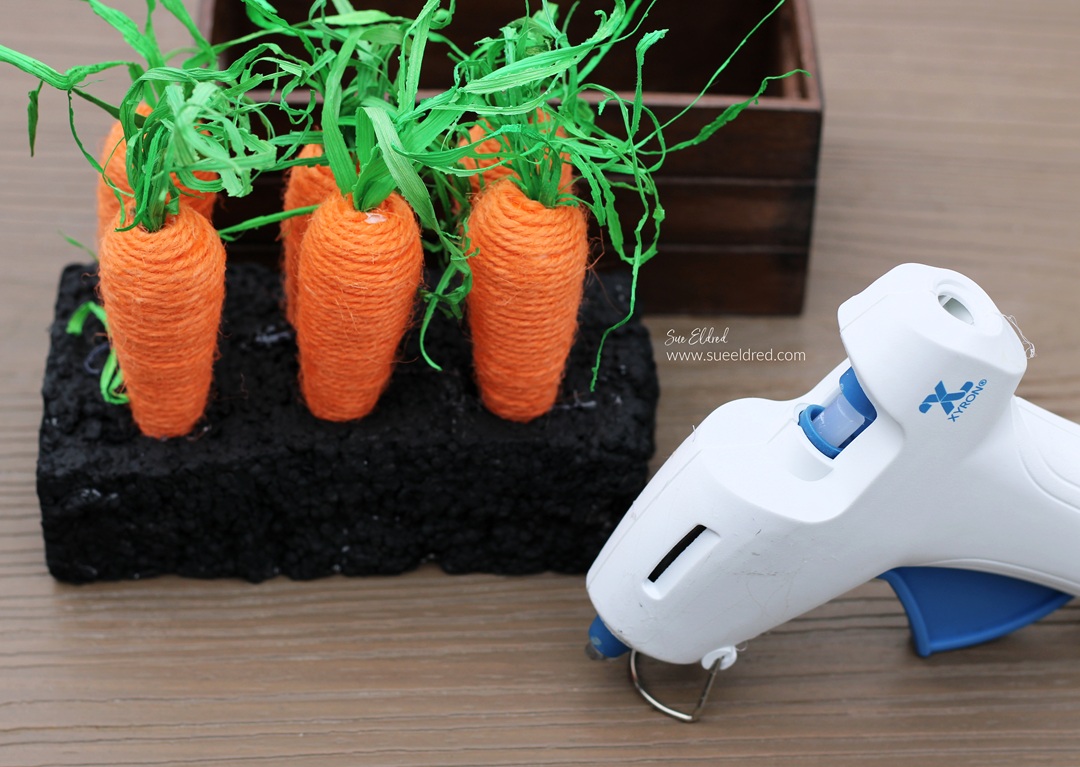
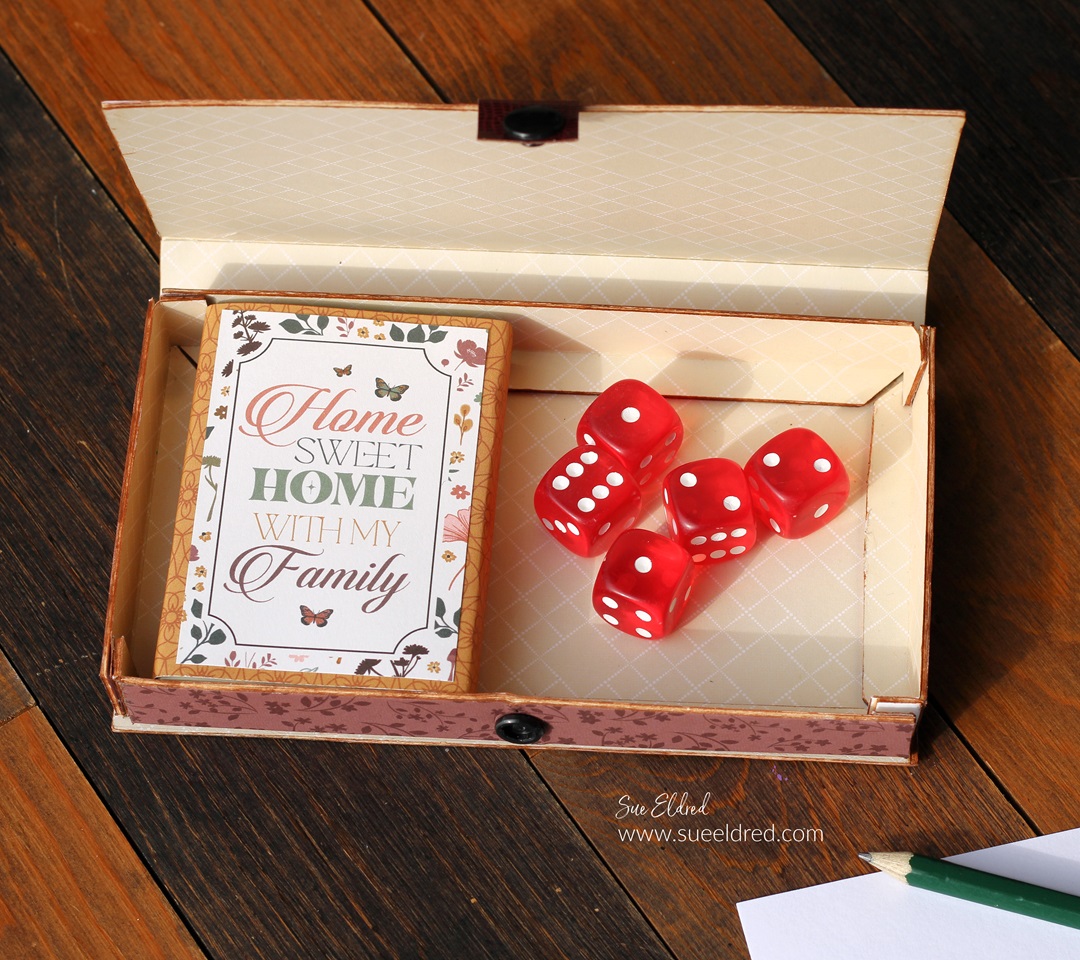
- Fill the basket with small faux flowers and leaves.
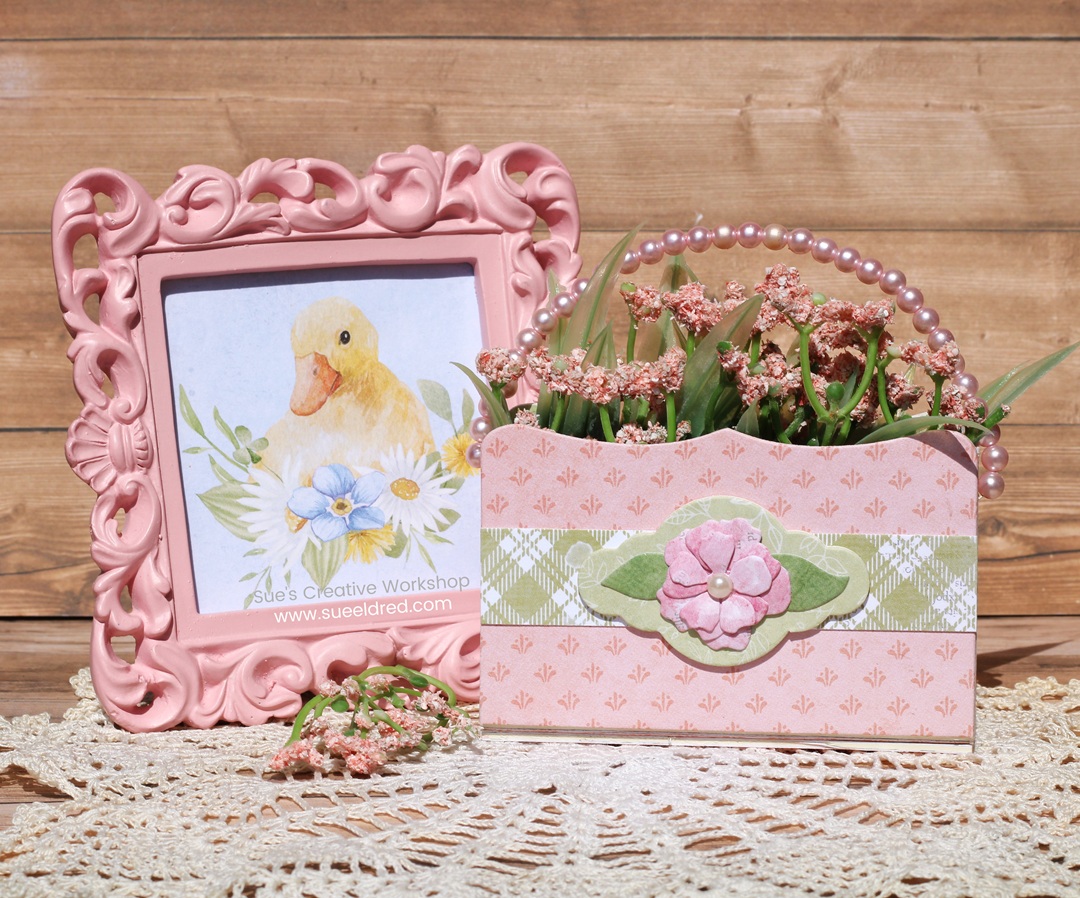
May this little basket spark your creativity and inspire you to create your own miniature projects with Eileen Hull’s collection of dies.
![]()
Disclosure: This is a sponsored post. As a member of the Eileen Hull Inspiration Team, I have been provided product in exchange for my creative ideas. The view and opinions are my own.