I wanted to share a little bit about a fun event that I’m participating in.
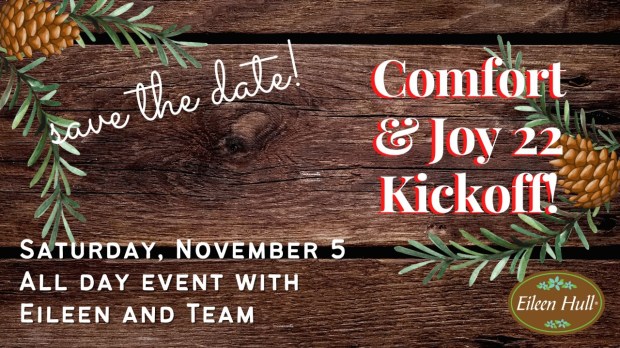
The Comfort & Joy Kickoff
We are starting the 2022 holiday season with the 2022 Comfort & Joy Kickoff Event an all-day workshop put on by Eileen and team! You will learn tips, tricks, and techniques for working with Eileen’s products and how they may be used throughout the holiday season.
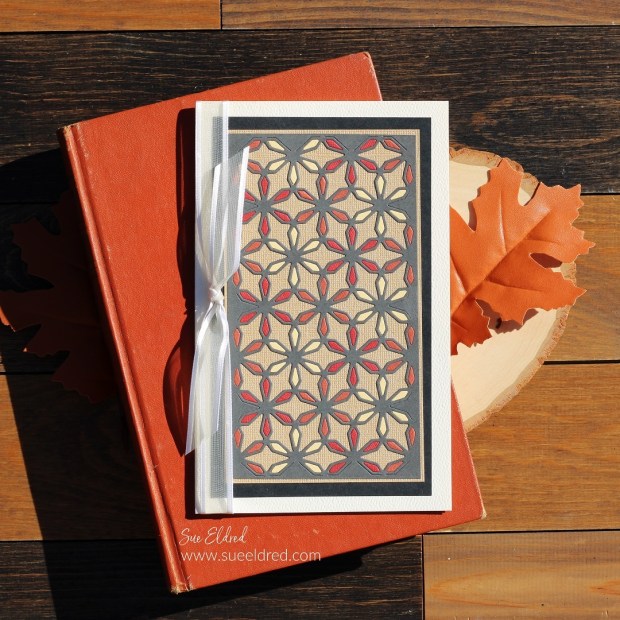
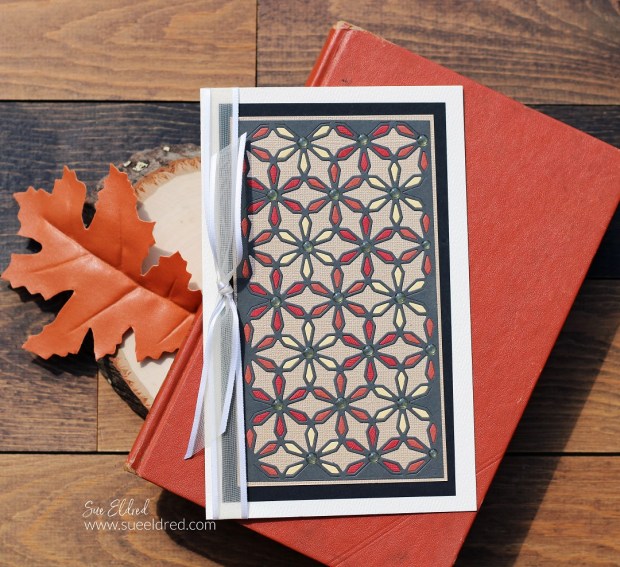
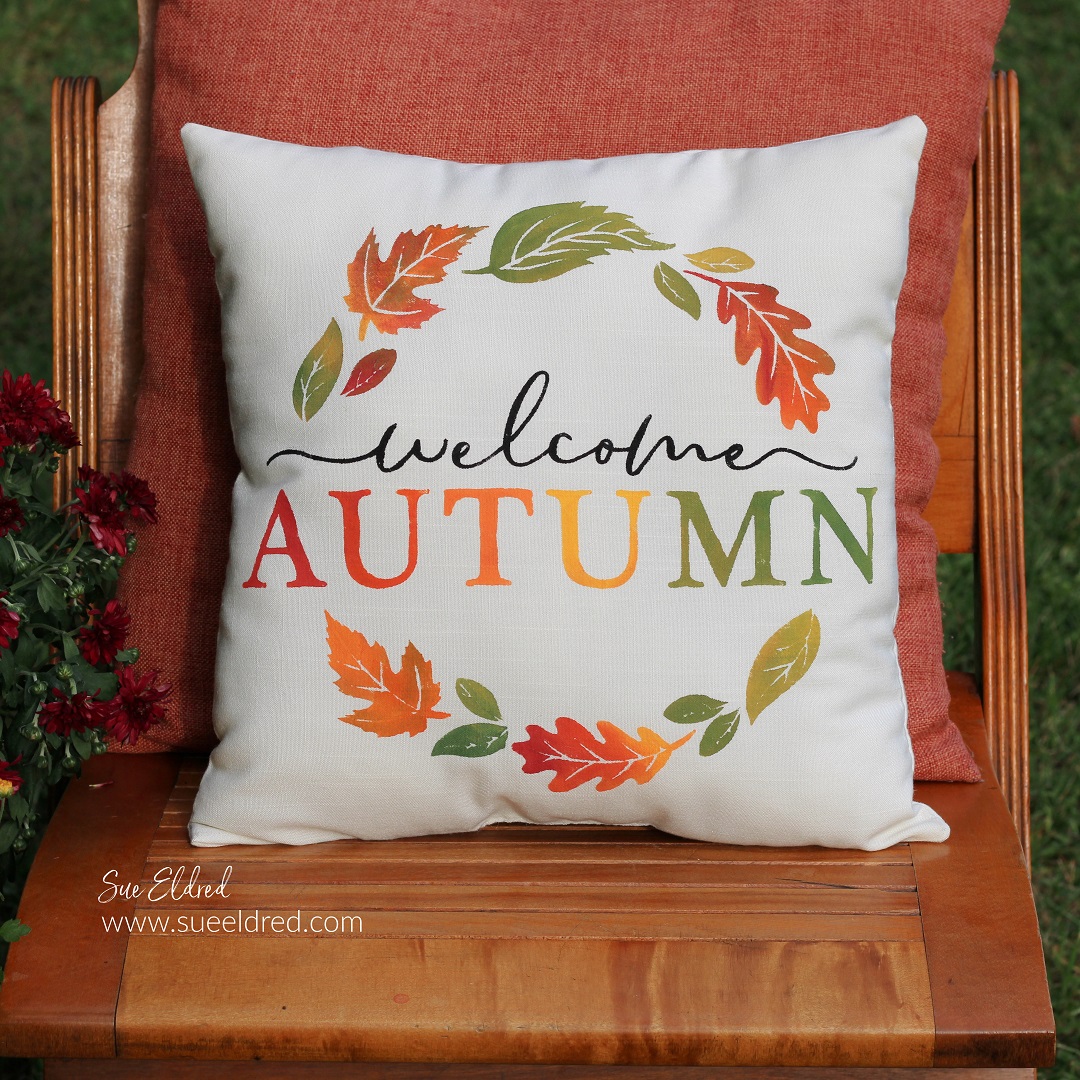
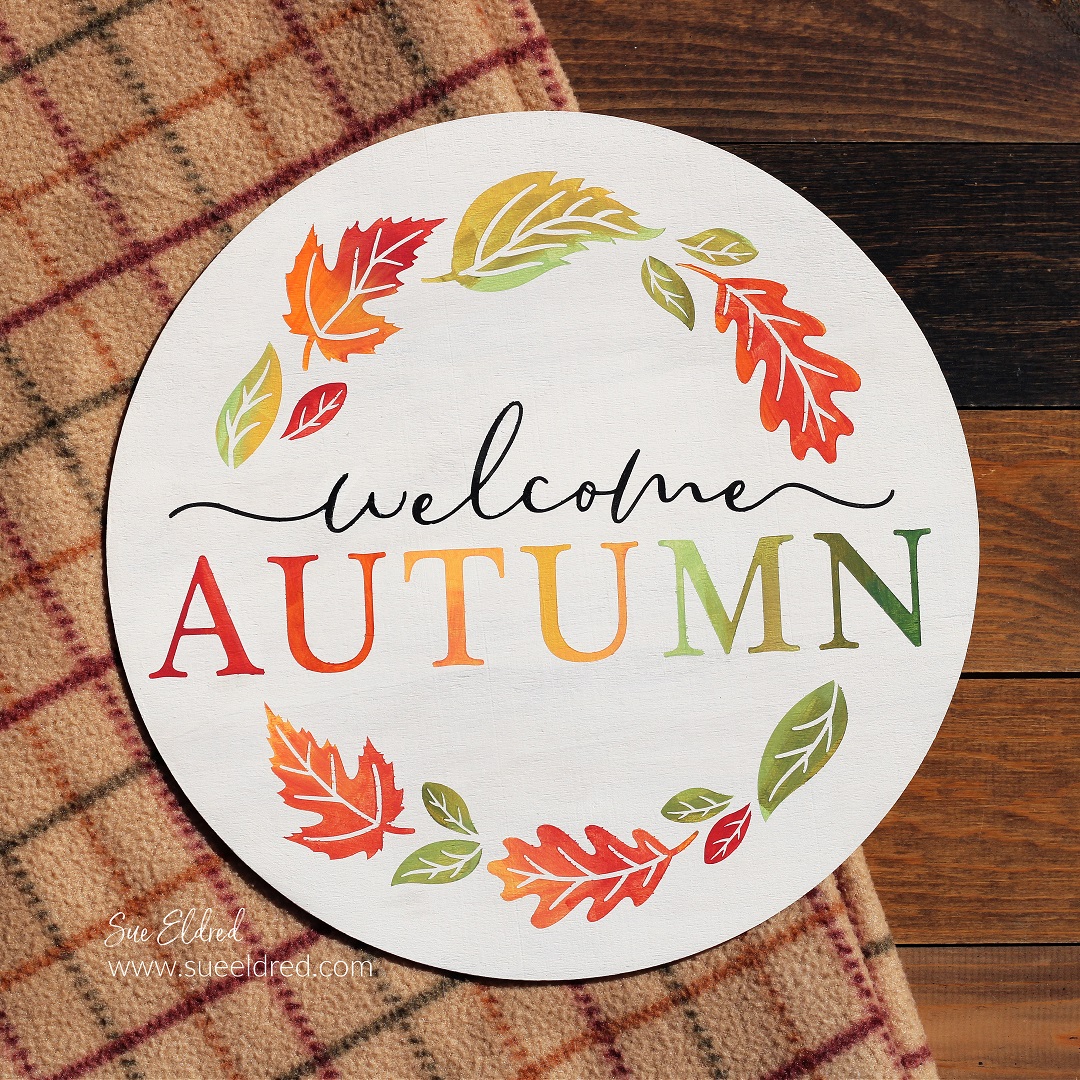
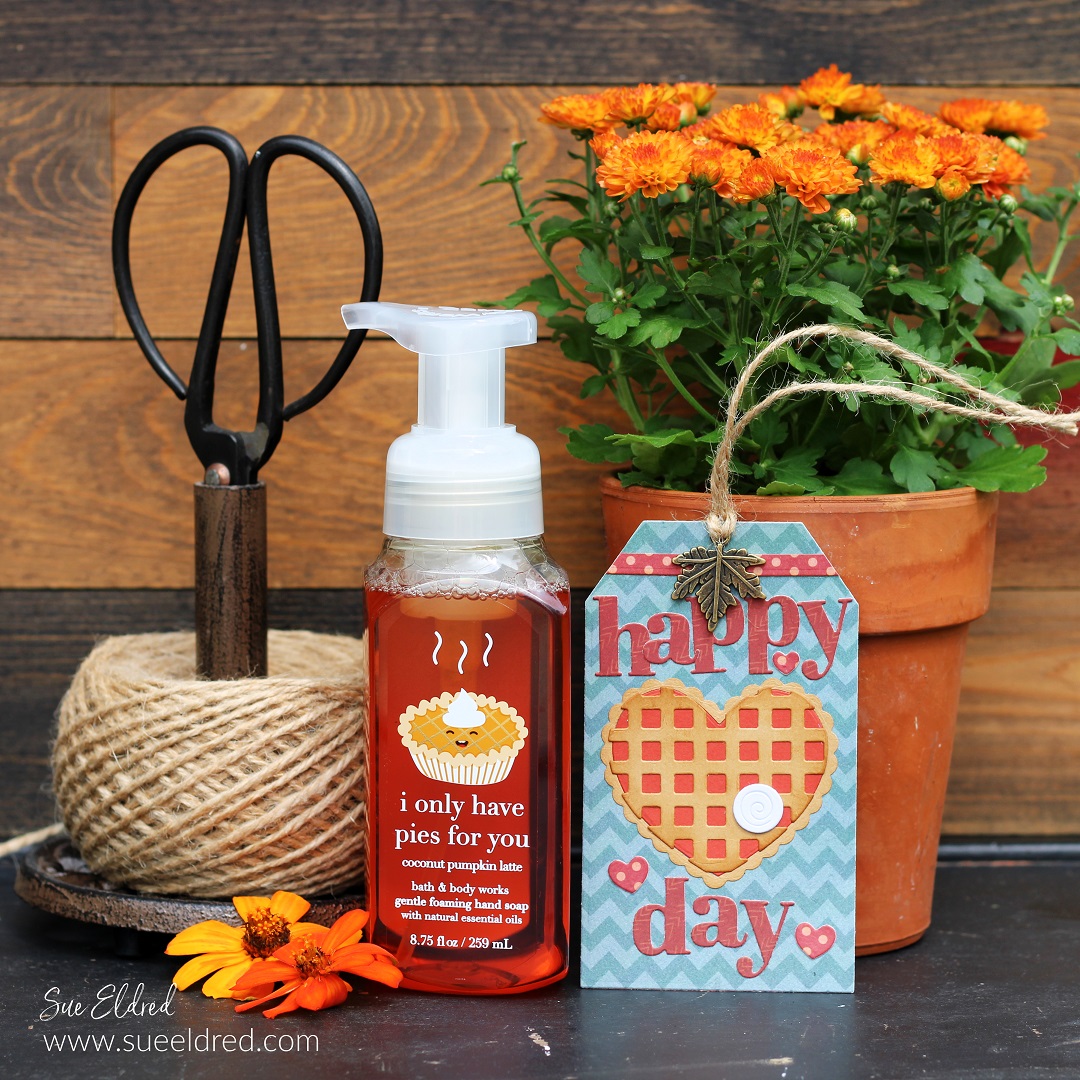
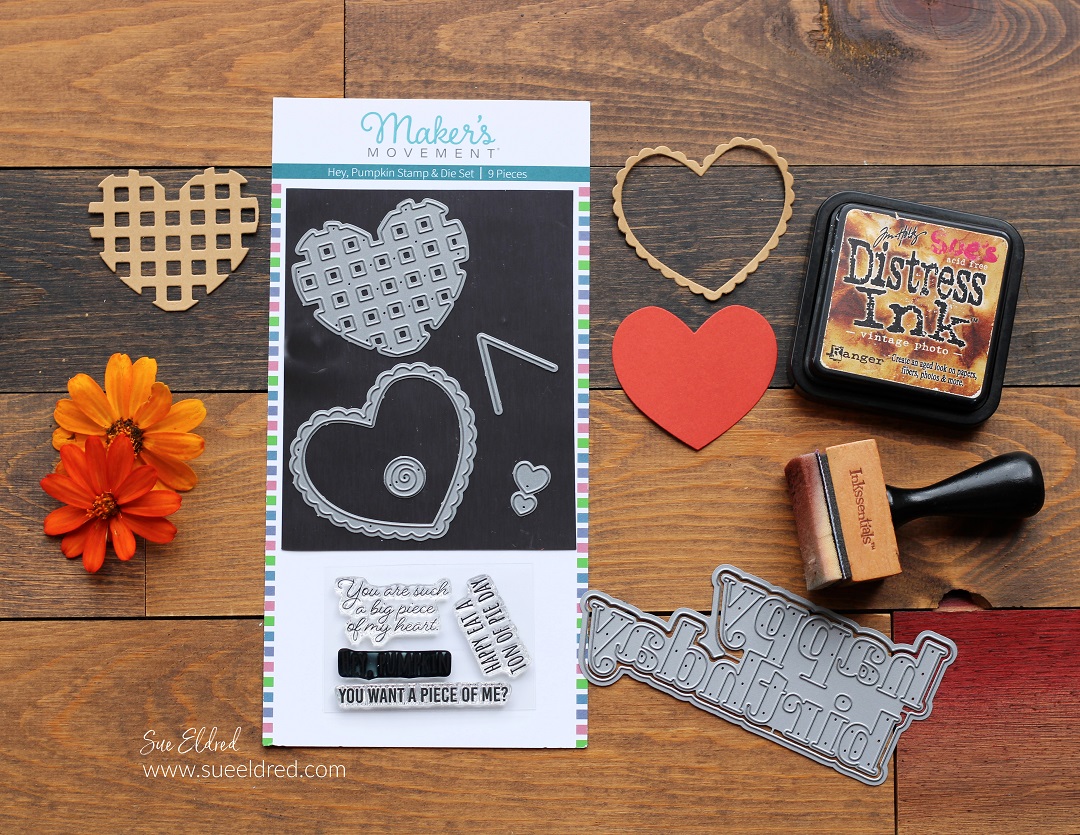
Join us for our third annual Comfort & Joy holiday craft celebration to create journals, holiday packaging and containers, cards, small gifts, ornaments and so much more!
The first Comfort & Joy event began in 2020. During the pandemic, we were all at loose ends, missing the holiday celebrations normally enjoyed with family and friends. We became each other’s family and celebrated together in our small group. The team put their thinking caps on and created two weeks of content and we all crafted it together! I personally was very grateful for the Fan Club community that year.
In that spirit, we continue this event… The Comfort & Joy Kickoff Event will be held on Saturday, November 5 beginning at 9:30 Eastern Time and ending at about 4:00. There will be a little break for lunch.
The event will be hosted in a private Facebook group. Once you pay for the event, you will receive a PDF so check your mail and spam folder! You will be directed to the Facebook group where the event will take place.
On the day of the event, attendees will gather in the group at 9:30 AM Eastern time to watch the first live. Eileen will start the event off and every 45 minutes, a new team member will be introduced with a tutorial, technique, or project. Craft along live if you’d like or catch up later on replay- whatever works for you! There will be a total of 8 classes plus bonus projects.
This is a steal at $20 for the whole day!
We wanted the event to be affordable to everyone who wants to attend. The team will be sharing the proceeds. This is a nice way to thank them for the time they put in all year creating ideas to inspire you!
And the Comfort and Joy event doesn’t end there! Following the Kickoff event, the party continues in the Eileen Hull Fan Club Facebook group! https://www.facebook.com/groups/EileenHullFanClub
From Nov. 7- 18, there will be additional content provided each weekday for free.
You are invited to join us if you are not already a member- we are very friendly and share a wonderfully creative community. Don’t forget to answer the questions- they are required for admission
Join the Eileen Hull Fan Club Facebook group for the creative community, support, and fun.