Sue’s ADORNit Unboxing Video

You may remember last month when I mentioned that I’d been given the opportunity

to be a ADORNit Brand Ambassador.

I patiently waited for my Happy Mail to arrive.  They said it’d be worth the wait.

They weren’t kidding.

For the next three months…

I will be sharing with you a variety of fun projects using their products.

I thought it might be fun to show in a video you what was inside.

I’m not the best at making video’s and this one gave me quite a few unexpected challenges.

But being fully determined, I finally got it done.  (Thanks in to my son Justin.)

To see all that ADORNit has to offer make sure to visit them at http://www.adornit.com.

Berry Boxes and Bunny Bubbles

Berry Baskets for my Grandsons…

This year, I decided to get a little creative with the boys Easter present.

I recently received these cute little berry baskets from Leisure Arts and decided to use them

for the boys instead of traditional Easter baskets.  (see Leisure Arts Ad below)

I painted the berry boxes with acrylic paint.  I made tags with each of the boys names and

tied the tags on to the boxes with color coordinated twine.  (simple, simple, simple)

My daughter recently told me…

she never forgot the year I made their Playdoh containers into Easter Bunnies.

I had forgotten all about it.   (sounds like something I’d do)

Apparently it had made an impression on her.

So inspired by the memory… I made plain old bubble containers into “Bunny Bubbles”.

To make the Bubble Bunnies…

  • Remove the label that came onto the bottle.
  • Measure and cut a piece of white felt to go around the side of the bottle.
  • Use a craft glue and apply glue around the area on the bottle where the felt will go.  (It’s easier to apply the glue to the bottle than the felt.)  Wrap felt around bottle and secure into place.
  • For the bowtie…Wrap and glue ribbon around the top of the felt.  Create a little bow from additional ribbon and glue to cover  the ribbon seam.
  • Glue small buttons on the seam of the felt.
  • Cut two ears out of white felt.  Color the center of the ears with a light pink marker.  Glue ears onto the top of the lid.
  • Glue googly eyes and a small pink triangle nose onto the side of the lid.  (Add whiskers under the nose if you like.)
  • Glue a small white pom pom on the back for a bunny butt.

A fun little addition to the berry box.

And…Maybe, just maybe, they’ll remember the year grandma made  bunny bubbles.

"Painting

*Disclaimer:  This post uses ads and affiliate links.  If you choose to make a purchase using one of the links, I receive a small commission (at no additional cost to you) that helps offset the costs of maintaining this blog.  Thanks for your support!

How to make a Springtime Delights Resin Magnet

I have to admit, working with Resin intimidated me at first.

With a little practice, I found that it’s really not hard and you can get some amazing results.

Especially when you start small.    (Just make sure to read the package instructions)

My Springtime Delights magnet measures only 2″ x 2.

Materials:            (*affiliate link)

Directions:

Cut and glue a small piece of scrapbook paper to fit inside of tin.

Arrange 3D stickers inside of tin.  You may need to add extra glue under each sticker to make sure they stay in place.

Measure, Mix and pour the resin as directed in the product packaging.

Blow air onto the resin using a thin straw to help remove bubbles.

Allow plenty of drying time for the resin to cure before gluing magnet onto the back of the tin.

CreateForLess.com - Create More, Spend Less

*Disclaimer:  This post uses ads and affiliate links.  If you choose to make a purchase using one of the links, I receive a small commission (at no additional cost to you) that helps offset the costs of maintaining this blog.  Thanks for your support!

Easter Egg Hunt Sign

Any Easter egg hunts in your near future?

I whipped up this cute little sign for our Easter Egg Hunt using a DEFLECT-O Chalkboard Easel*

Simply embellish the easel with stickers and scrapbook paper for a quick DIY project.

Add your message with the chalk marker that comes with the easel.

For more fun, let the kiddo’s decorate the sign.

It also makes a cute sign to label your Easter Buffet.

(Easter stickers and paper from Paper House Productions.)

Join Amazon Kindle Unlimited 30-Day Free Trial

*Disclaimer:  This post uses ads and affiliate links.  If you choose to make a purchase using one of the links, I receive a small commission (at no additional cost to you) that helps offset the costs of maintaining this blog.  Thanks for your support!

 “This is a sponsored post. As a member of the Deflecto Design Team I have been provided product in exchange for my creative ideas, views and opinions.”

Stamping in White Embossing Powder


Good Old Embossing Powder…                             

When I was introduced to stamping in 1996, do you know what hooked me?

It was the Gold Embossing Powder.

The first time I watched them melt that gold embossing powder.  WOW!

At the time, I had a gift store and was looking for something new.

I can’t tell you how many people I hooked with that gold embossing powder.

Here’s a little throwback to where I started.

Back to embossing powder.  (this time with a twist)

For this project, I started with a oval that was cut from chipboard.

I rubbed Colorbox White Embossing Pad*  onto the surface of the oval.

Next, I poured White Embossing Powder* over the entire oval.

After pouring the excess powder off, heat the oval with a

Multi-Purpose Embossing Heat Tool*.

Make sure all the embossing powder is melted.

Repeat that step 3 or 4 times, building up a thick layer of embossing powder.

After it was thick enough, I added a little red ink to the edge of the oval and

inked up the “Windmill” stamp.

I heated up the oval again, making sure the powder was really hot and melted.

I pressed the inked stamp into the hot, melted powder.  Success!

I love the way it looks like red toile.  (which is something I collect)

*Disclaimer:  This post uses ads and affiliate links.  If you choose to make a purchase using one of the links, I receive a small commission (at no additional cost to you) that helps offset the costs of maintaining this blog.  Thanks for your support!

How to make a Chippy Window for Spring

Happy Spring!

To celebrate the first day of Spring I’m sharing how I made this cute little Chippy Window.

To make the Chippy Window…

I started with a 7gypsies 8×8 Shadowbox Insert that I painted with white acrylic paint


To achieve the look of an aged, worn, old chipped painted window…

I alternated layers of Deco Art Media White Crackle Paint* and

Deco Art Media White Crackle Paste* from DecoArt.

Allow plenty of drying time between each coat.

*Disclosure:  This blog uses ads and affiliate links.  If you choose to make a purchase using one of the links, I receive a small commission (at no additional cost to you) that helps offset the costs of maintaining this blog.  Thanks for your support!

For the background of the window…                                                                          

I cut a piece of 7 3/4″ x 7 3/4″ decorative scrapbook paper and adhered it to a thick piece of

mat-board.  I cut down  a couple of 3″ x 4″ journaling cards from the

“Tealightful” collection from Pebbles Inc. and adhered it to the back of the window

frame before attaching the covered mat-board.  Because the mat board is heavy,

I used a Beacon Adhesive Quick Grip Glue* to attach it to the frame.

I added loop screws onto each side of the window frame approx. 1/2″ in and added a thin chain

to the loop screws for hanging.  Ribbon would also work.

To create the floral swag

I snipped a few sprigs of artificial flowers and attached them together in the center with

a thin floral wire.  I tied a simple bow to cover the wire.

I attached the floral swag and wood embellishments to the front of the frame with

Beacon Adhesive Quick Grip Glue*   

FYI…I found the “Welcome” and “Butterfly” embellishments at Michaels.

I added the Spring Window to the center of a wreath and hung it on the front door.

I found the greenery wreath yesterday at Homegoods.  It was just what I was looking for,

the perfect backdrop for my Chippy Spring Window.

FYI…Having a problem finding a window pane to use or would like one that’s even bigger?

  (*affiliate link)

Hampton Art Jillibean Soup Mix The Media Window Frame-14 X16 White* 

Shop Your Fav Brands at Scrapbook.com


The new guy in my life…

There’s a new guy in my life and I’m in love.

Meet the newest member of our family, my sweet little grandson Emerson.

Emerson is my third grandchild, my third grandson and the littlest brother.

He has already stolen all of our hearts.

I’m so excited to have a new love in my life.

For Emerson’s layout, I used the Lullaby Collection from Pebbles Inc.

    • I created a lacey border for the photo using the Spellbinders Captivating Squares Die Templates* and cutting and piecing six squares together.
    • I wanted some small floral accents for my layouts so I fussy cut small flowers from the floral scrapbook paper.  I used thin 3D foam mounting squares on a few of the flowers.

Disclaimer:  This post uses affiliate links.  If you choose to make a purchase, I will receive a small commission that helps offset the cost of running this blog.  Thanks for your support!

Shop Amazon – Create an Amazon Baby Registry

It Feels Good to Feel Good

There’s nothing like sunshine, blue skies…

and a couple days of antibiotics to get the creative juices flowing again.

Yesterday, I re-worked the mantel and put away the last of my winter decorating.

I washed all the bedding, threw out my toothbrush, opened windows

and used Clorox wipes all over the house.

After being stuck at home for the past several days dealing with Strep Throat,

I finally ventured out.  I went to Goodwill (donated and purchased),

visited the Camera Shop to exchange my tripod for an upgrade

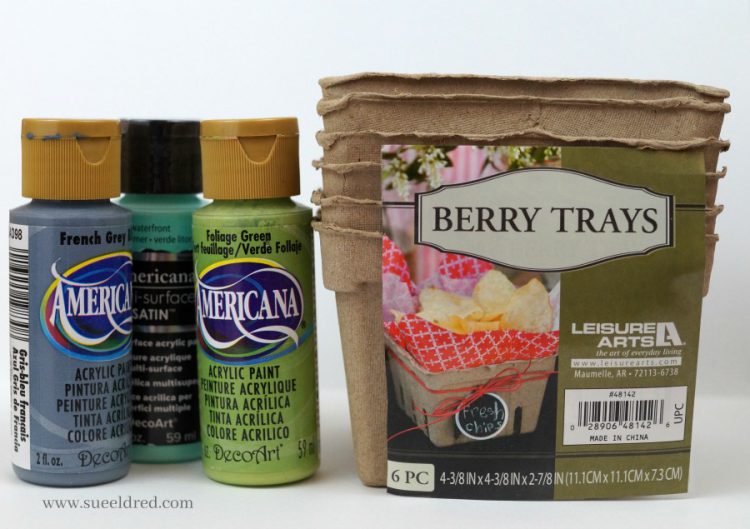
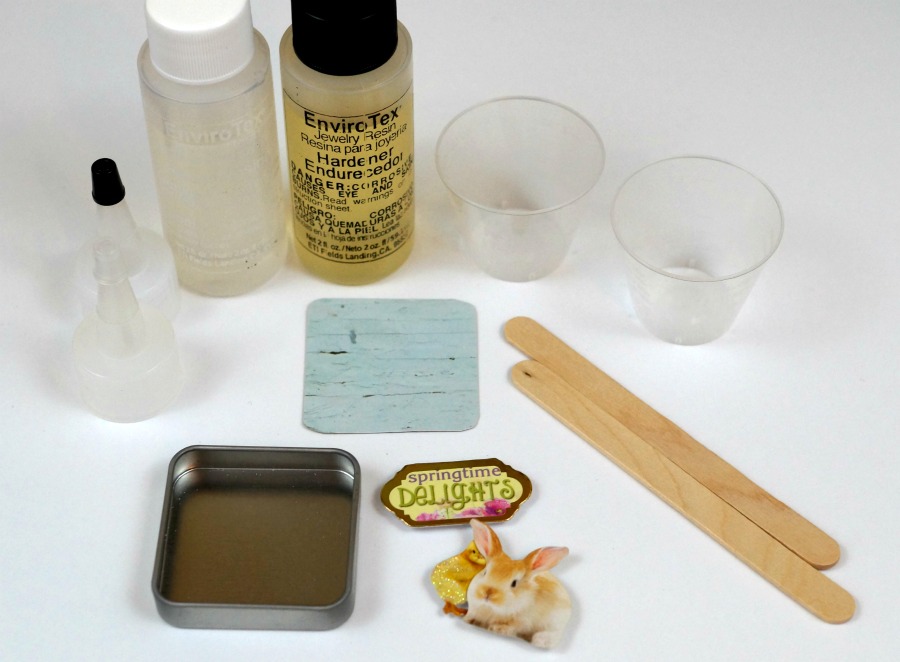
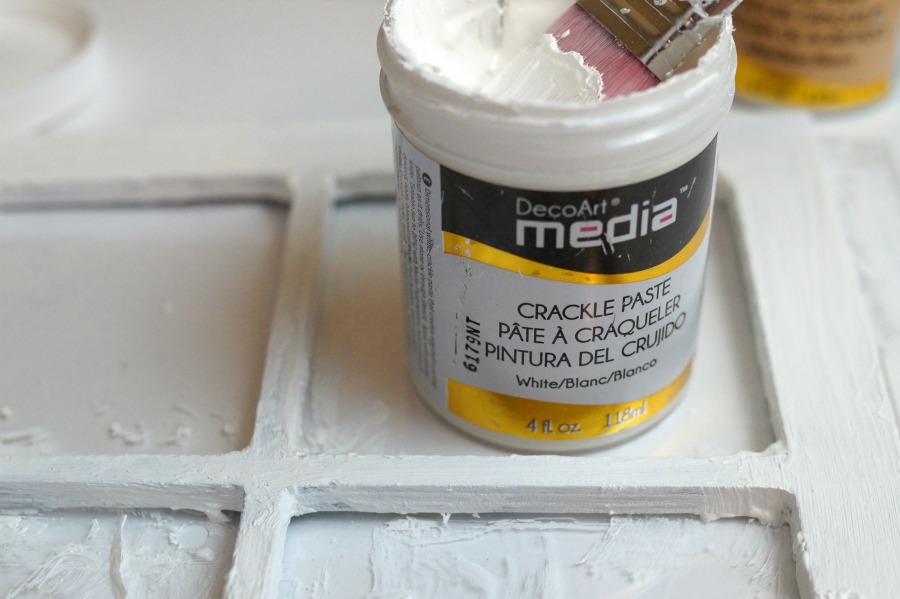
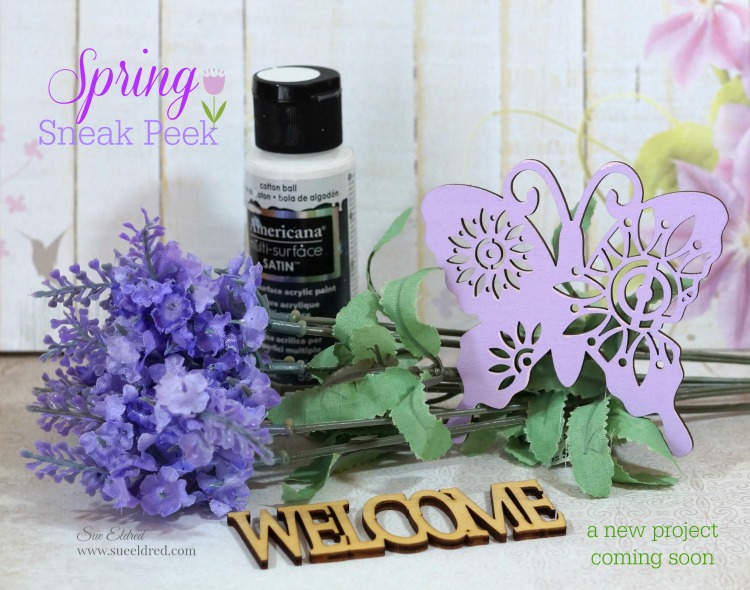
and I went to Michael’s to get supplies for a new Spring project.

It feels good to feel good.

And talking about feeling good.

This past Holiday Season, I got a new tri-pod for my camera.

I researched several new tri-pods online first.

I was looking for a tri-pod with a pivoting arm for table top shots and videos.

Being that a really good tri-pod is somewhat costly…

I wanted to make sure I got the best deal.

I decided to go to the local Camera Shop to check them out in person

before I made my online purchase.  (I know, I know, that’s wrong)

Once there the guy helping me was so nice, that I spent a few more bucks

and bought local.  I did the same thing a few years ago when I was looking

for my new camera.   Great Service is worth something.  Right?

Long story short, I bought the wrong tri-pod.  (technically it wasn’t my fault.)

Flash forward to today. 

I stopped by the Camera Shop to see if  I was doing something wrong.

A couple of the sales-guys and myself were playing with it when a more

knowledgeable salesman informed us that my tri-pod with the rolling ball

action wasn’t made for what I was wanting.  (Oops, someone made a mistake.)

He took me over and showed me the one that would, explained how everything

worked and exchanged my 3 month old tri-pod.   “No problem, I’ll take care of you”.

You don’t get that kind of personal service when you buy online.  (Just sayin!)

Want to know a little secret?

adornit-it-girl

I’m excited to let you in on a little secret.

I have been chosen, for the next three months, to be an ADORNit Ambassador

for the Art, Coloring, Paper Crafting and DIY categories.

It’s going to be crazy fun.

I’ll be sharing lots of fun projects here and on all my social media outlets

using their great products.  I can’t wait to get started.

So…STAY TUNED!