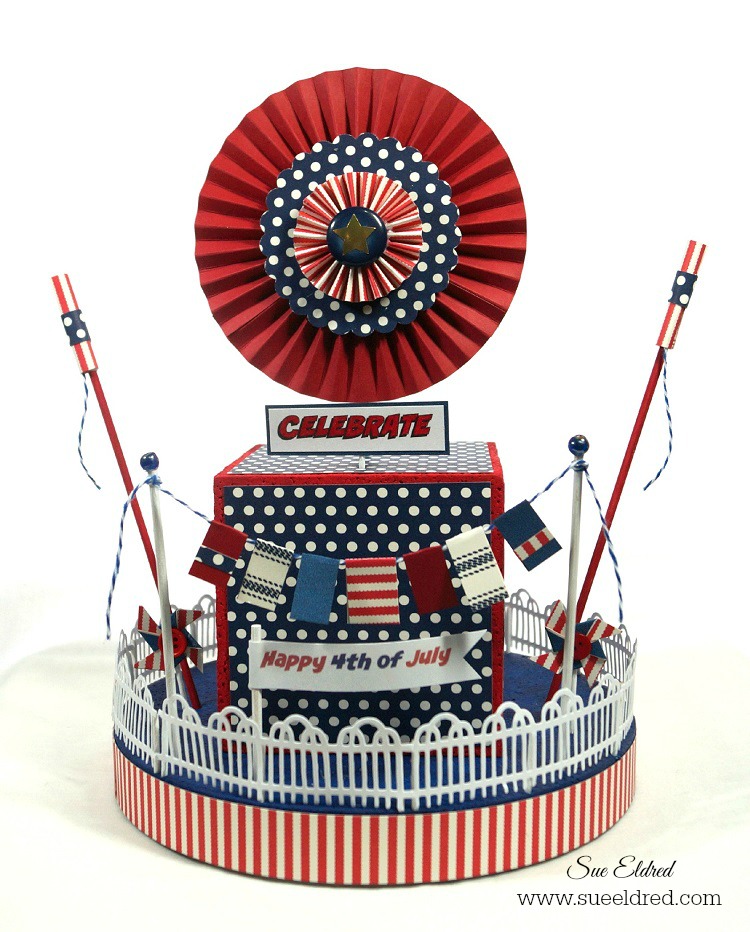
How to make a 4th of July Centerpiece with Fireworks, Flags, Banners and Pinwheels

What do you think about when you hear the words “4th of July”?

For me it’s… White picket fences, fireworks and the good old red white and blue. 

Or a 4th of July Celebration Centerpiece with Fireworks, Flags, Banners and Pinwheels all

rolled into one.   I created this 4th of July centerpiece a couple years ago, since it’s one

of my favorite projects, I thought I’d share it again.   Enjoy!

How to make a 4th of July Centerpiece…
Products Used:                 (*affiliate link)

Directions:

  1.  Paint the round disc with Navy Blue paint.

2.  Cut two 1” x 12” strips of the red striped paper and one 1” x 2” piece. Adhere to the side of the disc with double stick tape roller.

3.  Die-cut 7 fence sections.

4.  Paint 15 round toothpicks white. (set four aside to use later.)

5.  Cut 11 toothpicks in half. Glue one toothpick half on each end and middle of the fence with the pointed end facing down.

6.  Insert fence sections onto the top edge of the disc.

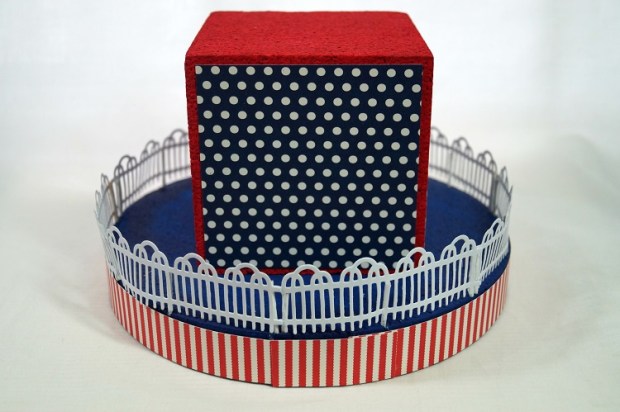
7.  Paint the 4” cube red.

8.  Cut five 3 ¾” x 3 ¾” pieces of Navy & Ivory dot paper. Adhere to the sides and top of the cube. Glue cube to center of the disc.
9. Paint two bamboo skewers white. Cut skewers to 5”.

10.  Glue small blue beads to top of each skewer.
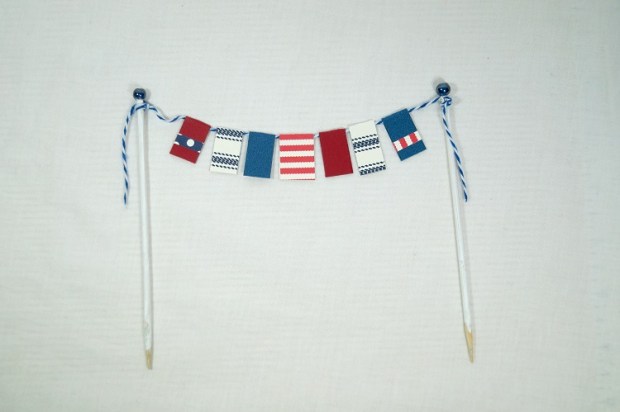
11.  Create small ½” flags from scraps of paper and cardstock. Adhere onto a 12” piece of blue and white twine.  Tie ends of the twine to top of the skewers to make a flag banner. Insert into disc.
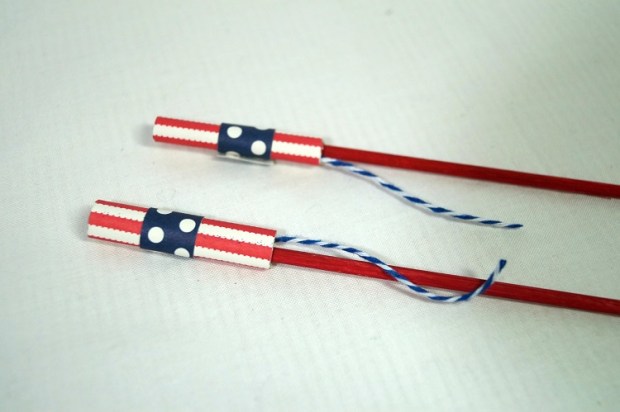
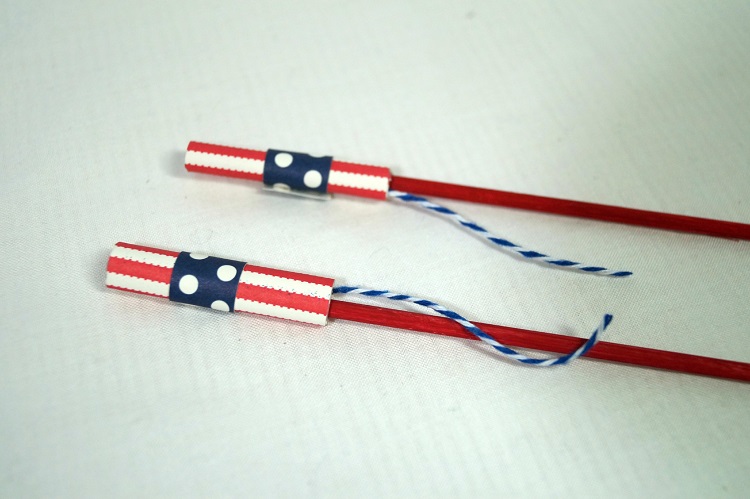
12.  To create Bottle Rockets:  Paint two bamboo skewers red.  Cut two pieces of red striped paper 1 3/4” x two. Wrap around pencil to curve paper. Remove pencil and roll tightly to form a small tube. Wrap a 1/2” strip of navy dot paper around tube.  Glue a small piece of twine inside of tube to create the bottle rocket wick. Glue tube onto red bamboo skewer and insert into disc. Create second bottle rocket for other side of the disc.

13.  Punch two 3” Navy and Ivory Dots scalloped circles.

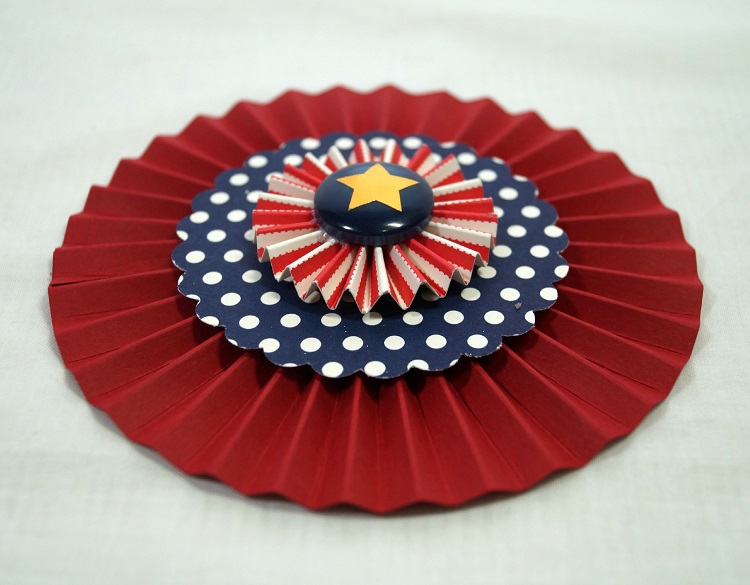
14.  Cut two strips of red card-stock: 1 1/4”” x 12” and 2 1/4” x 6 1/2” . Adhere the two strips together to form one long 2 1/4” x 18” strip of red card-stock.

15.  Using scoring board and scoring tool. Score card-stock every 1/4” down the entire length. Fold strip accordion fold. Glue ends together with a strong adhesive to form a cylinder.

16.  On a flat surface, gather the bottom of the cylinder tight while spreading and pushing down on the top to create the Rosette.

17.  With a strong adhesive, attach one of the scalloped circles to the center of the Rosette. Hold into place until the adhesive starts to hold.

18.  Turn the Rosette over and attach the second scalloped circle onto the other side of the rosette.

19.  Create a second smaller rosette using a 1” x 12” strip of red striped paper. Score strip every 1/4”.  (repeat steps 16 and 17)

20.  Glue blue button into center of the rosette to hold in place. Glue onto center of the scalloped circle. Add star sticker to center of button.

21.  Paint a bamboo skewer with Navy paint. Cut into a 5” piece. Insert into back of finished Rosette.

22.  Insert finished Rosette into top of the 4″ cube.

23.  Create small pinwheels by adhering two pieces of 1” x 1” paper together.  On each corner, cut diagonally two-thirds of way to square’s center, dividing each corner into two points. Bring every other point to center so that the points overlap. Glue into place.

24.  Glue small red button to center of each pinwheel.  Glue onto white painted toothpick and insert into base.

25.  Create and print computer generated “CELEBRATE” and “4th of July” onto white card-stock.  Cut and layer to size and adhere onto picks and skewers and insert onto centerpiece.

This project was created for and sponsored by Smoothfoam and Canvas Corp Brands.

For more summer fun…click on Slimer ad below

Slimer

Disclaimer:  This blog uses ads and affiliate links.  If you choose to make a purchase using one of the links, I receive a small commission (at no additional cost to you) that helps offset the costs of maintaining this blog.  Thanks for your support!

Join Amazon Kindle Unlimited 30-Day Free Trial
Almost Famous…

My grandson said to me the other day while he was sitting at my desk,

“Grandma you’re famous.”

“No, honey, I’m not”, I said.

“But… Grandma, you’ve been in a magazine”.

Well now dear Nicholas… so have you.

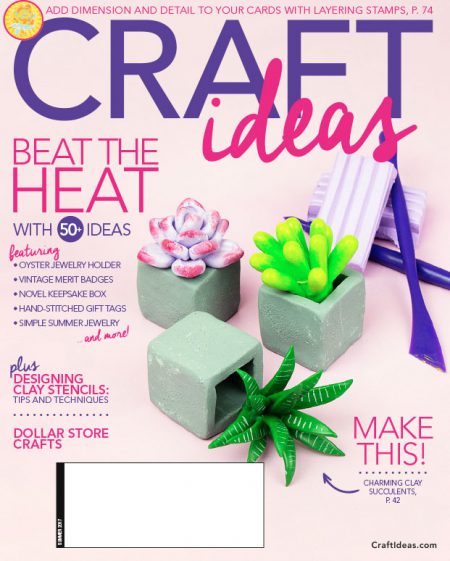
I received the very last issue of Craft Ideas magazine in the mail today.  (insert sad face)

Along with two projects, I also had the honor of being the Contributor Spotlight.

You can read my interview with Molly on page #96.

Now we’re both almost famous.

Disclaimer:  This blog uses ads and affiliate links.  If you choose to make a purchase using one of the links, I receive a small commission (at no additional cost to you) that helps offset the costs of maintaining this blog.  Thanks for your support!

Try Amazon Prime 30-Day Free Trial

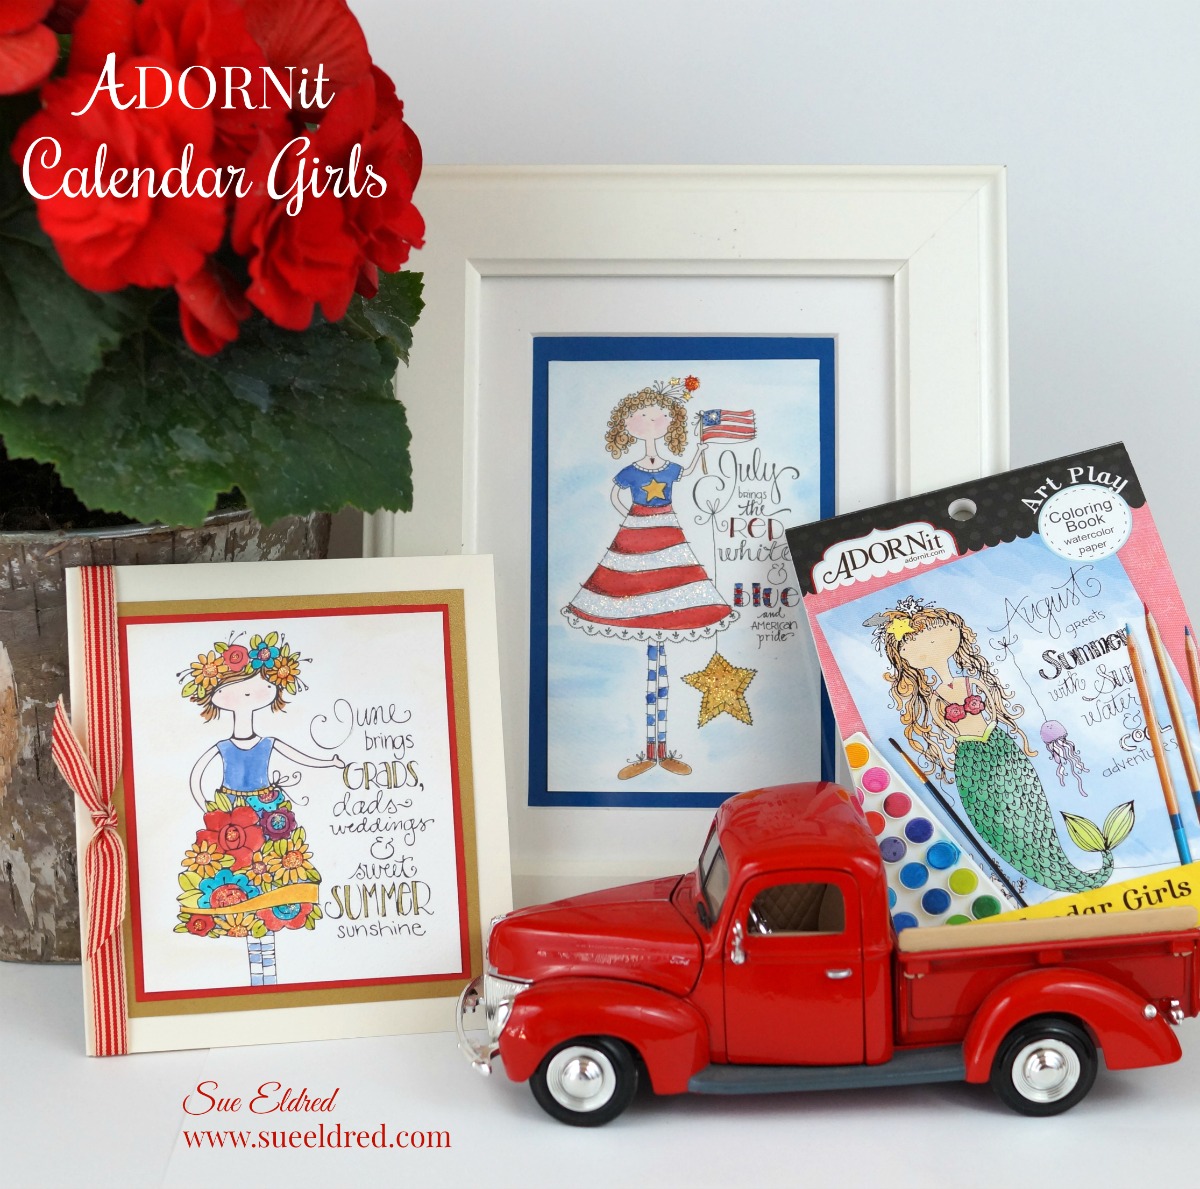
I love my Calendar Girls

I love, I love, I love my calendar girl.

You ever get a song stuck in your head?  (over and over again)

When I finished up with these samples last night, I couldn’t get that song out of my head.

For those of you not old enough to remember the song Calendar Girl by Neil Sedaka,

I suggest you “google” it.  Then you’ll have it rolling around your head just like me.

(*amazon affiliate link)

It all started with the Calendar Girls Mini Coloring Book* from ADORNit.

I simply water colored the image using a variety of inks from ink pads and a waterbrush.

(It makes me feel like an artist)

The mini coloring books are now available on Amazon*.

And… if you use the code MINIBOOK (all caps) you will be able to buy 2 and get 1 free!  

Try Amazon Prime 30-Day Free Trial

Disclaimer:  This blog uses ads and affiliate links.  If you choose to make a purchase using one of the links, I receive a small commission (at no additional cost to you) that helps offset the costs of maintaining this blog.  Thanks for your support!

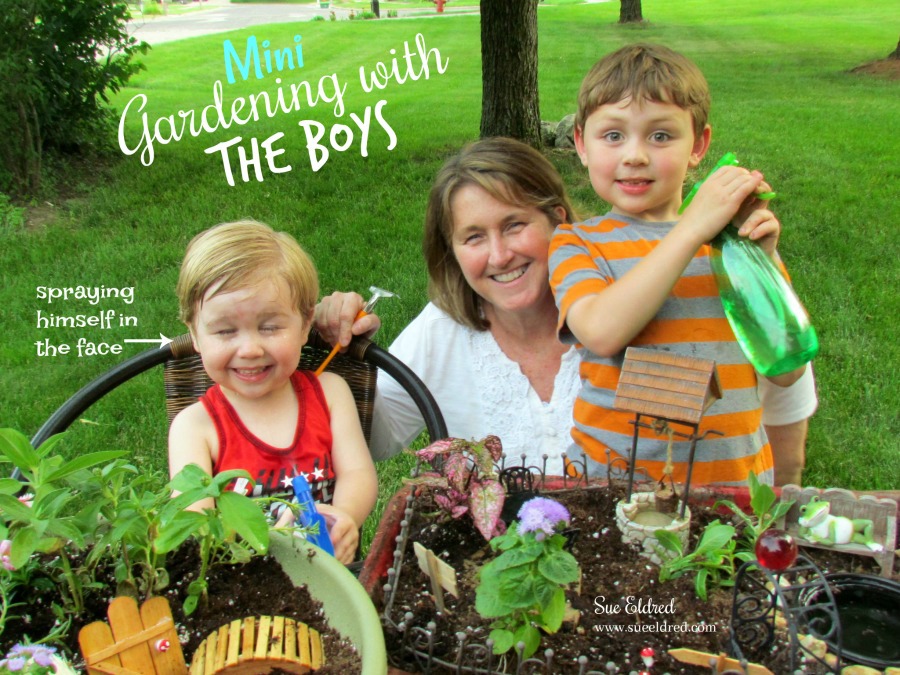
Mini Gardening with the Boys

Several years back when Nicholas was a little bit older than Warren we started our annual

tradition of creating a mini garden.  Now that Warren is 3, I decided that this year,

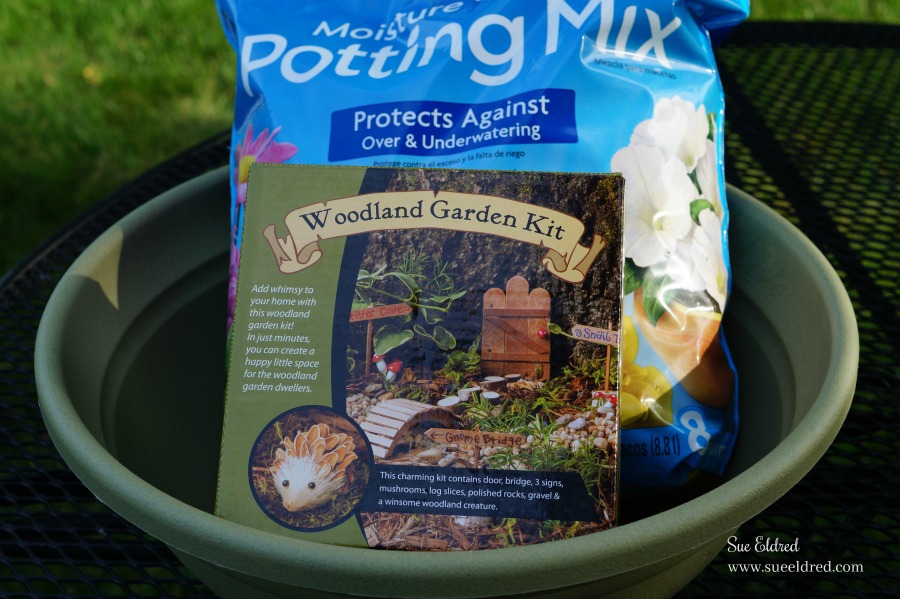
he needed to make one of his own.  I found this cute Woodland Garden Kit* (affiliate link)

from LeisureArts.com.  It was a great start for Warren’s garden.

(LeisureArts.com was generous and sent me a Woodland Garden Kit to use in this post.)

The kit retails for $12.99 and comes with so many cute accessories to add to your mini garden.

A great value, cheaper than buying everything separately.

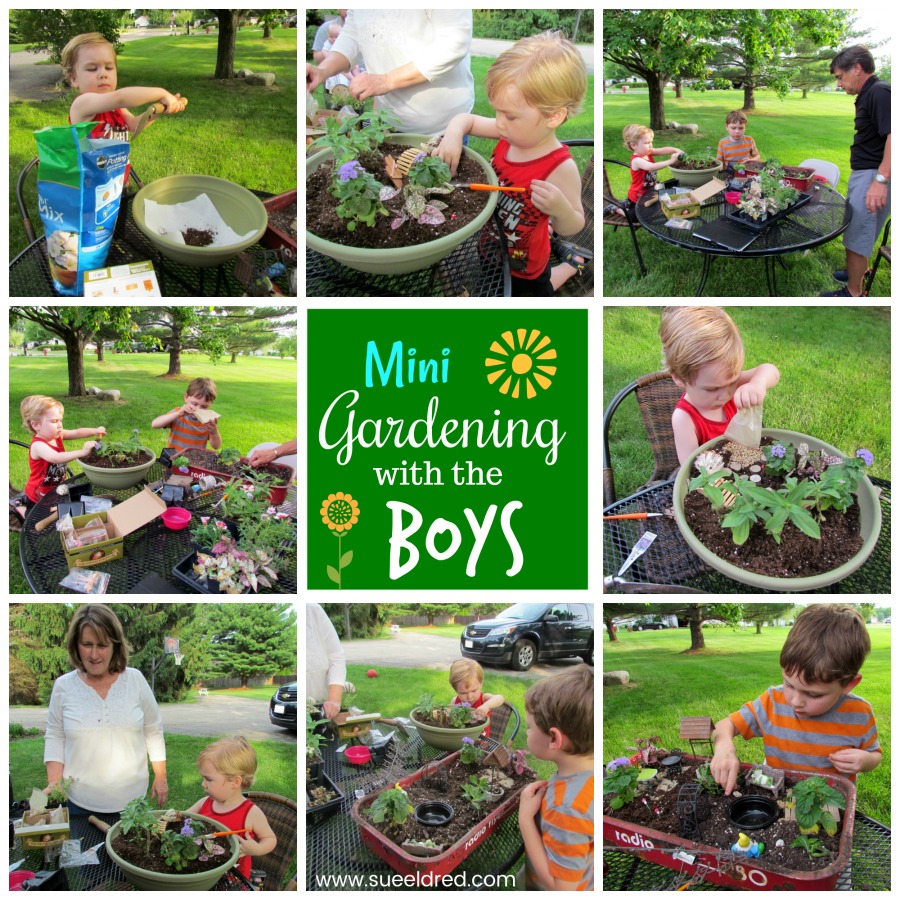
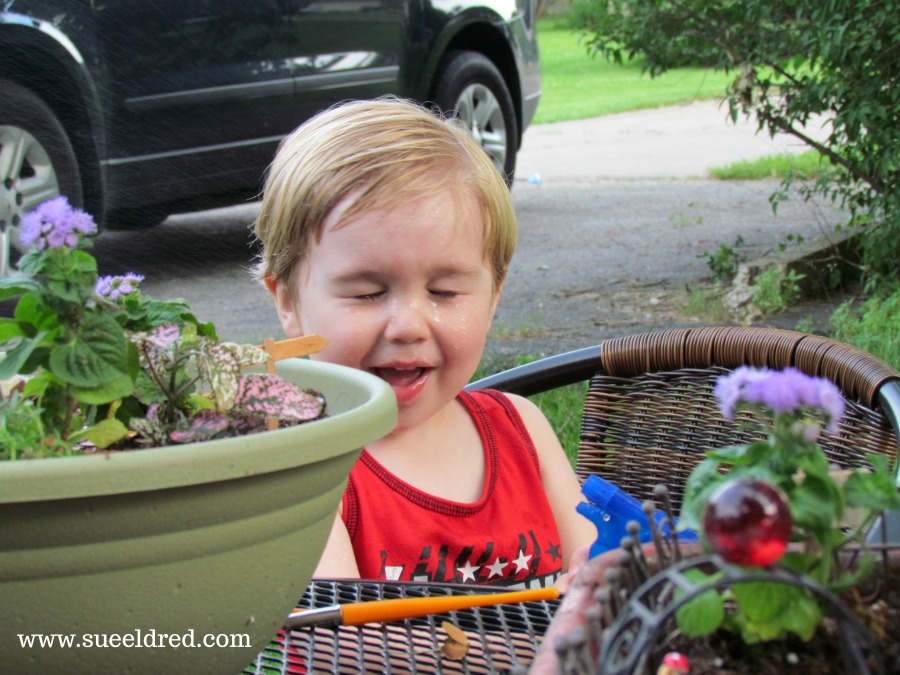
I had all the supplies and plants ready to go and the boys quickly got started on their gardens.

They loved digging in the dirt, putting in the flowers and decorating their gardens.

We added a hedgehog, garden gate, bridge, mushrooms, wood slices, rocks and cute little

garden signs.  (All included in the Woodland Garden kit.)

We were having so much fun, even Grandpa joined in on the fun.

Mini gardens make such a fun family project.

I do believe Warren’s favorite part was the water bottle. 

He loved spraying everything, including himself.

Nicholas was more serious about his mini garden.  (this is his 4th year making one)

You can read about and see Nick’s first garden here.

Warren and Nick’s Mini Gardens

I love doing special these projects with the boys.   After the mini gardens were finished, they

ran around the yard spraying each other (and occasionally me) with the water bottles.

They keep life fun!

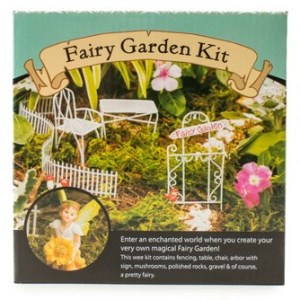
FYI…  LeisureArts.com also has a Fairy Garden Kit in addition to the Woodland Garden Kit.

and for more Summer fun from Leisure Arts…  (click on picture below)

Friendship Bracelets

Disclaimer:  This blog uses ads and affiliate links.  If you choose to make a purchase using one of the links, I receive a small commission (at no additional cost to you) that helps offset the costs of maintaining this blog.  Thanks for your support!

Adult Coloring Book - BIG

for the love of reading… “Books for Nick”

My grandson Nick learned to read this year in Kindergarten.

This new ability has renewed his love of books.

Not just any old book will do, it has to be a chapter book.

To keep Nick from rummaging through all the bookshelves…

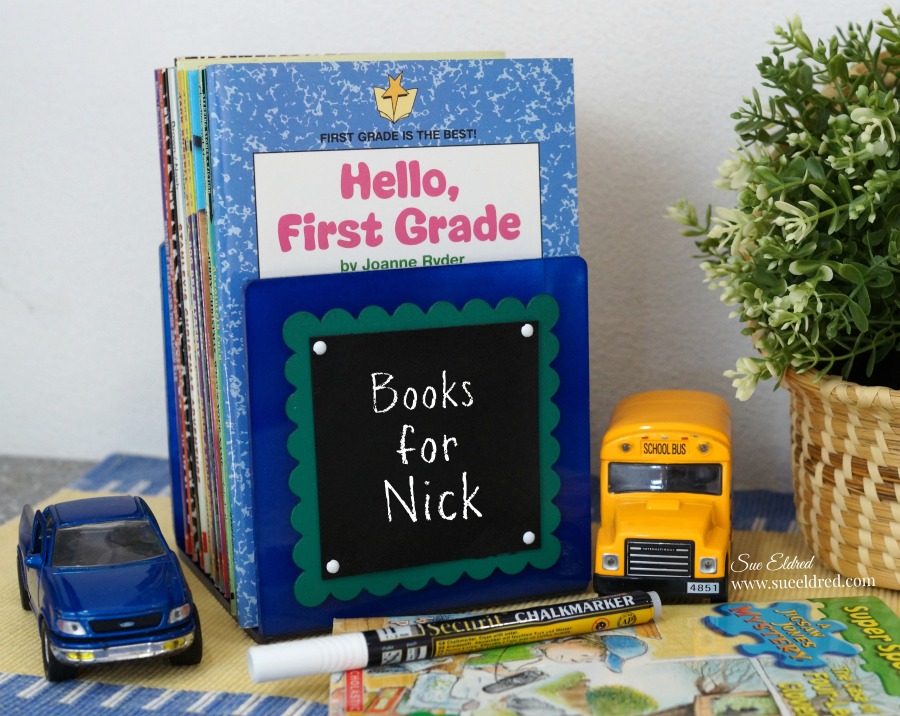
I created a small book stand for him to use with all the age appropriate books

I’ve saved through the years.  (He hasn’t seen it yet, I think he’s going to like it.)

To create Nick’s bookstand…

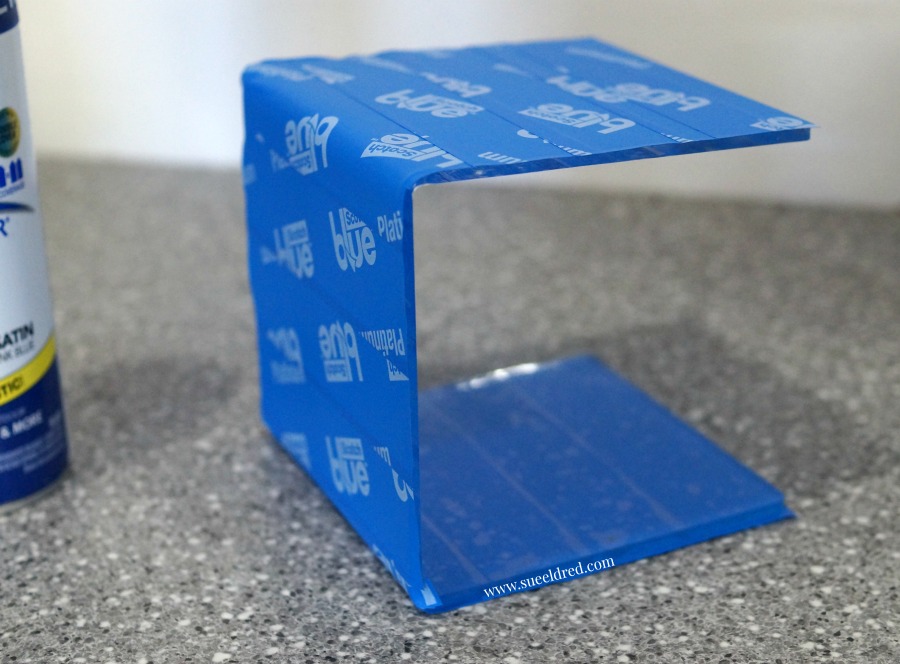
I used a Square Display Riser* (affiliate link) from a set of 3 acrylic risers I received from

Deflecto as part of my monthly Design Team box.

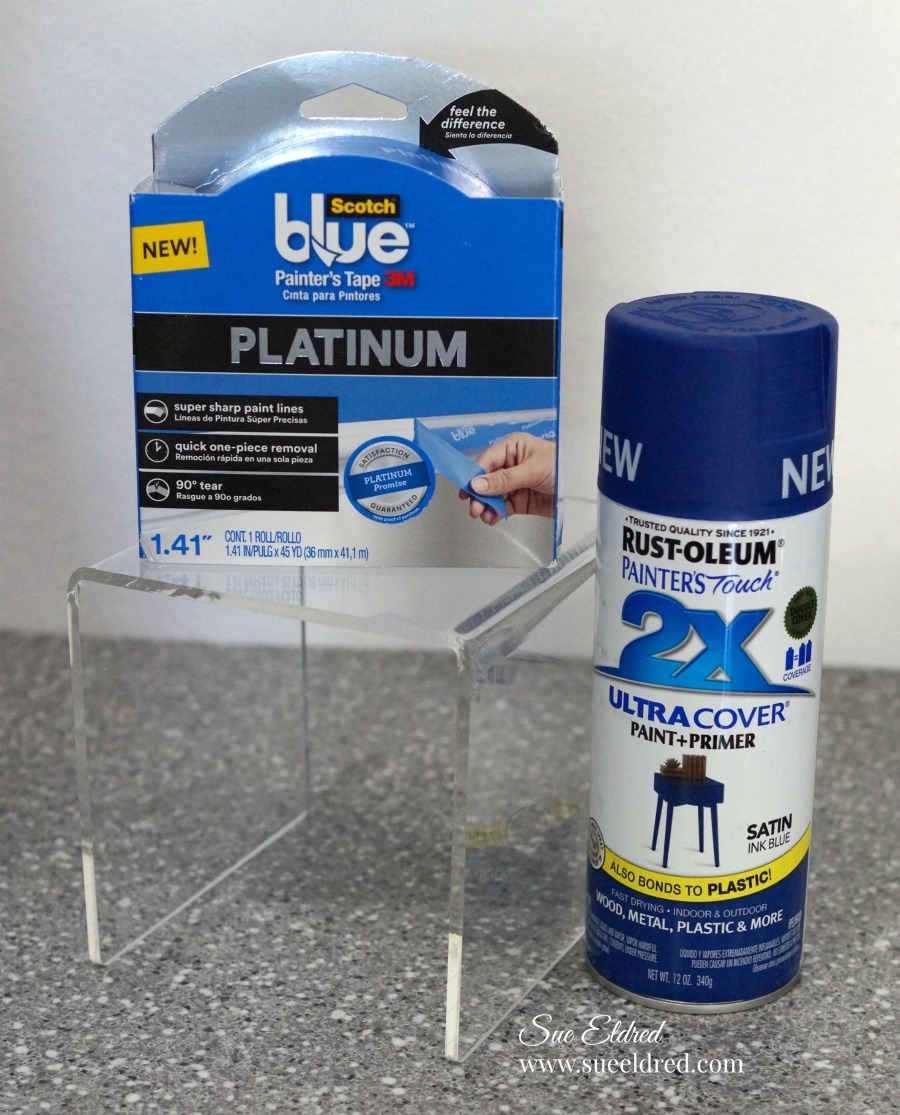
I covered the outside of the Square Display Riser* with ScotchBlue Platinum Painter’s Tape*.

I sprayed the inside of the Square Display Riser*

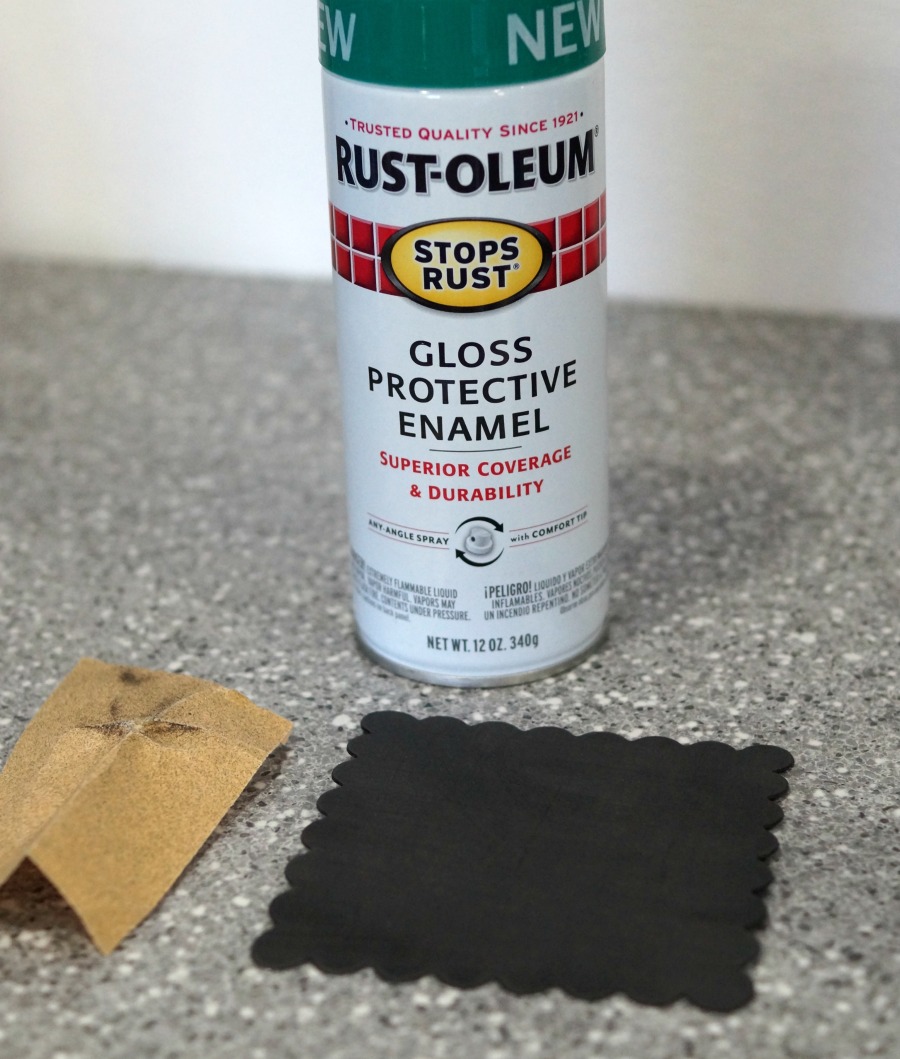
with Rust-Oleum Painter’s Touch Multi Purpose Spray Paint*.

I die-cut a scalloped square from black chalkboard vinyl (Sign Tags w/Wet Erase Marker)

and roughed it up with extra fine sandpaper for better paint adhesion.

I then painted the vinyl square with green spray paint.

For the Mini Chalkboard…

  • I cut a smaller piece of the black chalkboard vinyl and punched holes on each of the four corners to add decorative brads before gluing with Beacon’s Quick Grip Glue* onto the painted scalloped square.
  • I glued the completed scalloped square onto the Square Display Riser*.
  • The mini chalkboard is a great place to write encouraging reminders.

 “This is a sponsored post. As a member of the Deflecto Design Team I have been provided product in exchange for my creative ideas, views and opinions.”

For more summer fun… click on ad below.

Slimer

Disclaimer:  This blog uses ads and affiliate links.  If you choose to make a purchase using one of the links, I receive a small commission (at no additional cost to you) that helps offset the costs of maintaining this blog.  Thanks for your support!

Join Amazon Kindle Unlimited 30-Day Free Trial
Heartbreaker Sweatshirt

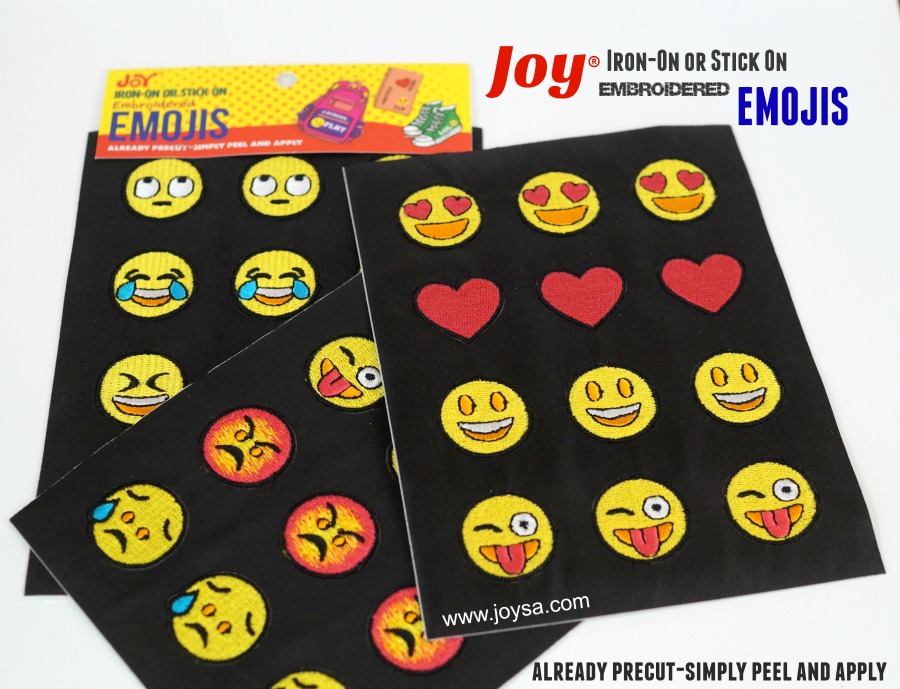
My teenage son was intrigued when I showed him my stack of new Emoji iron-on patches.

“Can I use one?”,  he asked.

Curious to what was in his head, I said “yes” on one condition.

He had to let me photograph what ever he made.  (He agreed.)

After deciding  on the perfect placement, he even ironed on the patches himself.

I have to admit it turned out real cute.

Ask for Emoji iron-on patches at your local craft store.

 *As a member of the Creating with Joy Design Team, this post was sponsored by JOY® SA.

Memorial Day Sale at Sizzix

I know how everyone loves a good sale.

So I thought I’d pass this one along just in case.

Disclaimer:  This blog uses ads and affiliate links.  If you choose to make a purchase using one of the links, I receive a small commission (at no additional cost to you) that helps offset the costs of maintaining this blog.  Thanks for your support!

DIY a Colorful Garden Chair for your Gnome

diy-a-colorful-garden-chair-for-your-gnome-2

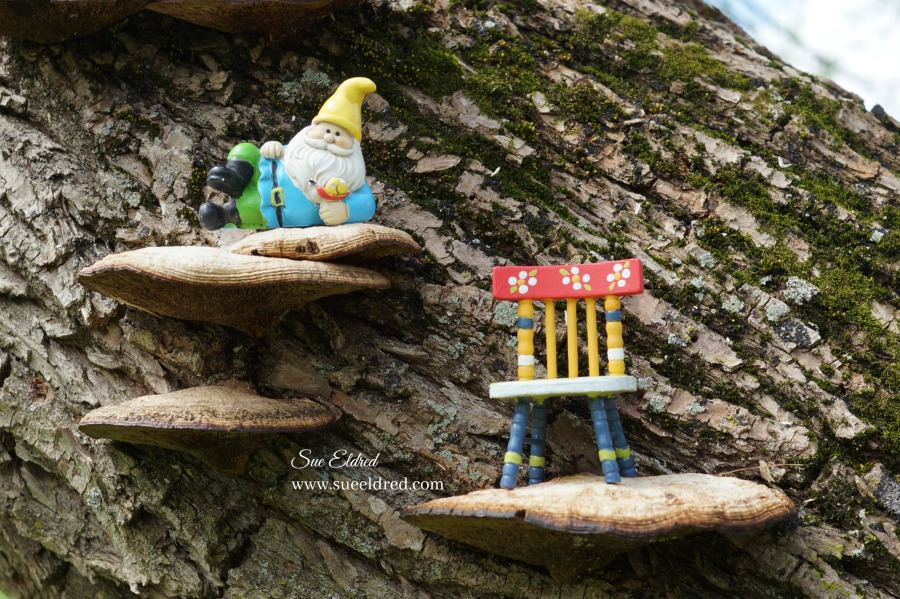
A Colorful Chair for Colorful Little Gnome…

Every year around this time, my Grandson and I start making our mini gardens.

It’s our special annual tradition.

Last year, we added a Gnome named Mr. Elfsnail.

This year, I decided to create a chair for him to sit on while working in the garden.

We take our gardening seriously.   Read about Mr. Elfsnail’s garden.

For Mr. Elfsnails chair…

I found this cute little wooden chair in the toy area of Dollar Tree and knew it’d be a cute

mini garden chair for my gnome.

How to make a Colorful Gnome Chair

Supplies Used:
  • Miniature Wood Doll Chair
  • DecoArt Americana Paint:  Watermelon Slice, Marigold, Olive Green
  • DecoArt Multi-Surface Satin Acrylic Paint:  Night Sky, Cotton Ball
  • Paint Brush
  • Sand Paper
  1. Lightly sand any rough spots off the chair.
  2. Paint the chair in a variety of colors.
  3. Create small flowers on the top of the chair by dipping the end of the paintbrush in paint and adding small dots as the petals.

Chair measures 3″ tall.

I might have even left it here (glued to the tree) if I didn’t think it’d drive the boys crazy.

A little fun and whimsy. 

For a dollar and some paint, it might be fun to let the boys paint a chair of their own.

For more summer fun… click on ad below ↓

Slimer

Disclaimer:  This blog uses ads and affiliate links.  If you choose to make a purchase using one of the links, I receive a small commission (at no additional cost to you) that helps offset the costs of maintaining this blog.  Thanks for your support!

Join Amazon Kindle Unlimited 30-Day Free Trial
Easy Photo Transfer on Wood Slices with Mod Podge

Easy DIY Photo Transfer project using Mod Podge Photo Transfer Medium

I’ve used Mod Podge® several times over the years, but had never tried

Mod Podge Photo Transfer Medium*.     (*affiliate link)

I was surprised at how easy the process was and how well the project turned out.

For my project…

I used a color copy of my son in his favorite Woody pajamas and favorite Woody toy.

It’s hard to believe that this sweet faced boy is now graduating from High School.

I also used a wood slice from Walnut Hollow* for my project.

The wood slice had been previously kiln dried, sanded and was ready to use.

Directions:

  1. Do not use actual photographs, you must use photo copies made from a dry toner type copier.
  2. Lay wood slice over picture and trace around wood slice.  Cut around traced lines.
  3. Using a 1″ Foam Brush*, brush over image with a medium application of Mod Podge Photo Transfer Medium*. The medium will be opaque.
  4. Carefully lift image off, making contact only slightly with the image edge. Flip the coated image over and position over the wood slice.   Lightly press from the center out to release any air bubbles.   Wipe away any excess medium that may have been squeezed out from the image. Allow to dry overnight.
  5. Wet a sponge with water, squeeze excess water from sponge then dampen the exposed backside of the image transfer. Immediately as the paper is wet, an image will appear. Allow the wet image to rest a couple moments to soften the paper.

Shop Your Fav Brands at Scrapbook.com

5.  Using your damp sponge or a fingertip, begin to lightly rub over the damp paper to peel away layers. Be careful not to be rough with the wet paper as it may be fragile. After removing several layers of paper, stop and allow transferred image to dry. Once dry, white areas will appear where paper remains. Repeat steps to moisten and lightly rub the surface to remove the remaining paper layers. Allow to dry.

6.  If desired, brush a coat of Mod Podge Matte Finish* or Mod Podge Gloss Finish* over the project surface to seal and protect.

Basic Directions from plaidonline.com

Did you Know…

In 1967, Jan Wetstone created Mod Podge in her garage as an easy-to-use decoupage solution for crafting enthusiasts. Since then, the brand has gone beyond just decoupage with 17 different formulas that include Matte, Gloss, Dishwasher safe, and Sparkle as well as top coats for Brushstrokes and Chalkboard. The introduction of the Mod Melter made embellishing your craft projects a breeze, along with the endless creative options found in Dimensional Magic, Photo Transfer Medium, and Collage Clay.


*Disclosure:  This blog uses ads and affiliate links.  If you choose to make a purchase using one of the links, I receive a small commission (at no additional cost to you) that helps offset the costs of maintaining this blog.  Thanks for your support!


ADORNit: “Embrace Each Day” card

A bright and cheerful card for all you Moms out there.

It doesn’t matter if put your feet up, take a walk, plant those flowers or hug those little ones…

What ever you need to do to embrace the day.  (fyi…I plan on doing all the above)

Happy Mother’s Day.

Card Details…                                                                          (*affiliate link)

This card was sponsored by ADORNit as part of being an ADORNit “it girl” ambassador.

Disclaimer:  This blog uses ads and affiliate links.  If you choose to make a purchase using one of the links, I receive a small commission (at no additional cost to you) that helps offset the costs of maintaining this blog.  Thanks for your support!