Simple Stories Classic Christmas Cards

I’ll be teaching a new class at The Paper Forest in December.

simple-stories-classic-christmas-cards-2193

Simple Stories Classic Christmas Cards

You may want to grab your elf hat and shoes for this fast-paced Christmas Card Class.

In this class we will create 8 Christmas cards using the Simple Stories Classic Christmas Collection.

All you need to bring is your double stick tape roller, plenty of 3D foam mounting squares and scissors.

Please join me…

Thursday, December 1st
at The Paper Forest in Washington, IL
5:30-7:30 p.m.
Cost:  $25

Contact The Paper Forest at 309-745-3868 to sign up.
If there is enough interest we may add a daytime class.

Sometimes all you need to do is IMPROVISE

playing-in-the-pine-needles-layout-sues-creative-workshop-2266

When the boys came over to visit the other day, Nick had it in his mind that he was going to

rake a huge pile of leaves to play in.  Since the maple tree in the front yard had yet to drop it’s leaves

I suggested he rake up the Pine Needles.  (I figured a win-win for both of us)

playing-in-the-pine-needles-sues-creative-workshop1872

They raked, they threw, they had a really good time.  They IMPROVISED!

and…there were pine needles everywhere.

I love this picture of the boys.  So much fun.

paper-house-fall-blog-hop

This week the Paper House Design Team is having a Fall Blog Hop with a chance to win a fun prize.

Make sure to stop by the Paper House Blog to join in the fun.

fall-blog-hop-banner

My “Playing in the Pine Needles” layout was created for and sponsored by Paper House Productions.

The paper and stickers used in the layout were from the Autumn Woods Collection.

Way to Go Cubbies!

stephanie-cubs-layout

Last night, while watching the “nail biting” World Series…

my daughter texted me asking me if I could locate the picture of her in her cubs outfit.

She’s been a Cub’s fan for quite some time.

I’d forgotten that I had made it into a scrapbook page.

So…I thought today was a perfect day to share this Throw Back Thursday page.

WAY TO GO CUBBIES!!!

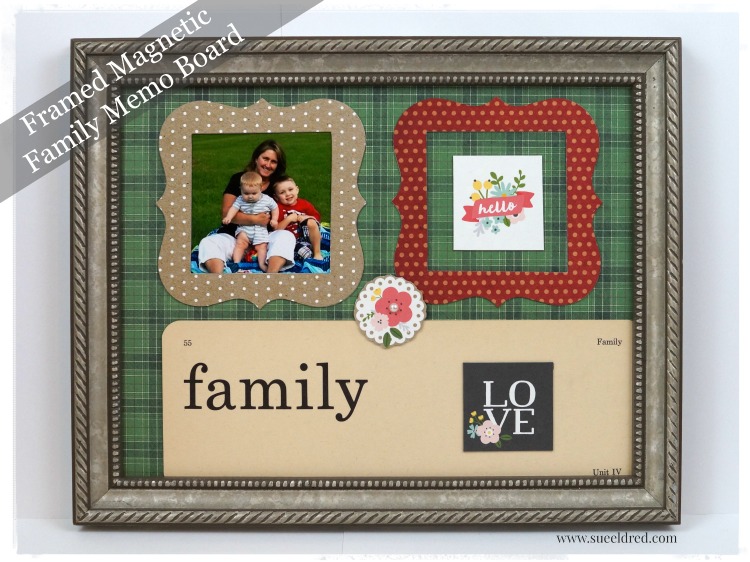
Framed Magnetic Family Memo Board

framed-magnetic-family-memo-board-2001

A decorative alternative to the family refrigerator.

This picture of me with my grandsons is one of my favorite photos.

It’s been hanging around on the fridge for a couple of years now.

I decided to make a Framed Magnetic Memo Board that I can hang on the wall and swap out photo’s

in the magnetic frames when ever I feel like it.

framed-magnetic-family-memo-board-2005

  • I started with an old picture frame with the glass removed.
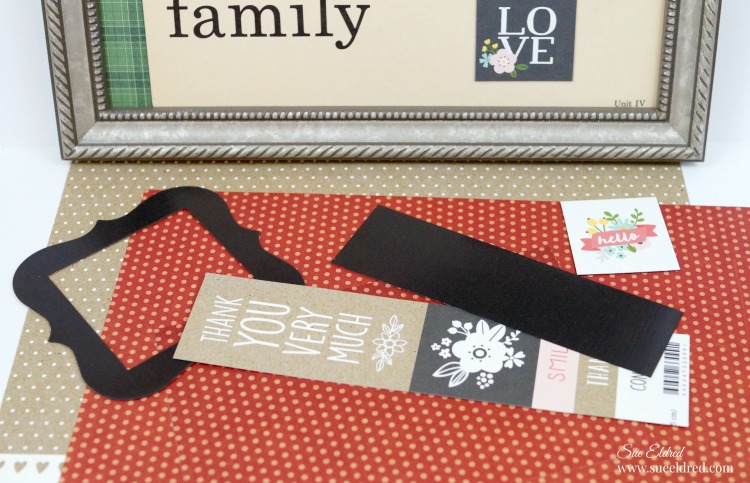
  • I adhered the Magnetic Craft Sheet from Deflecto using double sided adhesive on the frame backing with the black magnetic side up.
  • Next, I covered the black magnetic sheet with a “thin” piece of plaid scrapbook paper and inserted it back into the frame.  (TIP:  using thin paper is the key to the magnetic sheets sticking together)
  • To make the frames:  Cover magnetic sheets with scrapbook paper. Cut magnetic sheet with craft knife and mat or use a wood die cut frame to cut out the frames.
  • You can also create small word magnets using scrapbook paper and the magnetic craft sheets.

magnetic-holder-for-thin-metal-dies-sues-creative-workshop

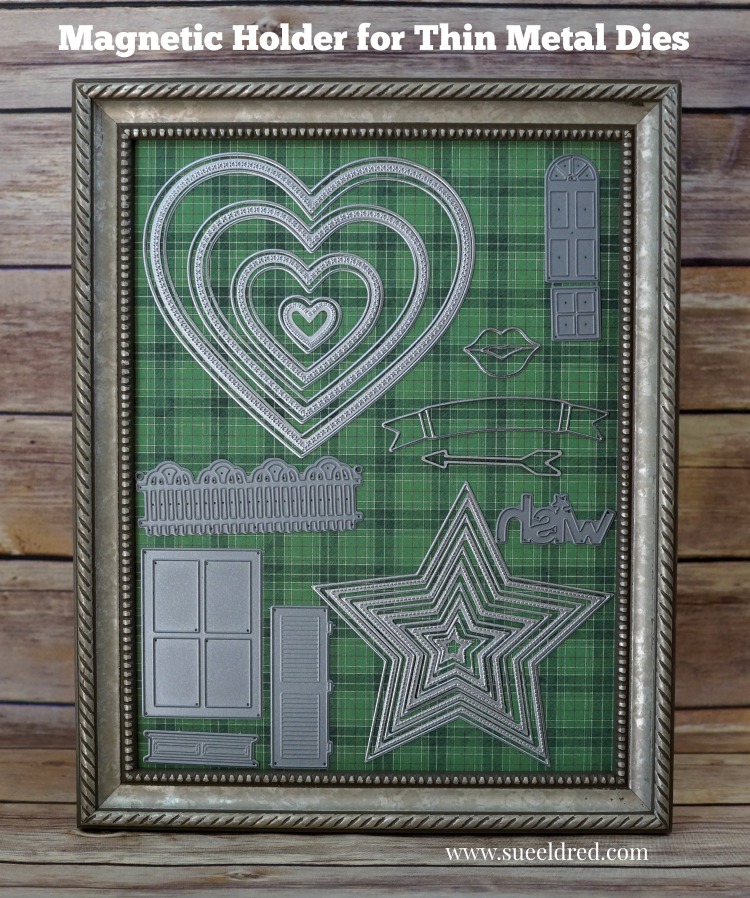
Thin metal dies will not work to cut the magnetic sheets, but it would be a great way to store them!

Deflecto Magnetic Craft Sheets, 8″ x 15″, 3-Pack, White (5901)


“This is a sponsored post. As a member of the Deflecto Design Team I have been provided product in exchange for my creative ideas, views and opinions.”

*This post uses Amazon Affiliate links.  I am an Amazon Affiliate.

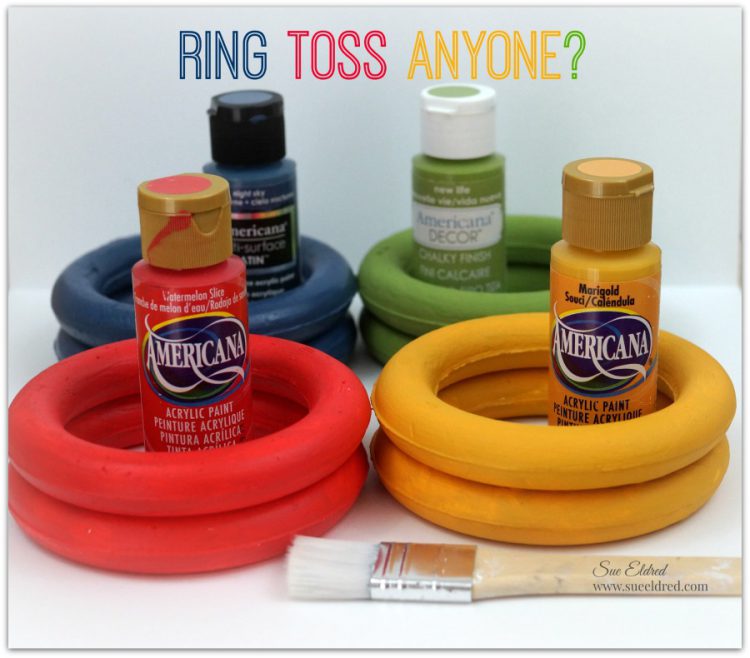
Ring Toss Anyone?

For Nick’s Carnival themed birthday party, earlier this month…

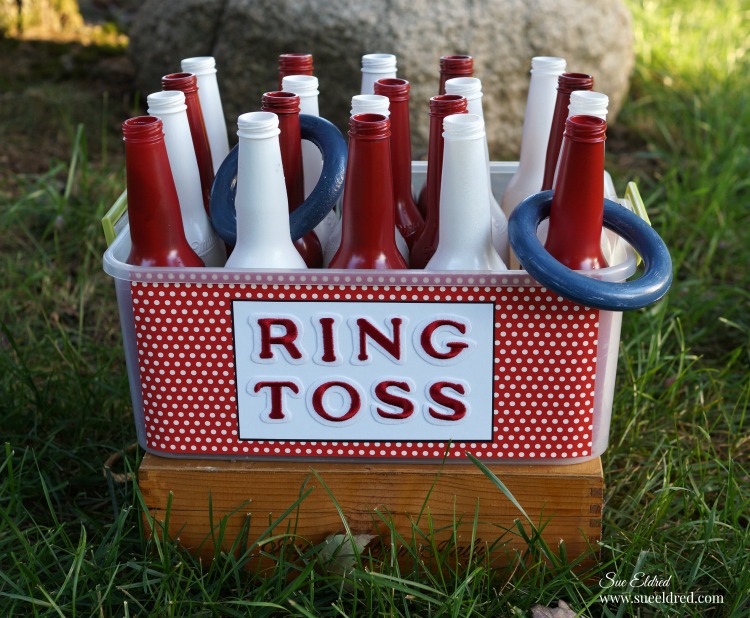
I was given the task to create the Ring Toss Game.

 After washing and spray-painting all the bottles, I needed a cute sign for the game.

Joy letters to the rescue – I just adhered them to scrapbook paper I added to the outside

of the plastic bin that holds the bottles.

I used lightweight Smoothfoam rings painted with acrylic paint for the kids to toss.

ring-toss-game-sues-creative-workshop

Besides the Ring Toss Game there was a Hit the Can, Frisbee Toss, Fishing Game, Shoot Em Up, Tattoo Parlor, Fortune Teller.

fishing-game

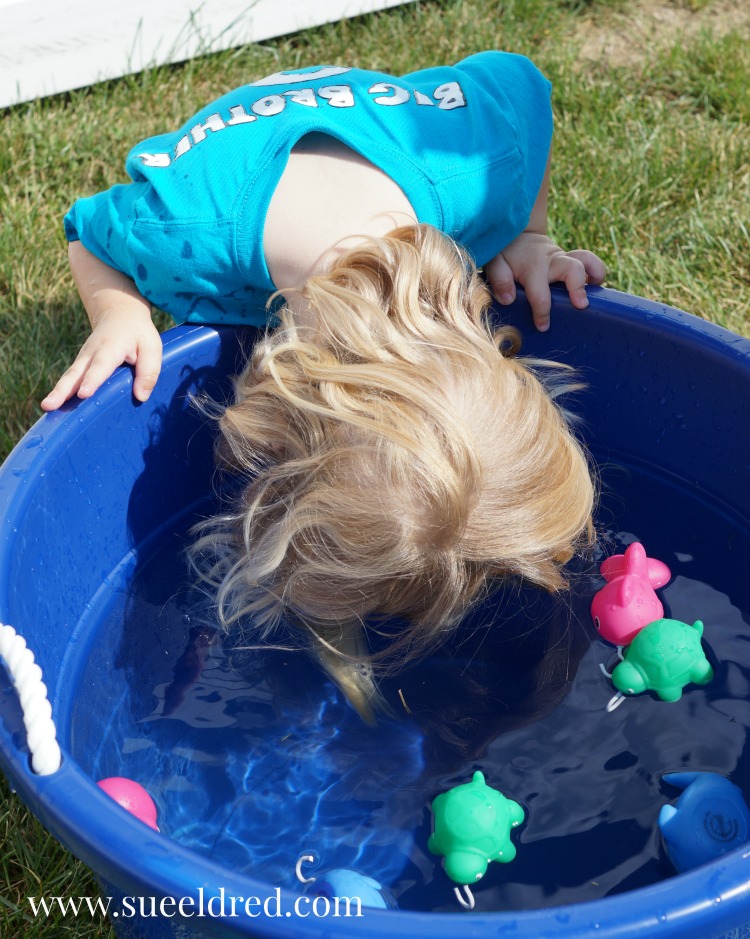
Warren especially love the Fishing Game.

So much, he stuck his head in the tub.  (it was unseasonably HOT that day)

nicks-6th-birthday-party

There was Ice Cream Cone Cupcakes, Corn Dogs, Popcorn, Nacho’s and a ton of prizes.

The kids and adults had a really good time at the party.

This post was sponsored by Joy Sa and DecoArt.

Disclosure:  This blog uses ads and affiliate links.  If you choose to make a purchase using one of the links, I receive a small commission (at no additional cost to you) that helps offset the costs of maintaining this blog.  Thanks for your support!

Join Amazon Kindle Unlimited 30-Day Free Trial

My Front Porch…all decked out and ready for fall

front-porch-inspiration-1295

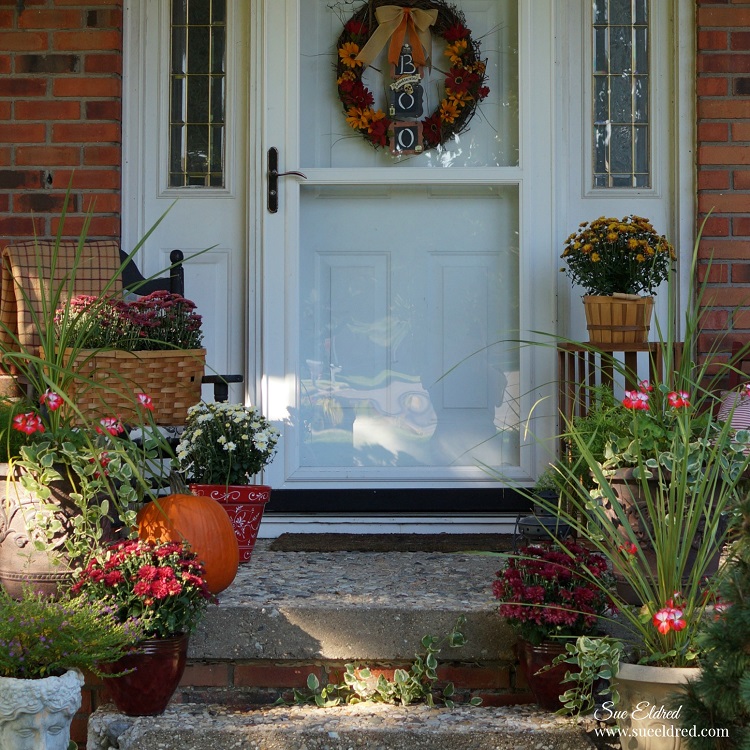
I thought I’d share with you today my Fall Front Porch that I did a few weeks ago.

In past years my Fall Decorating usually included sweeping off the porch, adding a pumpkin or two,

a mum and a wreath on the door.  That was it.  I was done.

fall-front-porch-sues-creative-workshop-1334

This year, thanks to my new “Instagram Obsession”, I was inspired to go all out.

Mind you…

going all out for me does not include 27 pumpkins, 15 mums, a $100 wreath and the most beautiful

looking dog you’d ever see.   Like a few of the amazing front porches I saw.  (trust me I counted)

I kept mine a little more simple, a little more doable, with out breaking the bank.
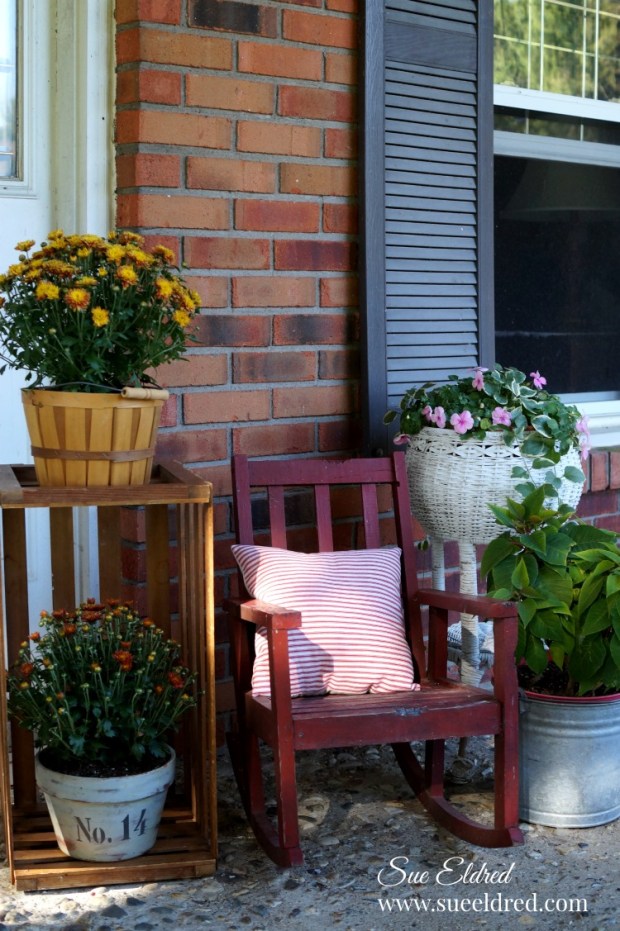
fall-front-porch-sues-creative-workshop-1314

I stared with things I had on hand.

A combination of things picked up at Garage Sales, Thrift Stores, Auctions, Estate Sales and a few items

I’ve had for over 20 years.

Sometimes I wonder, am I a collector or hoarder?

But…I always say “it’s not hoarding if you use them”.  (Right?)

fall-front-porch-sues-creative-workshop-1333

Since some of my summer flowers are still doing good, I had to add them to the mix.

I’ve had this poinsettia since last winter.  I hope I can make it turn red again.

fall-front-porch-sues-creative-workshop-1336

I love this old black chair.

I purchased it over 20 years ago at a antique store and hated to admit to my husband I paid $20 for it.

I’ve only repainted it once in all those years.
fall-front-porch-sues-creative-workshop-1391

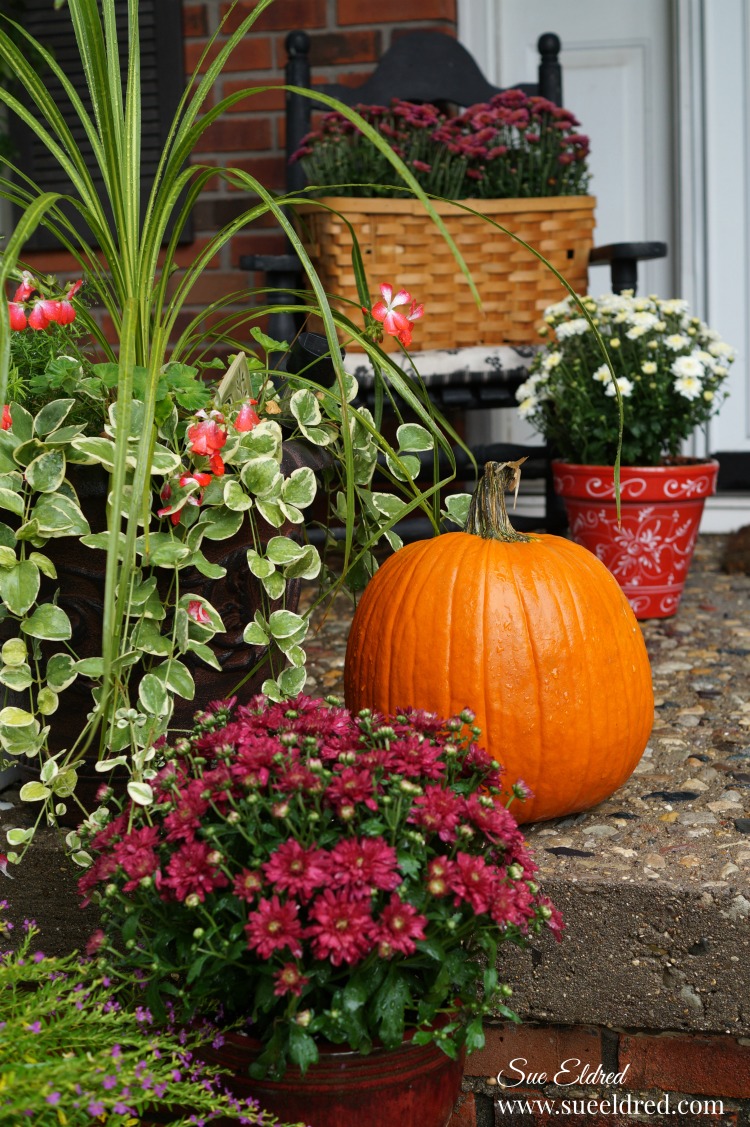
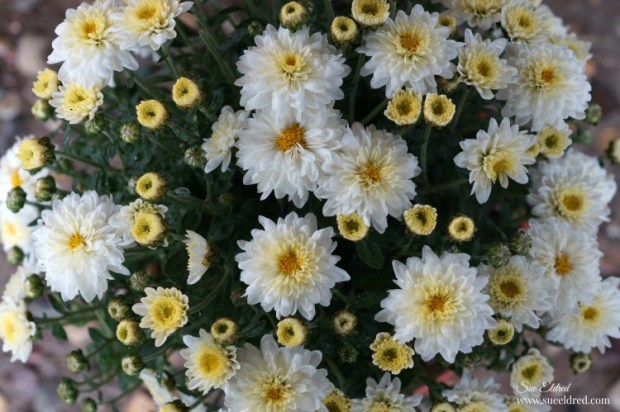
Mums are a fairly cheap addition to the mix.  I purchased 7 mums at $4 dollars each.

The price of a really good pizza dinner.
fall-front-porch-sues-creative-workshop-1360

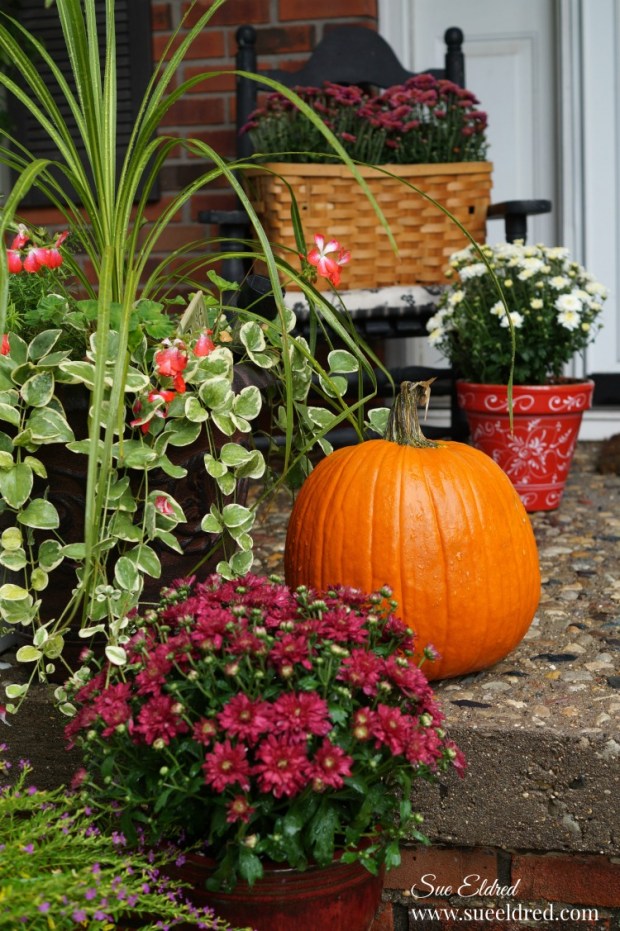
I replaced the scraggily summer plants with mums in pots I already had.

fall-front-porch-sues-creative-workshop-1375

I kept it simple with only one pumpkin which will be carved by next week-end.

fall-front-porch-sues-creative-workshop-1308

The Wood Crate was a new garage sale treasure this year for $1.50.

The lantern I believe I picked up for $1 and the little red chair was a Thrift Store find at $3.00.

You got to keep you eyes open to all the possibilities of these treasures offer.

My daughter-in-law told me “I never find these kind of things”.

The trick to good finds is you have to go and go often.  I love the hunt.

fall-front-porch-sues-creative-workshop-1398

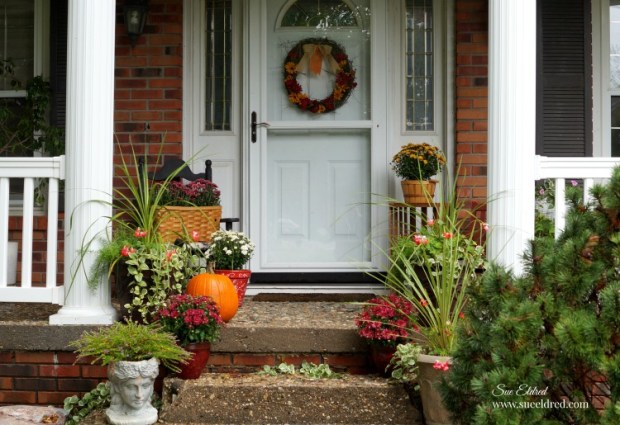
When it comes to my front porch, the only complaint I have is the size.

I wish it was wider and didn’t have an aggregate floor.  (really hard on bare feet)
fall-front-porch-sues-creative-workshop-1356

I really enjoy how it turned out.

Who knows, maybe next year I’ll have 27 pumpkins and 15 mums.
autum-wreath-and-boo-door-hanger-sues-creative-workshop-1256

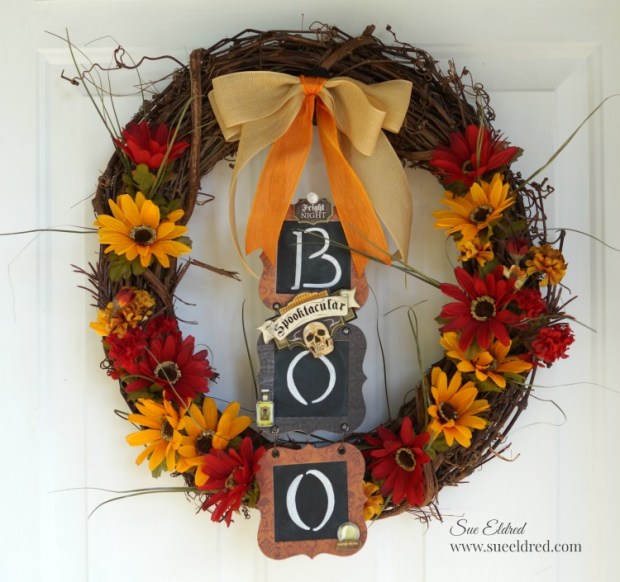
You can read about the post on how to make the Autumn Wreath and Boo Door Hanger here.

Sue and Nick’s First Video together on 3D Shimmerz from Paper House Productions

I asked my grandson, Nick to help me make a video.

If you’ve followed my blog any at all you’ve most likely seen a picture or two of my grandsons.

To be totally honest…some of my most popular posts are projects that I did with my grandson Nick.

So…when I decided to make a video showing how fun the new 3D Shimmerz from Paper House

Productions are I thought who better than Nick to help me.  He’s a natural and really did a great job.

He probably didn’t even need me.  Prepare yourself for extreme cuteness.

(oh…and please excuse the crickets in the background)

Nick asked me tonight when we’re going to make another video.  You just never know.


*This video was sponsored by Paper House Productions.

Sue’s Holiday Workshop 2016

sues-holiday-workshop-2016

Sign ups are now open for the 8th annual Sue’s Holiday Workshop…

The workshop will be held Saturday, November 12th from 10 to 3.

It’s a great jump start into the Holiday Season. And… a good way to spend quality time with friends laughing and creating.

We will be making cards, tags, a Winter Window, wood slice ornament, Christmas Tree in a bottle necklace, gift bag and a more.
The price of the workshop is only $45 for the day and includes a hot lunch, yummy desert and every one wins a door-prize.

The workshop will be held at St. Mark’s Lutheran Church in Washington, IL in my church’s large Family Life Center. Great lighting and plenty of space.

It’s going to be fun.

To sign up or for more information contact me at:
seldred2@frontier.com

Boo Door Hanger and Autumn Wreath

autum-wreath-and-boo-door-hanger-sues-creative-workshop-1256

The plan was to make the “Boo Door Hanger” and the “Autumn Wreath”

as two separate projects with two separate blog posts.

But… while I was working on decorating my front porch for Fall,

I tried them together and decided I liked it.

The “Boo Door Hanger” is a separate piece that I can remove after Halloween.

fall-wreath-supplies-sues-creative-workshop

I assembled the wreath using a grapevine wreath, a couple of fall silk floral bouquets, ribbon and my

hot melt glue gun.  After cutting the stems apart from the bouquet, I played around with the

arrangement of the flowers and glued them in place.

A simple bow glued into place finished off the Autumn Wreath.

The entire project took less than a half hour.

sign-tags-stickers-and-paper-1119

The Boo Door Hanger was a little more involved…

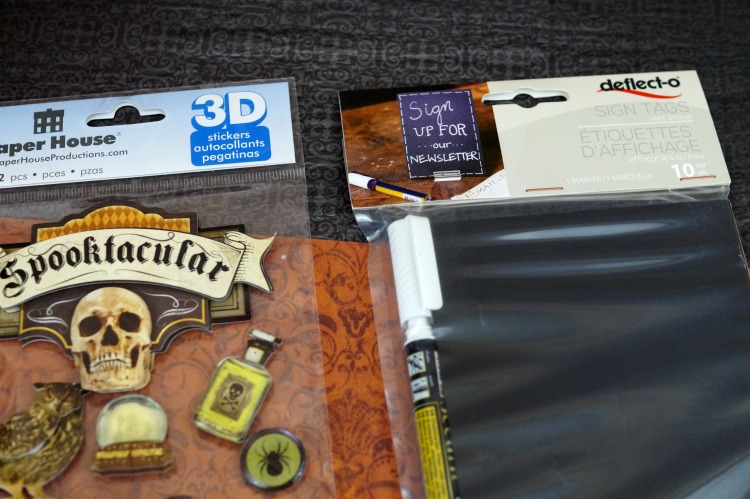
I used Black Sign Tags that come with a White Wet Erase Marker from Deflecto Craft Solutions

and Halloween paper and stickers from Paper House Productions.

die-cut-frames-1124

I applied the Halloween paper onto thin chipboard and cut out three die-cut frames.

I cut the sign tags just slightly bigger than the opening of the frame and adhered it to the back.

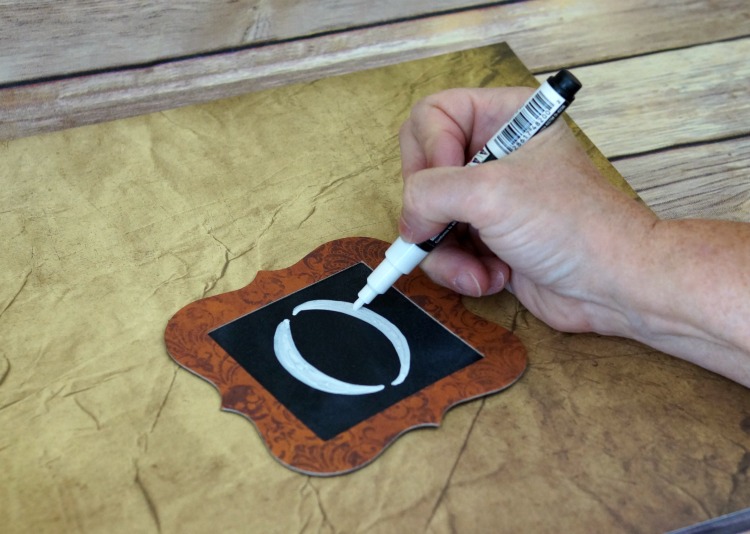
drawing-the-letters-with-the-chalk-marker-1125

I drew in my letters using the white dry erase pen.

Make a mistake?  Just wipe the sign tag with a damp paper towel and start over.

boo-door-hanger-close-up-1127

I punched two holes in the top and bottom of the first two frames and the top only of the last frame.

I added a black eyelet to each hole and connected the frames with small garment pins.

boo-door-hanger-1129

I embellished each frame with Spooktacular 3D Stickers from Paper House Productions.


“This is a sponsored post. As a member of the Paper House Productions and Deflecto Design Team I have been provided product in exchange for my creative ideas, views and opinions.”

There’s no place like Home

poppy-heart-sues-creative-workshop-the-wizard-of-oz

You don’t need to be a huge Wizard of Oz fan…

to fall in love with this new paper collection from Paper House Productions.

But if you are, you’re in luck!

poppy-heart-side-view-suess-creative-workshop-the-wizard-of-oz

This sweet water colored collection from Michelle Coleman is beautifully done.

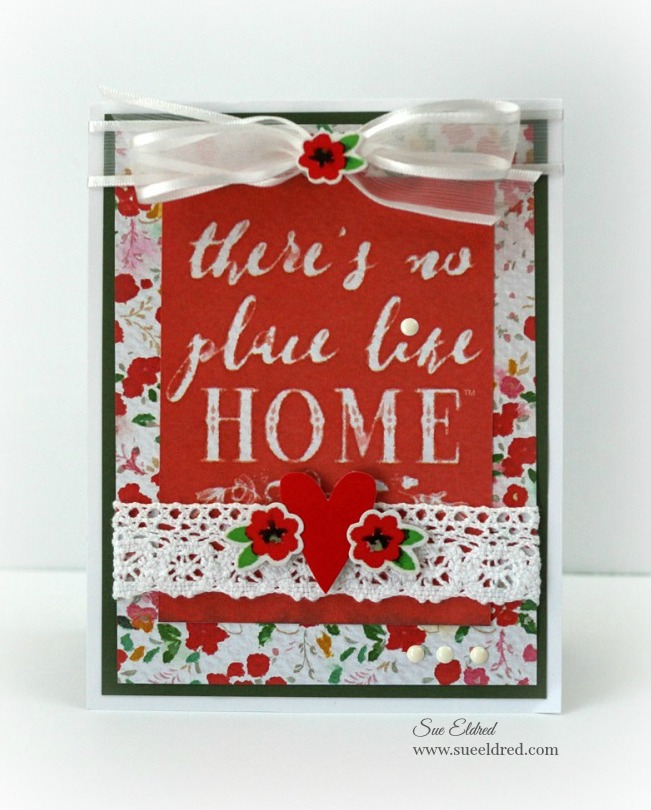
theres-no-place-home-sues-creative-workshop-the-wizard-of-oz

I fell in love with her red poppies.  (Who wouldn’t?)

And as the saying goes…“There’s No Place Like Home”.

theres-no-place-like-home-inside-card-sues-creative-workshop-the-wizard-of-oz

Here’s what I used on my cards:


These projects were created for and sponsored by Paper House Productions.