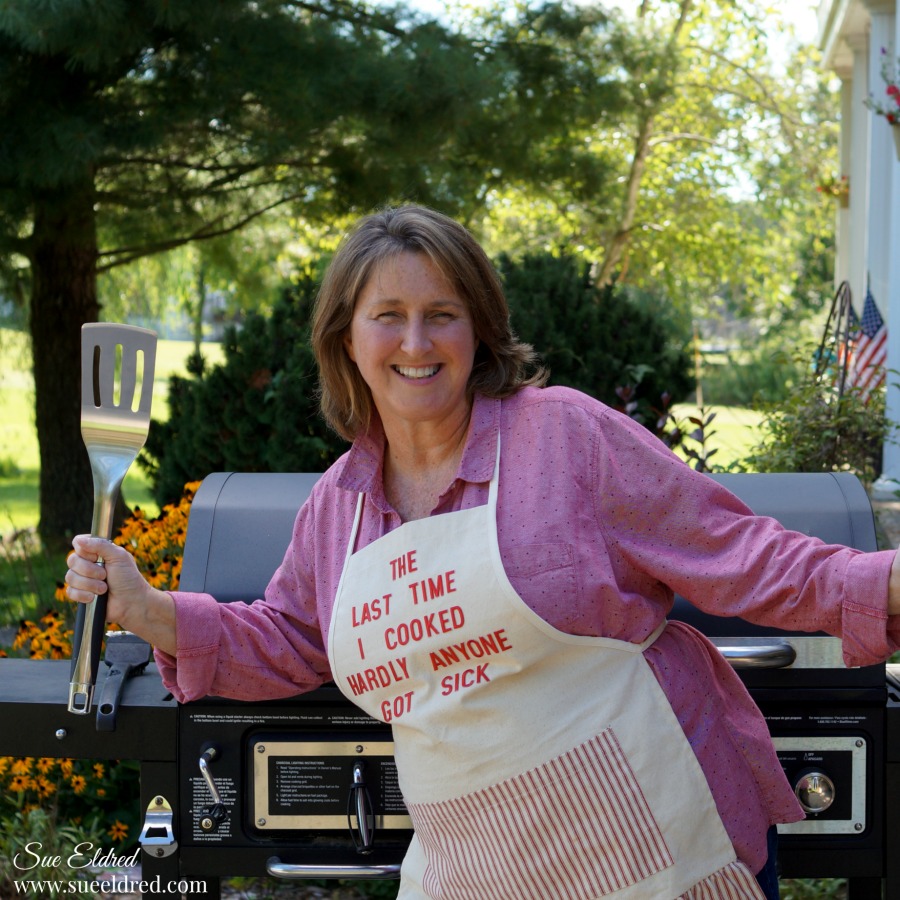
The last time I cooked, hardly anyone got sick.

For some people, cooking defines them.

I AM NOT that person.

Ask me to bring chips and soda to a potluck and I’m totally fine with that.

But… don’t let the apron fool you.

It’s not that I can’t cook.  I just don’t like too.

If I had a personal chef, I’d be one happy girl.
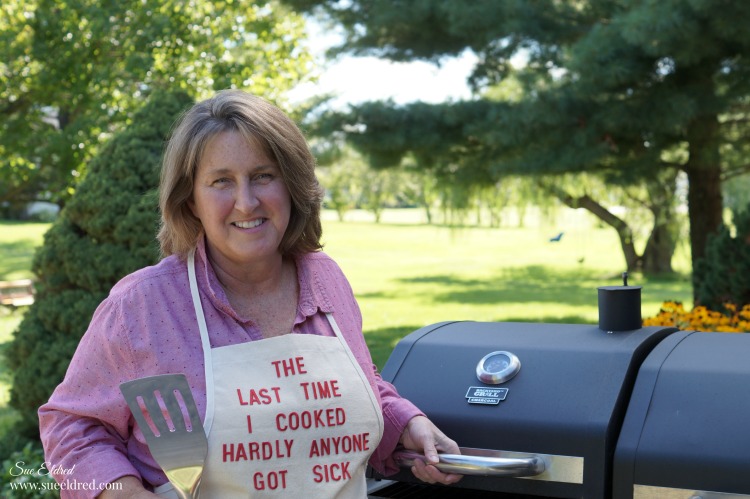
So… If I’ve got to do it, I might as well have a little fun.  (and keep the expectations low)

This apron should do the job.

Red Ticking Apron

Want an apron like mine?

A while back, I asked the good folks at Canvas Corp Brands if they made an

apron with Red Ticking (they only had blue) and they made this apron special just for me.
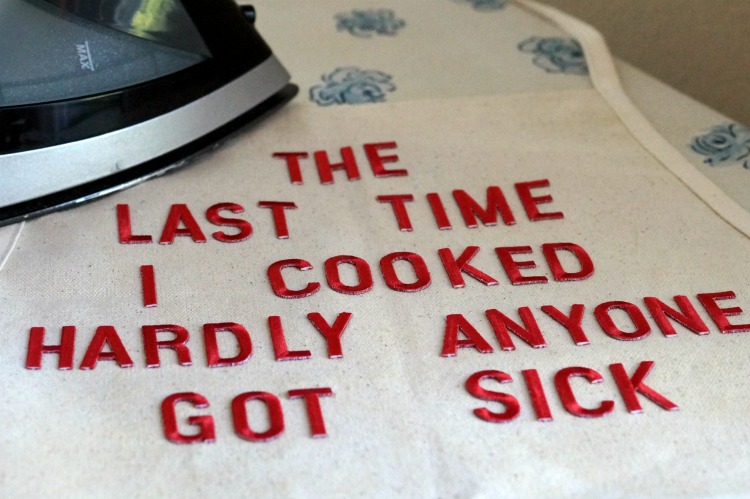
Last Time I Cooked 9942

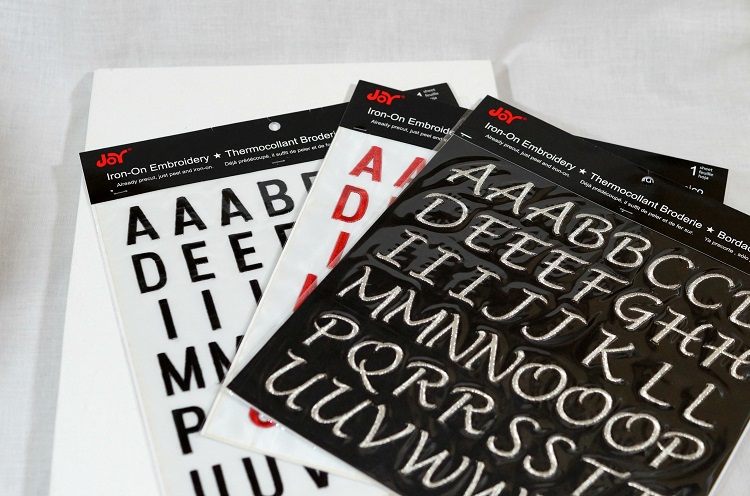
The lovely lettering is Iron-on Embroidered Letters from Joy SA.

Look for them at your local Hobby Lobby and Michaels craft stores.

“This is a sponsored post.  As a member of the Joy® Design Team I have been provided product and compensation in exchange for my creative ideas.  The views and opinions are my own.

Shop Your Fav Brands at Scrapbook.com

*Disclosure:  This blog uses ads and affiliate links.  If you choose to make a purchase using one of the links, I receive a small commission (at no additional cost to you) that helps offset the costs of maintaining this blog.  Thanks for your support!

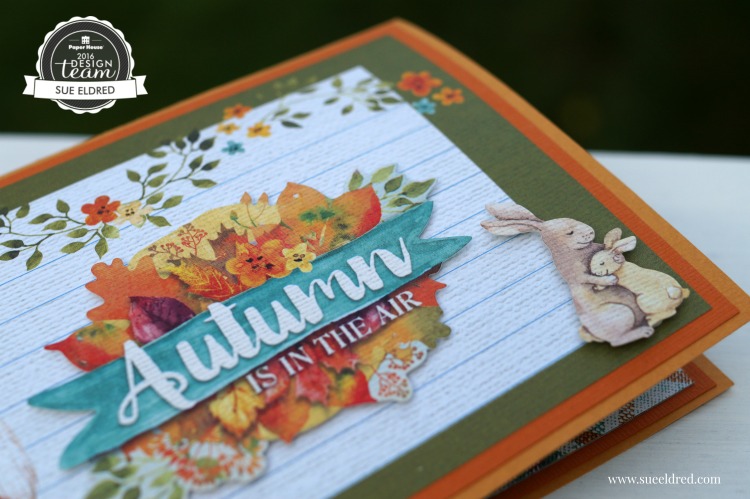
Autumn Woods Pop-Up card and Fall Collage

Autumn Woods Pop Up Card 096

One of the best things about being on a design team is the opportunity to work with awesome

products.  When I got my last box of goodies from Paper House Productions I instantly fell

in love with the Autumn Woods Collection.

Autumn Woods Pop Up Card 083

The sweet water colored woodland animals are cute without being to cutesy.

I knew as soon as I saw them that they needed to be made into a pop-up card.

Autumn Woods Pop Up Card 084

Tips…

  • I apply baby powder on the back of my stickers with a small paintbrush to remove the tackiness.  That way I can use my stickers like die-cuts.
  • On the front of the card:  I love adding dimension… so under the “Autumn is in the Air” and the “bunnies” I used 3-D foam mounting squares.
  • Add even more dimension to the inside of your pop up card by adding thin foam mounting squares to the stickers “tree” and  “autumn woods” and strategically placing them on the background.
  • I created a couple of pop-up steps for my forest friends.

Autumn Woods Collage 115

While cleaning up the Autumn Woods scraps laying on my desk, I decided to make a Fall

Collage using a rummage sale frame I picked up last month for next to nothing.

Autumn Woods Pop Up Card 0099

All in all… I would have to say that the Autumn Woods Collection has to be my favorite

Paper House Productions collection so far.  (at least for the time being)

Here’s the list of the Paper House Products I used:

These projects were created for and sponsored by Paper House Productions.

Disclaimer:  This blog uses ads and affiliate links.  If you choose to make a purchase using one of the links, I receive a small commission (at no additional cost to you) that helps offset the costs of maintaining this blog.  Thanks for your support!

Shop Amazon Scrapbooking Supplies*

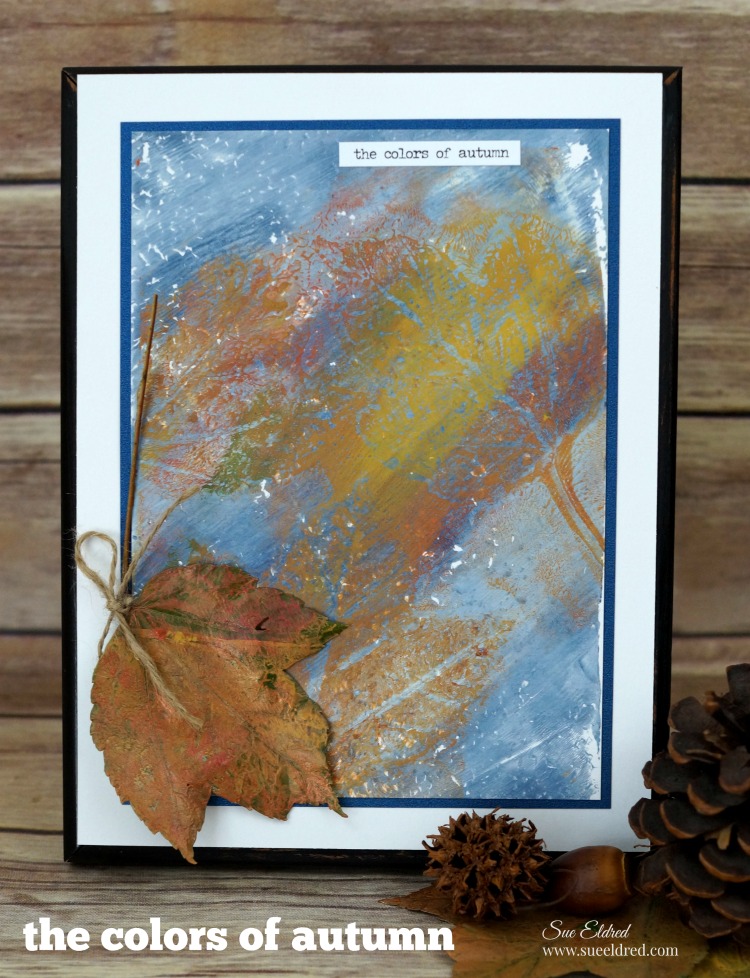
Gel Press and the Colors of Autumn

the-colors-of-autumn-print-using-gel-press

The first time I watched a video of someone using a Gel Press I was completely intrigued.

The project they were making was artsy, colorful, very cool and it looked like so much fun.

When I got the chance to participate in the Designer Craft Connection monthly design challenge

and receive a Gel Press plate for “free”… I was more than excited.

gel-press-supplies-sues-creative-workshop

Never heard of a Gel Press?    (Well…It’s just about the coolest thing.)

The Gel Press is a reusable Gel Printing Plate.

Gelatin printing is a form of mono-printing in which a gelatin slab is used as a printing plate to create a variety of images and backgrounds using acrylic paint.  Simple to use.  Ready for Printing.

the-colors-of-autumn

Here’s how I created “The Colors of Autumn Print”…

Supplies Needed:

Directions:

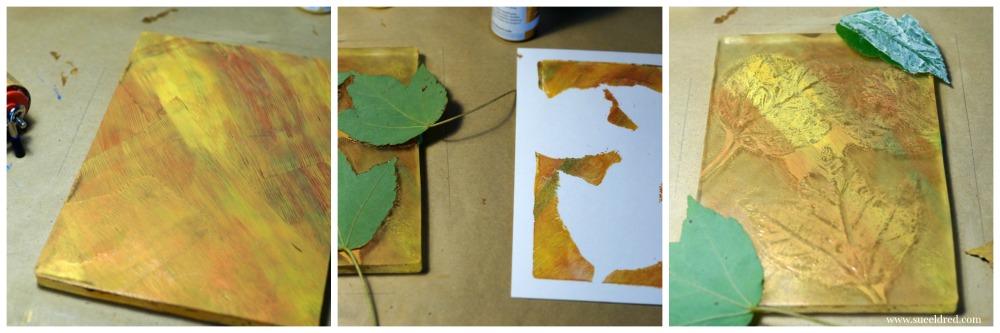
making-a-gel-press-background

  • Remove clear protective film from your gel press.  Apply paint to the exposed Gel Plate.
  • Roll paint on as a thin layer with brayer.
  • Create design by pressing textured item into wet paint.
  • Lay paper onto painted surface.
  • Gently rub paper with hands to create a transfer image onto the paper.
  • I traced guidelines around the paper onto my scratch paper to make it easier to line up the second printing.
  • Pull paper away from printing plate to reveal your background.

creating-the-leaf-background-on-the-gel-press-sues-creative-workshop

  • I created a second background just like the first by using fall colors.
  • I placed 3 leaves into the paint.
  • I place a second piece of white paper over the gel press and pressed.  This removes most of the paint from the background.  Leaving the paint underneath the leaves.
  • Remove leaves from the gel press.  I masked the corners with a couple of additional leaves.
  • Lay the first blue background paper over the press.  Lining the paper up with the guidelines.
  • Gently rub paper with hands to create a transfer image onto the paper.
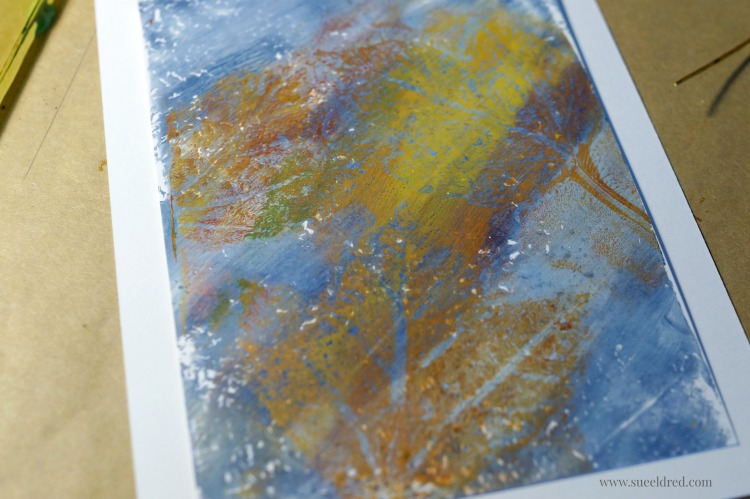
  • Pull paper away from printing plate to reveal your leaf prints.

autumn-background

  • Mat print and embellish with “the colors of autumn” chit chat sticker.

the-colors-of-autumn-sneak-peek-815

The “Colors of Autumn Print” was created for and sponsored by Gel Press.

gel-press-logo

Make sure to check out the video on the Gel Press site.


*This post uses Amazon Affiliate links.  I am a Amazon Affiliate.  If you choose to purchase an item from Amazon by clinking on the product link, I will receive a small commission that helps offset the cost of running this blog.


Old Frame Make-Over from last Friday’s treasure hunt.

When I asked what the price was for the old terra pot, she paused and said “a quarter”.

When I asked her how much for the next item, she said “a quarter”.

It didn’t take long for me to realize that this was going to be fun.

By the time I put my pile on the table she said “a dollar……..ummm fifty?”

I love a good treasure hunt.

Especially when it’s ran by an old lady who just wants to get rid of everything.

old-metal-frames-23

Honestly, I wasn’t completely sure about these heavy metal frames when I first picked them up.

But…at a quarter how could I go wrong?

painting-the-metal-frames

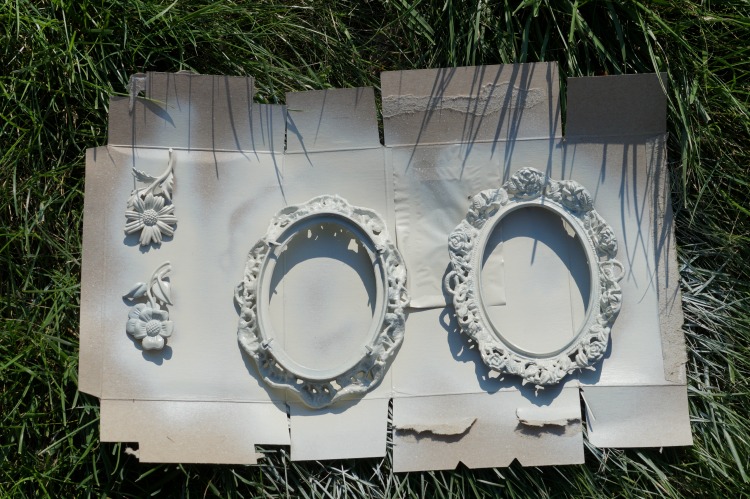
Armed with a can of off-white spray paint…

I deconstructed the frames and gave everything a couple coats of paint.

old-metal-frames-make-over-sues-creative-workshop-265

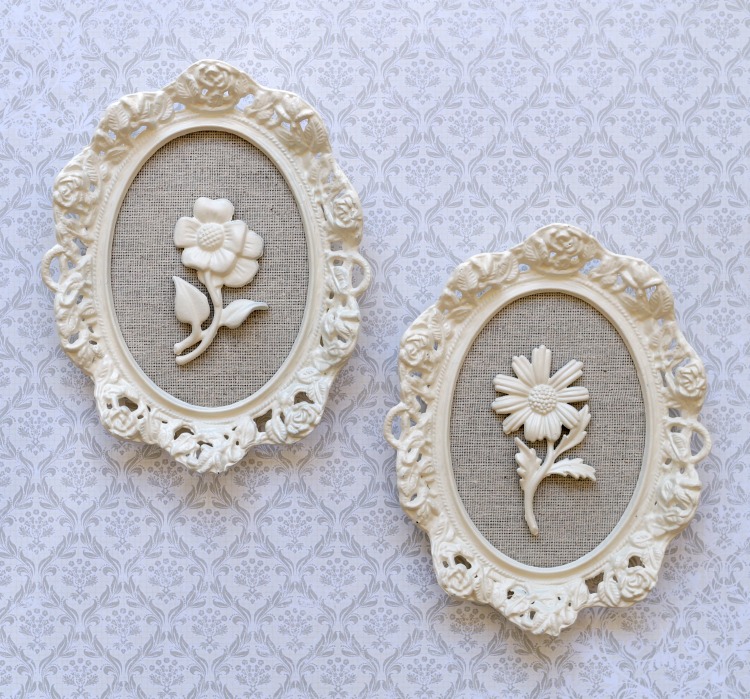
I sprayed the black velvet matting with spray adhesive and applied a piece of a woven tan fabric.

I marked the two holes in the matting where the metal flowers had been previously.

I was able to use the prongs on the back of the metal flowers to line them up exactly where they

had been before.  (so easy)

I trimmed the excess fabric from around the matting and re-inserted everything back into the frame.

old-metal-frame-make-over

A super simple project with a modern up-dated look.


How to make a Halloween Hauntings Treat Bag

Halloween Treat Bag 185

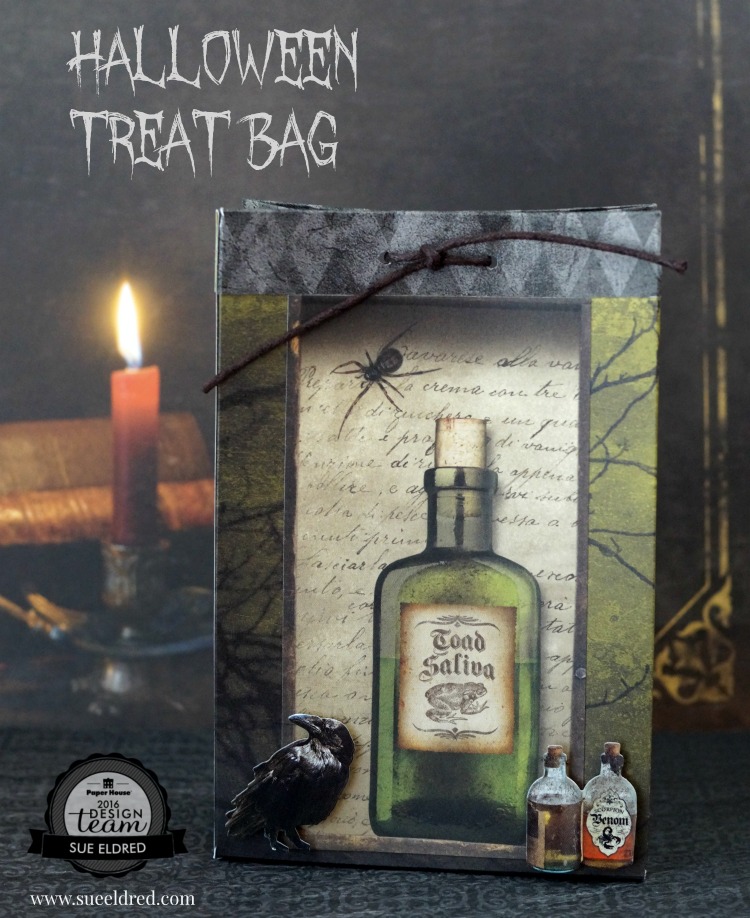
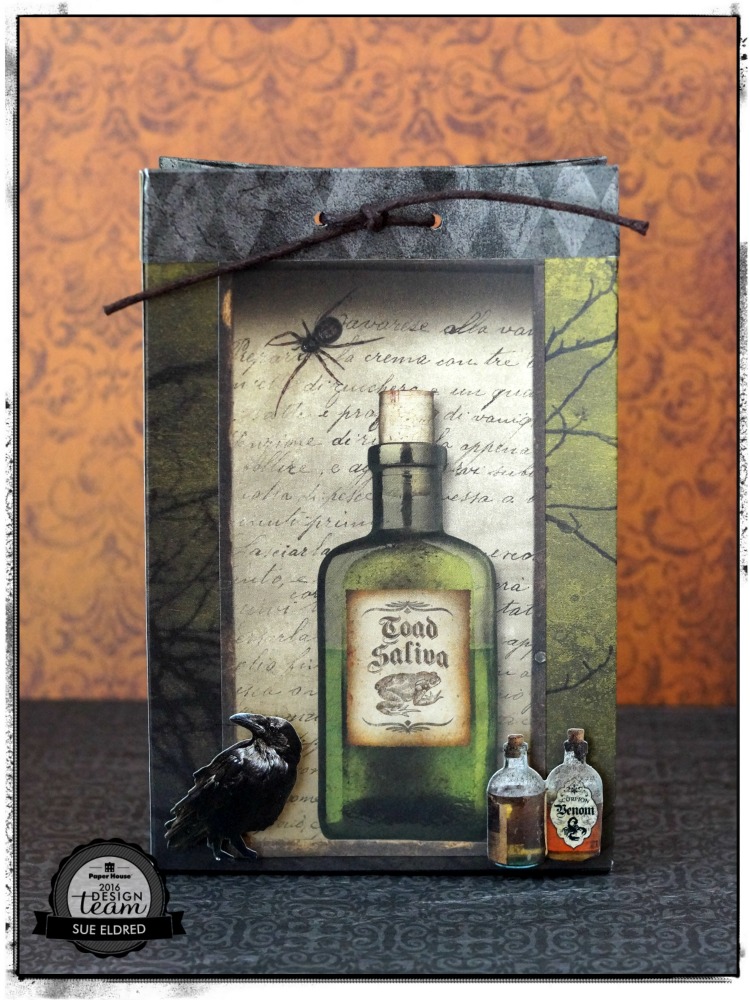
You can make a Spooky Halloween Treat bag using only one piece of 12″ x 12″ paper.

That is as long as you’re not afraid of a few measurements… it really is pretty easy.

How to make the Halloween Treat Bag

Here’s what you’ll need:

Directions:

  1. Cut All Hallows Moon double sided Halloween paper to 8 1/4″ x 11 3/4″.
  2. Score the long width of the paper at 3/4″, 4 3/4″, 5 1/2″, 6 1/4″, 10 1/4″ and 11″.
  3. Score the top of the paper at 3/4″.
  4. Score the bottom 1 1/2″.
  5. Fold along score lines
  6. Cut away the first 3/4″ corner piece.
  7. Fold over the top 3/4″ and adhere in place.  (top diagram)
  8. Fold along lines to create a 4″ x 6″ box.
  9. Tape Side and bottom of the box.Taping the Bottom Flap 148
  10. Cut “toad saliva” bottle section from the Apothecary scrapbook paper and adhere to the front   of the bag.
  11. Add 3D foam mounting squares to the back of the “raven” and “bottles” stickers and use to embellish the bag.
  12. Punch two holes on the top of the bag.
  13. Fill with goodies (or NOT) and tie with a black cord.

Halloween Treat Bag 191

The Halloween Treat Bag was created for and sponsored by Paper House Productions.


How to Create a Birthday Card for the Football Fanatic in your Life…

Everyone has that one family member that really LOVES football.  (maybe it’s you?)

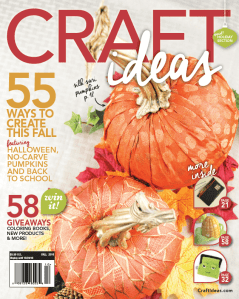
Here’s a card I created for Craft Ideas magazine’s Fall Issue.  (page 69)

A fun football themed birthday card for young and old.

Football Birthday Card 6376

How to make a Football Birthday Card…

Made with papers and stickers from Paper House Productions sports collections.

Supplies Used:

  • P-2058 MVP Tags 12” Double Sided Scrapbook Paper (Paper House Productions)
  • P-2060 All Star 12” Double Sided Scrapbook Paper (Paper House Productions)
  • P-2056 Footballs 12” Double Sided Scrapbook Paper (Paper House Productions)
  • STCX-1010 Football 12” Cardstock Stickers
  • Brown Cardstock
  • Black Cardstock
  • 3D Foam Mounting Squares
  • Double Sided Tape Runner
  • Paper Cutter
  • Scissors

Directions:

  1. Make a 4 1/4″ x 5 1/2″ top-fold card from brown cardstock.
  2. Cut a 4” strip of the green football sidelines border sticker and adhere to the bottom of the MVP tag.  Cut 3 ¾” x 5” panel  from  “All Star” scrapbook paper and adhere MVP tag off-centered as shown.  Adhere All Star panel onto 4″ x 5 1/4″ black cardstock panel.  Adhere all layers onto card front.
  3. Embellish card with letters and football stickers as shown. For added dimension, adhere “Go Team Go” sticker with 3D foam mounting squares.

Football Birthday Card Inside 6378On the inside of the card:

Cut a 3 ¾” x 5” piece of “Footballs” scrapbook paper. Layer it onto a 4” x 5 ¼” piece of black cardstock and adhere it in the inside of the card. Embellish with stickers.


craft-ideas-fall-2016

Make sure to check out Craft Ideas Magazine for Craft Ideas for Every Occasion, Every Skill Level.


DIY Canvas: What the World needs now…

What the world needs now canvas 9097

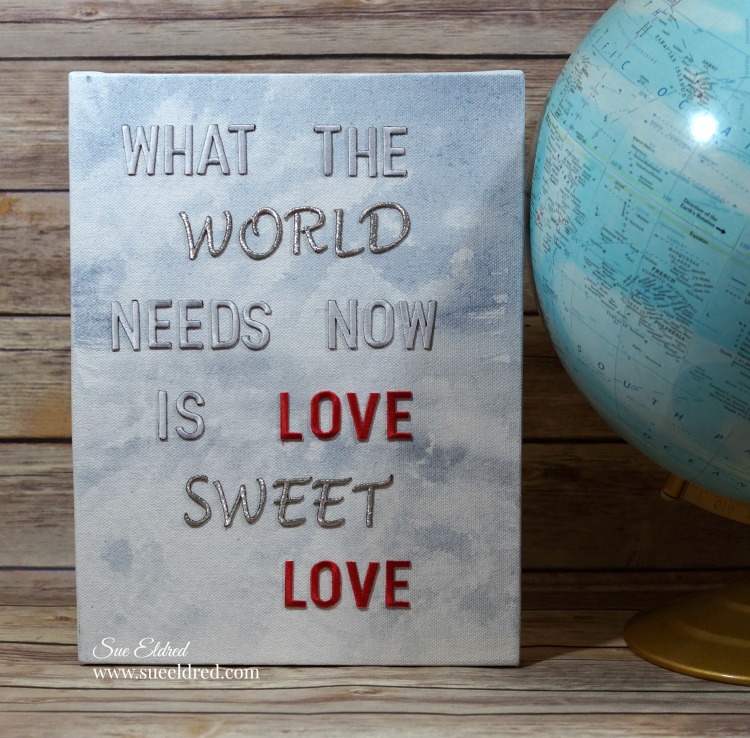
A Quick and Easy DIY canvas and a throw back to the 1960’s.

What the World needs now canvas 9121

Song Trivia:

The song “What the World needs Now is Love” was first recorded in 1965…

and was written by Hal Davis with the music composed by Burt Bacharach.

What the world needs now canvas and letters 9059

To make a canvas you’ll need…

  • 8″ x 10″ white canvas
  • Iron Embroidered Letters from Joy SA
  • Blue Acrylic Paint
  • Paintbrush
  • Water
  • Craft Adhesive
  • Clean Soft Rag or White Paper Towel

painted canvas 9073

Directions:

  • Using watered down acrylic paint I created a light watercolor wash on the canvas.
  • To create the cloudy look, I dabbed the painting, while the background was still wet, with a clean towel to remove portions of the paint.
  • After the canvas has fully dried, arrange letters on canvas.
  • Draw light pencil marks on the canvas to keep your lines straight.
  • Adhere to canvas with adhesive.

What the world needs now canvas 9090

This canvas was created for and sponsored by Joy SA.

Do you love to sit and color?

Remember when you were young and you could sit for hours and just color?

Did you know that you still can?

With the New Coloring Cards from Paper House Productions you can relax, unplug,

unwind, sit and color and have a fun card to give away.

Cat Coloring Card

Or leave the card uncolored for a card and gift in one.

When I color, I like using Prismacolor colored pencils when I color instead of regular school colored

pencils because the lead is softer and it colors smoother.

Cat Coloring Card 9935

You can see the entire collection here.

This card was created for and sponsored by Paper House Productions.


This sweet little guy loves his cars.

Warren Loves Cars

My grandson Warren loves his cars.

And…it’s not uncommon at any given time to see him walking around with 2 or 3 cars in his hands.

His favorite being Lighting Mc Queen from the movies Cars.

He’s so cute when he’s looking for a particular one.

“It’s red with blue wheels and it has a spider web on it.”

You mean the Spiderman car?  “Yeah”

Warren layout close up

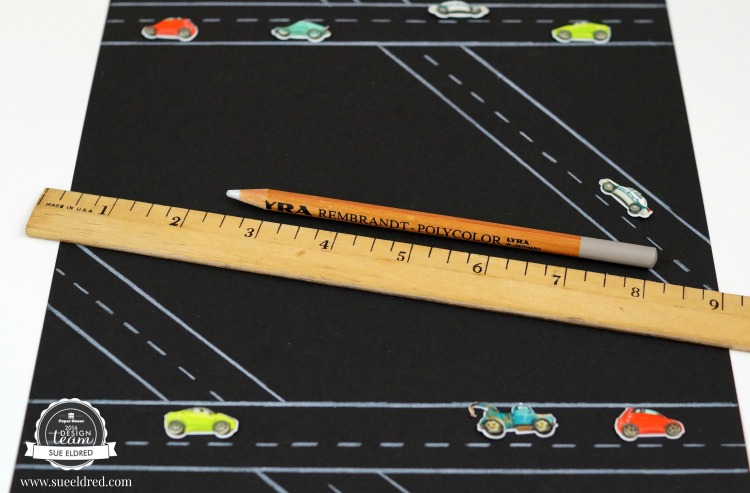
So… for Warren’s layout I decided to use cute cars puffy stickers from Paper House Studios.

making the roads 9904

For my layout, I started with an 8 1/2″ X 11″ piece of black cardstock and drew my road lines using

a ruler and a pale grey colored pencil.

Paper House Production Products Used:

This layout was created for and sponsored by Paper House Production.