Pictures from Sue’s Holiday Workshop


2014 Holiday Workshop Group Pic #18

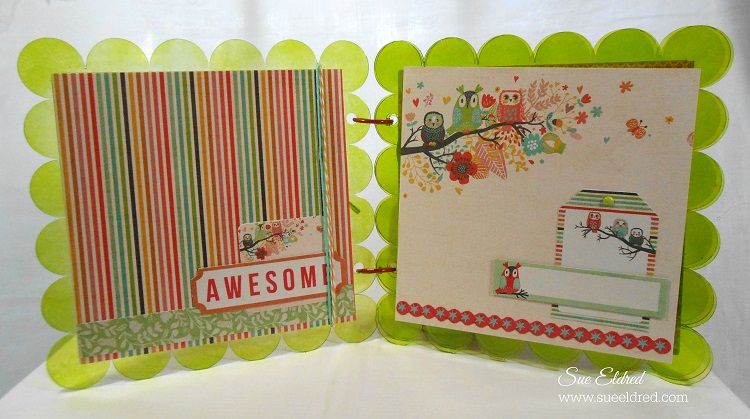
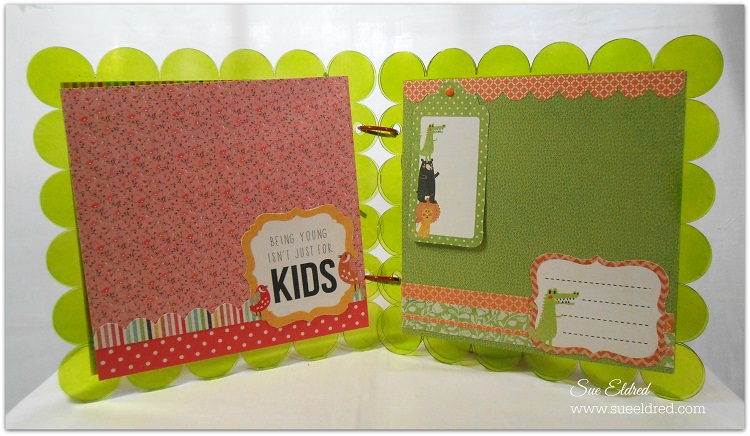
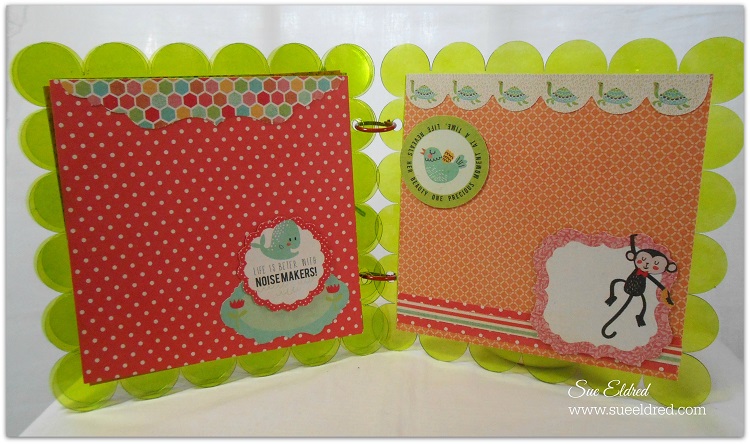
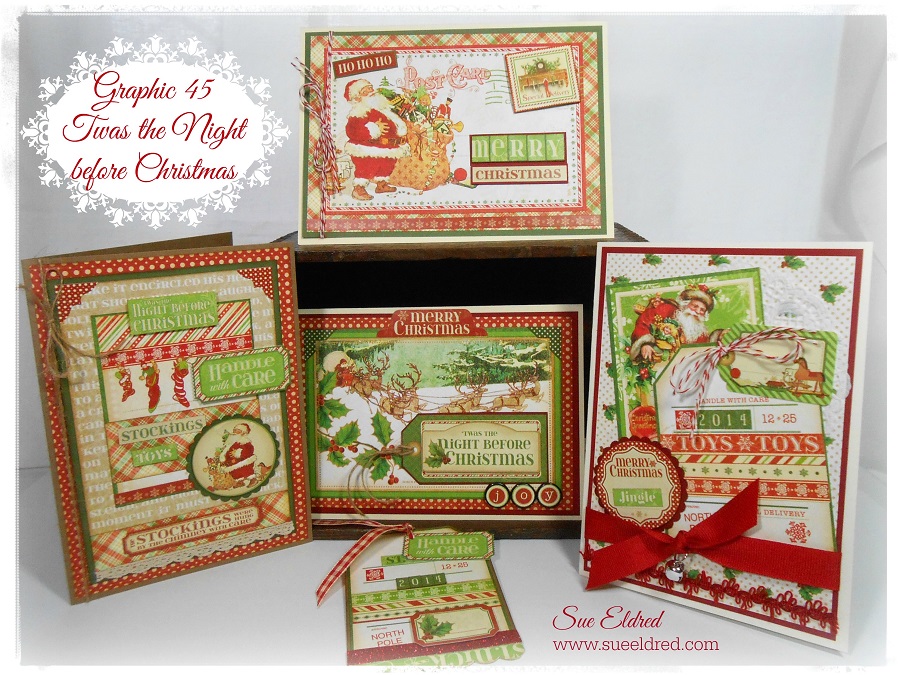
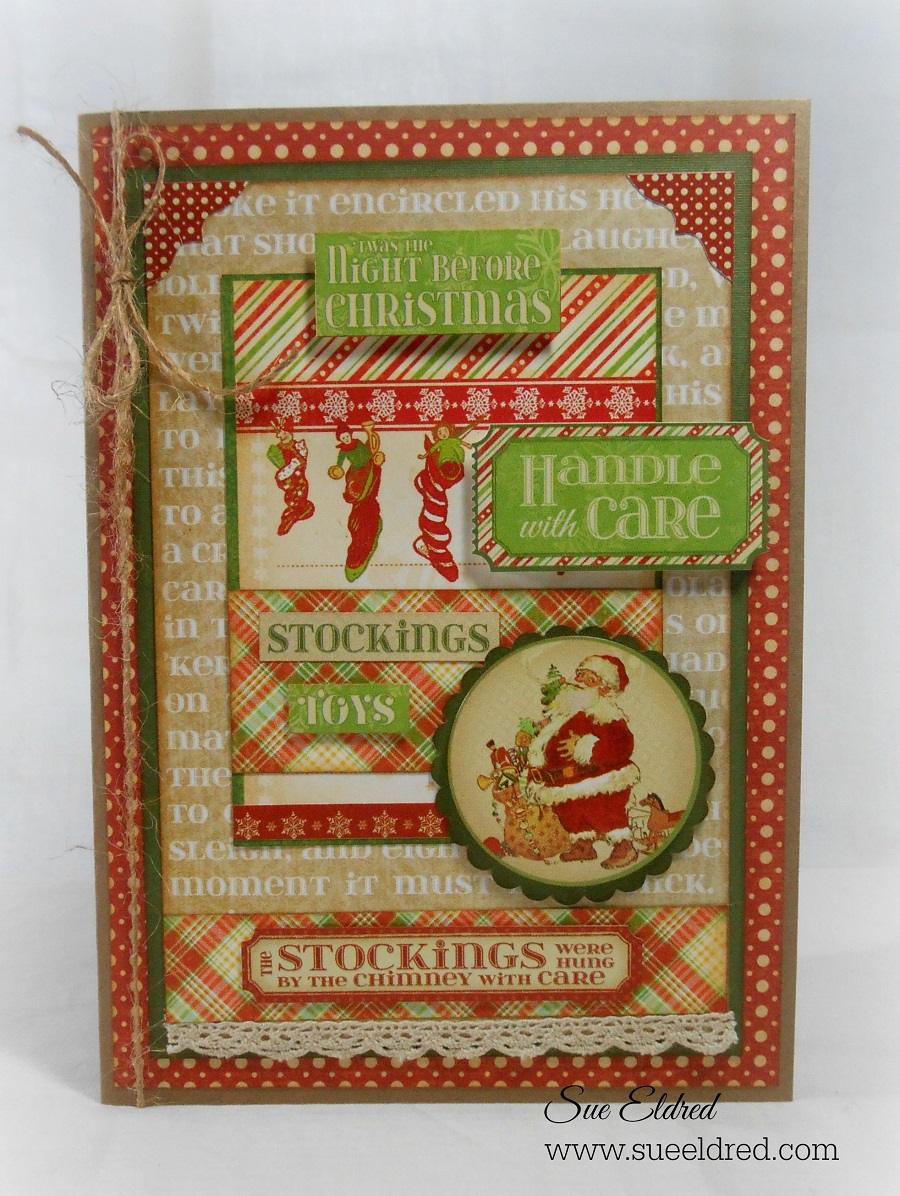
As promised here are the pictures from this years Holidays Workshop.

I must say that I liked all three of the group’s pictures.  (not one eye closed)

2014 Holiday Workshop Group Collage

Thank you, to all the wonderful ladies that came this year to my Holiday Workshop,

I had so much fun.  O.K., I have fun every year.

But…I think this year’s group which included 9 new people was even more fun and enthusiastic

than ever.  I loved spending my Saturday creating with you all.

I was on such an adrenaline high after it was all over that I didn’t fall asleep until well after midnight.

For those of you that couldn’t come this year, we missed you, I hope to see you next year.

2014 Holiday Workshop Deflecto SignHoliday Workshop plates and sign

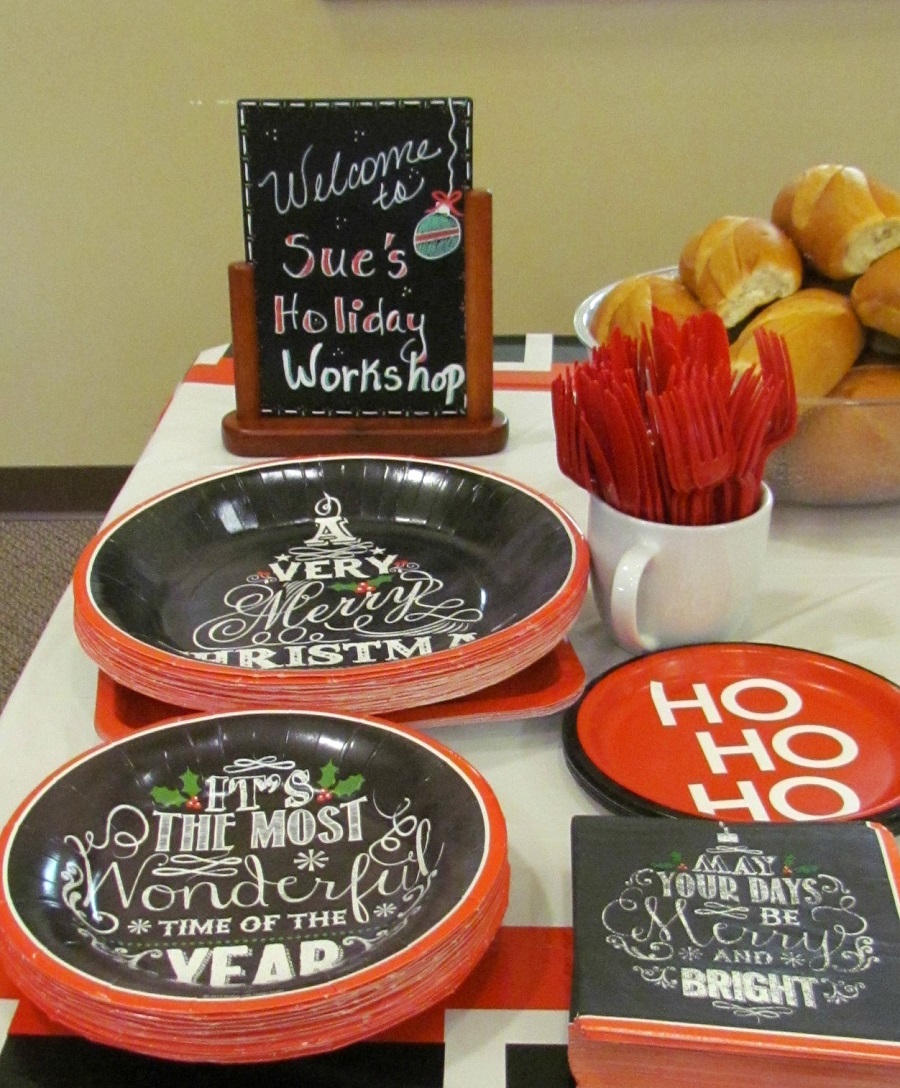
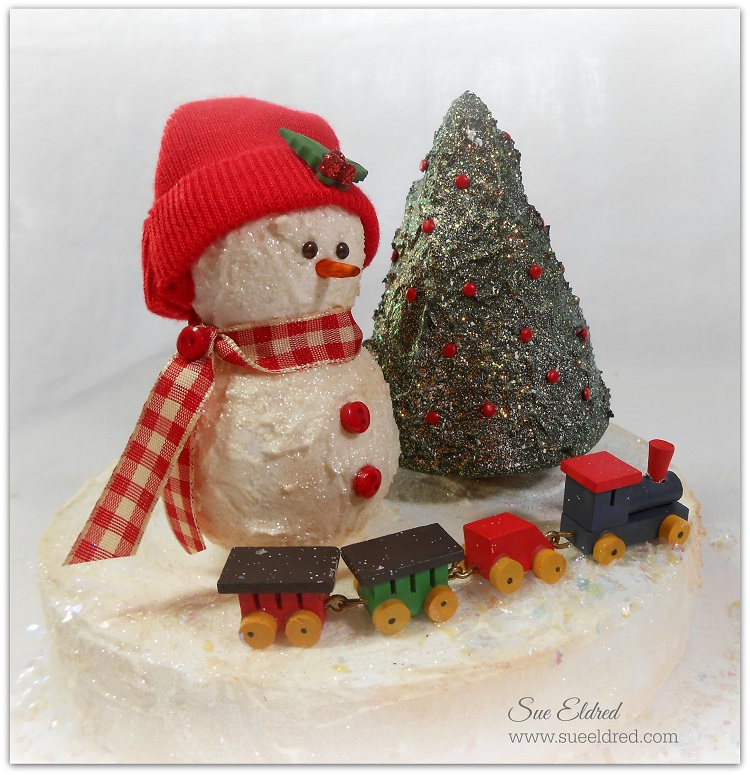
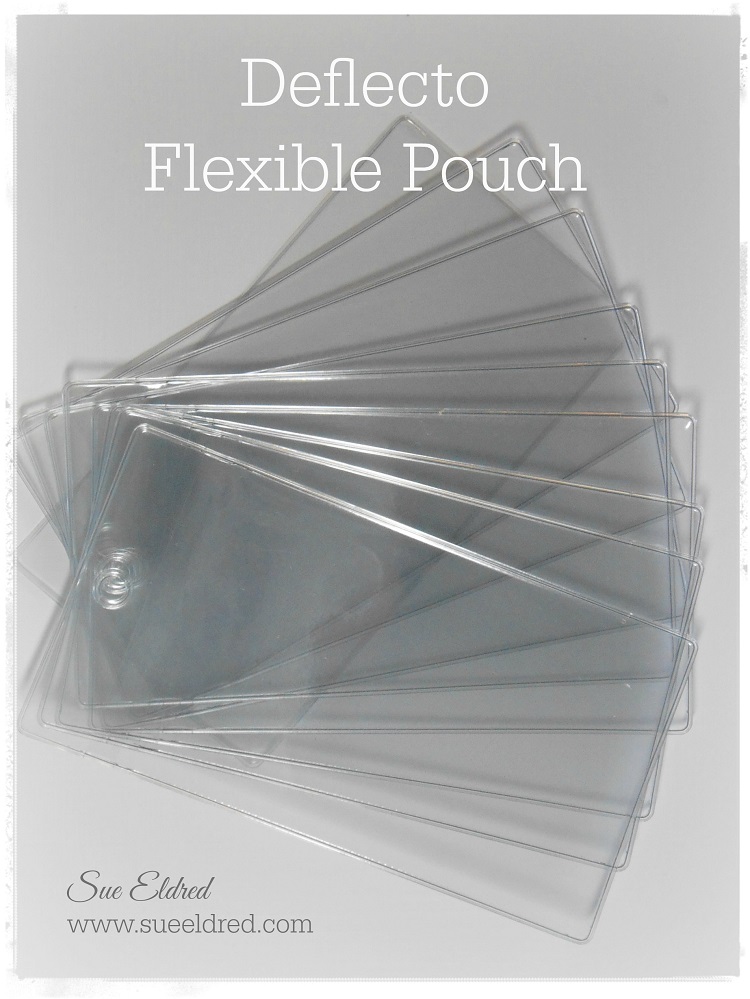
I love the chalk board frames that I received from my Deflecto Design Team box this month.

They worked wonderfully with my theme.

2014 Holiday Workshop Pic #2 2014 Holiday Workshop Pic #1

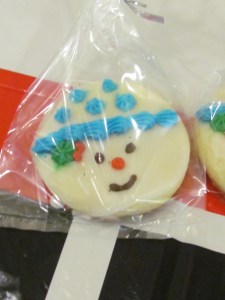
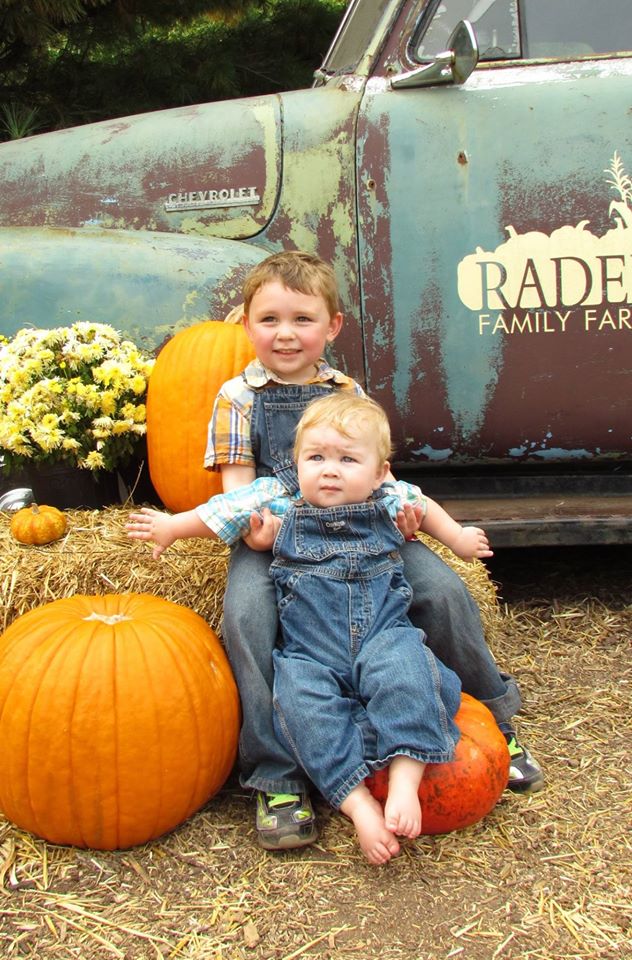
I made the Candy Cane Suckers with the help of my adorable grandson, Nick, who got sprinkles

everywhere and my lovely daughter-in-law, Bonnie.

I wouldn’t have been able to pull this all off with out her help.  Thank You, Bonnie!

(The Candy Cane idea is from Pinterest, you can see the pin here)

Thank You Again to everyone who came and helped.  (I kind of wish it wasn’t all over.)

Mom's Sugar Cookies

Sue’s Holiday Workshop Recipes

I promised the ladies last Saturday at my Holiday Workshop that I would post my Sugar Cookie Recipe and Cheese Soup Recipe today.  (So Ladies, here it is)  Tomorrow, I’ll be posting the rest of the pictures from the workshop.

For the rest of you:

I know I’ve shared my favorite Christmas Cookie Recipe here on my blog before.

But, I think the meaning this recipe holds for me bears repeating.

When I was a new bride (32 years ago) I asked my mother for her Sugar Cookie Recipe.

(It was a Tupperware Recipe.)  She wrote it out on a piece of notebook paper.

Sugar Cookies

(I have always loved my mom’s handwriting)

It is now yellowed, stained with vanilla, brittle, ripped and creased.

But it is priceless.

Several years back after my mom was diagnosed with Dementia and she could no longer write

her name, I realized how important that piece of paper really is.  I now keep it in a protective sleeve.

I can help thinking of my mom every time I make them.

Sue’s Sugar Cookies

  • 1- 1/2 c. powdered sugar
  • 1 c. butter or margarine
  • 1 egg
  • 1 tsp. vanilla
  • 2- 1/2 c. all purpose flour
  • 1 tsp. cream of tartar
  • 1 tsp. baking soda
  1. Cream sugar & butter, add egg & flavoring, mix thoroughly.
  2. Sift dry ingredients together and stir in.  (I dump)
  3. Refrigerate 2 to 3 hours.
  4. Heat oven to 375°.
  5. Divide dough in half & roll out on lightly floured Tupperware pastry sheet.
  6. Roll thin, but thick enough to pick up the design with the Tupperware cookie cutters.
  7. Dip cookie cutter into flour before each cutting.  Cut as many cookies from each rolling as possible.  The least amount of working with the dough gives the best cookie.
  8. Place on lightly greased baking sheet.  Bake 7 to 8 min. or until delicately golden.


Cheese Soup

  • 1 Qt. Water
  • 2 Cups Diced Potatoes
  • 1/2 Cup of chopped onions (optional:  I don’t add onions to mine)
  • 4 Chicken Bouillon Cubes
  • 1 Can Cream of Mushroom Soup
  • 1 Bag of Frozen California Mix Vegetables
  • 1 lb. Velvetta Cheese loaf  (also good with a little  extra)
  1. Boil potatoes, onions in water & cook.
  2. Add frozen vegetables & cook.
  3. Add mushroom soup and cheese.
  4. Heat & Serve

Do not allow soup to boil.

* I make this soup every Christmas Night.  After a long day of eating heavy foods it’s nice to have something warm and light to eat.


Upcycled Jewelry, Bags, Belts and more.

I was recently asked by Linda Peterson and Cisco Books to review Linda’s latest book

Upcycled Jewelry, Bags, Belts and More.

As soon as I received the book, I immediately sat down and thumbed through all the pages.

I was amazed at the unique and creative ways that Linda uses everyday found objects.

Have you figured out what she used to make the belt on the front cover?

Soda Can Tabs!

Linda has added beautiful, detailed pictures with easy to follow instructions that makes

recreating these projects a breeze.  If you enjoy Indie crafts and up-cycling everyday

found objects then I highly recommend this book.

Frosty Winter Wonderland

Smoothfoam Snowman and Tree

Create your own Frosty Winter Wonderland using Smoothfoam’s Snowman and Tree Shapes and a 6″ Smoothfoam Disc.

Supplies Used:

  • Snowman Body
  • 2″ x 3 1/2″ Tree
  • 6″ x 1″ Disc
  • Textured Embossing Paste
  • Acrylic Paints:  White, Green and Brown
  • Paintbrush
  • Stickles Glitter Glues:  Frosted Lace, Diamond
  • Micro Brads:  Black, Red
  • Bamboo Skewer
  • Orange Marker
  • Brown Ink-pad
  • Ribbon, Buttons and Christmas Embellishments
  • Small Red Doll Sock
  • Craft Glue
  • Old Toothbrush

Directions:

  1. Cover the Snowman, Tree and Disc with the textured embossing paste using your finger.  Allow to thoroughly dry.
  2. Gently dust the Snowman and Disc with brown ink using the paintbrush to accent the texture of the paste.
  3. Paint the Snowman with Frosted Lace Glitter Glue.
  4. Paint the Tree with Green Acrylic Paint, speckle white paint onto tree using an old toothbrush.
  5. Paint the Tree and Disc with Diamond Glitter Glue.
  6. Decorate the Snowman with Small Micro Brads for the eyes, the tip of a bamboo skewer colored orange for the nose, small red doll sock with the tip tied with twine for his hat, teeny tiny red buttons and a red and cream gingham bow.
  7. Insert Red Micro Brads into the tree for the Christmas Lights.
  8. Assemble onto 6″ base and glue into place.

Handmade Holiday: Sew Simple Snowflake Pillow

One of my favorite things to do during the holidays (besides eating Christmas cookies)

is to make things to decorate my home.  My snowflake pillow is a simple sewing project

that makes a warm and cozy winter accent.

You can leave this pillow out long after the holidays are over.

For my Snowflake Pillow I used:                     (*affiliate link)

Directions:

  1. Cut a 4″ x 12″ wavy piece from the cream felt.
  2. Add a small amount of Fabri Tac Glue on the back of the cream felt to keep it in place before sewing.  Place that piece 1/2″ up from the bottom of the grey 13″ piece of felt.
  3. Glue Snowflakes in place.  Hand sew the red buttons in the center.
  4. Machine sew around outer edges of the large cream piece.
  5. Machine sew between each of the snowflake arms.
  6. Turn felt pieces right sides together and sew with a 1/2″ seam allowance.
  7. Leave a 3″ opening at the bottom to add fiberfill.
  8. Turn pillow back around and stuff with fiberfill.
  9. Hand sew the pillow closed.

FYI…You can find die cut snowflakes in my Etsy Shop.

Thanks to the generous folks at Fairfield World for supplying the Poly-Fil.

*Disclaimer:  This post uses ads and affiliate links.  If you choose to make a purchase using one of the links, I receive a small commission (at no additional cost to you) that helps offset the costs of maintaining this blog.  Thanks for your support!

Try Amazon Prime 30-Day Free Trial

Christmas Cards with Serendipity Stamps

Now that the weather is cooler and the calendar has turned to November,

many of you card makers are thinking about Christmas cards.

(I know, some of you have yours done already)

I wanted to share with you today a couple of cards I made using a few of

Serendipity Stamps   New Holiday Stamps.

Both of my cards were water colored using my tombow markers and a waterbrush.

Serendipity Stamps Poinsettia Border

This card uses:

Serendipity Stamps Sledding Snowman

I love this fun snowman card.

This card uses:


Just another day on the farm…

nicks 4th birthday 10

For Nick’s 4th birthday (a few weeks ago) I tagged along with him, Warren and

their mom for a fun afternoon down on the farm.

It was such a beautiful day and we got so many great pictures, I decided that I needed

to make a mini album for Nick.

Nick's Mini Album

Nick’s album was made using the flexible pouches that I got this month in my Deflecto Design Team

box.  As soon as I saw these flexible pouches I thought “mini albums”.

Deflecto Flexible Pouch

I love how easy the album was to put together.

  • The inside of the pouch measures 3″ x 5 1/4″ so I chose pictures that could easily be cut down.
  • To cover the top of the pouch I used orange washi tape and stamped it with a crackle stamp and black stazon ink.
  • I marked my holes and re-punched with a standard 1/4″ office hole punch.
  • The charm on the ribbon was made using a 1″ circle punch, pumpkin scrapbook paper, a flat bottle cap, 1″ clear domed glass for jewelry making.

Nick's Mini Album Open

“This is a sponsored post. As a member of the Deflecto Design Team I have been provided product in exchange for my creative ideas, views and opinions.”

Celebrate Christmas with Graphic 45 (edited)

Graphic 45 Twas the Night before Christmas Group

(Celebrate Christmas with Graphic 45 was a card class that I gave in November of 2014.)

In this class, I showed how to make use of the varied patterns and bits & pieces to create layered pieces with charm and style.

The Vintage Christmas collection from Graphic 45 is based off the classic tale “Twas the Night Before Christmas.  This collection is packed with all the fun and traditional images of this festive season. Reds, greens, gold and cream – this collection will remind you of all the special moments in this special time.


Click on pictures above for ordering information from Amazon.*

(I am an Amazon Affiliate)

Graphic 45 Santa Stockings  Graphic 45 Santa & Toys

Graphic 45 Handle with Care TagGraphic 45 Twas the Night Before Christmas

Graphic 45 Merry Christmas Santa