Their Special Day…

Cathi & Brian #1

Cathi & Brian #2

One of the Big surprises of the summer was the wedding of my sweet niece and her new husband.

I am so happy for them.  They make a great couple and they look so cute together. 

My last design team assignment for The Paper Forest was Simple Stories:  The Story of Us.

Once I saw the collection I knew exactly what pictures I wanted to use.

I appreciate my niece sharing her photo’s and allowing me to scrapbook her special day.


“Dream Big, the Sky is the Limit” …with Clear Scraps and Imagine Crafts

Clearscrap Stazon Butterfly Tag 2

All this week on the Clear Scraps and Imagine Crafts Blogs we are combining efforts with one Big Creative Blog Hop.

My “Dream Big… the sky is the limit”  tag features a clear acrylic butterfly from Clear Scraps along with a variety of StazOn Inks for a wonderful effect.  I love how the ink works so well with acrylic.  And… that Wedding Dress irrRESISTible colored textured spray, LOVE!!!

Products Used:

  • Butterflies Embellishments  (Clear Scraps)
  • Stazon Inks:  Orange Zest, St. Valentine, Spiced Chai, Jet Black, Blue Hawaii  (Imagine Crafts)
  • Wedding Dress irRESISTible colored textured spray  (Imagine Crafts)
  • GlazOn   (Imagine Crafts)
  • L751 Marbled Background  (Serendipity Stamps)
  • “Hello Sunshine”  6 1/2″ Paper Pad  (Kaisercraft)
  • Alpha & Word Stickers Teal  (My Minds Eye)
  • 2″ circle punch
  • Kraft cardstock tag
  • white acrylic paint and paintbrush
  • ribbon and trim
  • sponge
  • black cardstock
  • adhesive tape runner

Directions:

  1. Dab with a sponge, Orange Zest and St. Valentine’s inks onto the clear butterfly.  (allow to dry)
  2. Ink marble background with jet black ink and stamp directly onto the butterfly.
  3. Paint the center of the kraft cardstock tag with white acrylic paint.
  4. Gently rub with a soft craft sponge Spiced Chai ink around the edges of the tag.
  5. Spray surface of the tag with Wedding Dress irRESISTible colored textured spray.  (allow to dry)
  6. Lay circle onto tag to use as a mask.  Gently sponge Blue Hawaii ink around circle.
  7. Layer and adhere tag onto a piece of black cardstock.
  8. Add strips of scrapbook paper with the edges inked onto bottom of tag.
  9. Glue butterfly onto tag using GlazOn.
  10. Finish embellishing tag with ribbon, trim and word stickers.

Clearscrap Stazon Butterfly Close Up


Creative Ideas using Craft Frames by deflecto

Deflecto Craft Badge (1) team badge

I recently started working with a new company called Deflecto.  Some of you may recognize the name Deflecto from dryer vents or bicycle reflectors. (among many other things)   Deflecto now has Craft Storage Solutions.  Providing solutions to stay organized so you can concentrate on your projects not your clutter.  (and that’s always a good thing)

Deflecto Craft Frames 2

Each month Deflect-o will send me something new to play with.  This month, I’m getting creative using their Craft Frames.

September Calendar

Call me silly, but, this has to be my favorite frame so far.
This frame is not just a clear 8 1/2″ x 11″ acrylic frame.  It is flat backed and comes with heavy-duty magnets, velcro and a push pins attachment so that it can go on a fridge, wall or even a bulletin board.  They’ve thought of everything.

For my frame, I went with the velcro and have it attached inside my office cabinet.  I’m always losing my Editorial/ Blog calendar on my desk among piles.  Now I can find it, take it down and update it anytime I want.

Look Listen Create Enjoy

I like that this frame comes with a black edge.  I added some personal inspiration with scrapbook paper and stickers.

 Note Holder w scrapbook paper  Note Holder Clear

The purple frame I made into a girly Post It Note Holder.  The second picture shows the frame clear with no paper scrapbook paper added.  I’m not sure which one I like the best.

Holiday Joy

How about this mini 2″ x 3″ frame decked out for the Holidays. (too cute right?)

I think I’m going to really enjoy working with this company and all their Crafty Storage Solutions.

I love being organized and this will work out great.

“This is a sponsored post. As a member of the Deflecto Design Team I have been provided product in exchange for my creative ideas, views and opinions.”

Wedding Day Brag Book

Our Wedding Day Brag Book

Overwhelmed by all the Wedding Pages you need to scrap?

The Wedding Brag book is a perfect way to show off a few of your favorite Wedding photos until you get that larger book finished.

The Wedding Brag Book would also make a perfect gift for your favorite Mother or Mother-in-law.

For my Wedding Brag Book I used the 6″ x 6″ Chipboard 3 Tabbed Album  from Clear Scraps and

The “Story of Us” Collection from Simple Stories.

Wedding Album inside

I love these sturdy chipboard books.  When I use these books, I can easily trim around the edges with a craft knife and smooth any rough paper edges with a sanding block.

To spice up boring silver book rings, I painted each ring with a gold metallic paint pen.

Every Love Story...

Tip:  Being a frugal scrapper, I used the 1/2″ strip at the bottom of most scrapbook paper to cover the tab.  Start with that edge and cut your paper 6″ x 6 1/2″ and include that strip for the perfect tab.

Have a Creative Day!

Make sure to check all the 5 days of the DIY Wedding Projects.

Shop Handmade – The Wedding Store

Disclaimer:  This blog uses ads and affiliate links.  If you choose to make a purchase using one of the links, I receive a small commission (at no additional cost to you) that helps offset the costs of maintaining this blog.  Thanks for your support!

New Class: Maggie Holmes Clipboard Album

Clipboard Album

I will be teaching a fun new class in September at The Paper Forest.

The Clipboard Album features Maggie Holmes Clipboard Album and Ephemera kit.

So many elements to this fun and funky album.

If you want, bring pictures to add as we embellish our albums.

clipboard album 2    Clipboard Album #3

Maggie Holmes Clipboard Album Class

Saturday, September 27th

1-2:30 p.m.

Cost:  $25.00

Contact The Paper Forest at 309-745-3440 for more details and to sign up.

Hope to see you there.

Visiting St. Joe

Silver Beach Lighthouse

With not much summer left before school starts next week, we planned a mini vacation to the beautiful town of St. Joseph, Michigan.  With life happening yet again, we were only able to get two days.

So….we packed as much fun as possible in the little time we had.  We sat on the beach and laid in the sun, walked down the beach to check out the lighthouse and pier, ate a wonderful Italian dinner, visited fun shops, bought ice cream and desert, then watched the sun go down.  (and that was just day 1)

Justin fishing in St. Joe

The next day as the guys fished off the Pier, I sat on the beach.  I closed my eyes and pretended I was at the ocean.  With the temperature only being 63 degrees, we didn’t stay long.

Sue in St. Joe 3

Next, we headed off for a rooftop lunch.  After lunch we went to the Fun park where Justin hit balls in the batting cages, raced go carts (I won) and then a round of mini golf.  We looked up a local winery, tasted a few and then off to find a new beach.  Still chilly, we only stayed 45 minutes while I soaked up as much beach as I could.  Then off towards Chicago and a quick dinner and then back home again.

This was my first time visiting St. Joseph, I definitely want to go again.

DCC: Crafting with School Supplies

My Favorite Album

Every since I was a young girl, I have always loved shopping for back to school supplies.

In my family there were 5 kids.  My Mom had to save all summer for this.

It was always a big deal picking out a new outfit and getting supplies.

So when it came time to buy back to school supplies for my kids, I always tried to make it a special day.

I always feel bad for the kids whose mom is going down the aisle stressed and complaining.

That mom just doesn’t get it.  (she’s probably the mom who’s complaining in June)

Now that my son is in High School, back to school shopping isn’t quite the same.

But…I still stop and check things out.

l stock up on glue sticks, theme books and any little thing that I think I can use for my crafting

endeavors.  (I still have lined notebook paper and folders from several years ago.)

Index cards

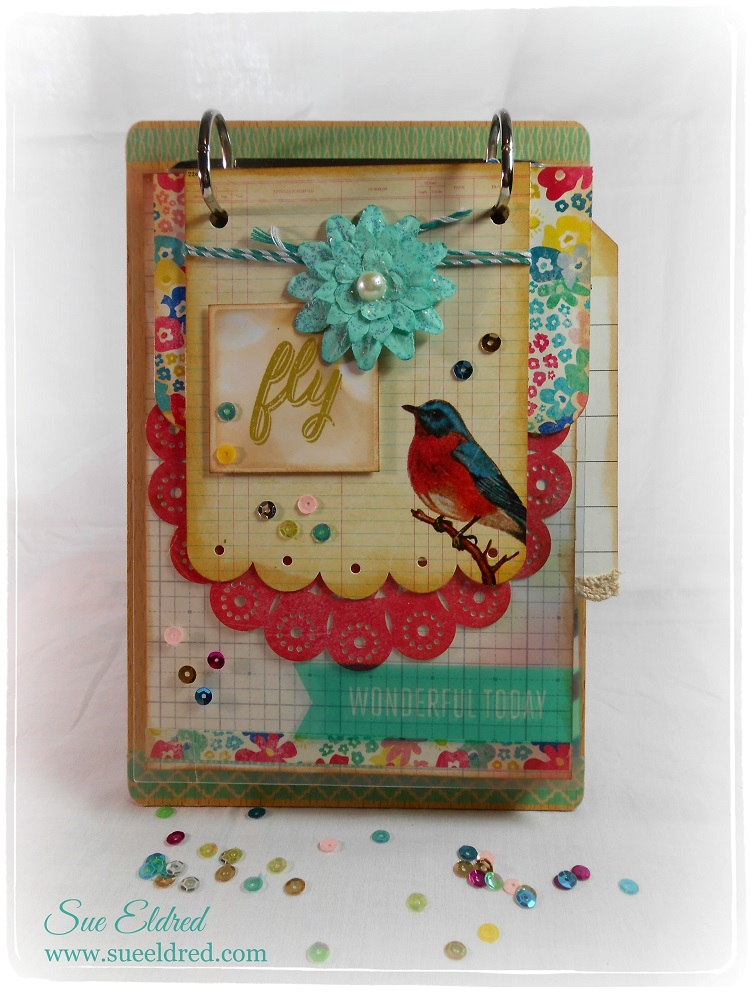
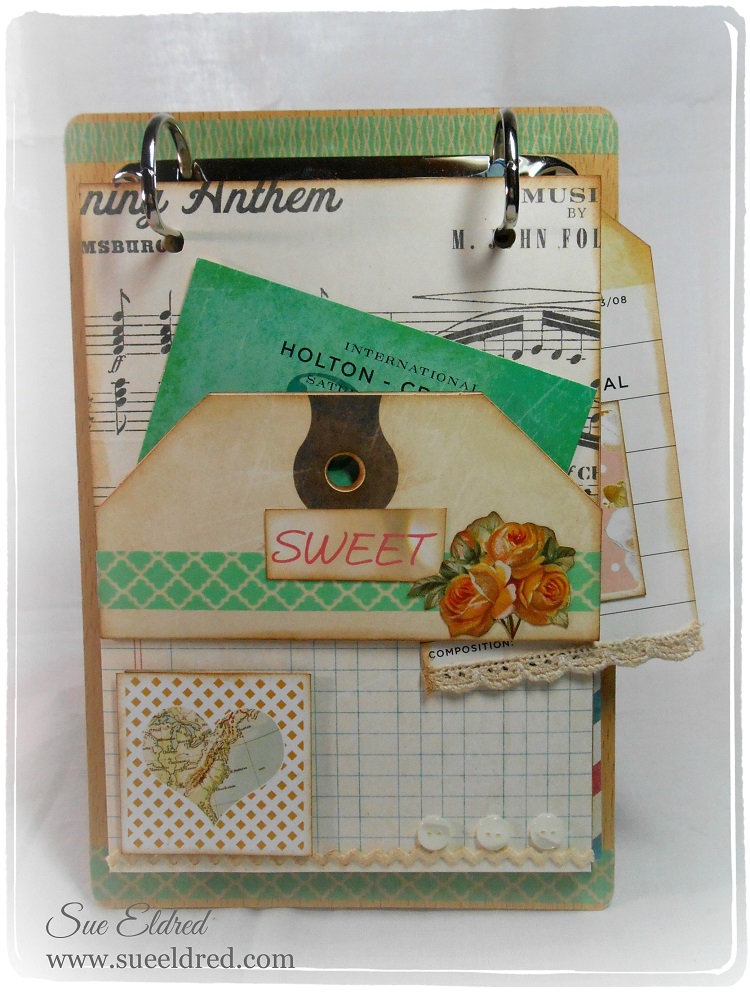
For my Favorite Things Album, I picked up some inexpensive index cards for .48 at Wal-Mart.

When binding my book, I allowed enough space for two rows of cards.

Inside of Favorite Album 2

Now, I can list favorite recipes, books, quotes.  (anything goes)

Source:  Paper and Stickers from Authentique Papers “Favorite” Collection.

This month’s Designer Craft Connection theme is :  Crafting with School Supplies.

Look for the Designer Craft Connection Logo to start hopping.