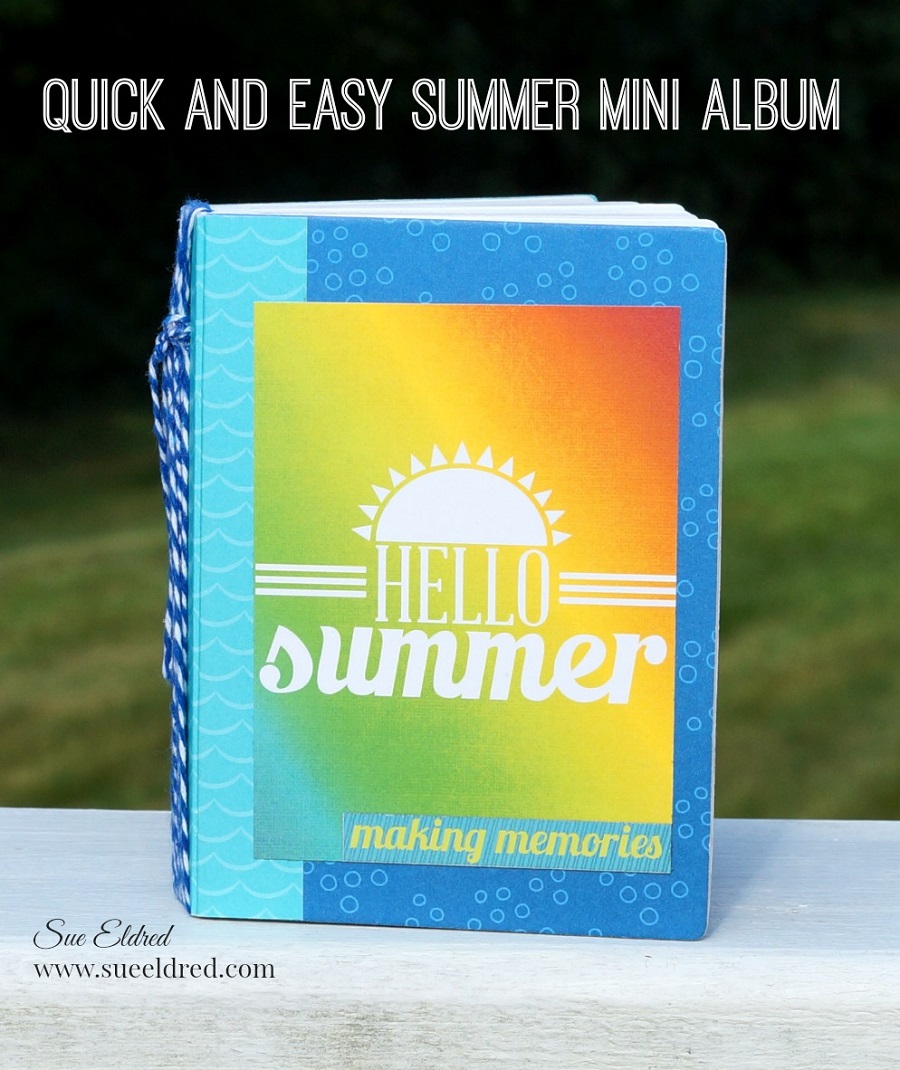
Quick and Easy Summer Mini Album

Quick and Easy Summer Vacation Mini Album

You don’t have to take an expensive Summer Vacation to have fun when your a kid.

Between Baseball games, Swim Lessons, Swim Team, Carnivals, Pie Eating Contests,

Fireworks, Drive In Movies, Swimming, Summer Reading Program, Mini Gardens,

Tie-Dyeing and just playing outside….there’s always something to do.

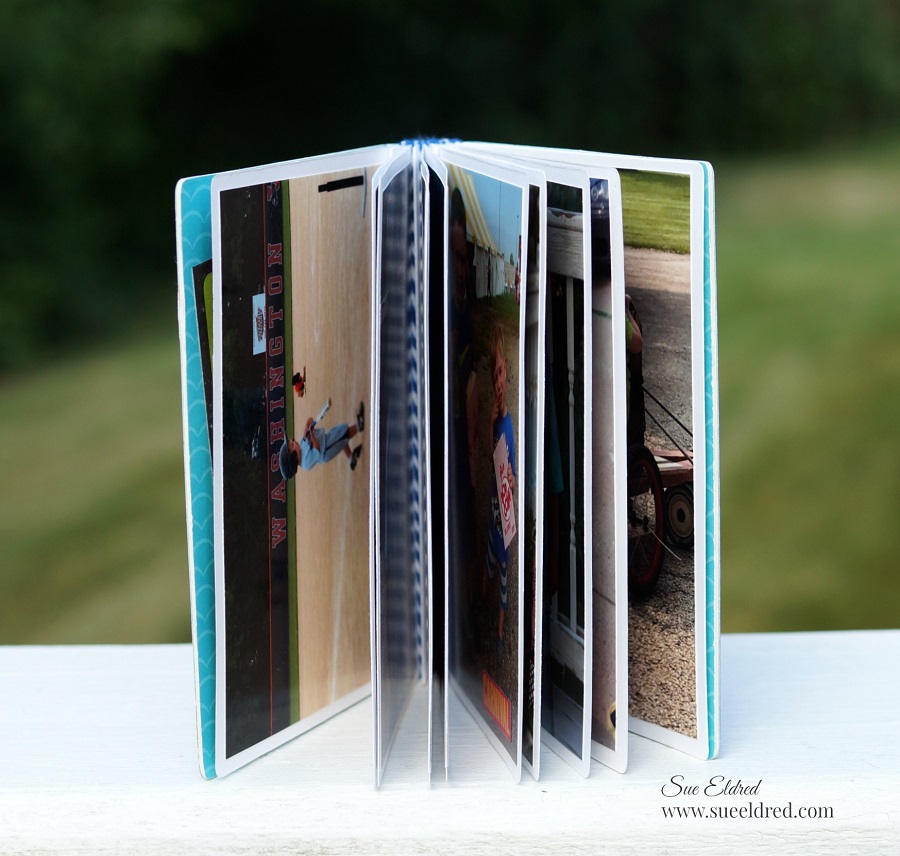
Because we have so many great pictures, I decided to make my grandsons a

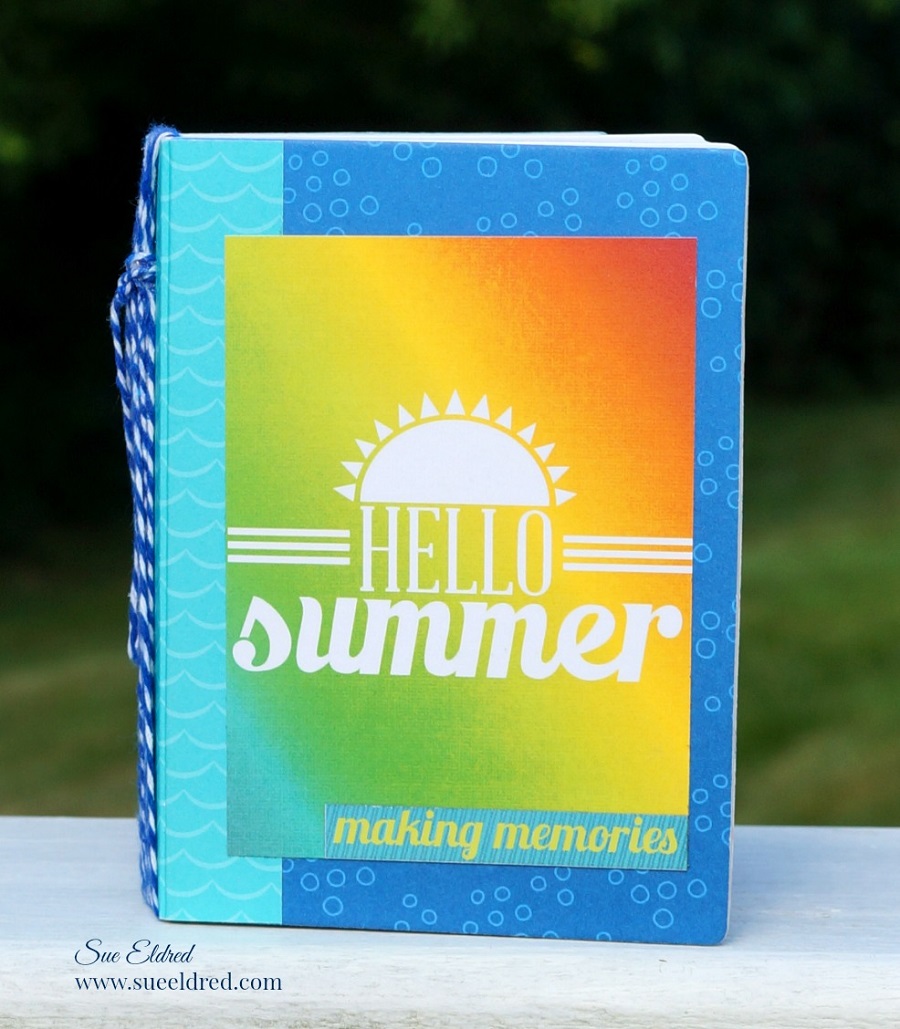
Summer Vacation Mini Album to remember all the good times they’ve had this summer.

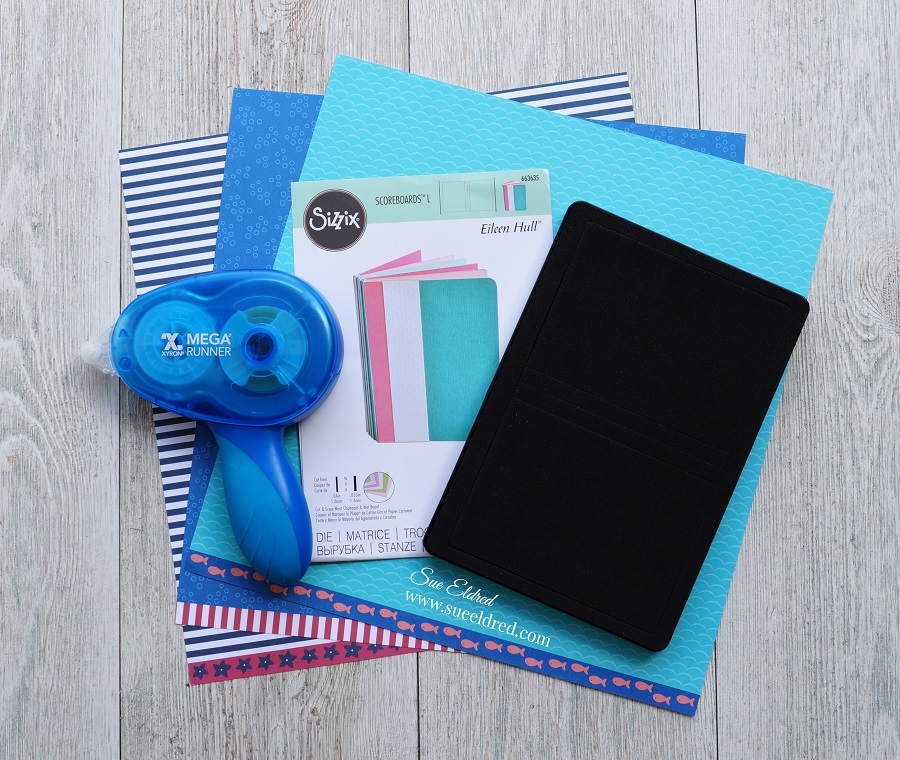
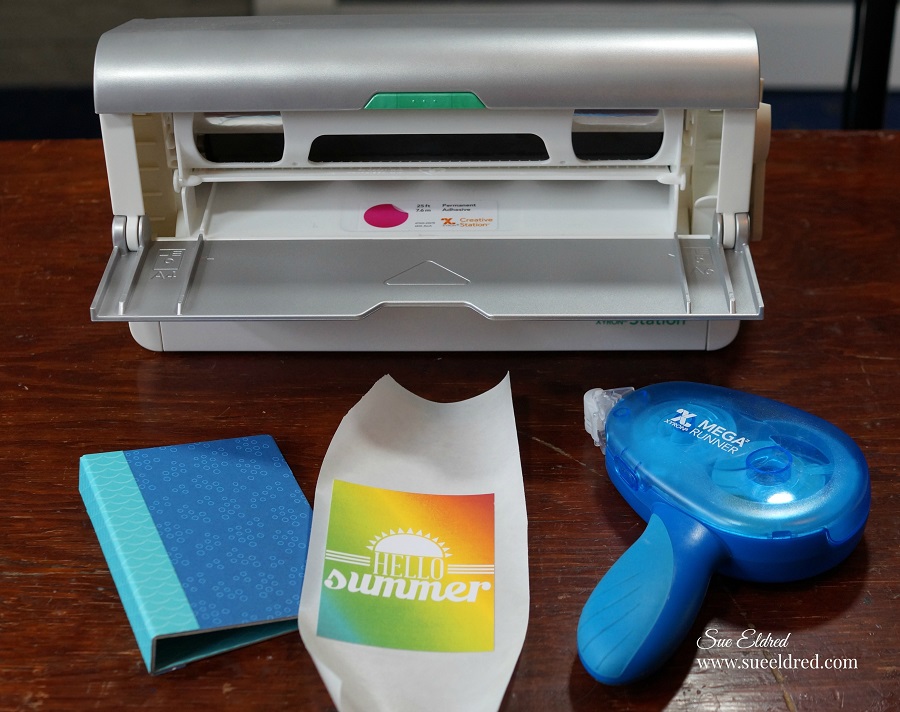
To Create my Summer Vacation Mini Album I used:                            (*affiliate links)

*Disclosure:  This blog uses ads and affiliate links.  If you choose to make a purchase using one of the links, I receive a small commission (at no additional cost to you) that helps offset the costs of maintaining this blog.  Thanks for your support!

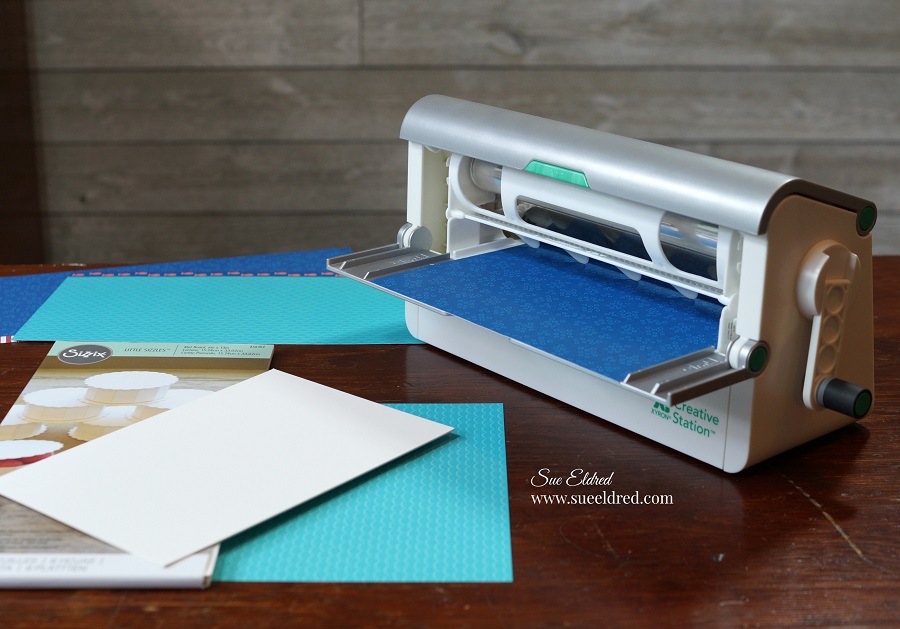
With the help of my Xyron Creative Station* putting the album together was super easy.

  • Cut two 6″ x 8-1/2″pieces of decorative scrapbook paper for the front and inside of the cover.
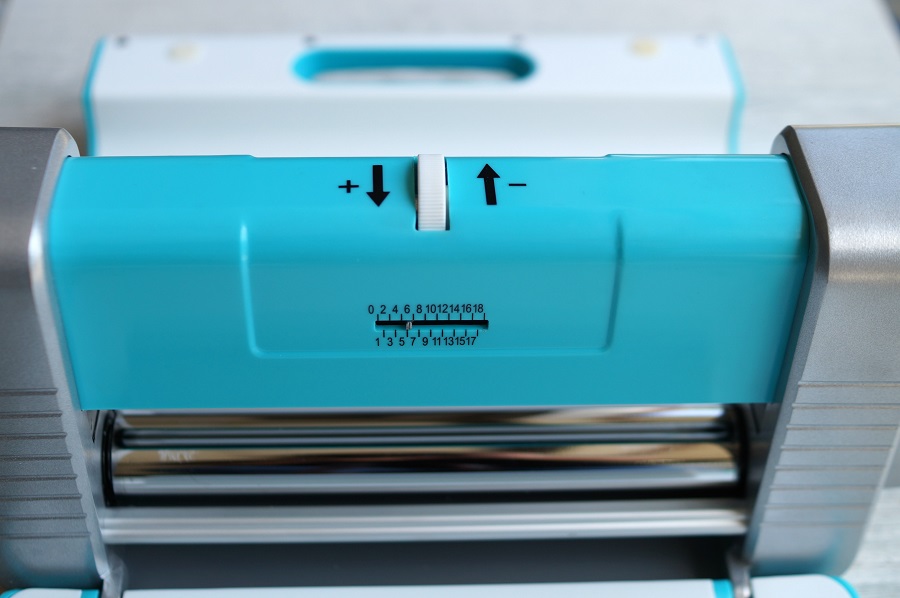
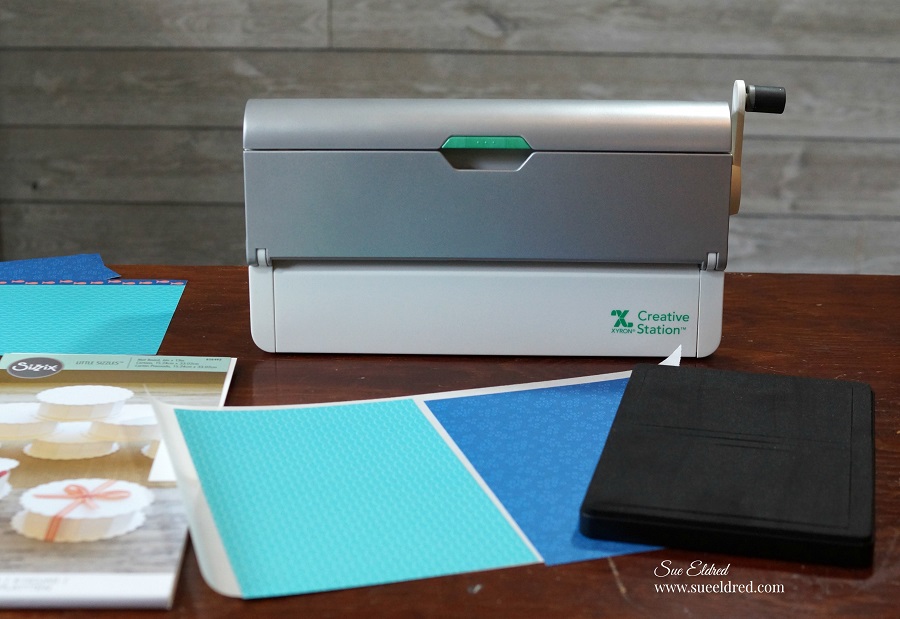
  • Lay decorative scrapbook paper (design side up) on the Xyron Creative Station* crank the handle to run the paper through the machine.  As it moves through the Xyron Creative Station it adds adhesive to the back side of the paper.
  • Easy to use and it doesn’t need any electricity.
  • I like using the Xyron Creative Station* when making mini books because you get complete coverage, no wrinkling, no bubbles!

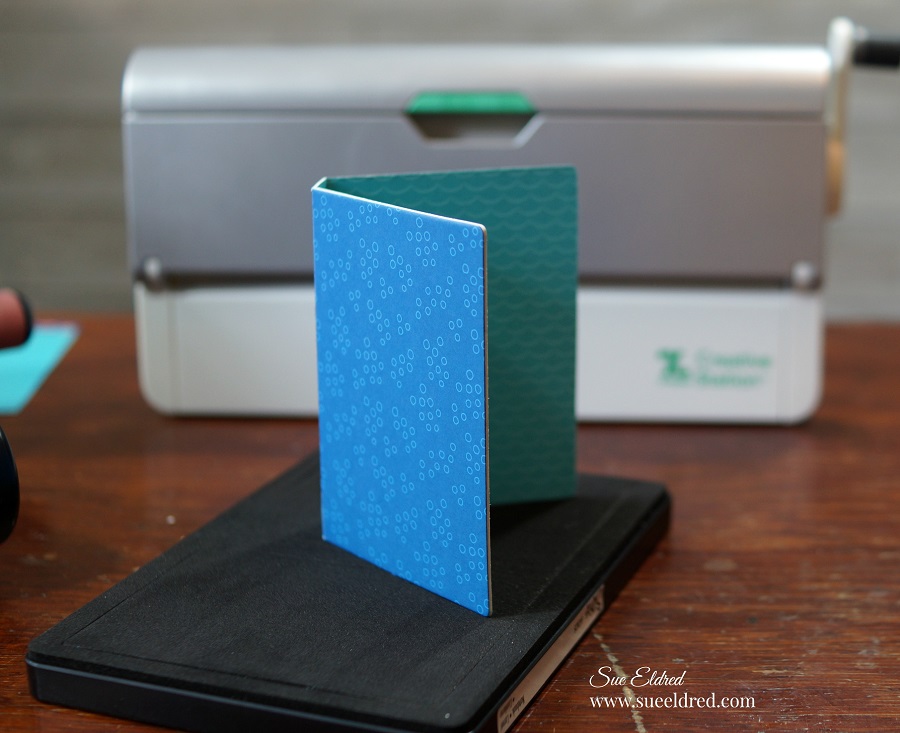
  • Cut a piece of mat board 6″ x 8-1/2″.
  • Adhere the decorative paper on each side of the mat board.

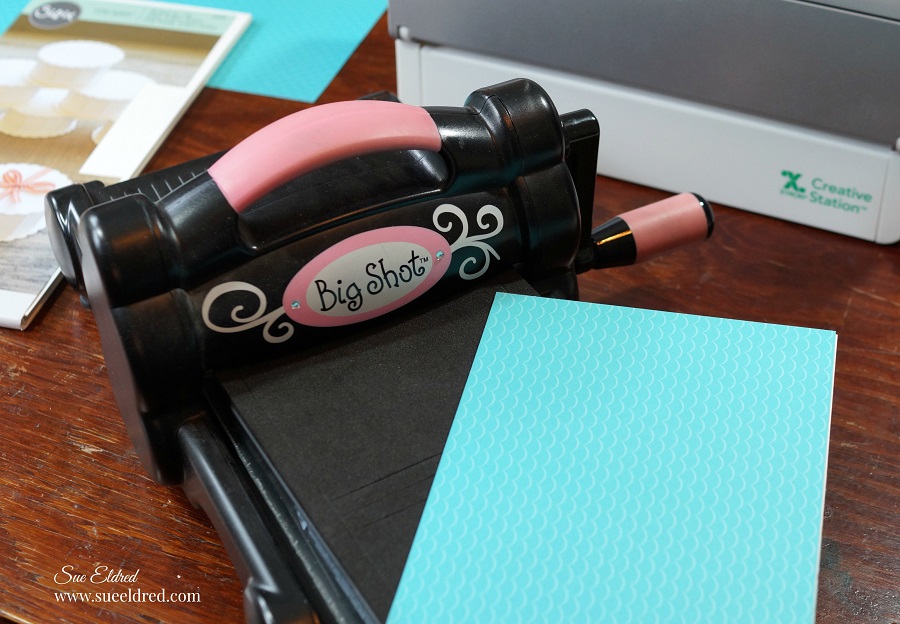
  • The notebook die creases the center of mat board as it goes through the Big Shot Die Cutting Machine making it easy to fold the cover for your mini album.

  • Cut a 2 1/4″ x 5″ strip of decorative paper to use for the spine and run it through the Xyron Creative Station*.
  • The small “hello summer” graphic is from an old Bo Bunny collection that I hoarded and never used.  It was perfect for this album.  (sorry I don’t think you can find it anymore)

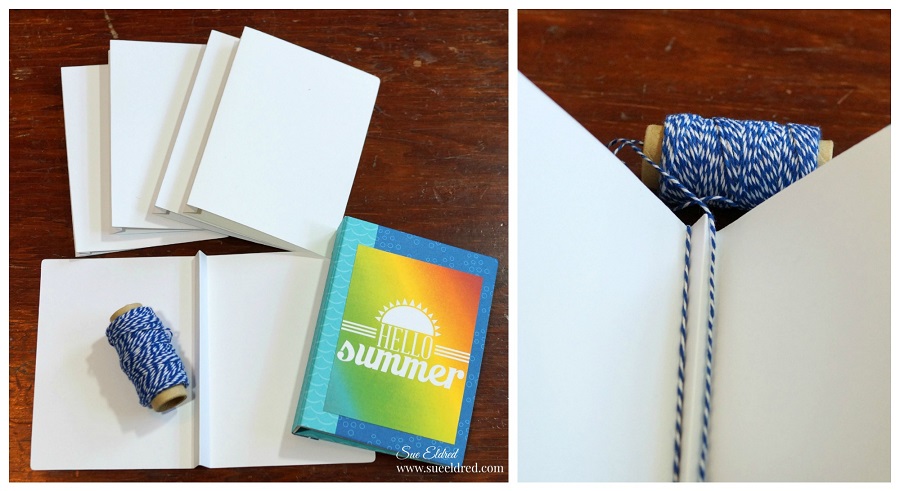
  • Cut 5 white cardstock pages using the notebook die.
  • Crease the cardstock on the center score lines.
  • Using blue and white twine, wrap the twine around the inside creases and around the outside of the book cover to secure the pages.
  • I did one page at a time tying the twine in a knot on the outside after each page.

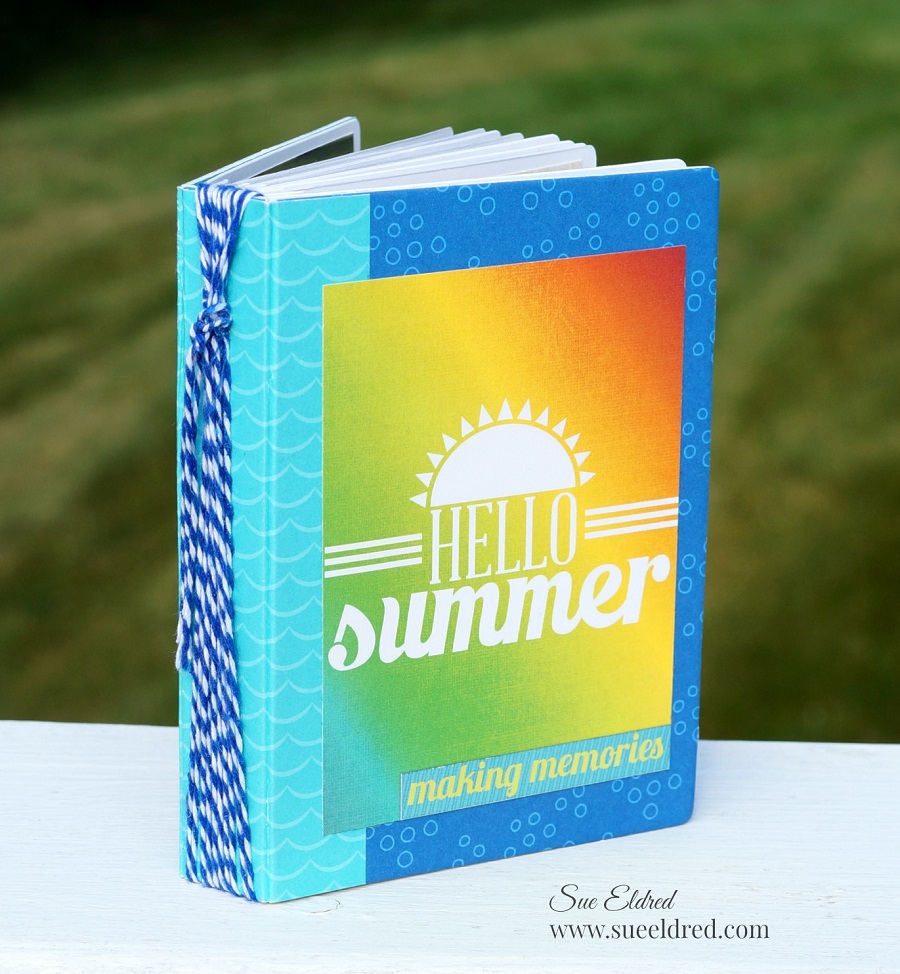
  • After I had all my pages together, I tied the pieces of twine together in one knot on the spine and let the ends of the twine hang loose.

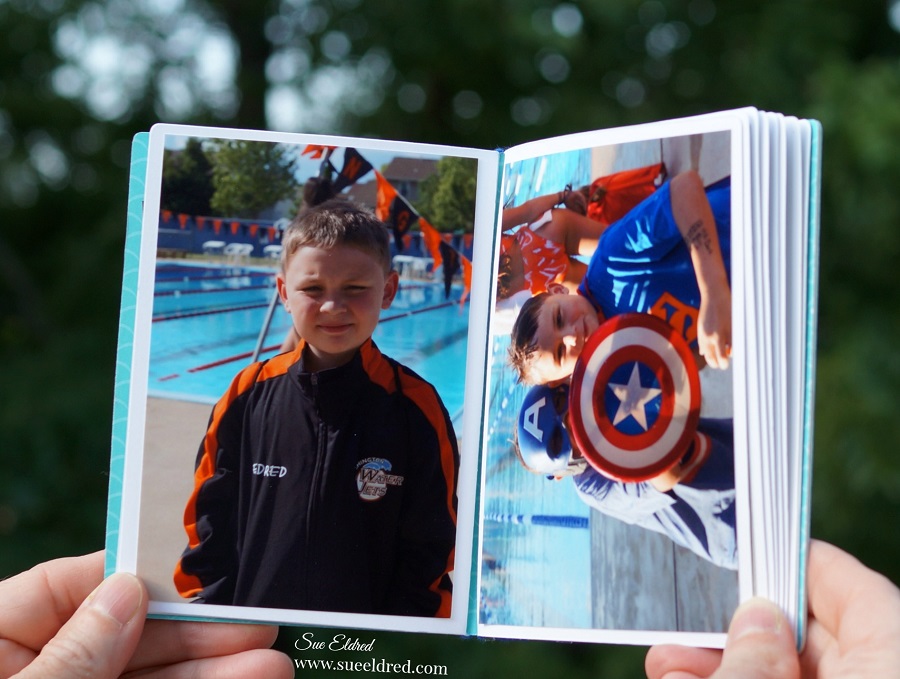
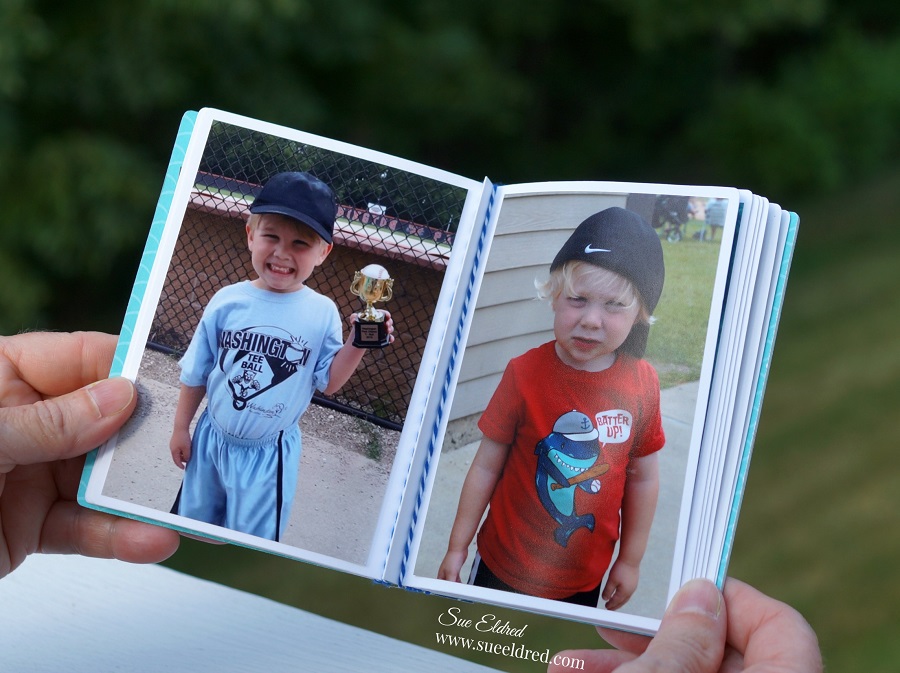
I wanted this Summer Mini Album to be all about the pictures. 

There are no fancy embellishments or special pages inside this album.

(just lots of fun pictures of my boys)

The hardest part about making this album was choosing which pictures I wanted to use.

I printed my pictures 4″ x 5.3″ instead of the usual 4″ x 6″.

I cut each picture 3 1/4″ x 4 3/4″ which left a nice white border around my picture when added

to the album.  I used my Xyron Mega Runner* to add adhesive on the back of the pictures.

I had all 21 pictures added to my album in no time.  (one on the inside back cover)

These are three busy little boys. 

They’ve had a great summer so far and they still have another month to go before school starts. 

Who says summer is about lazy days.  

The Summer Vacation Mini Album measures 3 3/4″ x 5″.

“This is a sponsored post.  As a member of the Xyron Makers Program I have been provided product and compensation in exchange for my creative ideas.  The views and opinions are my own.

Indigo Shibori Dyeing

Indigo Shibori Dyeing

We had a little fun this past week-end and tried something new….

My daughter asked me to purchase a Indigo Dye Kit* for her birthday.

She wanted to use it when she came home.  (I’m always up for trying something different.)

Shibori is a Japanese term for methods of dyeing cloth.  Similar to tie-dyeing you create patterns by binding, stitching, folding, twisting, and compressing.  In Japan, the earliest known example of cloth dyed with the shibori technique dates back to the 8th century where indigo was the main dye used.
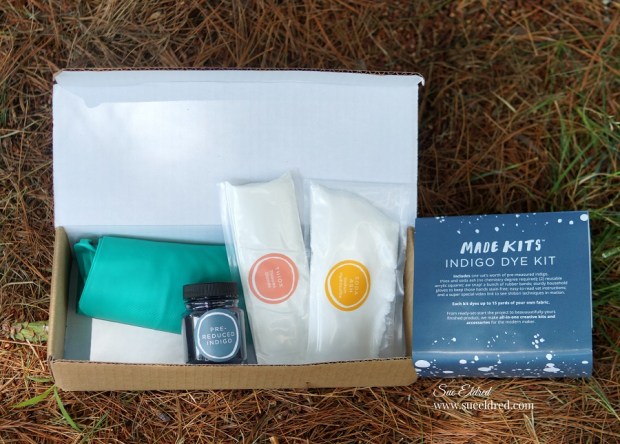
Shibori Indigo Dye Kit from Made Kits by One-OneThousand*

The kit came with everything we would need:

  • Thiox
  • Soda Ash
  • Pre-reduced Indigo
  • Rubber Gloves
  • Rubber Bands
  • Acrylic Plates
  • Great Instructions

Everything except a very large bucket and items to dye.

It said right on the front of the box…”no chemistry degree needed”.

*Disclosure:  This blog uses ads and affiliate links.  If you choose to make a purchase using one of the links, I receive a small commission (at no additional cost to you) that helps offset the costs of maintaining this blog.  Thanks for your support!
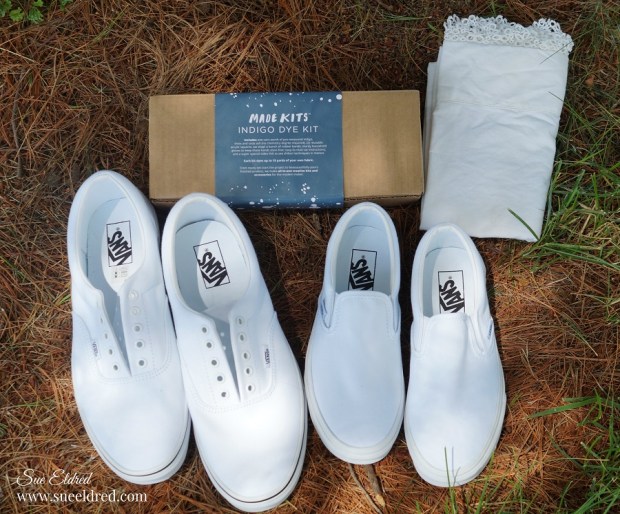
My daughter had purchased a few new items to dye and we quickly added other items like…

pillowcases, old doilies, vintage linens, old jeans and other miscellaneous items.
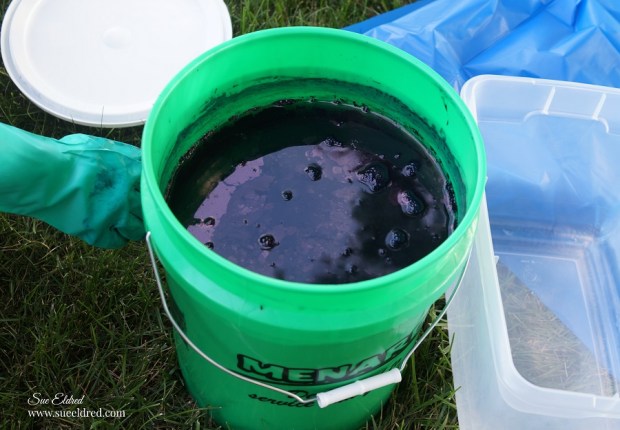
The kit comes with great instructions on how to mix the Thiox, Indigo and Soda Ash with water.

It is recommended to use a 5 gallon bucket with lid.

After everything is mixed cover the bucket tightly with the lid and let it rest for one hour.

When you are ready to start dyeing, remove the cover.

The liquid will be a greenish-yellow in color and you will see a cluster of bubbles called

“the flower” and a film on top.  (It will have a smell, that’s normal, they said)

Carefully scoop out the bubbles “the flower” and set aside with a little of the dye liquid.

The instructions say that you can put “the flower” back in the bucket after your done

dyeing to keep the dye bucket going for future dye projects.  (hmmm.)

The dye can be used for several dye sessions if carefully stored.
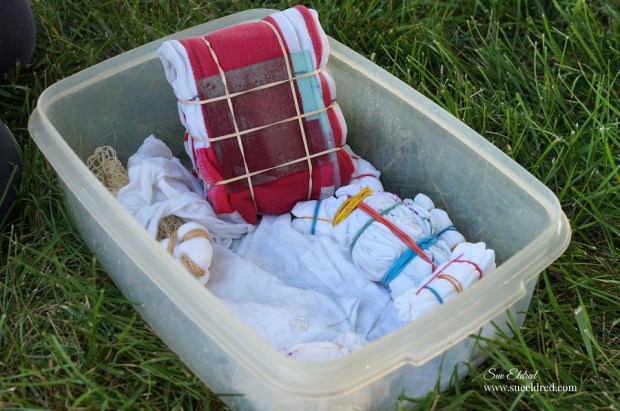
It’s always a good idea to pre-wash new items with a mild detergent.

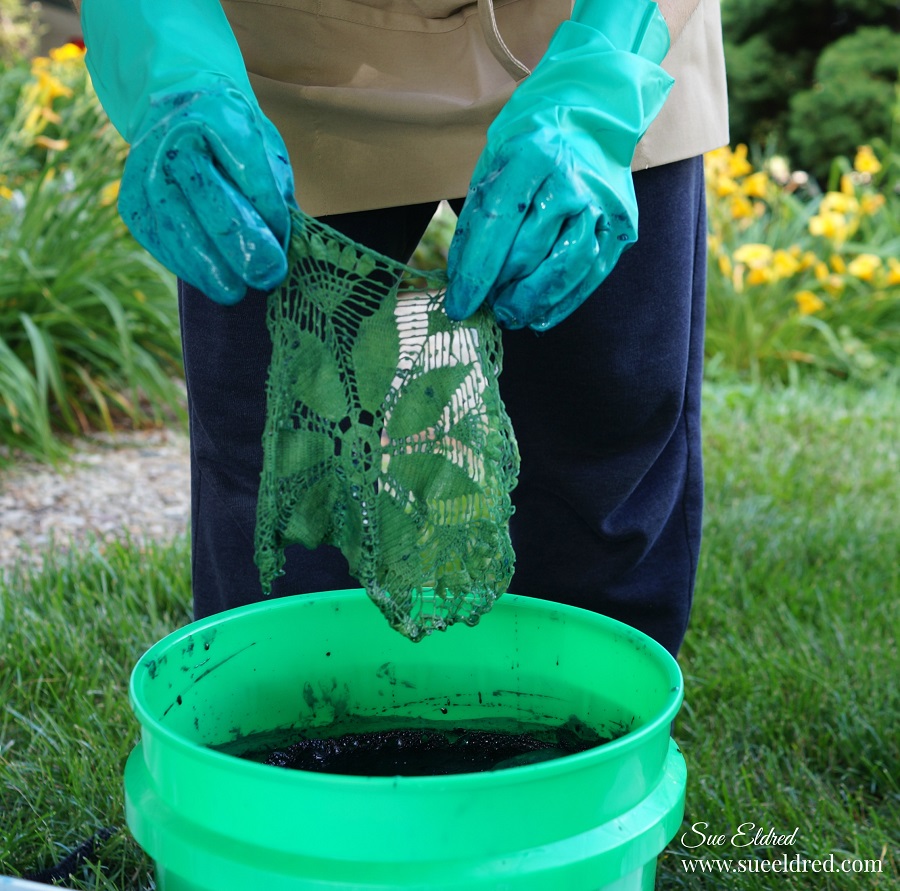
We used several different twisting and rubber banding techniques on the fabric.

FYI…The dye reacts best if your item is wet first.

When you lift your item out of the dye mixture it will be a yellow greenish color.  

As the air hits the dyed item, the indigo will gradually oxidize and the dyed item will turn blue.

The longer the item is in the dye, the darker it becomes once it hits the air.

They suggest ringing the item and letting it sit for 15 minutes and then re-dipping the item

in the dye for deeper hues.
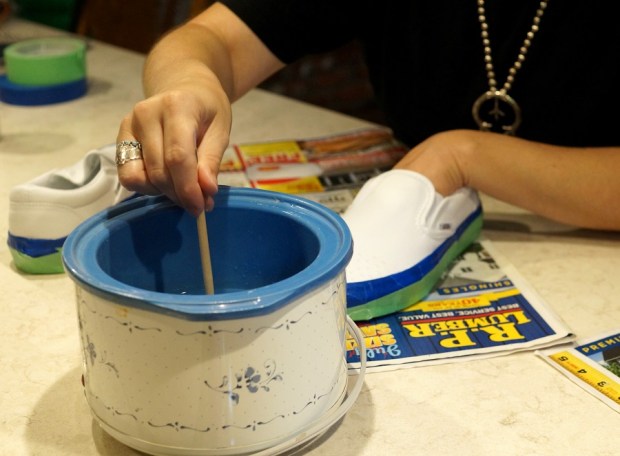
Creating a Wax Resist

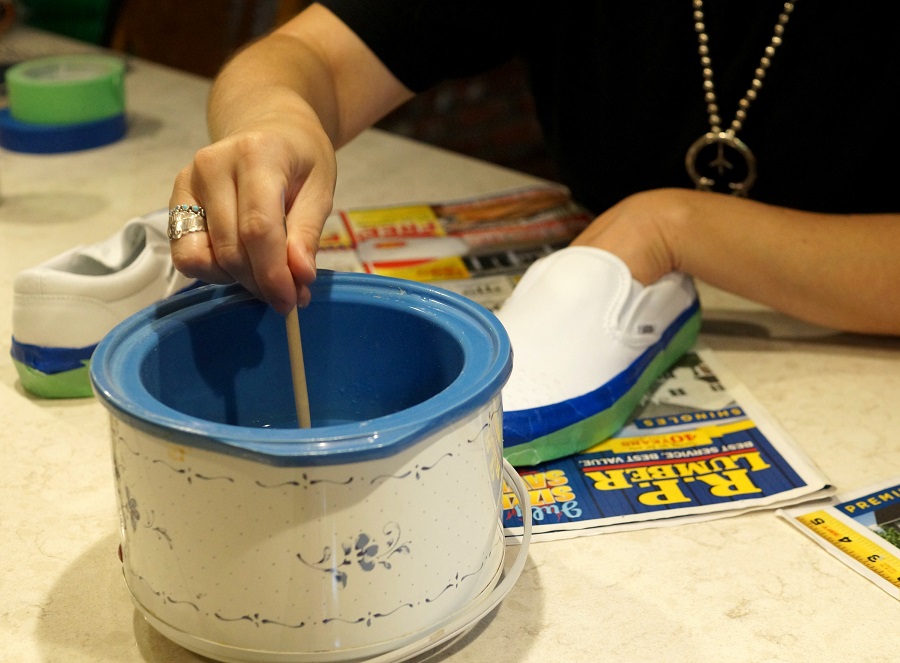
My daughter and her husband created dots on their shoes by using melted wax and the end

of a paintbrush.  (We kept the melted wax hot in a old mini crock pot.)

The melted wax creates a resist that will repel the dye.

They covered the souls of the shoes with removable painters tape to protect it from the dye.

A large brush was used to paint the dye on the shoes instead of dipping them.

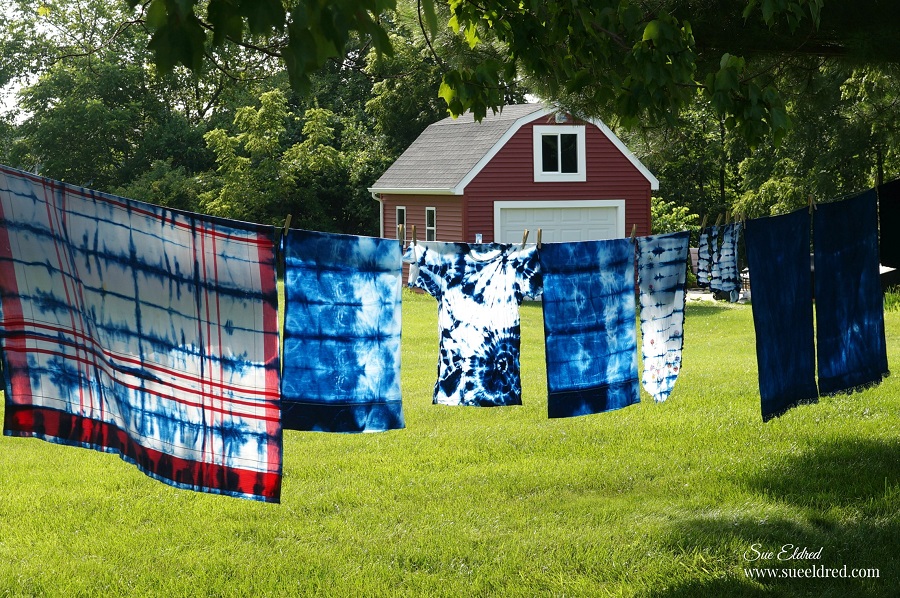
Once dyed…we hung the items on a clothesline tied between two trees in the front yard.

My husband said it looked real classy.  I thought it looked beautiful.

We left them hanging overnight as they need 24-48 hours to dry and oxidize.
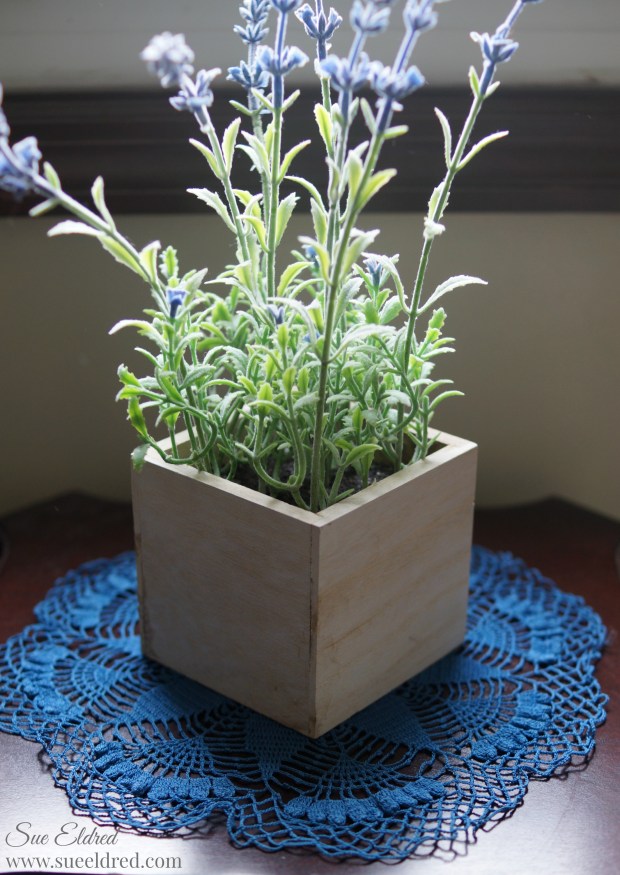
As with a lot of new techniques…there is a little bit of a learning curve.

We were pleased with the results and can’t wait until she’s home again to dye some more.

FYI…We used Shibori Indigo Dye Kit from Made Kits by One-OneThousand*

 

Crafting with Kids…all about bugs

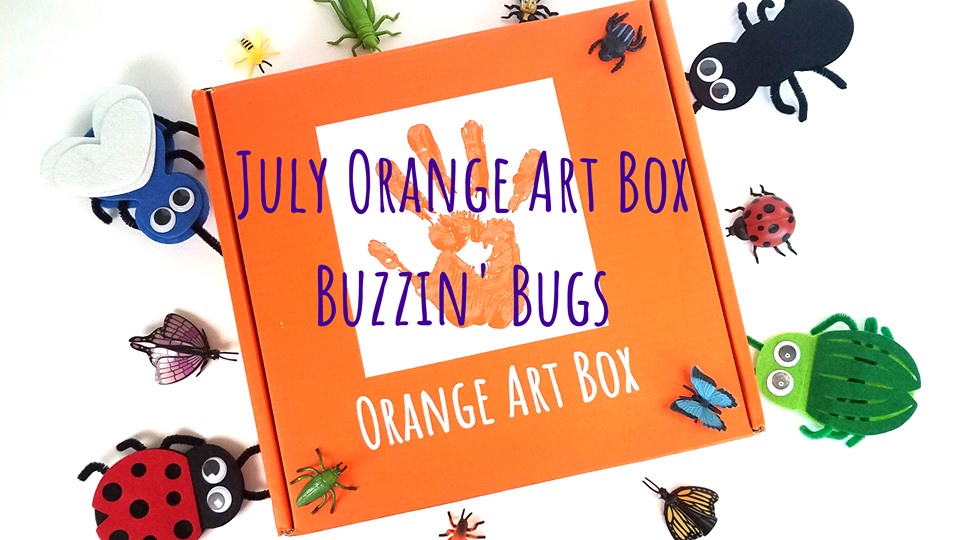
BUZZIN’ BUGS

The summer crafting adventures continue with Nick and Warren and the July Orange Art Box.

This month’s box is all about Bugs and I do believe it was Warren’s favorite box.

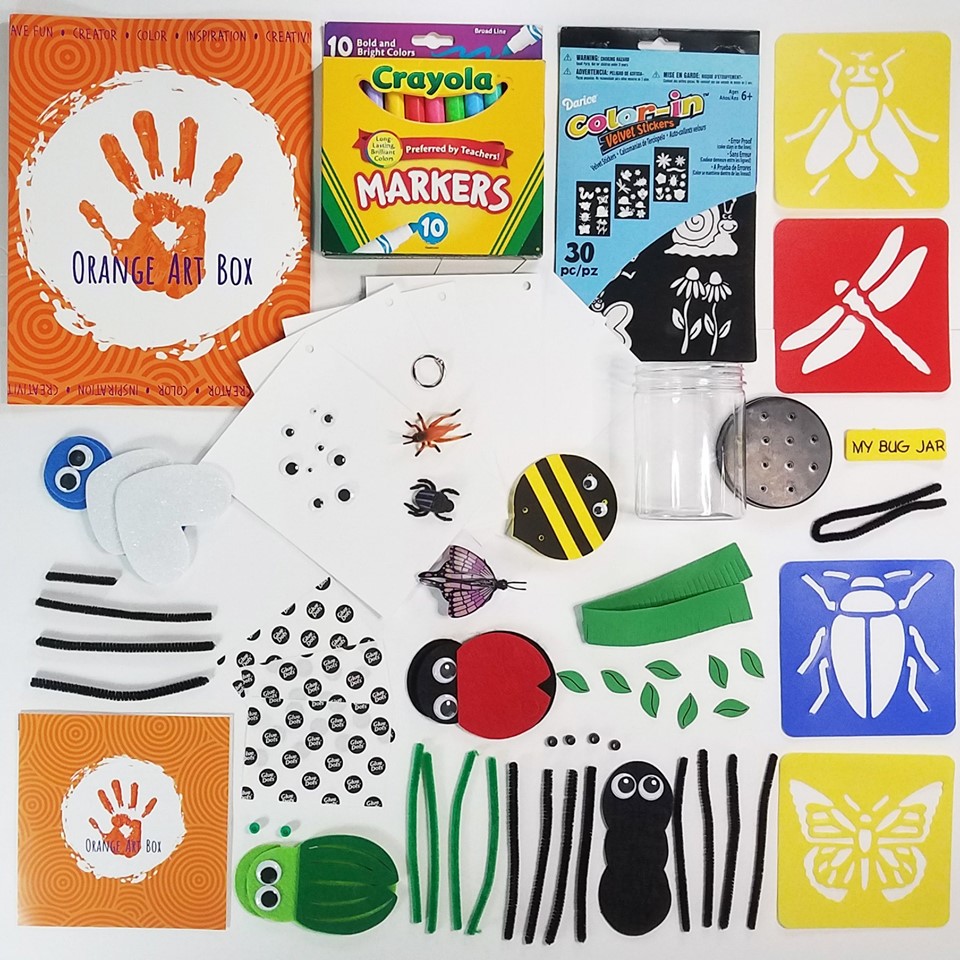
The kit came with supplies to make a bug jar, cute little felt bugs, bug stencils, stickers,

paper to make a bug book, plastic bugs, markers and several other fun crafty supplies.

Check out the boy’s video and the July Orange Art Box.  

(I’m starting to wonder if I should include their bloopers.  Never a dull moment.)

The Orange Art Box is a subscription art box for kids.

*Disclosure:  “This is a sponsored post.  I have been provided product in exchange for my creative ideas.  The views and opinions are my own.”  

Dream Create Inspire Wall Decor

Dream Create Inspire Wall Décor

I have been working diligently for the last couple of months on my new craft room.

Moving, purging, organizing and very slowly decorating.  (so much stuff!)

I’m almost ready for a “craft room reveal” but not quite yet.

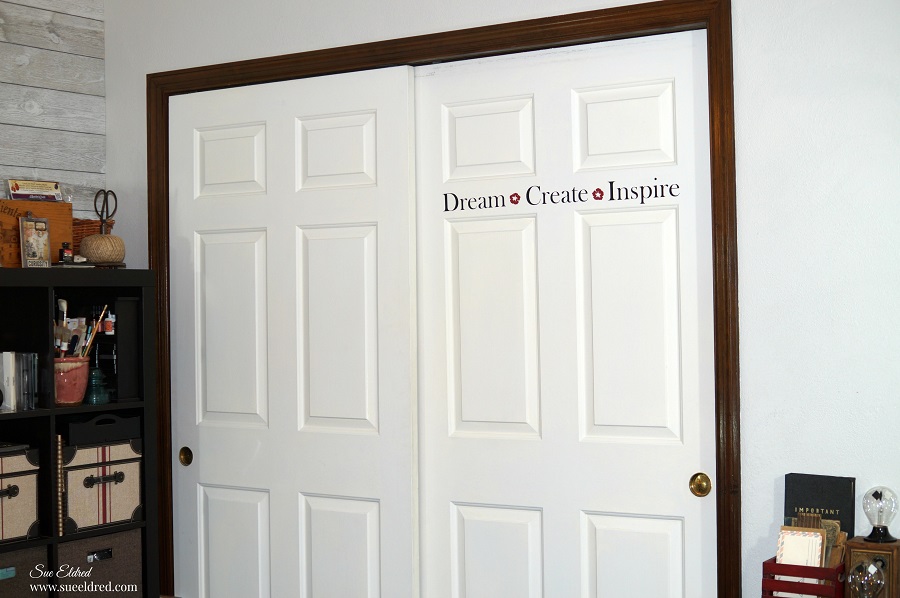
This past week-end I decided to add a little inspiration to my freshly painted closet doors.

I like the look of inspirational quotes on walls and decided to create one of my own.

With the help of my Silhouette Cameo Wireless Cutting Machine* and

Matte Removable Adhesive Vinyl* from Styletechcraft the project was real easy to create.

(getting a good picture of the final project not so easy)

*Disclosure:  This blog uses ads and affiliate links.  If you choose to make a purchase using one of the links, I receive a small commission (at no additional cost to you) that helps offset the costs of maintaining this blog.  Thanks for your support!

  • I measured the space on the door where I wanted the words to go and decided where the best spacing would be for all three words.
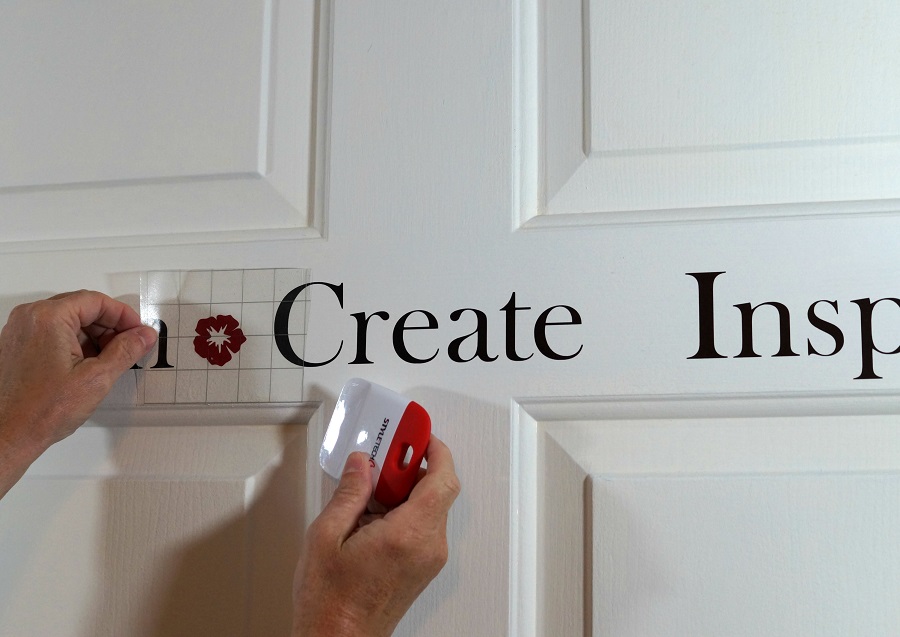
  • I cut the Gridded Vinyl Transfer Tape* to fit inside the space.
  • I used the bottom line of the grid and line on the door inset to line up my words.
  • Once you place your word onto your surface, smooth over word with the vinyl tool.

  • I found it easier to place the words Dream and Inspire first and then center the word Create in between the two.

  • I cut two small flowers using dark red removeable vinyl and placed them in between the words.

Did you know that Matte Removable Vinyl will remove cleanly for up to two years?

This vinyl  film is great for decorating a kid’s room, a classroom or just about anywhere

you just  need a temporary graphic.

“This is a sponsored post.  As a member of the StyleTechCraft Design Team I have been provided product and compensation in exchange for my creative ideas.  The views and opinions are my own.

You can now find the full line of StyletechCraft online at ATSM.

Shop Your Fav Brands at Scrapbook.com

Crafting with Nick…Under the Sea

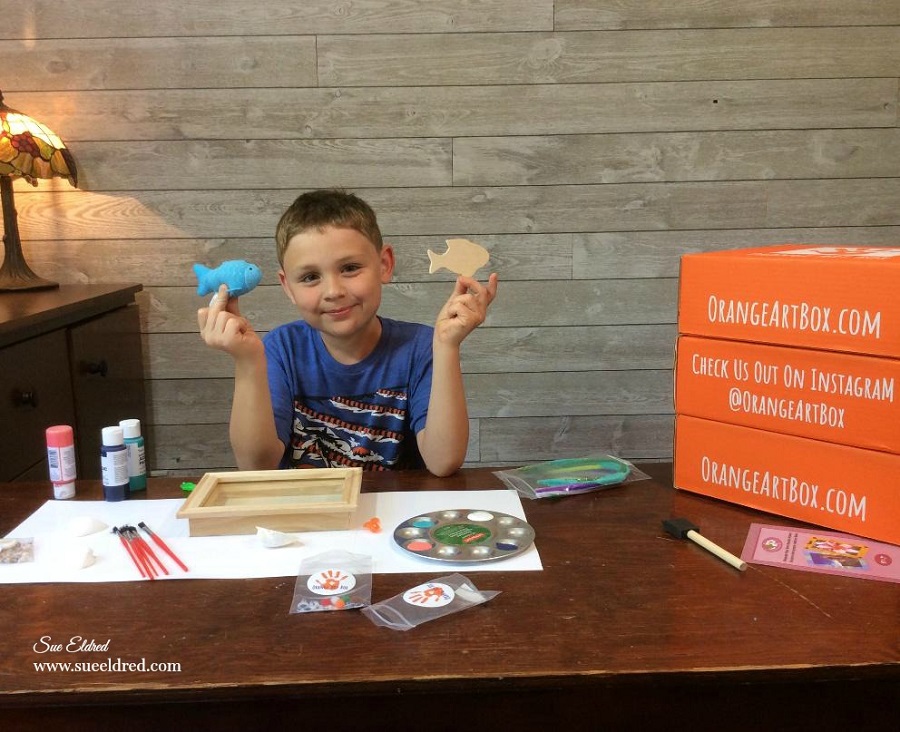
Nick’s back with a fun project using the June Orange Art Box.

I think this month’s kit has been our favorite Orange Art Box so far.

The theme for the June Box is “Under the Sea” and Nick had a really fun

time creating his fish inspired Shadow Box.

Check out Nick’s video below.

The Orange Art Box is a subscription art box for kids.

*Disclosure:  “This is a sponsored post.  I have been provided product in exchange for my creative ideas.  The views and opinions are my own.”   

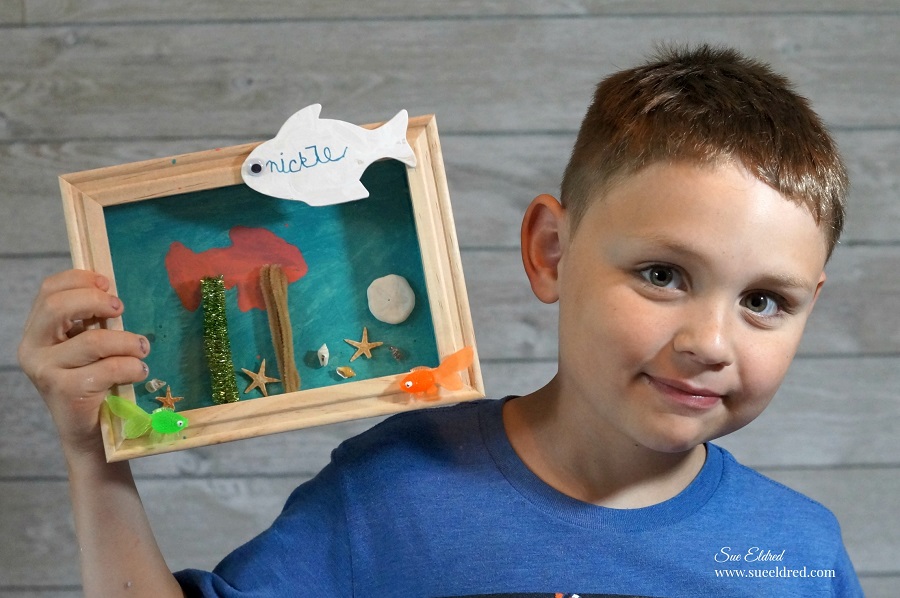
Nick’s finished project.

I think the Shadow Box would make a great vacation memory project with a cute beach

photograph included inside the frame.

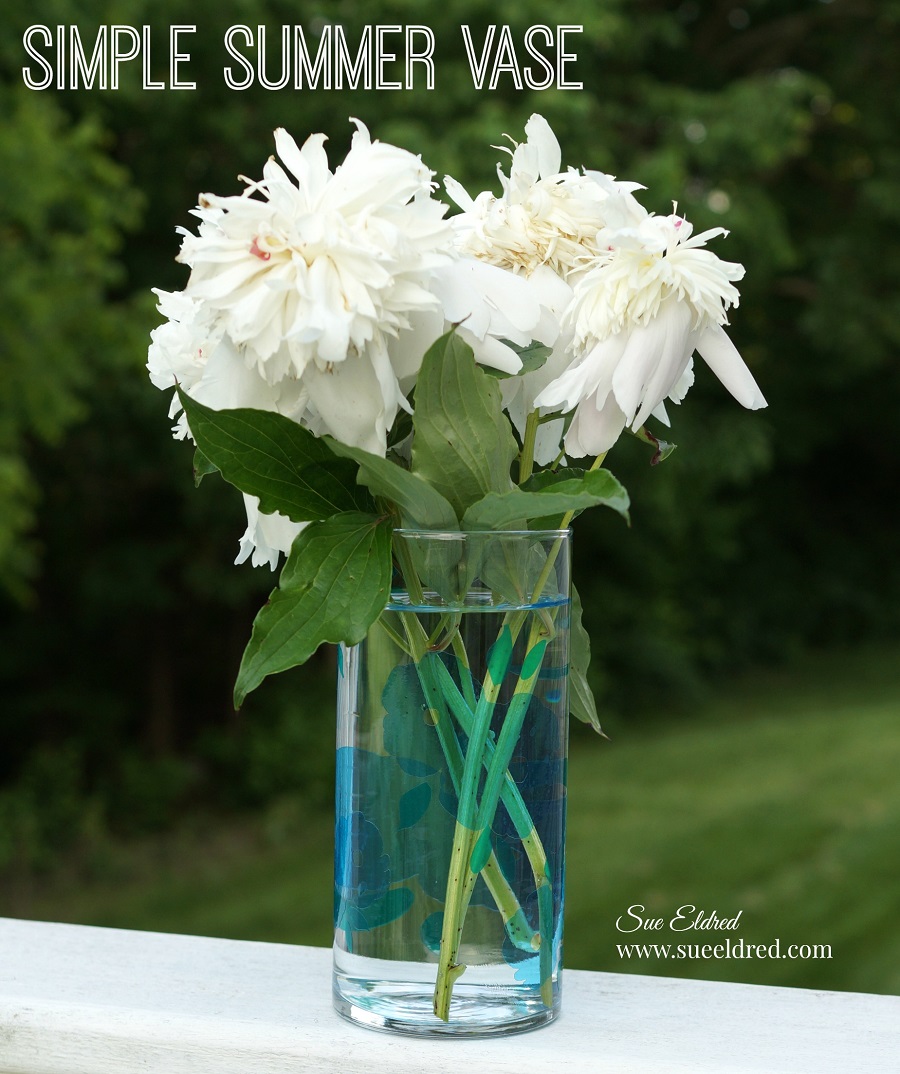
Simple Summer Vase

Create a Simple Summer Vase using Transparent Adhesive Vinyl from StyleTechCraft.

Transparent vinyl is great when you just want to add a subtle touch of color.

It’s great for using on windows, glassware and just about anywhere else you want a unique look.

To create my Simple Vase I used:       (*affiliate links)

Directions:

  1. Cut several flower shapes using the Silhouette Cameo* and the Sky-Blue Transparent Vinyl.  Don’t have a electronic die cutter?  The transparent vinyl can be cut using various metal dies.
  2. Cut leaves out of the teal vinyl.
  3. Using the weeding tool, I carefully removed the negative spaces in and around the flowers and leaves.
  4. Place a piece of Vinyl Transfer Tape* over the flower image.  Apply transfer tape onto the cylinder vase and rub over the vinyl using a vinyl scraper tool to eliminate bubbles.
  5. Remove transfer tape.
  6. Repeat with the leaves.

Allow vinyl to cure for several days.  (Hand washing is recommended.)

I added a piece of white paper inside the vase so you can see the pattern better.

It’s hard to see in this picture the variation between the sky blue and teal vinyl.

“This is a sponsored post.  As a member of the StyleTechCraft Design Team I have been provided product and compensation in exchange for my creative ideas.  The views and opinions are my own.

You can now find the full line of StyletechCraft online at ATSM.

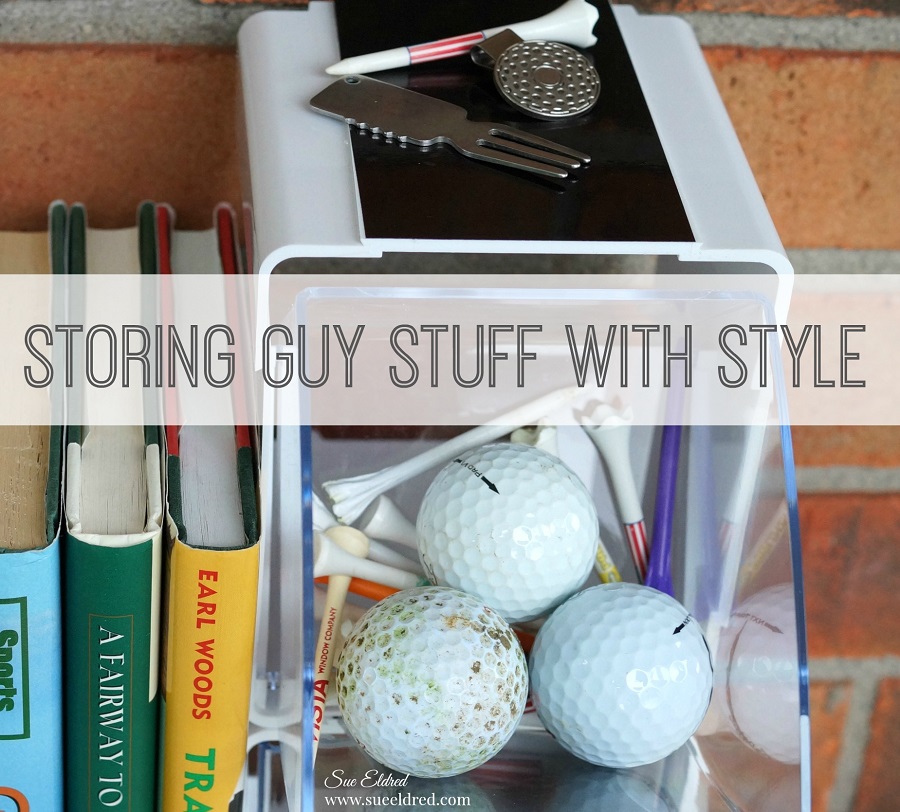
Storing Guy Stuff with Style

Getting to the nuts and bolts of Guy Storage.

Just because it’s in the Garage doesn’t meant it can’t have a little style.

After watching every episode of Tidying Up and a few episodes of Hoarders,

I’ve got the urge to organize everything.

I’ve been going through the house bit by bit (not quite the Marie Kondo way).

It’s going to take some time.

There are so many storage options out there.

When it comes to organizing all the bits and pieces out in the garage,

I’m a fan of Deflecto’s Tilt Bin Storage.

For this project I decided to add a little personalization using StyletechCrafts polished metal

adhesive vinyl and Interlocking Tilt Bins* from Deflecto.

Disclaimer:  This blog uses ads and affiliate links.  If you choose to make a purchase using one of the links, I receive a small commission (at no additional cost to you) that helps offset the costs of maintaining this blog.  Thanks for your support!

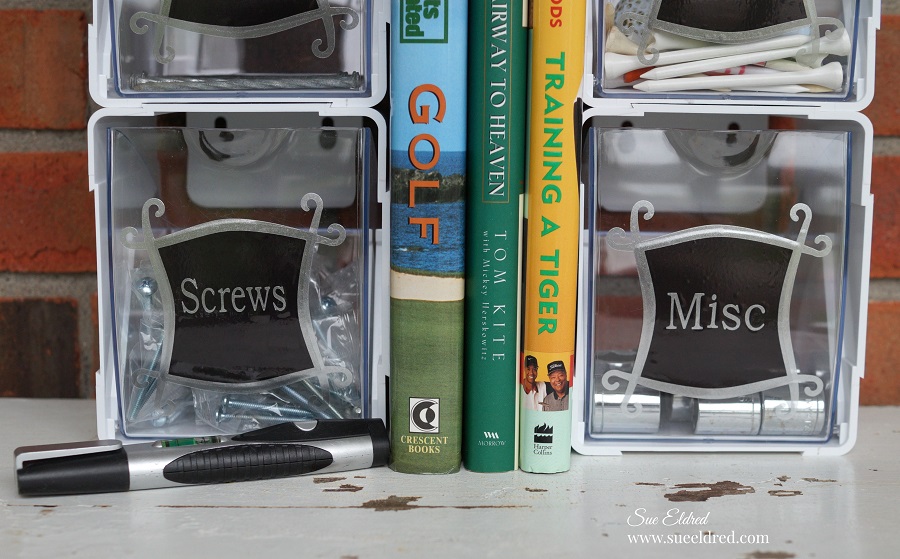
For a little masculine style…

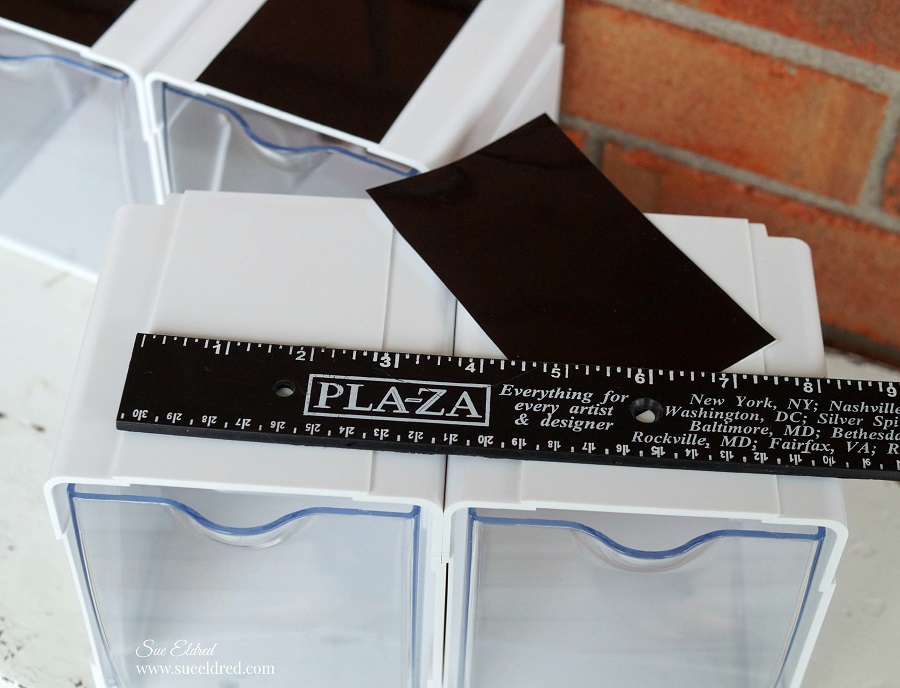
I measured and cut the black polished metal vinyl* to add to the top of the bins.

I did the same with silver polished metal vinyl* to the sides of the bins.

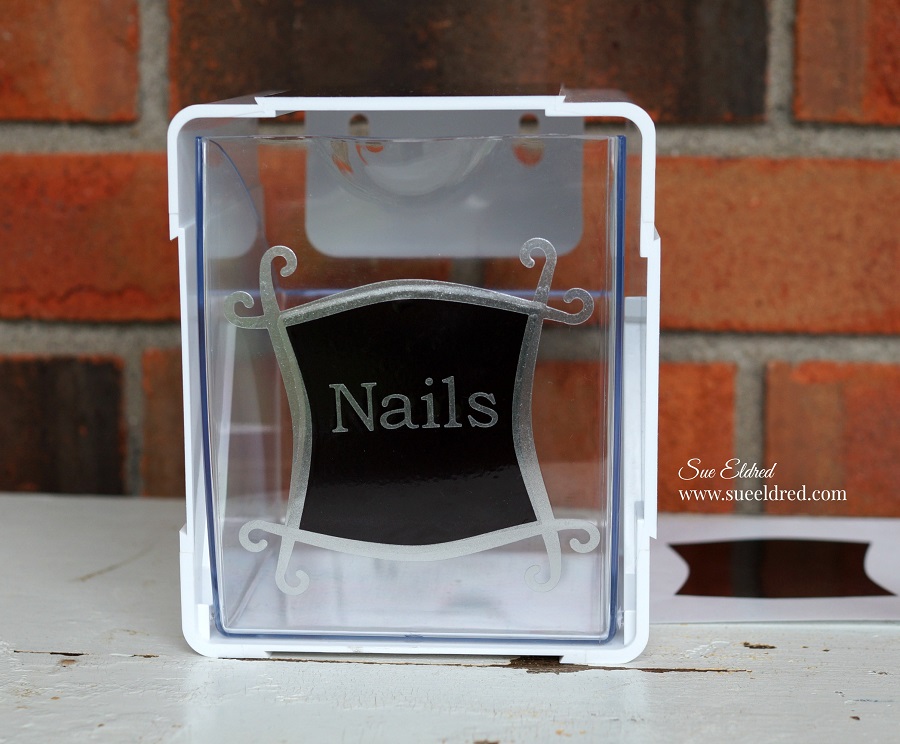
Using my Silhouette Cameo Wireless Cutting Machine* and a SVG cut file

I cut the frames, words and background.

Using Vinyl Transfer Tape* I applied the silver frames onto the black background.

(I created the black background by cutting a slightly bigger frame and using the inside.)

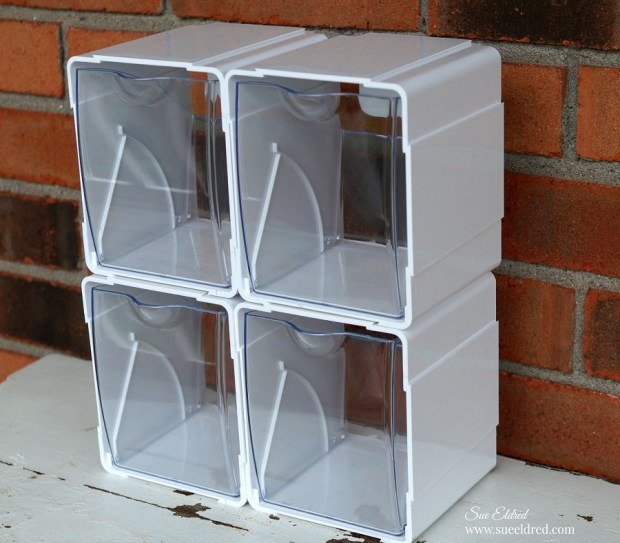
The bins are interlocking and stackable.

Great for little storage needs in the garage, craft room, nursery, kitchen and even the kid’s room.

Wherever you need a little extra storage.

The nice thing about the interlocking tilt bins* is that you can use just one or use several.

You can also hang them on the wall or use them with a mounting bar*.

Storing Guy Stuff with Style.

I love adding a little personalization to everyday items.

Storing Guy Stuff with Style-Sue's Creative Workshop www.sueeldred.com 2609

“This is a sponsored post.  As a member of the StyleTechCraft Design Team I have been provided product and compensation in exchange for my creative ideas.  The views and opinions are my own.

You can now find the full line of StyletechCraft online at ATSM.


You can purchase the Deflecto Interlocking Tilt Bins* by themselves or as a set of four from Amazon*.  Use on table, mount direct to wall or hang using the Deflecto Mounting Bar* (sold separately).

Orange Art Box Giveaway

Got a Creative Kid in you Life?  

Looking for something different to keep them busy this summer?

I’m giving away the May Orange Art Box Kit to one lucky person.

To enter all you need to do is leave a comment telling me who you’d give the kit to.

Deadline to enter is tomorrow, Wednesday 5-01-19    (US only)

For extra chances you can also leave a comment on my Facebook and Instagram pages.

Here’s a silly video of my grandson’s opening up the April Orange Art Box.

To see what the boys made click here.

If you are looking for something different for your kids to do this summer

you might want to look into the Orange Box Kit.

It’s available to purchase as a 1, 3, 6 or 12 month subscription.

Perfect gift for that budding artist.

*Disclosure:  “This is a sponsored post.  I have been provided product in exchange for my creative ideas.  The views and opinions are my own.”

The Orange Art Box

Looking for something to keep the kids busy this summer and end the “I’m bored”.

I was recently introduced to the Orange Art Box which is an Art Subscription Box for Kids.

As you might know…I love doing crafts with my grandsons

and because the box is geared for kids ages 5-12, it was right up our alley.

*Disclosure: “This is a sponsored post.  I have been provided product in exchange for my creative ideas.  The views and opinions are my own.”  

I was so impressed with the concept that I’ve agreed to do a monthly post with the boys for the

next few months using the products we receive in each month’s kit.

With Summer Vacation around the corner, it’s a perfect activity to keep the boys busy.

What’s inside the Orange Art Box?

A collection of projects every month to inspire your artist.

Every Orange Art Box is designed with a feature project and multiple smaller projects

for hours of fun!

The boys and I did a short video of them opening their Orange Art Boxes.

It was seriously like opening a Christmas Gift.

You may notice in the video that they were just a little bit excited.

The theme for April was Mosaics…the April Orange Art Box included a wooden box, a large bag of mosaics, mod podge, brush, book mark, door knob hanger, tissue paper squares, 6 color scented pen and a folder of ideas, tips, patterns and instructions.

Enough projects to keep them busy for quite a while.

The boys all-time favorite item was the six color “smelly” pen.   

The first thing they wanted to do was work on their boxes.   

It’s fun to see their creative minds at work.

I really think this will be a fun summer activity for the boys.

Nick’s Box with a combination of mosaics and decoupaged tissue paper.

Warren’s Box with a random artistic mosaic pattern.

If you are looking for something different for your kids to do this summer

you might want to look into the Orange Box Kit.

It’s available to purchase as a 1, 3, 6 or 12 month subscription.

Perfect gift for that budding artist.

May’s Orange Art Box which is all about birds, birdhouses and feathers.