I always tell people, my idea of roughing it is a bad hotel room. But who knows, if I had a happy little camper like this, I might try my luck with camping.
Supplies:
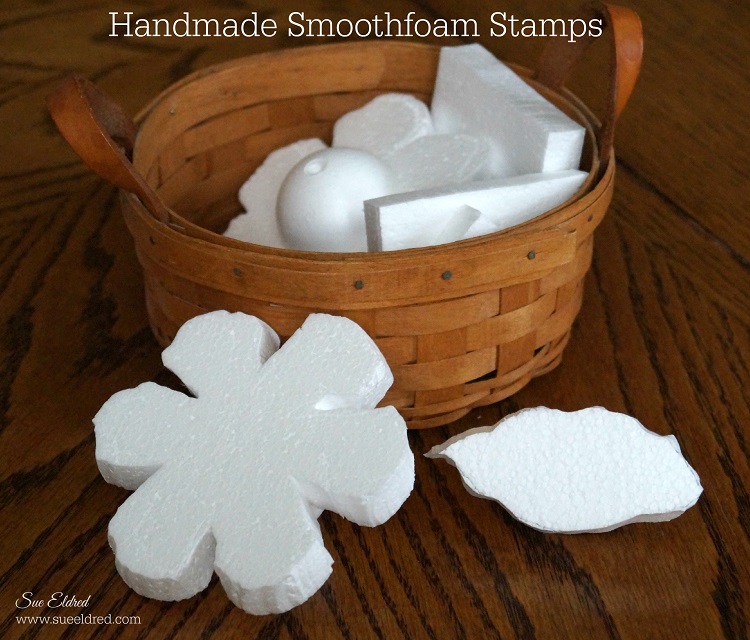
6″ Smoothfoam Disc
2″ Smoothfoam Ball
Window & Door Die by Impression Obsession
Diecutting machine
Scrapbook paper
Acrylic paints – Antique White, White, Light Blue, Black
Paintbrush, Q-tip
Silver metallic paint marker
Ribbon & twine
Craft glue
Assorted brads
Corsage pins
Craft knife or Hotwire Foam Cutter
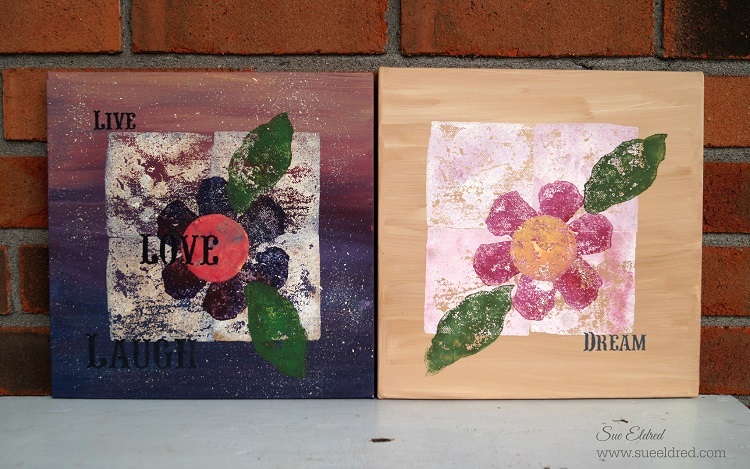
1. To create the body of the camper, cut 2″ off the edge of the Smoothfoam disc. Paint the top antique white and the bottom light blue. Add white polka dots on top of the blue with a small Q-tip.
2. Cut two slices out of the middle of the Smoothfoam ball for the wheels and paint them black.
3. Cut a small block from the leftover Smoothfoam to prop up the camper’s front end and color it with the silver paint pen.
4. Glue all the pieces together as shown.
5. Die-cut two windows from white paper and glue them onto patterned paper, then trim to create the window background. Cut a 1″ x 2″ piece of red cardstock to use as the door.
Glue one windows to the camper and the other to the door, then glue the door to the camper.
6. Make a banner with ribbon and twine. Tie twine ends around corsage pins and stick into top of the camper.