Feeling a little Irish?
Need a Lucky Hat for St. Paddy’s Day?
Using only a few Smoothfoam shapes you can make yourself a Lucky Hat centerpiece
in no time. A fun centerpiece for all your “GREEN” celebrations.

Here’s what you’ll need: (*affiliate link)
- Smoothfoam Half Ball Pastel, 8-Inch, White*
- *SmoothFoam Disc-8″X1″
- Smooth Foam Disc 10″x1″*
- Apple Barrel Acrylic Paint: English Ivy*
, Kelly Green*
and Black*
- Paintbrush
- Adhesive Chipboard Letters
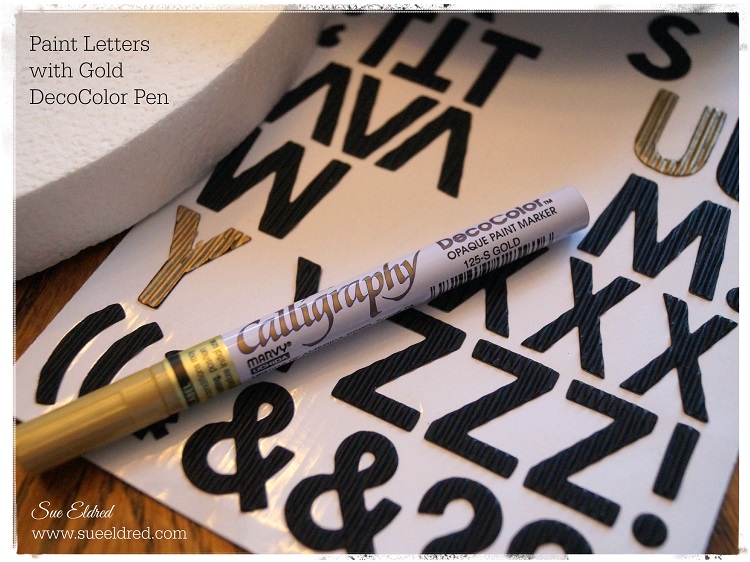
- Marvy Chisel Point Pen Tip Calligraphy Paint Marker, Gold*
- Craft Glue*
- Mod Podge Waterbase Sealer, Glue and Finish*
Directions:
- Paint 8″ Half Ball and 10″ Disc with English Ivy paint.
- Repaint Disc and Half Ball with Kelly Green paint, allowing some of the darker paint to show through.
- Paint sides of 8″ Disc with Black paint.
- Glue 8″ Disc onto the 8″ Half Ball.
- Center and glue onto the 10″ Disc.
- For a shiny finish, paint the entire piece with Mod Podge.
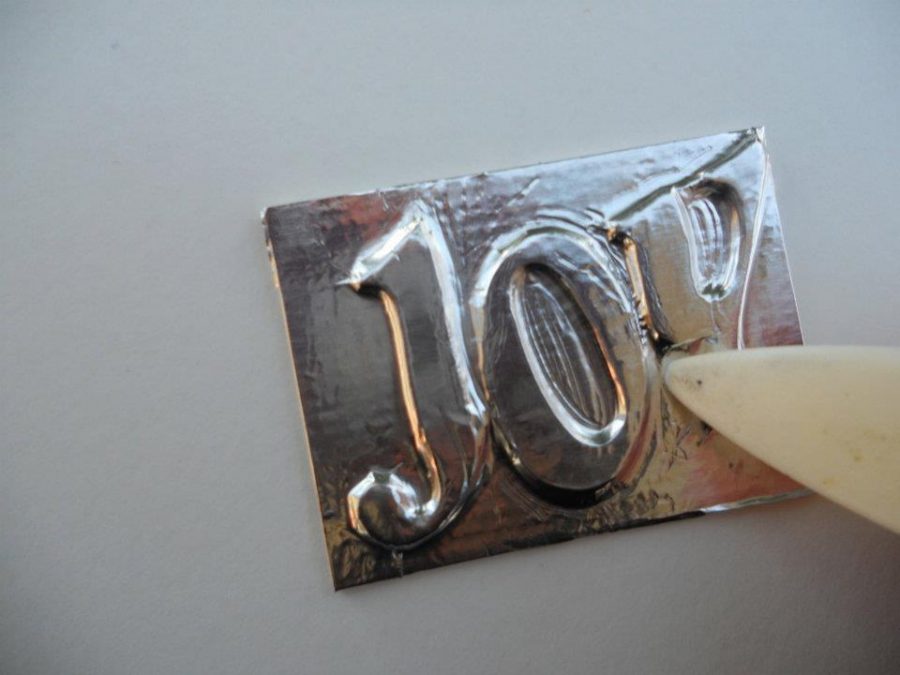
- To create gold letters, paint the chipboard letters with a gold paint pen.
Have a great day and may the “Luck of the Irish” be with you!

Click on the pictures for product ordering through Amazon*.


Disclosure: This post uses affiliate links. If you choose to make a purchase using one of the links, I receive a small commission that helps offset the cost of maintain this site. Thanks for your Support!

This project was created for and sponsored by Smoothfoam.

Shop Amazon Scrapbooking Supplies*