Nothing like getting a sweet 3-tiered layered cake for your Birthday.
Thanks to the Eat Cake Stamp and Die Set from The Maker’s Movement,
you can send everyone a special cake on their birthday.

Disclosure: This is a sponsored post for The Maker’s Movement. I have been provided product and compensation in exchange for my creative ideas. The view and opinions are my own.

Materials Used: (*affiliate links)
- Eat Cake Stamp and Die Set
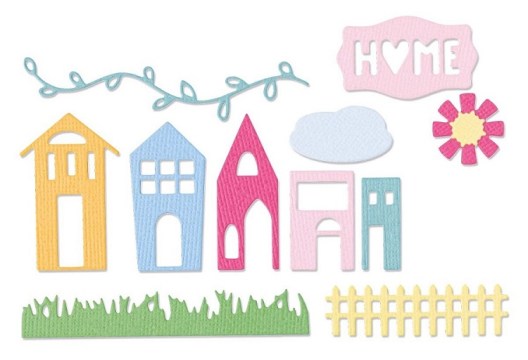
- Crafty Chica Nested Frame Die Set
- M13361 Rainbow Sprinkles Paper Pad
- M13170 Simply Spring Slimline Paper Pad
- Crossover II Die-Cutting System*
- Black Versafine Inkpad*
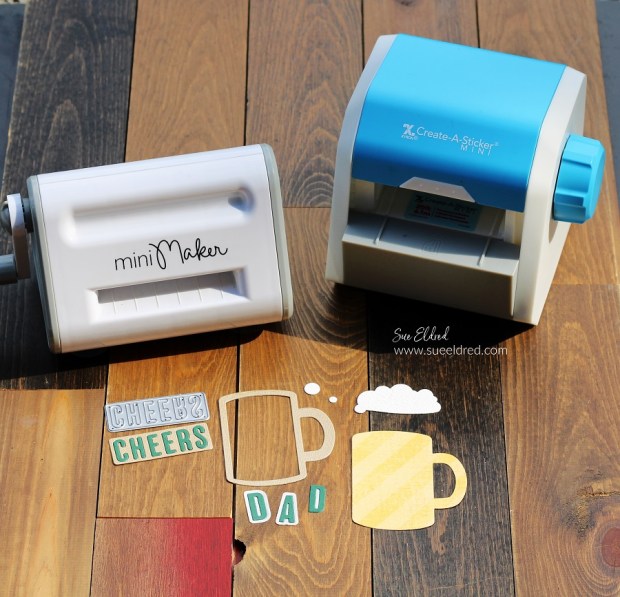
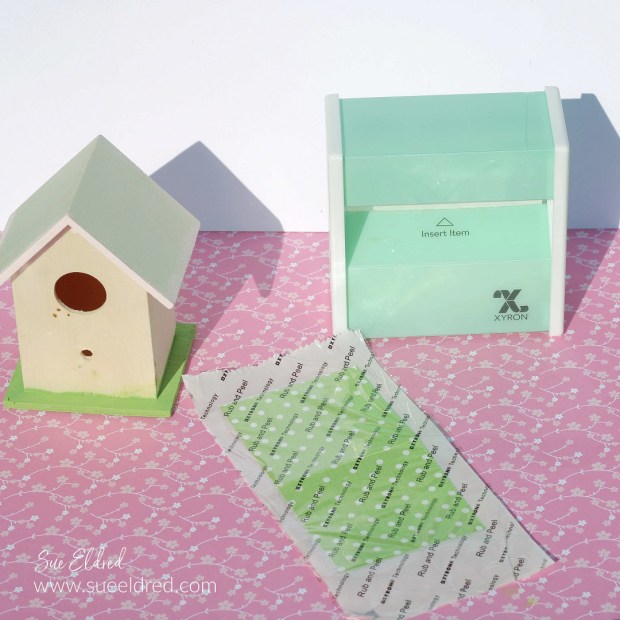
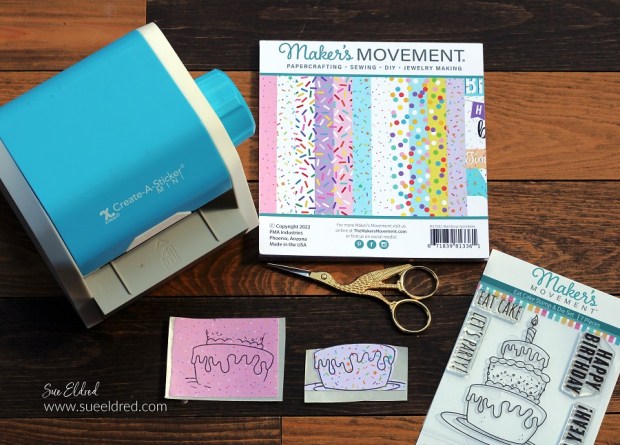
- Xyron Create a Sticker Mini*
- Xyron Tape Roller*
- Stork Scissors*
- Tombow ART Markers*
- 3D Foam Mounting Squares*

*Disclosure: This blog uses ads and affiliate links. If you choose to make a purchase using one of the links, I receive a small commission (at no additional cost to you) that helps offset the costs of maintaining this blog. Thanks for your support!

Directions:
- Stamp the cake image on white cardstock with black versafine ink. (no smudging)
- Line up the metal cake die over the stamped image.
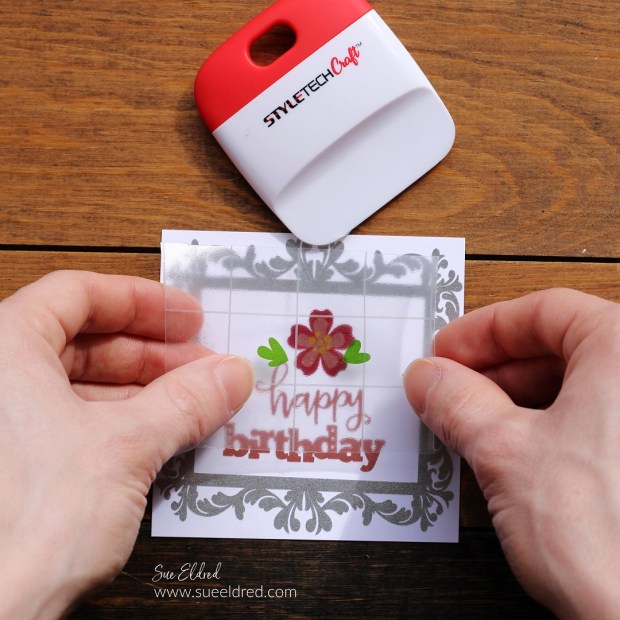
- Lay a piece of washi tape over the die to keep it in place.
- Die-cut the image using the Crossover II Die-Cutting System*.
- Stamp portions of the cake on patterned paper from the Rainbow Sprinkles Paper Pad.
- For extra dimension, place the stamped paper onto white cardstock.
- Cut the “icing layer” using a fine-detailed scissor and adhere the layer on top of the cut-out cake layer.
- My secret ingredient for this “fussy cut” 3-tiered cake is my Xyron Create a Sticker Mini*. It makes applying the layers extremely easy. Just place the paper into the machine and crank the handle, as it runs through the sticker-maker it adds a layer of adhesive onto the back of the paper.


- Cut a frame using the Crafty Chica Nested Frame Die Set and white cardstock.
- Use paper from the Simply Spring Slimline Paper Pad to create a layer for the inside of the frame.
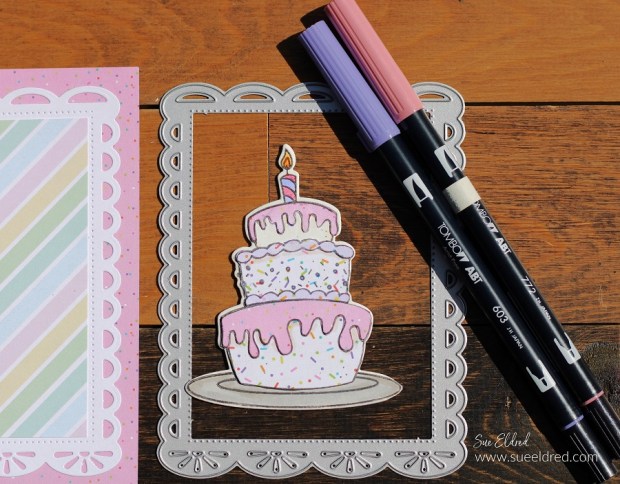
- Here’s a closeup of the cake all layered up. Each layer is slightly thicker than the first.
- Color the top of the candle using Tombow ART Markers*.
- Add 3D Foam Mounting Squares* to the back of the cake and place it onto the bottom of the frame.

- Cut a small “Happy Birthday” banner from the Rainbow Sprinkles Paper Pad and add to the top of the card.
- A fun birthday card for any age.