Is it me, or is there even more Gingerbread House projects this year?
I’ve been seeing so many cute ones.
So…I decided why not jump on the Gingerbread House
Trend with one of my last crafty Holiday projects this season.
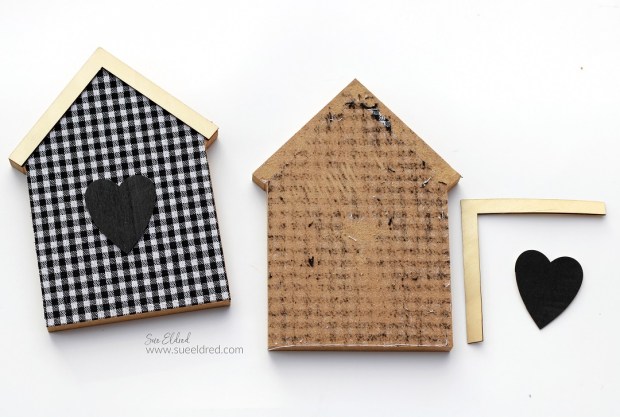
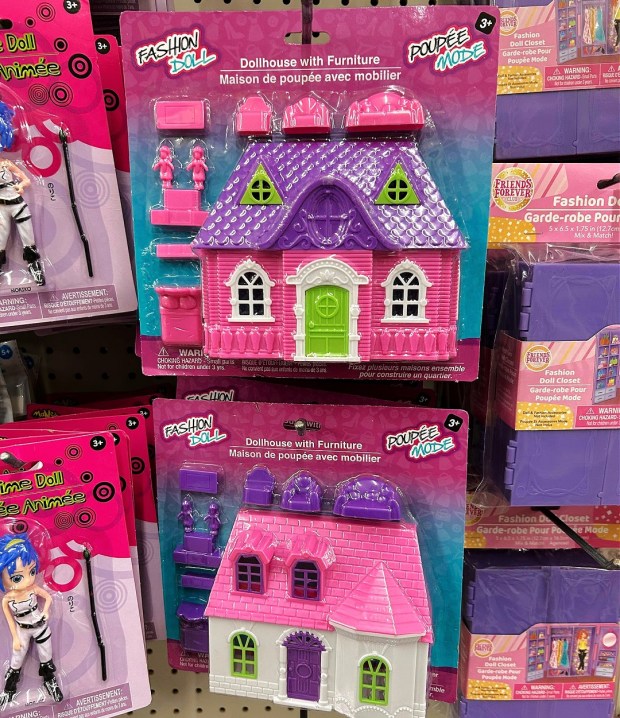
I found this wood house shape at Dollar Tree* earlier this year.
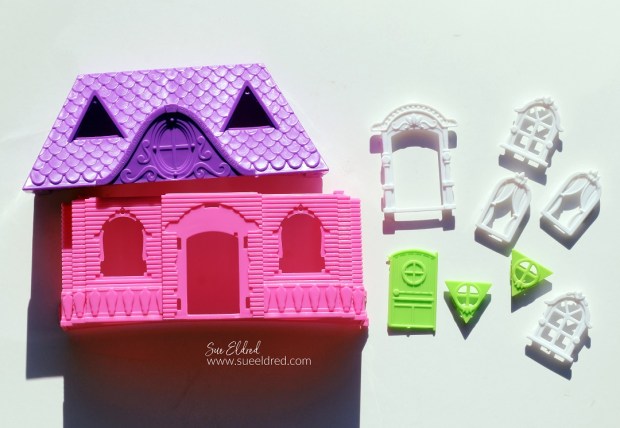
Next, I needed to deconstruct the house.
With patience, I removed the wood heart and house trim
using a craft knife*. After removing the gingham fabric from the
wood house, I sanded the house smooth with a palm sander*.

*Disclosure: This blog uses ads and affiliate links. If you choose to make a purchase using one of the links, I receive a small commission (at no additional cost to you) that helps offset the costs of maintaining this blog. Thanks for your support!

In my workshop, I have a jar of wooden holiday pieces.
I thought these would be perfect for my Gingerbread House.
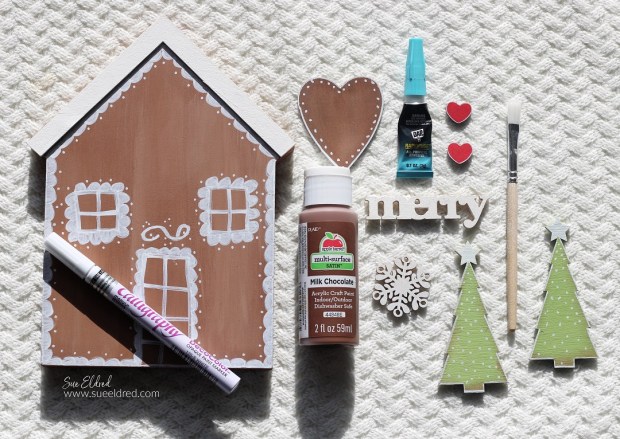
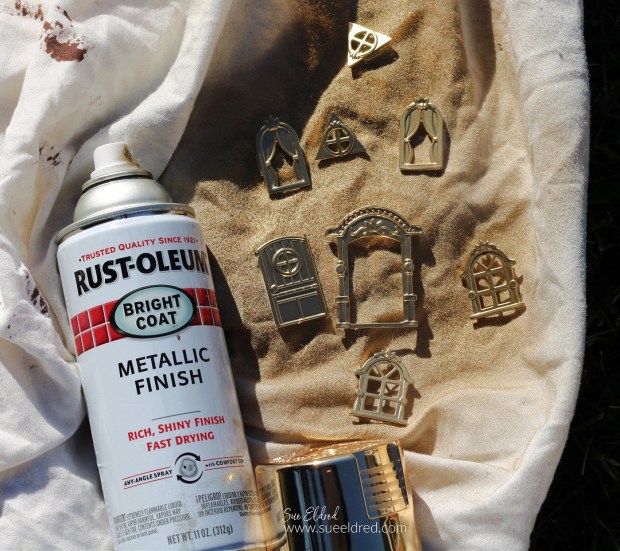
I painted the house and all the pieces using acrylic paint.
I outlined and doodled on the house and wood pieces using a white paint pen*.
It was fun and relaxing, but my doodling skills could definitely use a little work.
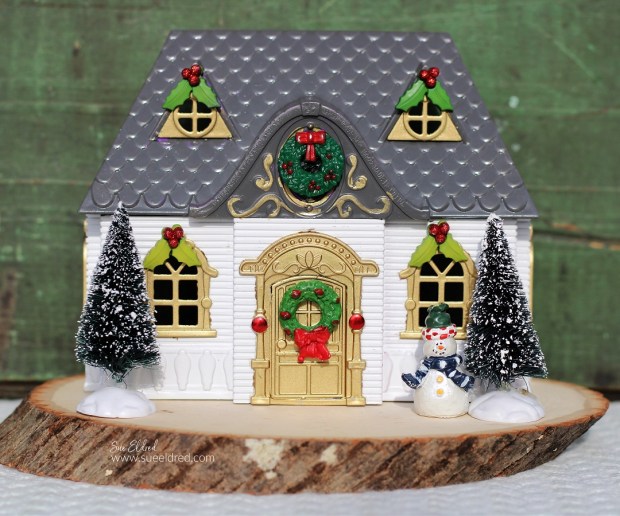
The Gingerbread House makes a cute addition to my Holiday Decorations.

With just one week until Christmas Eve…
I always wish I could have made more projects.
But, I have to remind myself there’s always next year.
Here’s to taking time and enjoying the rest of the Holiday Season.