Make this cute DIY Easter Carrot Decor craft project
and add a little whimsy to your spring home decor!
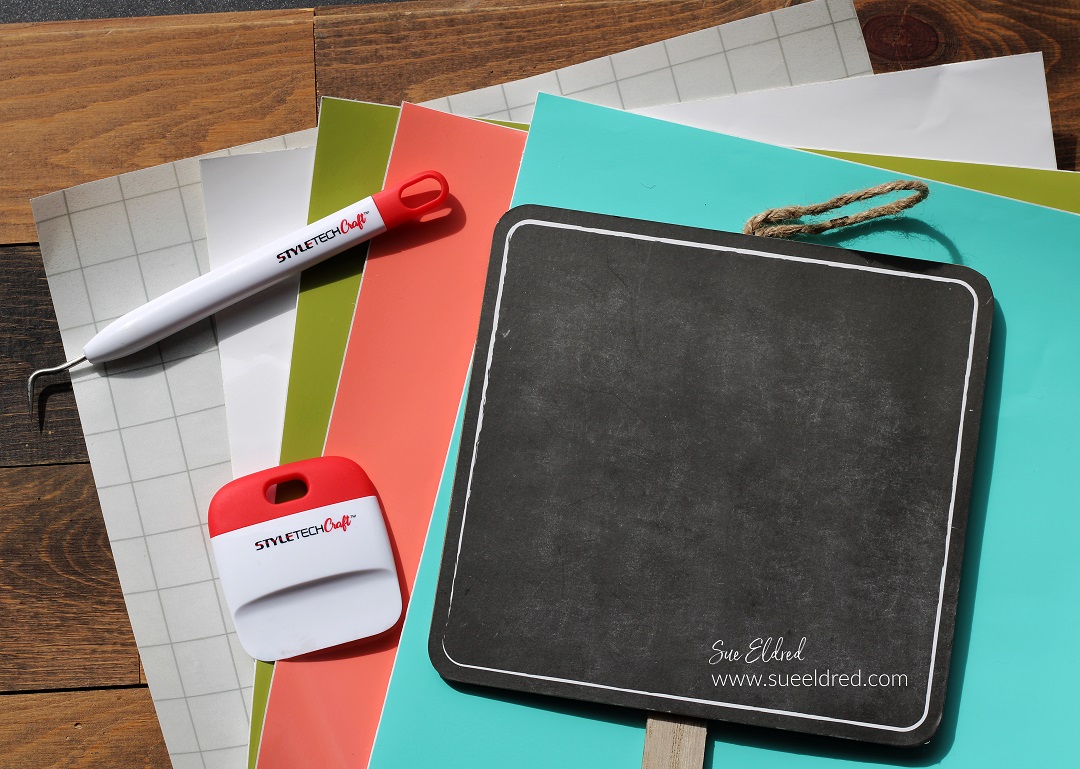
This project uses Dollar Tree craft supplies and StyleTechCraft vinyl
to make the cutest little U-Pick carrot patch.

Materials Used: *Affiliate Links
- StyleTechCraft Glossy Craft Vinyl*
- StyleTechCraft Transfer Tape*
- StyleTechCraft Scraper Tool* and Weeding Pen*
- Silhouette Cameo Electronic Die-Cutting Machine*
- Easter Carrot Patch Sign SVG (from the Silhouette Store)
- Mini Crate from Dollar Tree*
- Easter Carrott Jute Garland*
- Craft Floral Foam*
- Hot Glue Gun*
- Plaid Acrylic Paint: Melted Chocolate and Black*
- Mod Podge Gloss*
- Vintage Photo Distress Ink*
- Ink Blending Tool*
- Double-Sided Foam Tape*
![]()
Extreme Values Everyday at Dollar Tree – Shop Now!
*Disclosure: This blog uses ads and affiliate links. If you choose to make a purchase using one of the links, I receive a small commission (at no additional cost to you) that helps offset the costs of maintaining this blog. Thanks for your support!
Directions:
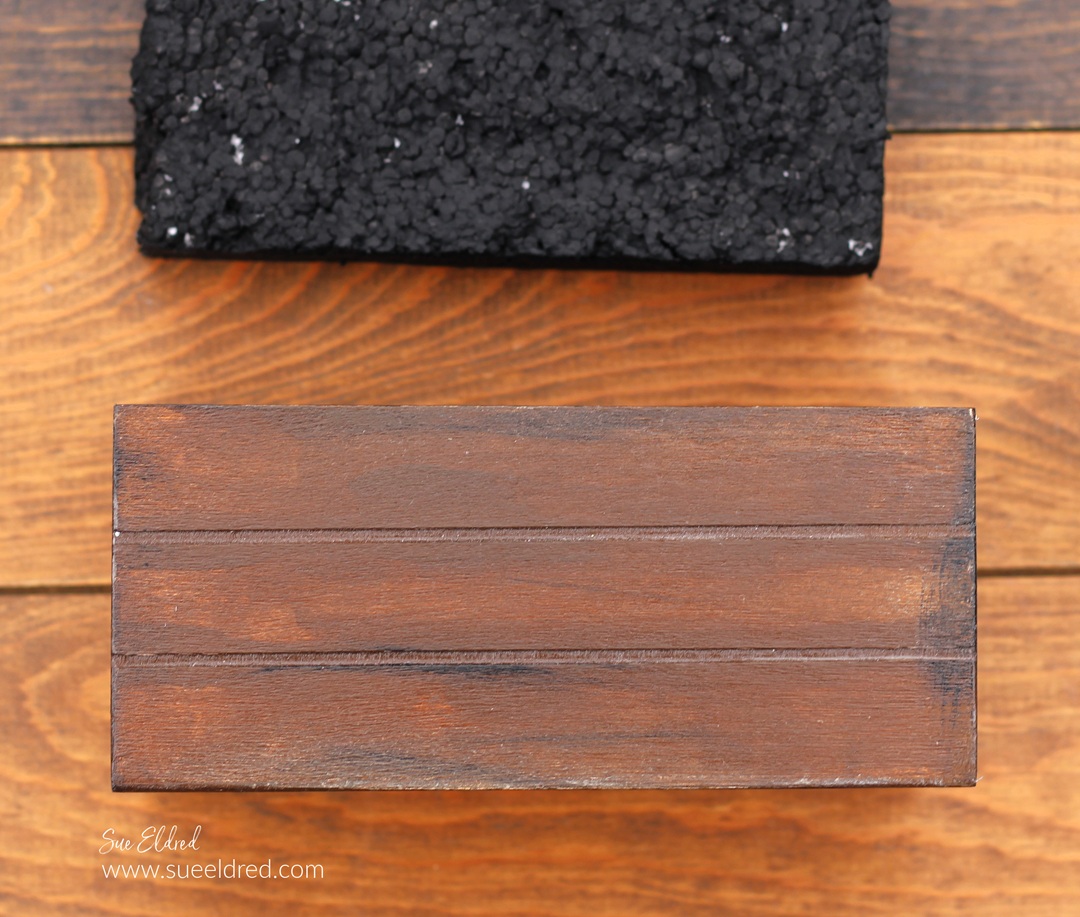
- Paint the Mini Crate* with brown acrylic paint.
- To give the crate an aged look, dry brush the edges with black acrylic paint. Wipe off any extra paint with a damp rag.
- Seal the crate using Mod Podge Gloss*. (This makes the crate look like it has been varnished.)
- Cut a piece of foam to fit inside of the crate.
- Paint the foam with black acrylic paint.
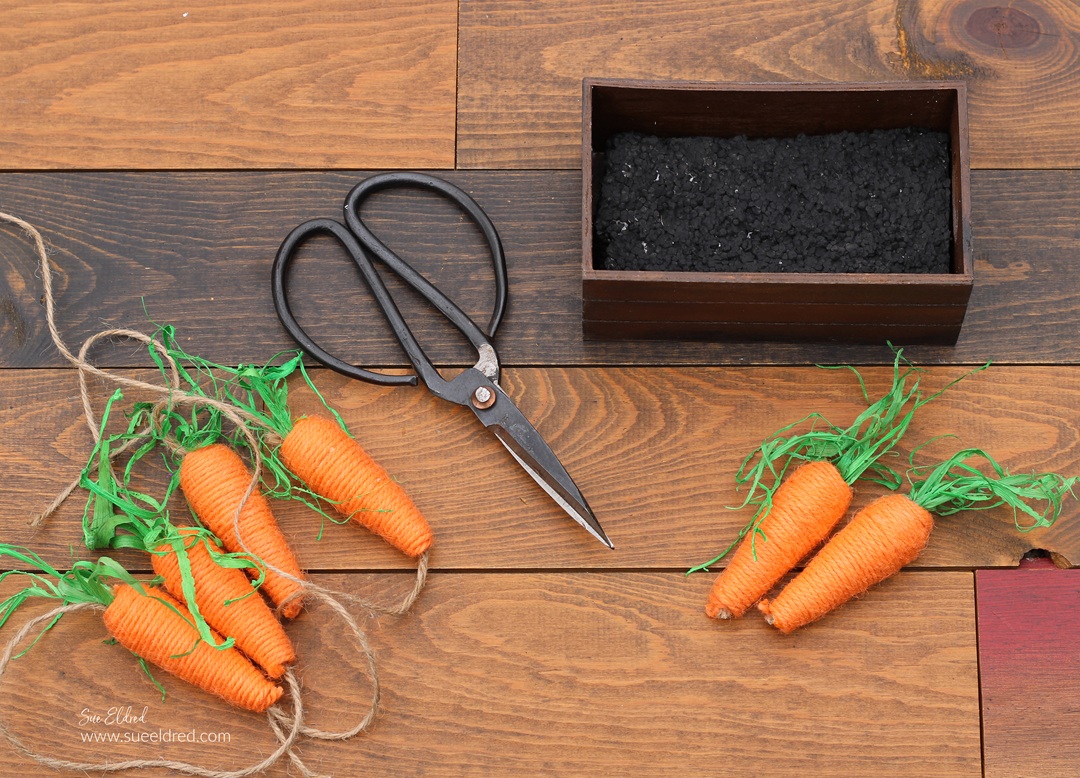
- Cut the carrots from the garland.
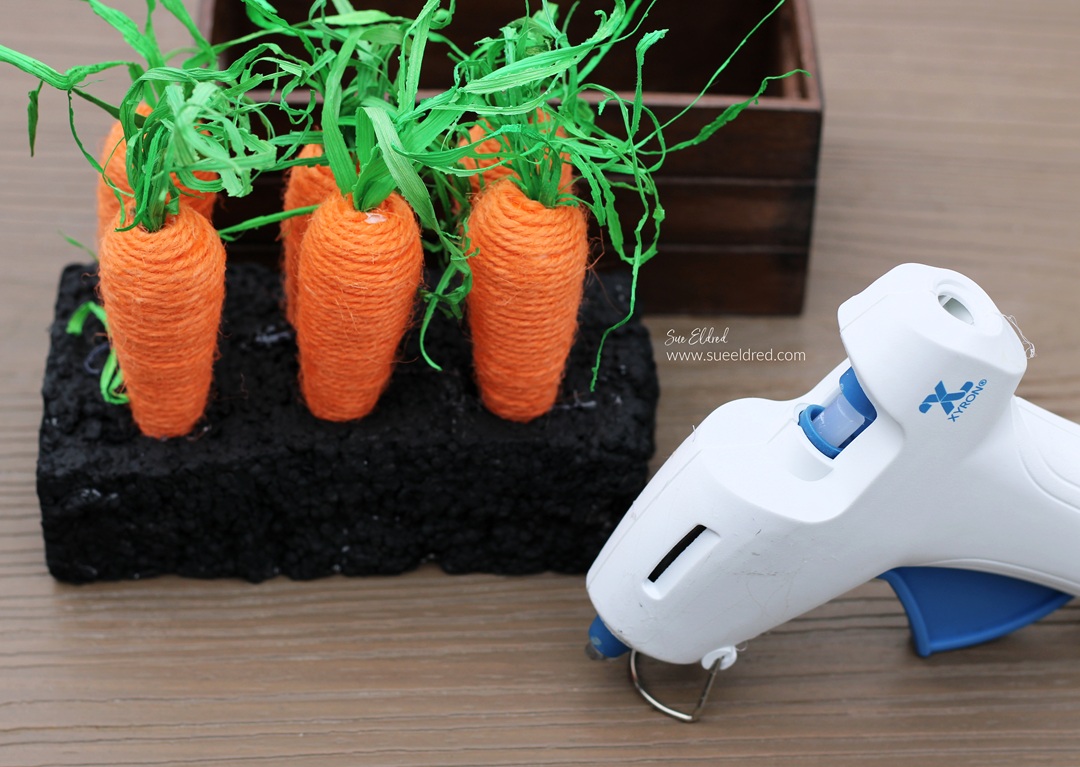
- Poke holes into the foam that are large enough for the tips of the carrots to fit down into.
- Hot glue the tips of the carrots in the holes.
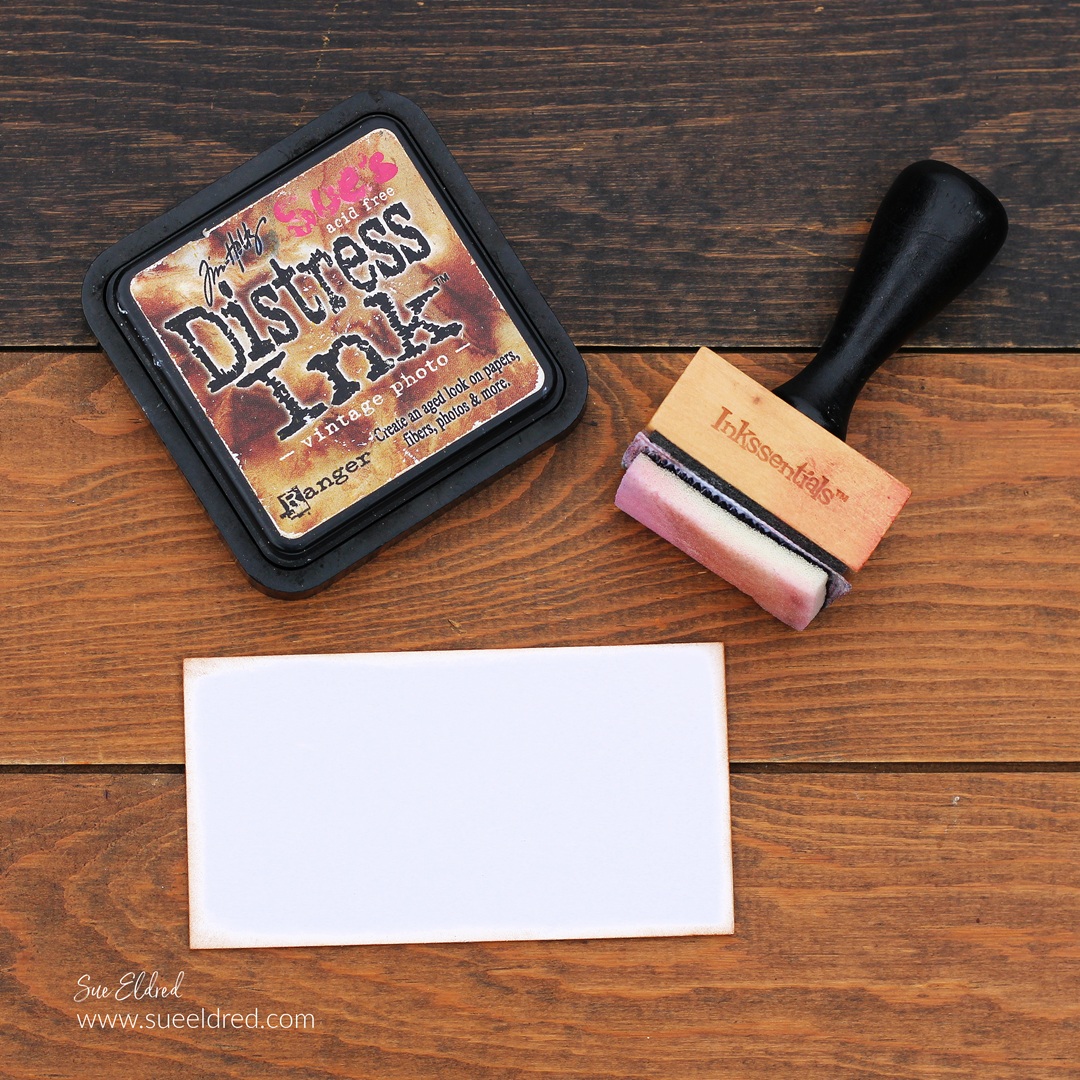
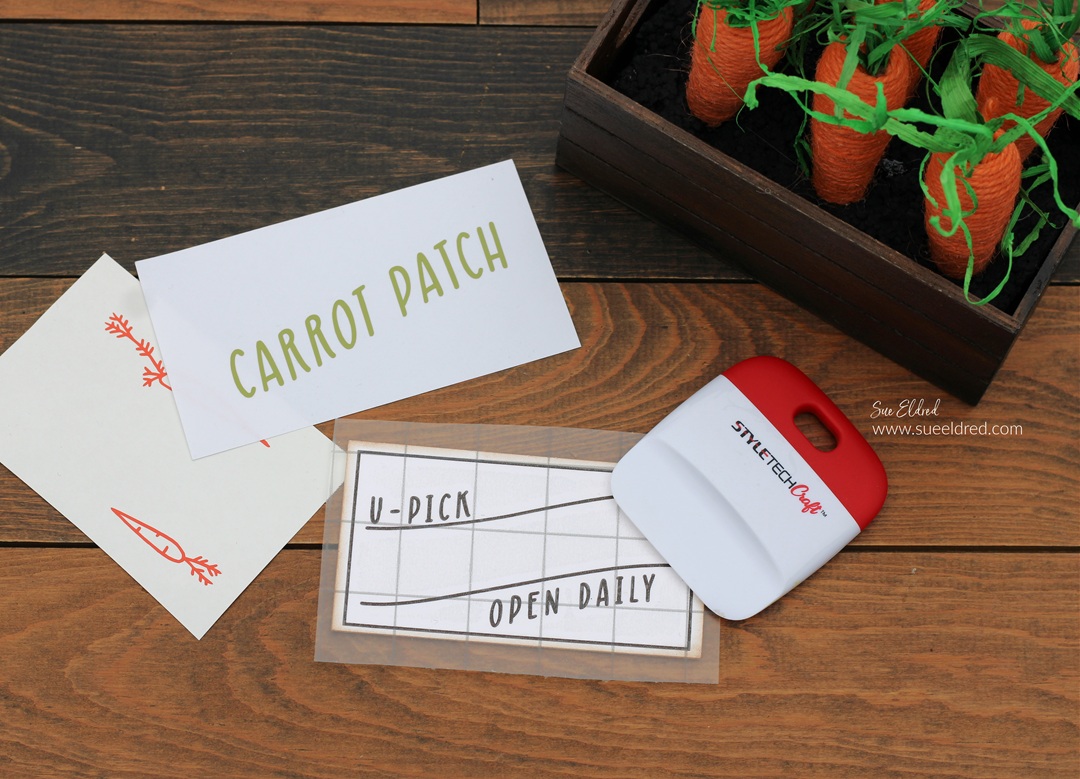
- Cut a small piece of white matboard that will fit onto the side of the crate.
- For a distressed look, gently rub Vintage Photo Distress Ink* onto the edges of the matboard with an Ink Blending Tool*.
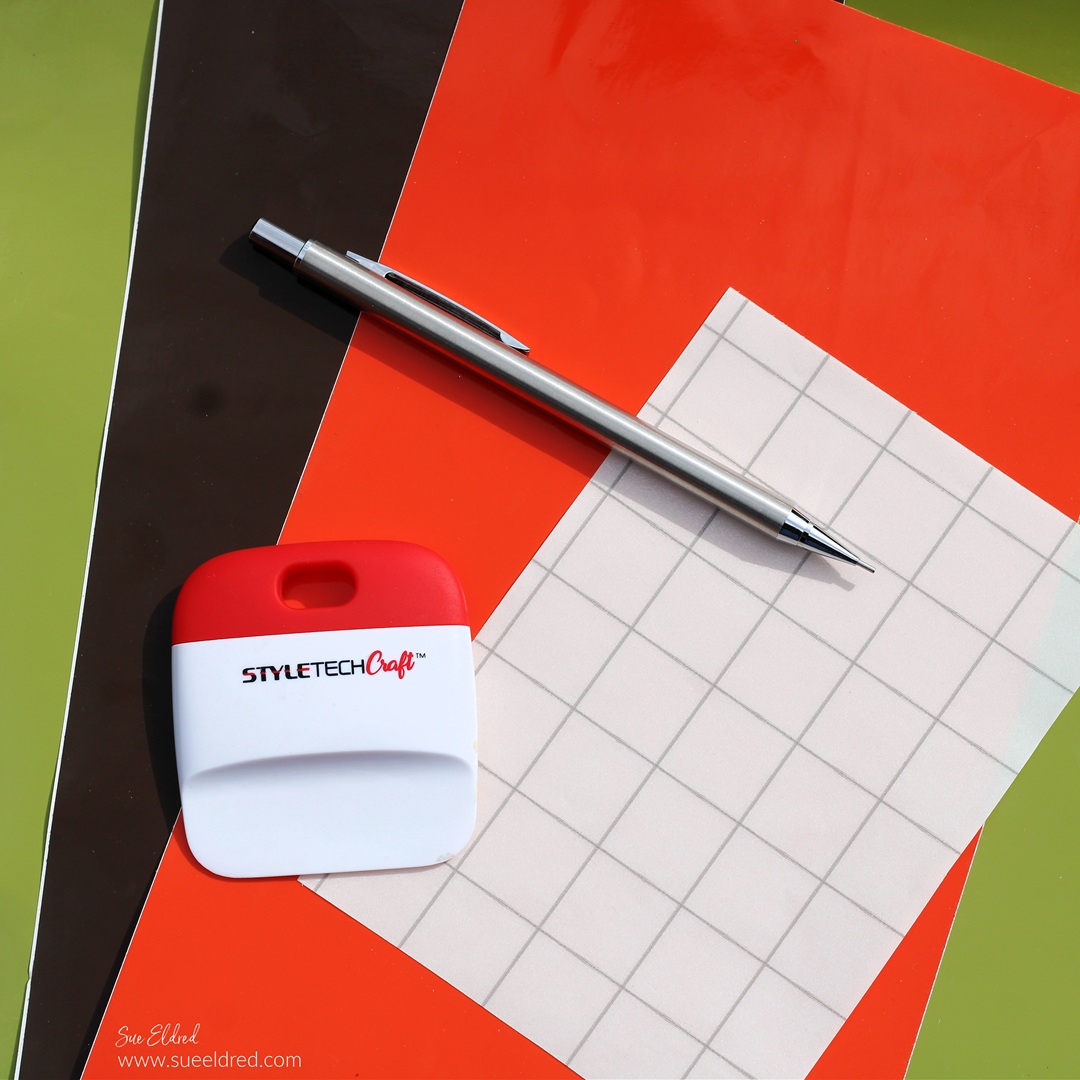
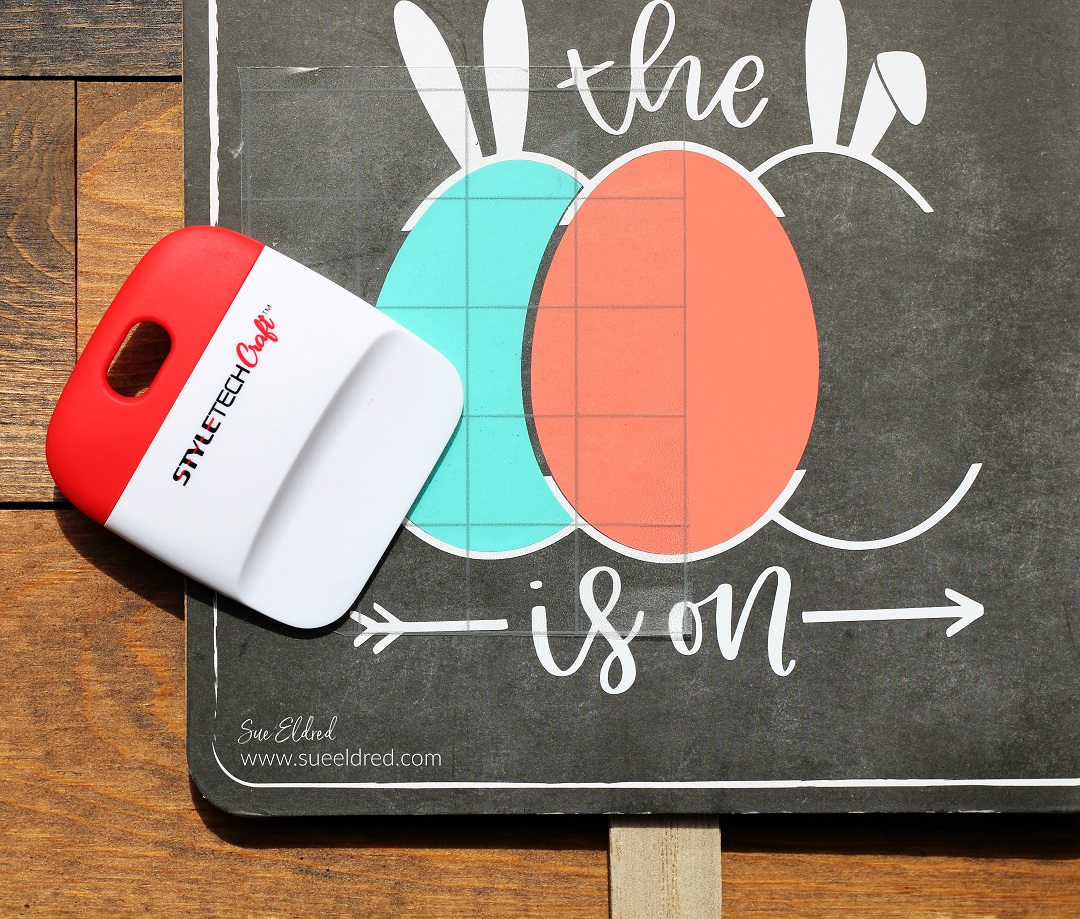
- For the lettering on the sign, I used StyleTechCraft Orange, Brown, and Olive Glossy Craft Vinyl*.

StyletechCraft products brought to you by ATSM Craft*
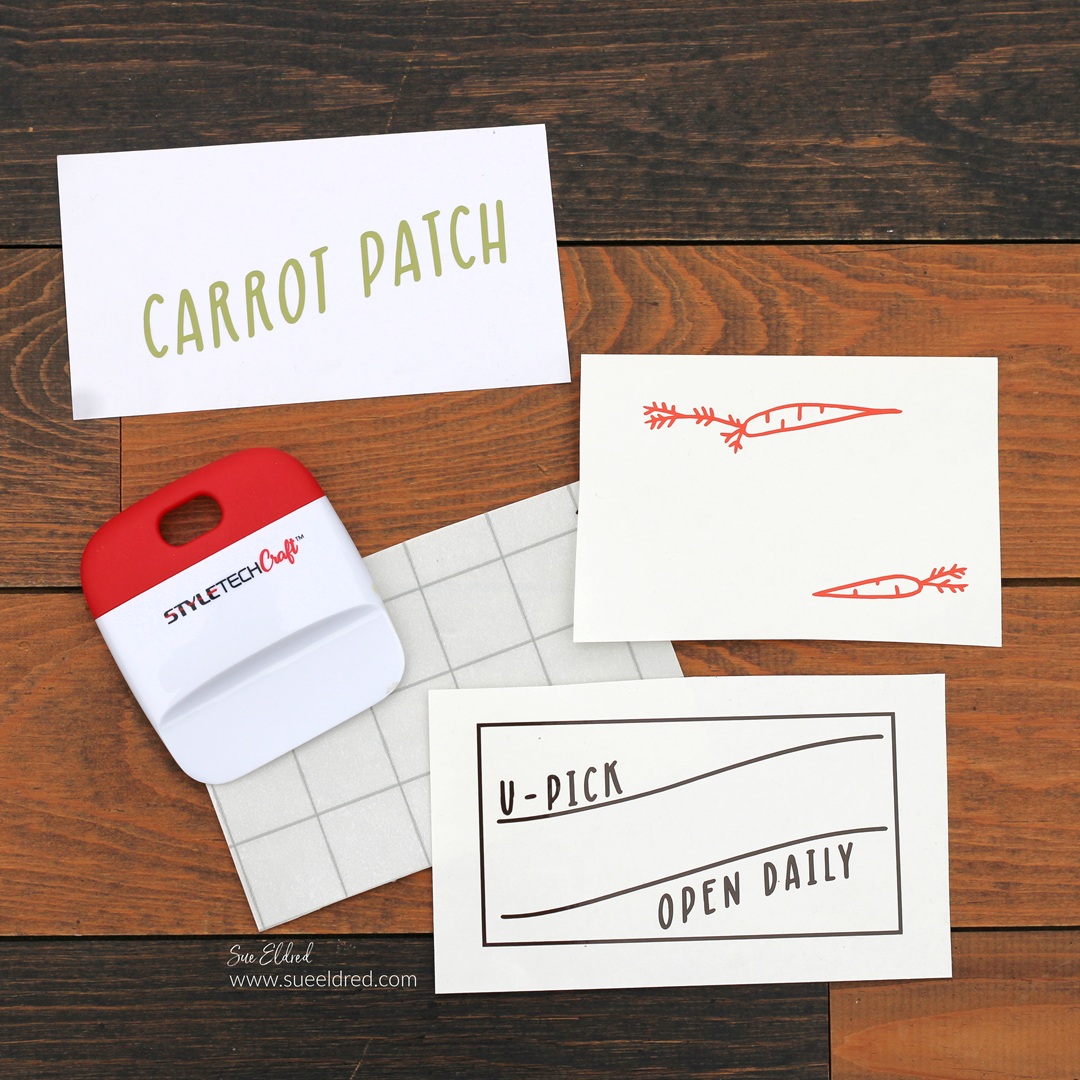
- I used a Silhouette Cameo Electronic Die-Cutting Machine* to size and create my design.
- Cut the design using StyleTechCraft Glossy Craft Vinyl*.
- Remove the excess vinyl in and around the lettering using a StyleTechCraft Weeding Tool*.
- Use the StyleTechCraft Transfer Tape* to transfer the design to the matboard.
- Gently rub over the transfer tape with a Vinyl Scraper Tool* and carefully remove transfer tape from the design.

- Continue adding the additional pieces of the sign. (Did you know that the transfer tape is reusable?)
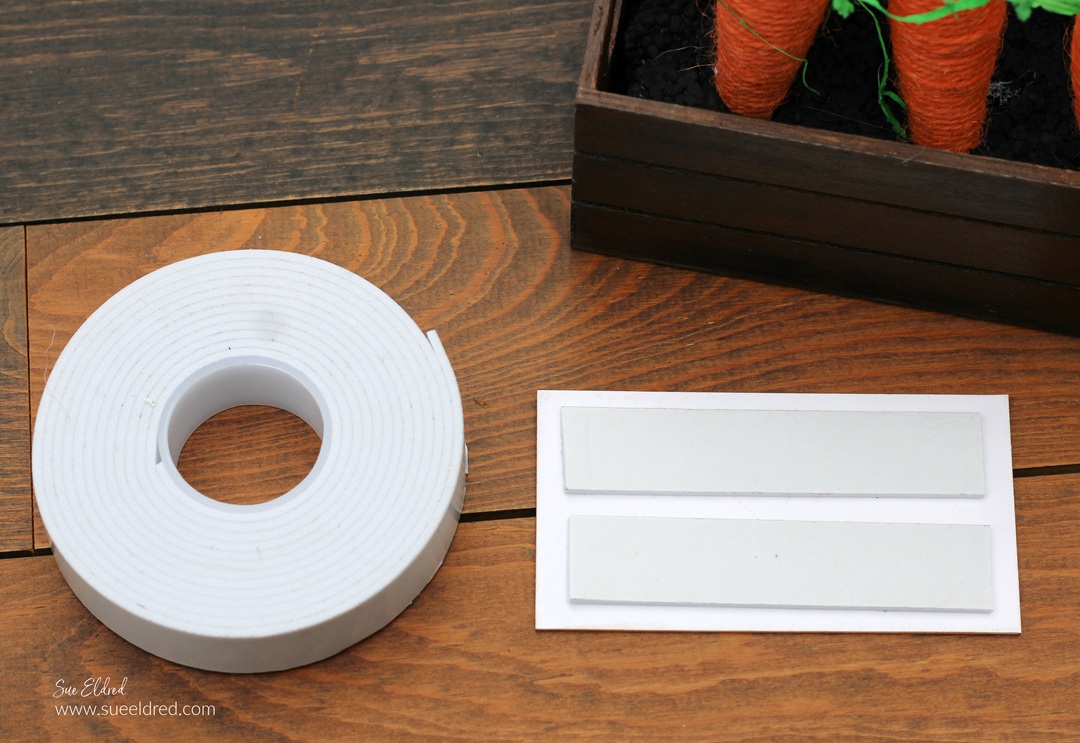
- Add a couple strips of double-sided foam tape* to the back of the matboard.
- Adhere here it to the front of the mini crate.

This little U-Pick Carrot Patch is perfect for displaying on a mantel,
on styled shelves, or in a tiered tray. There are so many ways to style it!
![]()
“This is a sponsored post. As a member of the StyleTechCraft Design Team I have been provided product and compensation in exchange for my creative ideas. The views and opinions are my own.