How to Create Halloween Shaker Jar Tags.
A fun Halloween treat for kids of all ages.

I just received these cute Mason Jar Shaker Dies from The Maker’s Movement,
and of course, I had to hurry up and make a few Halloween Jar Shaker Tags.
These are also going to make super cute Christmas Shaker tags. (I can’t wait!)

Disclosure: This is a sponsored post for The Maker’s Movement*. I have been provided product and compensation in exchange for my creative ideas. The view and opinions are my own.

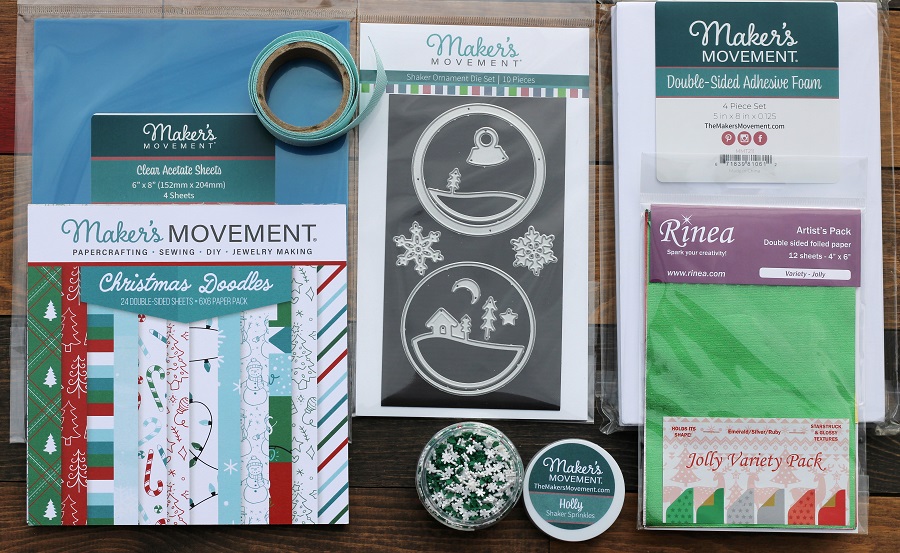
Materials Used: (*affiliate links)
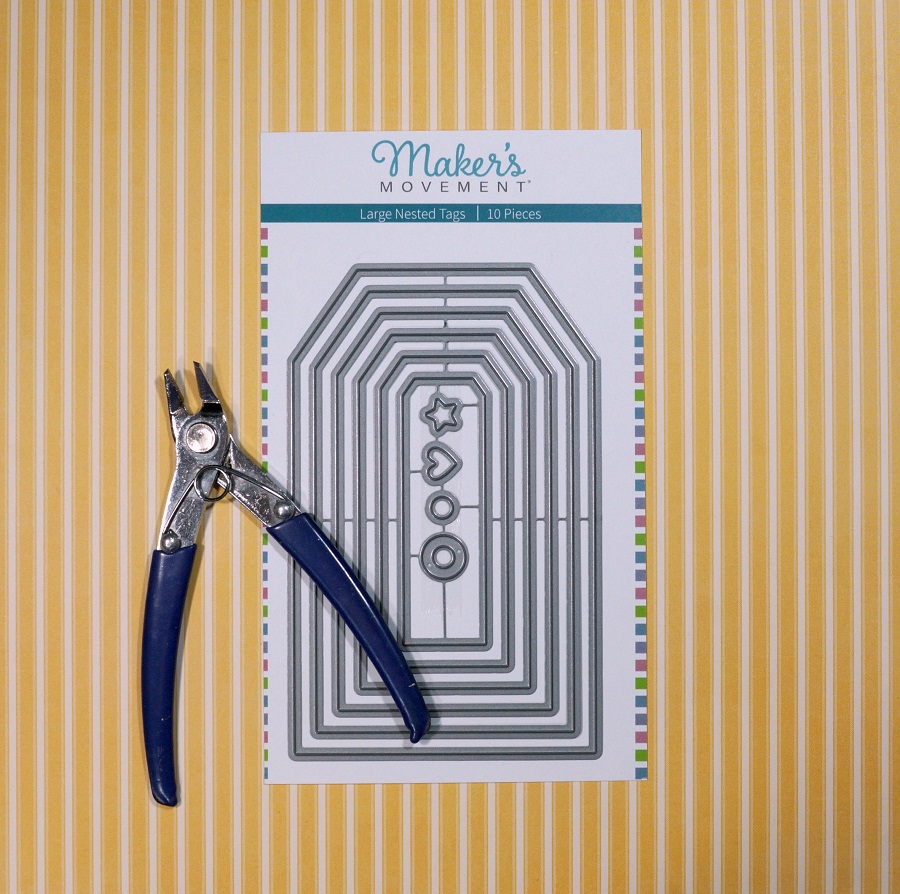
- M13583 Nested Shaker Jars Die Set
- Tricks or Treat Paper Pad
- Halloween Shaker Sprinkles
- Mini Maker Die Cutting Machine*
- Clear Acetate
- Double Sided Adhesive Craft Foam
- Xyron Create a Sticker Mini*
- Orange & White Twine*
- Gold Cardstock*
- Halloween Ribbon*
*Disclosure: This blog uses ads and affiliate links. If you choose to make a purchase using one of the links, I receive a small commission (at no additional cost to you) that helps offset the costs of maintaining this blog. Thanks for your support!

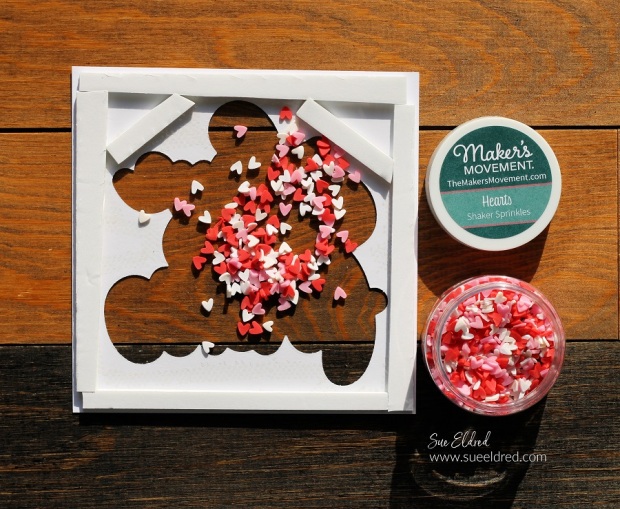
- You will need Halloween paper from the Tricks or Treats paper pad, acetate, and craft foam.

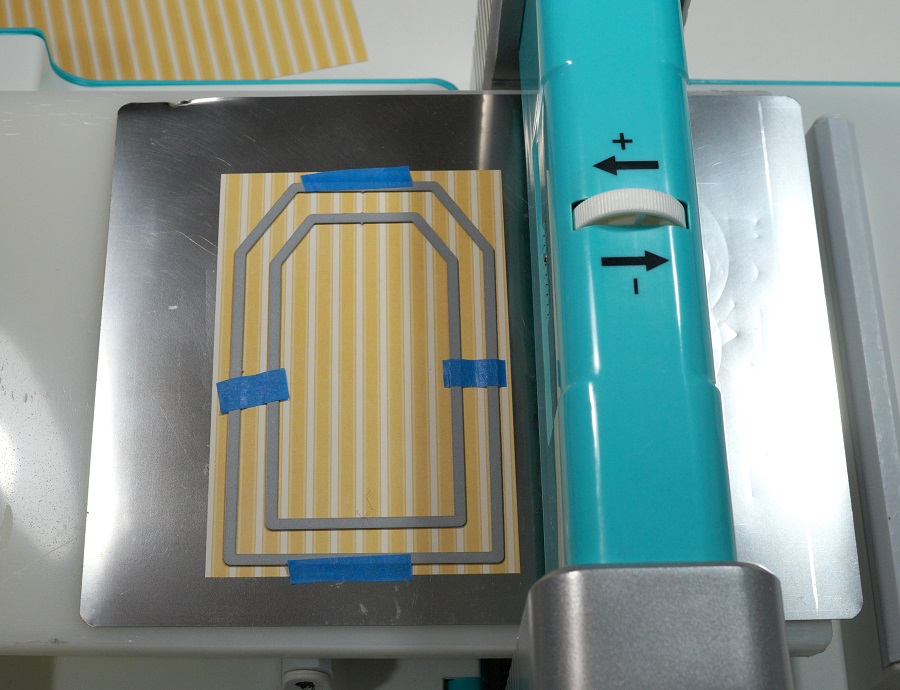
- Die Cut the pieces using the Mini Maker Die Cut Machine as shown.

A Tip for Easy Assembly…
- Place the striped paper, used for the top of the mason jar shaker tag, into the Xyron Create a Sticker Mini*. Crank the handle to run the paper through the machine. As it goes through the Xyron Create a Sticker Mini* it adds a layer of adhesive onto the back of the paper. Die-cut the paper using the Mason Jar Frame Die. Now the die-cut frame is a sticker, which makes placing it onto the acetate easy.


- Remove the blue protective liner from the acetate. Place the mason jar frame onto the acetate.
- Remove one side of the protective liner from the craft foam frame. Place the foam frame onto the mason jar silhouette.
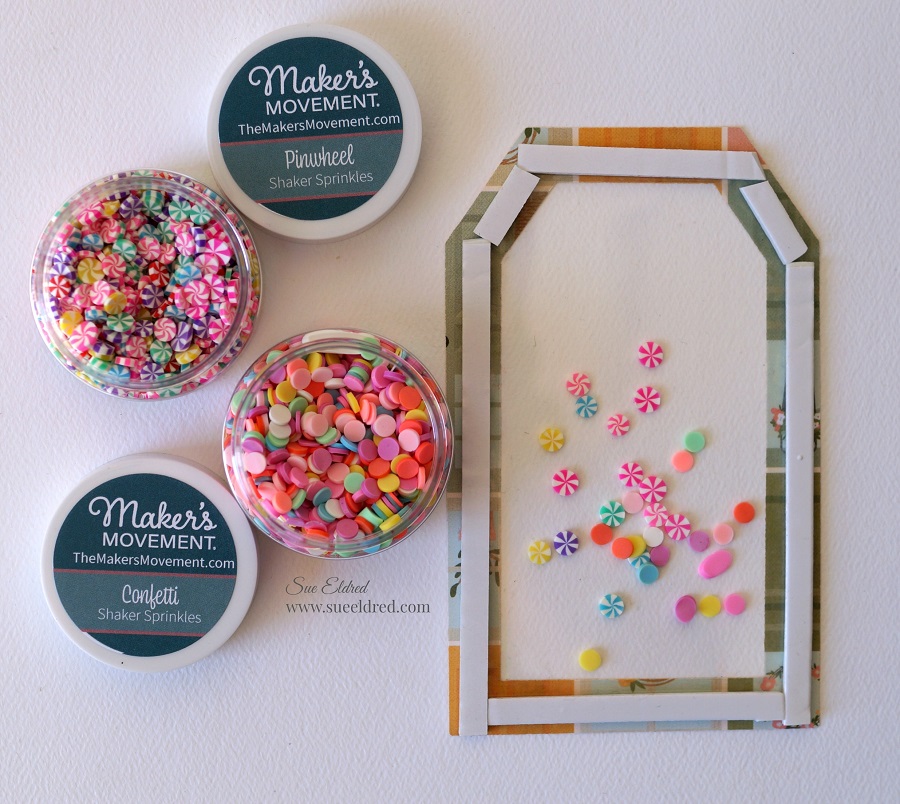
- Add Halloween Shaker Sprinkles in the center of the foam. Don’t overfill. You want to make sure to leave for shaking.
- Remove the liner from the craft foam and line up the mason jar frame (with acetate) over the
- Die Cut two jar tops and adhere them to the top of the shaker jar.
- Wrap with twine. Glue the Halloween ribbon around the base of the shaker jar.
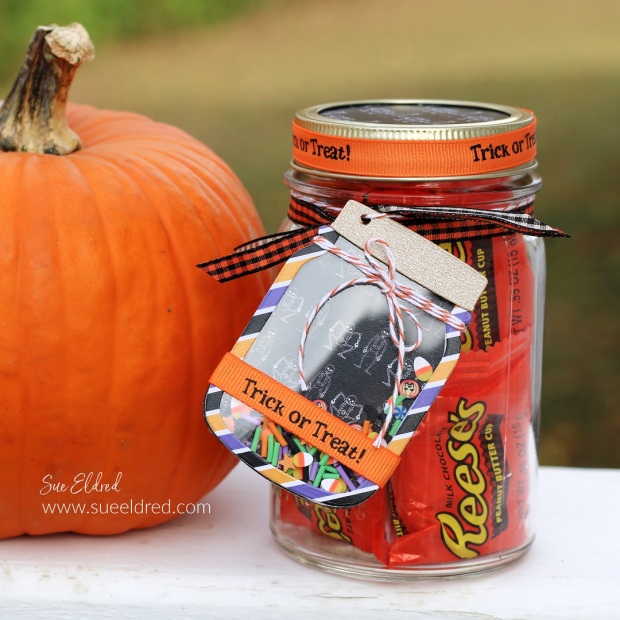
Tie the Halloween Shaker Tag onto a mason jar filled with Halloween Treats.
A Fun Halloween Treat.