Comfort & Joy for the Christmas Season.
In the midst of the 2020 pandemic, when Holiday gatherings felt distant
and spirits needed lifting, the Eileen Hull team came together to
spark creativity and connection.
By sharing festive projects with the Eileen Hull Fan Club and our readers,
we hoped to deliver a dose of comfort and joy to brighten an
otherwise challenging season.

We called it Comfort & Joy.
The idea was a hit, so we decided to continue the tradition.
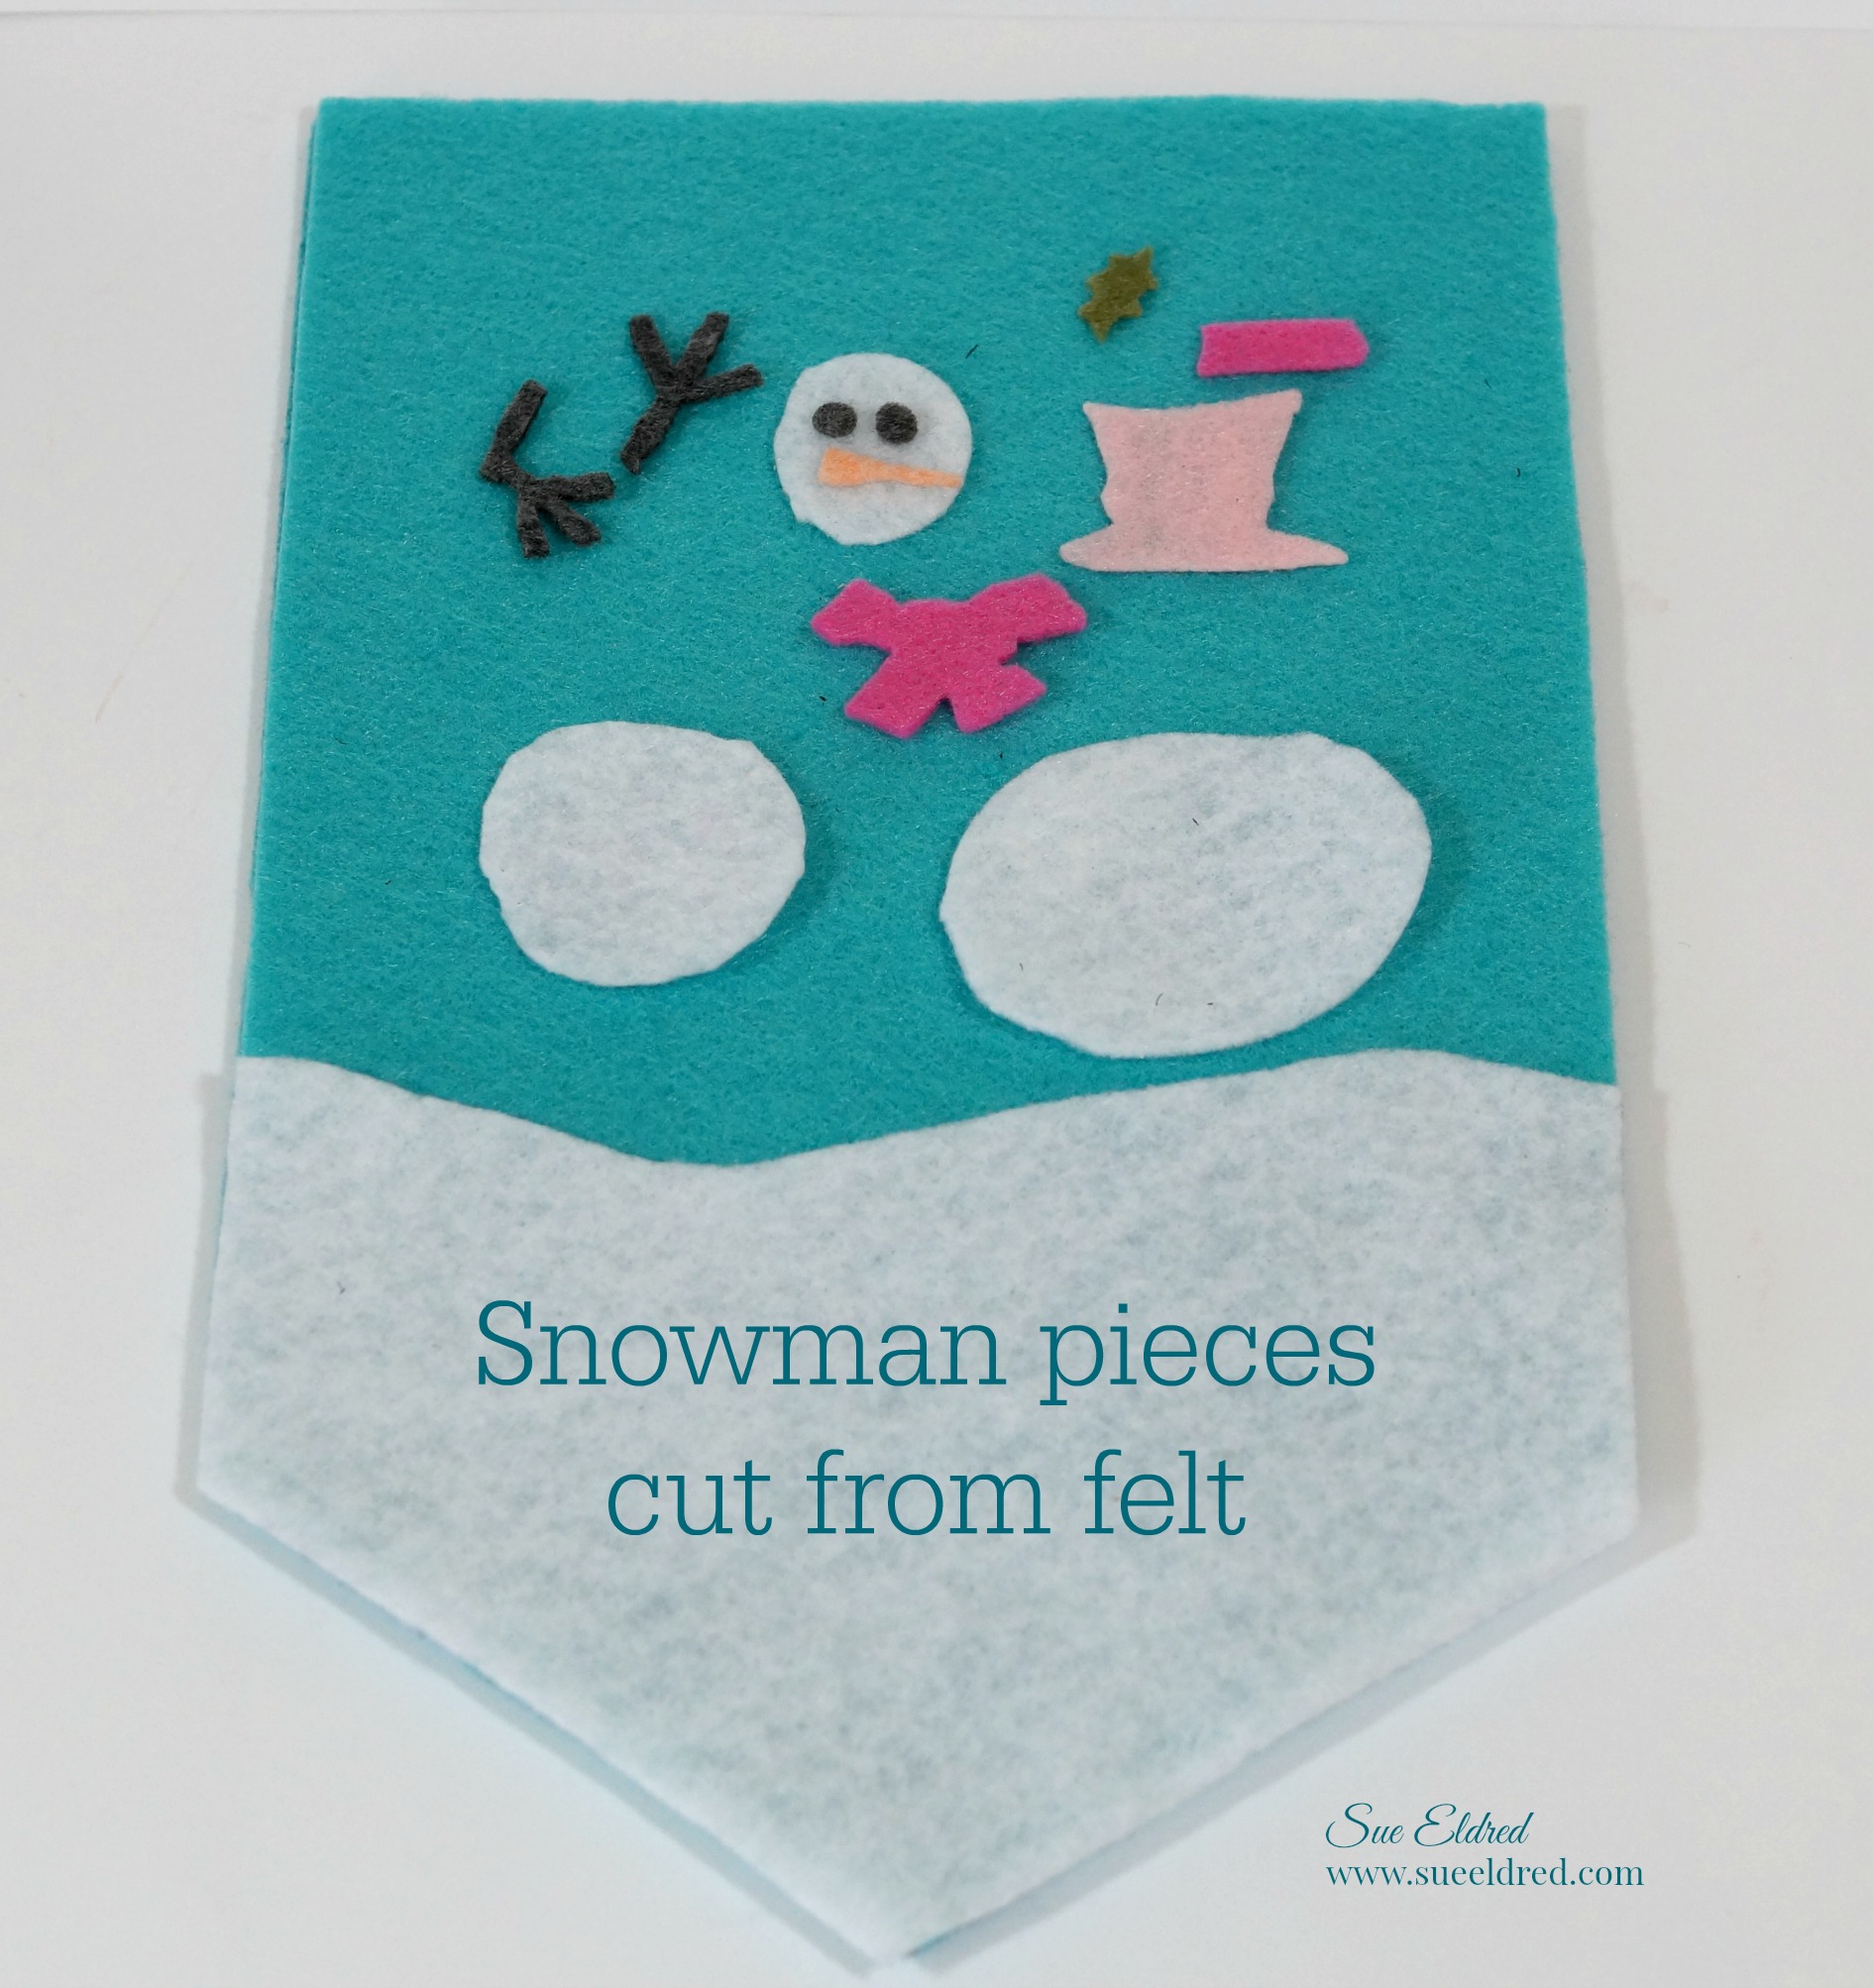
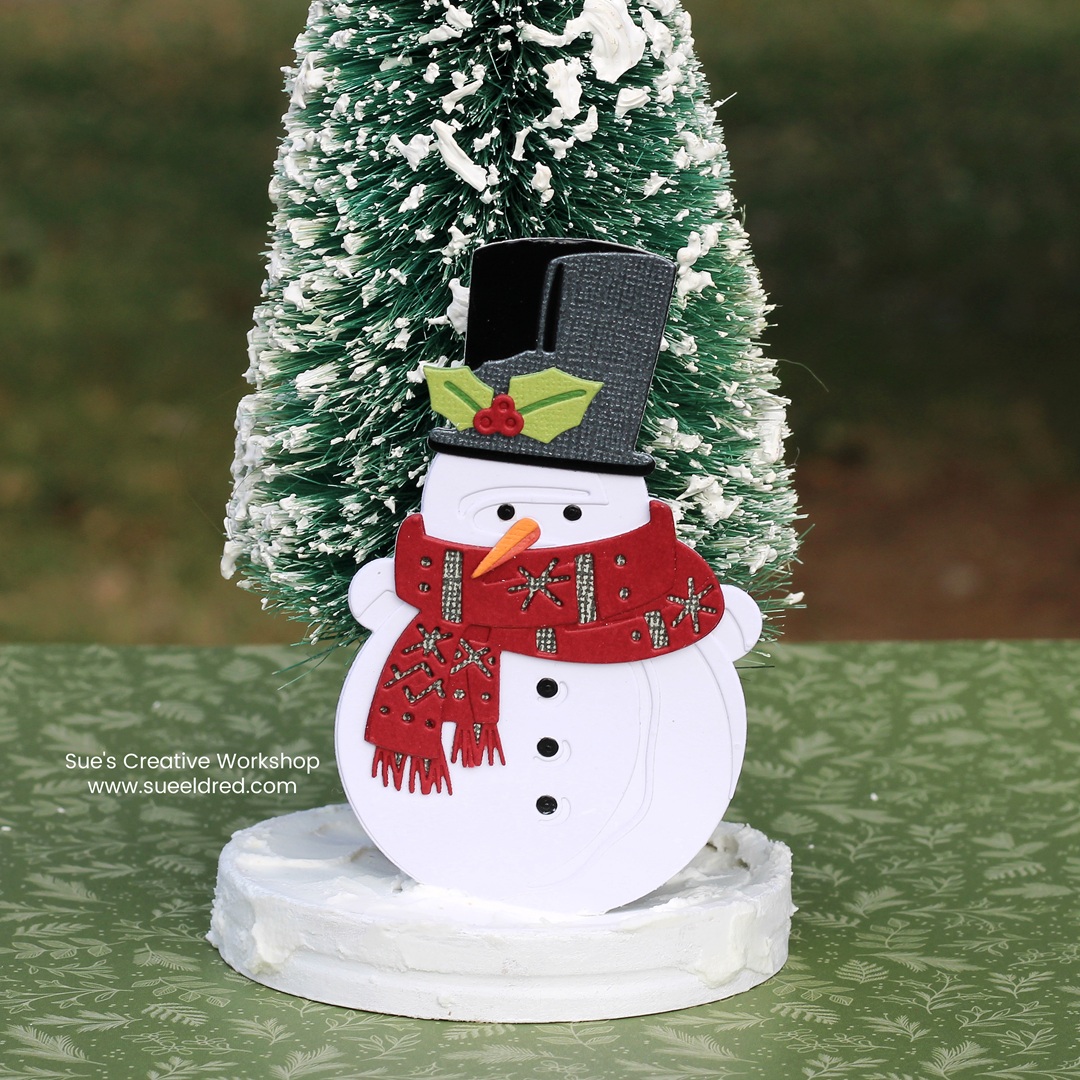
Winston the Snowman is my “Comfort & Joy” project for this year.
![]()
Disclosure: This is a sponsored post. As a member of the Eileen Hull Inspiration Team, I have been provided product in exchange for my creative ideas. The view and opinions are my own.
Winston is a snowman with plenty of dimension-
something I absolutely love bringing into my projects!
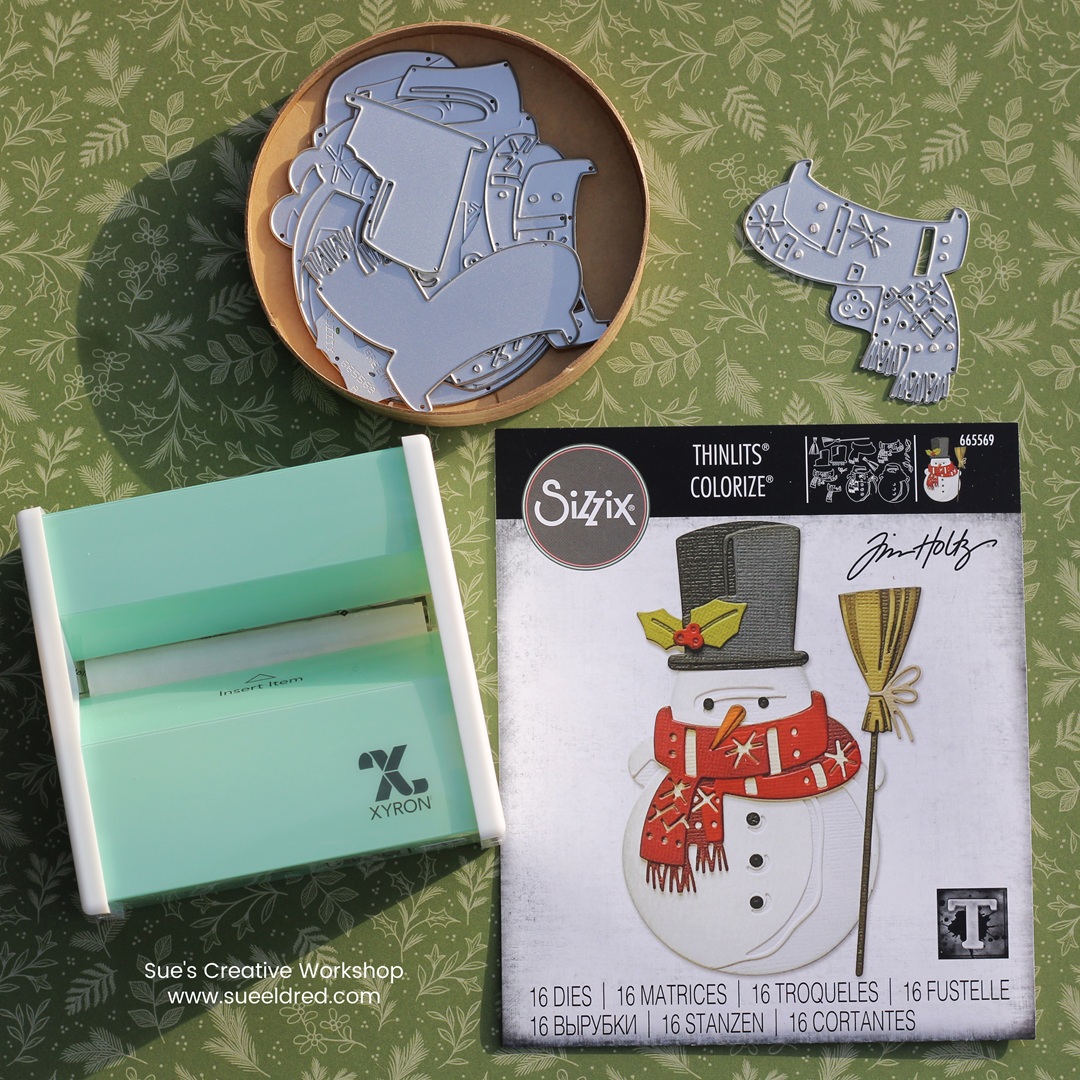
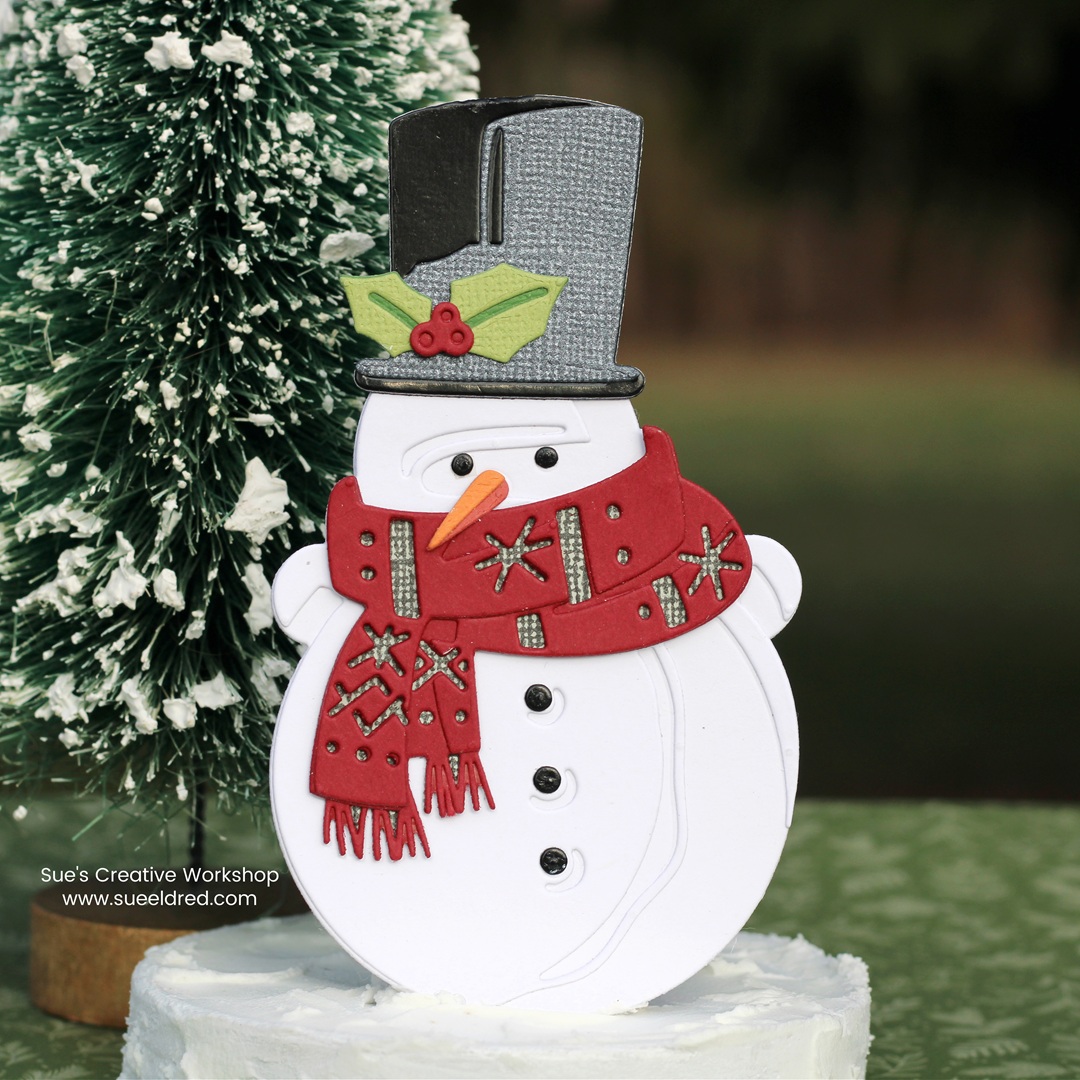
The Winston Die, designed by Tim Holtz for Sizzix*,
includes an impressive 16 different dies.
Don’t let that number intimidate you, despite all the tiny pieces,
the assembly is surprisingly simple.
Here’s a tip I swear by. When I’m die-cutting small pieces, I run my paper through the Xyron Disposable Sticker Maker* first. This way, the adhesive is already on the back, making it quick and easy to piece everything together.
The Winston Die* uses Colorize technology, which means you get a selection of intricate, paper-layering designs that add incredible detail and dimension. With drop shadows and highlights, you can create a snowman that looks dimensional and full of character. It’s great for cardmaking, scrapbooking, gift tags, and more.

*Disclosure: This blog uses ads and affiliate links. If you choose to make a purchase using one of the links, I receive a small commission (at no additional cost to you) that helps offset the costs of maintaining this blog. Thanks for your support!
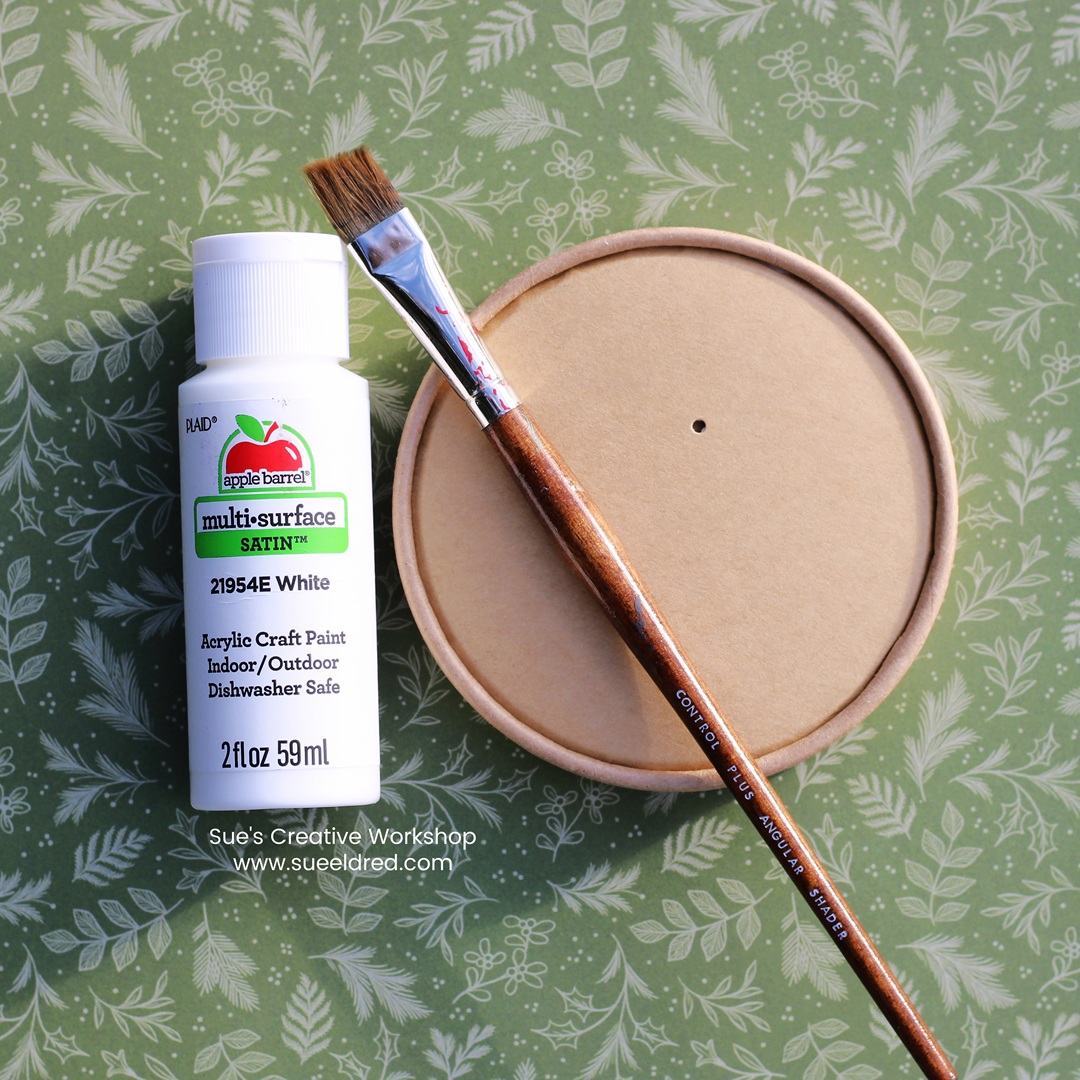
Last month, after our family wiener roast, my sister-in-law
had a bunch of lids left over from the disposable soup containers*.
She asked me if I had a use for them.
Besides being a wonderful tray to hold little dies in my workspace.
I knew it would make a great base for my snowman.
I painted the base with white acrylic paint*.
Once the paint was dry, I added dimensional snow* onto the base with a palette knife*.
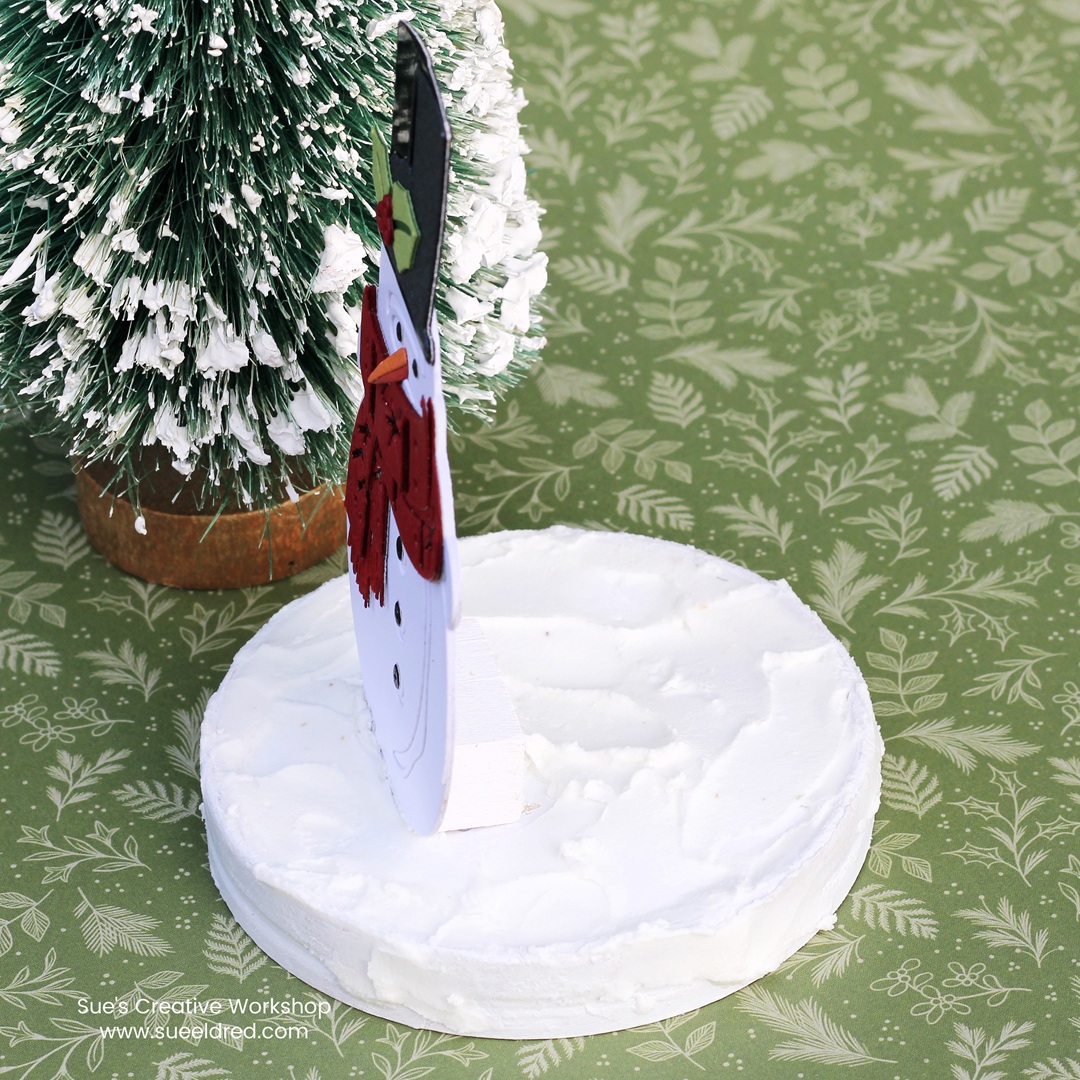
To make Winston sturdy on the base, I painted two small wooden cubes
crisp white and used them as hidden support.
Once the paint dried, I glued the cubes to the back of the snowman
and then attached them securely to the finished base.
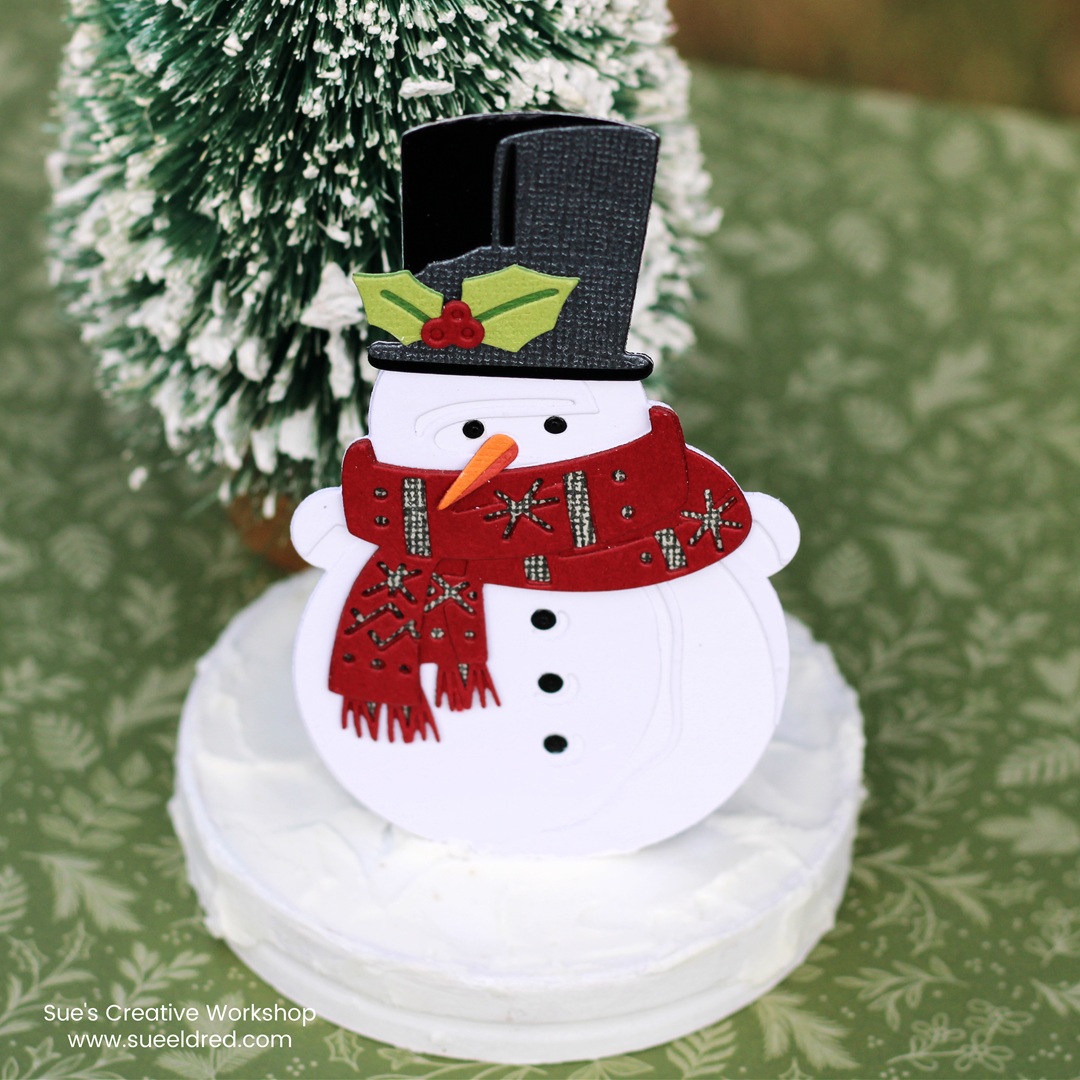
Doesn’t he make a cute little tabletop decoration?
May your holidays sparkle…
with creative projects and heartwarming memories.
Here’s to making something special this season!