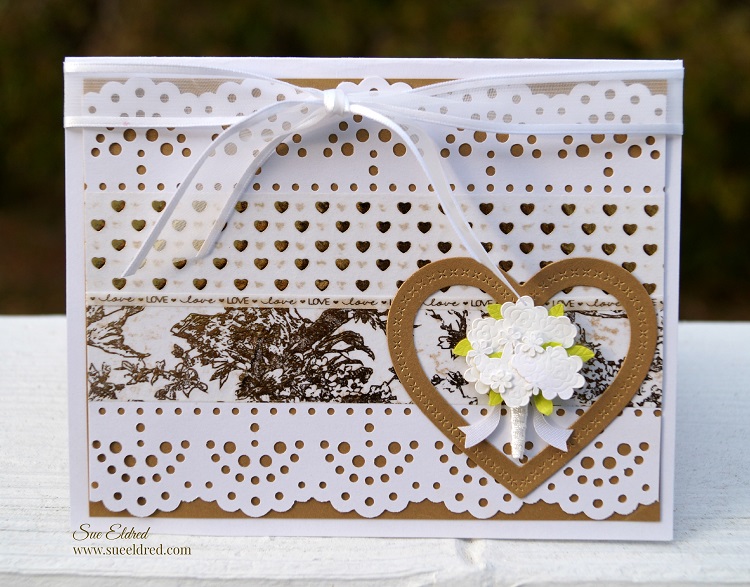
Washi Tape Heart Card
I love a clean and simple card, and this Washi Tape Heart Card is so simple to make.
To make the Washi Tape Heart Card…
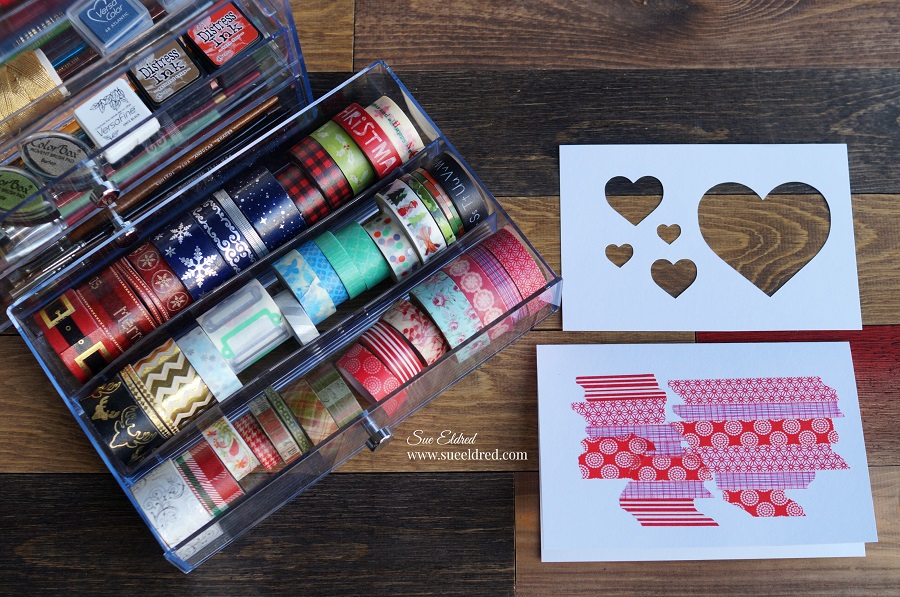
- Create the cut-out heart layer by cutting various sizes of hearts on a 4 3/4″ x 6 3/4″ piece of white cardstock. I used a Silhouette Cameo Electronic Die Cutting Machine*
. (You can also use punches or dies to create the hearts.)
- Center the cut-out heart layer onto a white 5″ x 7″ card and lightly traced the hearts with a pencil.
- Cover the heart outlines with several different strips of coordinating washi tape pieces.
- Use a tape runner to adhere to the cut-out heart layer onto the front of the card, aligning it with the washi tape.
*Disclosure: This blog uses affiliate links. If you choose to make a purchase using one of the links, I receive a small commission (at no additional cost to you) that helps offset the costs of maintaining this blog. Thanks for your support!

A Clean and Simple Valentines Day Card.
Just stamp a simple greeting onto the front of the card,
or you could cut the words out of red glossy craft vinyl as I did.
I’m glad my husband doesn’t read my blog.
This card will make a perfect Valentine’s Day card for him.

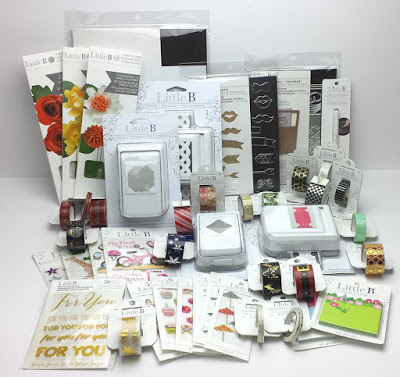
I want to share with you the perfect organizer for holding washi tape.
The small three-drawer organizer* from Deflecto was made with washi tape in mind.
Each of the three drawers are divided and can hold a lot of washi tape.
The small three-drawer organizer* is also great for holding small ink pads and paintbrushes.
![]()
“This is a sponsored post. As a member of the Deflecto Design Team I have been provided product in exchange for my creative ideas, views and opinions.”