
I was looking for a project when I went into the Goodwill that day.
I saw the old desk sitting there in back. I looked it over and left.
It wasn’t until later that night when I envisioned the completed project in my head.
I ran back over the next morning.

The desk was in pretty rough shape from years of use and abuse.
The three holes in the front of the desk intrigued me…
Was it a combination of several kids over the years or one very bored individual.
How long did it take?
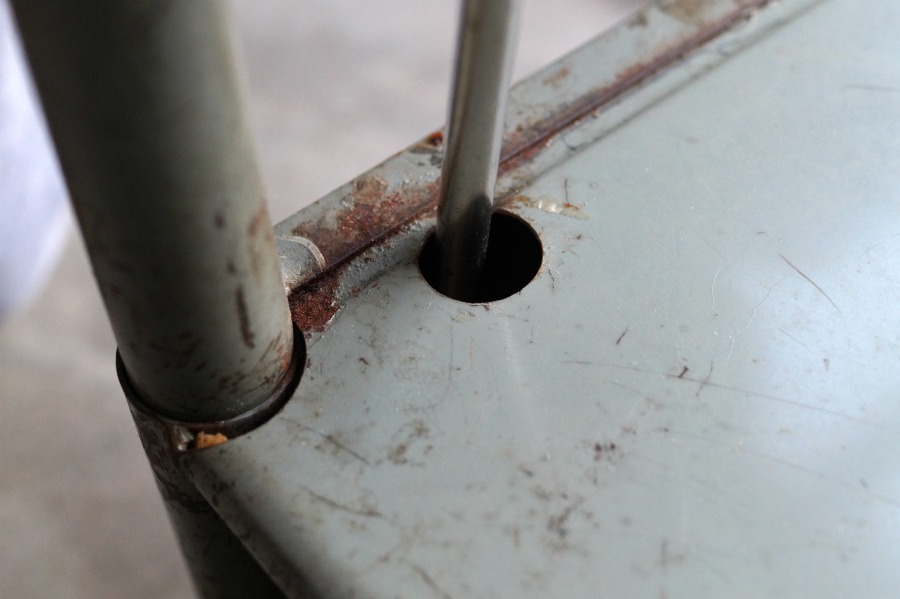
The top was screwed onto the base with 4 screws. I contemplated how I was
going to fit my hand in the opening to unscrew it. (I’m including this picture
just in case I’m not the only one. ) Under the desk, were four holes for inserting
an extra long screwdriver into the hole to unscrew the top. Duh!

I picked up some additional supplies at my local home store. (*affiliate link)
- Rust-Oleum Premium Fast Dry Wood Stain, Carbon Gray*
- Rust-Oleum 271481 Universal All Surface Spray Paint, Forged Hammered Antique Pewter*
- Rust-Oleum Varathane Soft Touch Polyurethane

I sanded off the majority of the rust with a Palm Sander*. (hand sanding would work as well)

Spray the base of the metal desk with Forged Hammered Antique Pewter Spray Paint*.
This was the first time I’d used a textured spray paint. I really like the finish.
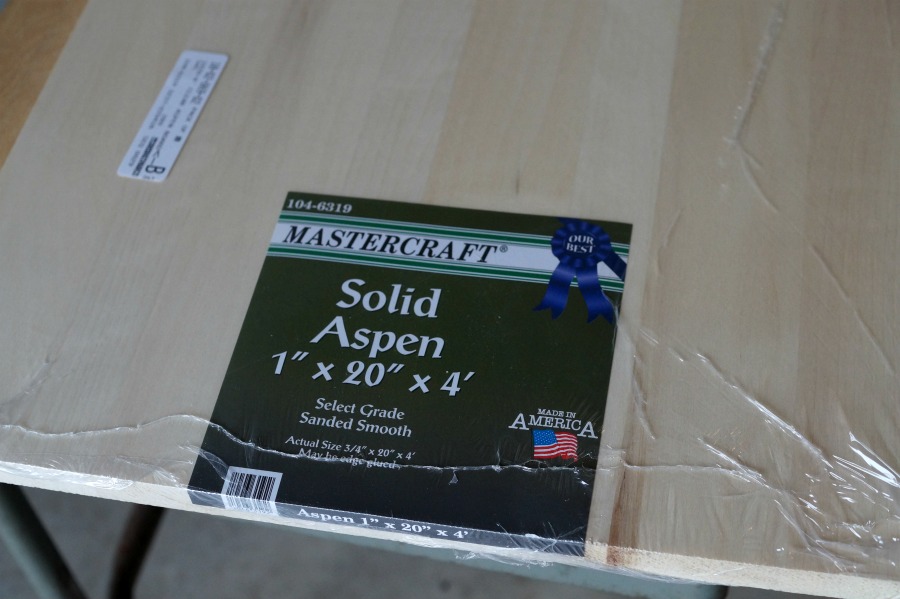
To keep the project simple, instead of cutting and gluing boards together…
I picked up a large piece of Solid Aspen that was ready to go and just the right length.

I enlisted the help of my brother to help me cut the board.
For those of you that don’t have a circular saw, a regular hand saw could be used instead.
We cut the top 18″ x 24″ and the bottom shelf 15″ x 24″.

If you don’t have any of those fancy corner templates, use the edge of the spray paint can
as a template to mark the rounded corners.

A power sander was used to round the edges of the board.
You could also use a coping saw to cut off the corner and sand smooth with a sanding block.

For a smooth finished edge… I used a router.

Prepare the wood for staining by lightly sanding the surface. Sand in the direction of the grain.
Remove all the sanding dust with a clean damp rag. (read all the directions on the can)
Apply stain on the wood with brush or clean lint free rag. Allow the stain to penetrate
the wood for 3-5 minutes before wiping excess stain off. Allow time for the wood to dry.

Apply a coat of polyurethane over the surface of the wood.
After the polyurethane dries, smooth the surface with a fine steel wool.
Wipe surface and apply a second coat of polyurethane.

After all the pieces were dry…
I screwed the top back onto the base and added the shelf to the bottom bar.

I added a couple of flat rectangle baskets in the desk opening for storage.


I love the vintage industrial feel of this piece.

No longer a desk. It makes a great side piece.
*Disclaimer: This post uses ads and affiliate links. If you choose to make a purchase using one of the links, I receive a small commission (at no additional cost to you) that helps offset the costs of maintaining this blog. Thanks for your support!

Try Amazon Prime 30-Day Free Trial

Sue, I absolutely love that!!! What a great makeover!!!
Thank You Mary, it was a fun project.
You’re about to convince me that I need to let go of my fears of ruining these old pieces of furniture from the old, old days. Your desk makeover is perfect!
Melvin
Sue, stunning makeover! I want one!!!
It was a fun find.
I have a desk very similar to this one. It was actually the desk that my husband had in elementary school. I have been wanting to do this for years. Our children used it at home and now that we have a grandson I thought it would be fun for him to use it too. That would be four generations of our family to use it. We have the chair also! You gave me the confidence that I won’t mess it up! Thank you!!
Thank You. Good Luck in your remodel.
What did you do with the original top with the three mystery holes?
Good question. I didn’t keep it.
That is adorable, you did a great job! Another item to add to my “look for ” list!!
Thank You. It was a fun project.
Beautiful job done on this old tired and well used desk. I love to see how people repurpose old items into something totally new. Adding the shelf underneath is a great idea. Definitely gives more space to store things. Really awesome job.
Thank You for your sweet comment. It was a fun project.
Have a great week.
Sue
How did you attach the top of the desk? If it was from the bottom was there enough room to
nail/screw it on?? Also the shelf you added, did you just lay it on the bottom?
Great Job
I had to pre drill holes on the top and I had to use a (really) long handled screwdriver to attach it. The shelf on the bottom is just laid on. The desk side supports hold it in place.
Top is simple enought for me to. Thank You so much for the inspiration.
My son bought, and I live in, a 100 yr old school bldg (now known as Paradise Castle) 🙂 – When he bought it almost 6 years ago – there were (and still are) dozens of these desks. NOW I know what to do with a dozen of them! Come next festival, I will have them ready for sale! Thank you SO much!
I’m glad I could give a little inspiration. Have fun with your new project/projects. 🙂
I have one or two of those old desks. Somewhere. Maybe out in the barn. Hmmm, it would look good on the porch of my new shed. Thanks for the idea.
Sounds like you’ll be treasure hunting in the barn. Glad you liked it.
i’m thinking go for 1 more shelf at the bottom. love it
Thank you. I’m glad you liked it.