
A Gift for that special Bride…
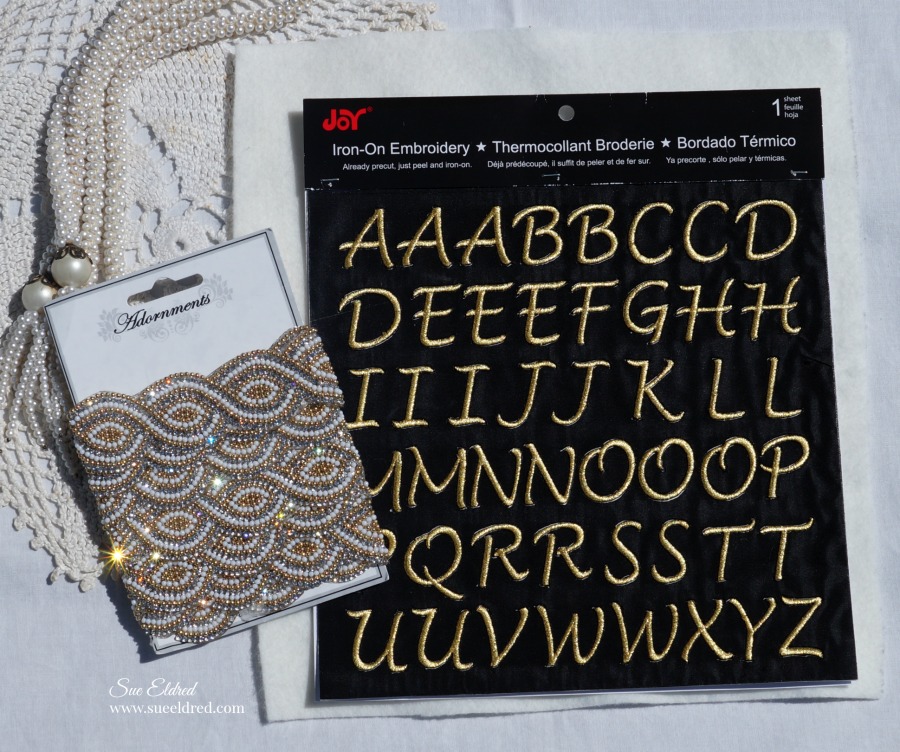
Create a special pouch for the Bride-to-be to keep her wedding day jewelry safe while in
transport. Personalize it with Joy Iron On Embroidered letters.
To make the Bridal Pouch here’s what you’ll need:
-
-
7″ x 12″ piece of white felt
-
Iron Beaded Trim from Expo International
-
Sewing Machine
-
Iron
-
Scissors


Directions:
-
Fold over one end of the felt approx. 4″.
-
Sew along the edge of each side to create the pouch.
-
Iron the beaded trim onto the opposite end of the felt by laying a fine cloth over the trim and ironing over it for 25 sec.
-
Cut excess felt around the top of the beaded trim to create a scalloped edge.
-
Position the letters spelling “Bride” onto the front of the pouch with the shiny side down.
-
Cover letters with a fine cloth.
-
With firm pressure iron cloth over the letters for 25 seconds.
-
Turn flap of the pouch over and iron the back for an additional 25 seconds.
-
Add Velcro to the flap to keep the pouch closed.

You can also use the beaded-iron on trim to make into a bracelet, belt or headband.
For the beaded bracelet…
- Measure the size of your wrist.
- Cut a piece of felt approx. 3/4″ longer than your trim.
- Arrange trim onto felt so that only one end has the extra felt.
- Lay a clean soft cloth over trim and iron onto the felt.
- Cut excess felt around the beaded trim to create a scalloped edge.
- Add hook and loop tabs*
to the end of the felt.

This project was sponsored by Joy SA.

Shop Handmade – The Wedding Store
*Disclaimer: This post uses ads and affiliate links. If you choose to make a purchase using one of the links, I receive a small commission (at no additional cost to you) that helps offset the costs of maintaining this blog. Thanks for your support!
