
Creating a Mini Album using the Xyron Creative Station…
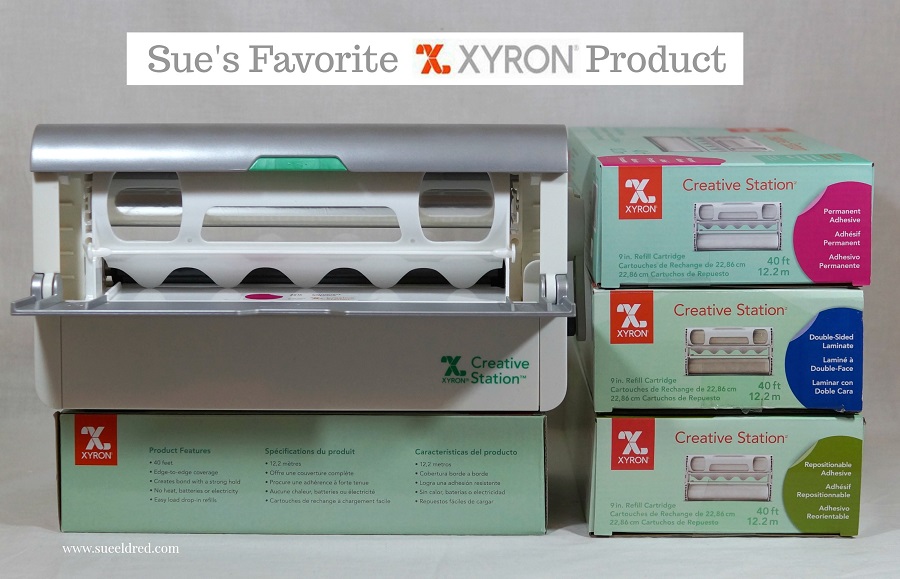
This week the Xyron Design Team was asked to post about our favorite Xyron Product.
With so many wonderful Xyron items to choose from it was a hard decision.

When it comes to making Mini Albums, Tags and Altered Home Décor pieces,
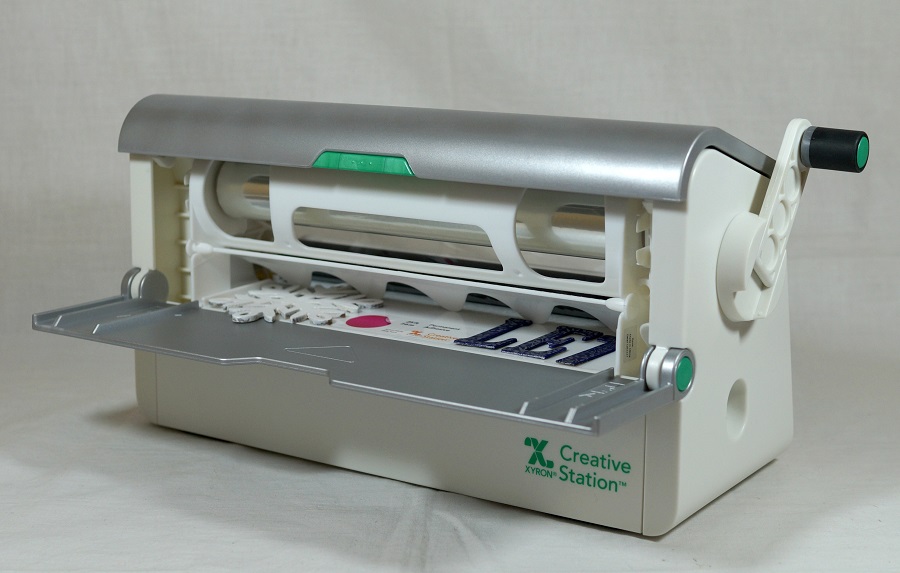
the Xyron Creative Station* is hands down my favorite product to use.
When I go to the effort to create, I don’t want my projects falling apart.
With the Xyron Creative Station* you get complete coverage, no gluing, no wrinkling,
no bubbles! There are so many refill cartridge options available in both the 9″ and 5″ sizes.
- Acid-Free Permanent Adhesive*
(my favorite)
- Acid-free Repositionable Adhesive*
- Lamination*
- Laminate/Magnet*
*Disclosure: This blog post uses affiliate links. If you choose to make a purchase using one of the links, I receive a small commission (at no additional cost to you) that helps offset the costs of maintaining this blog. Thanks for your support!

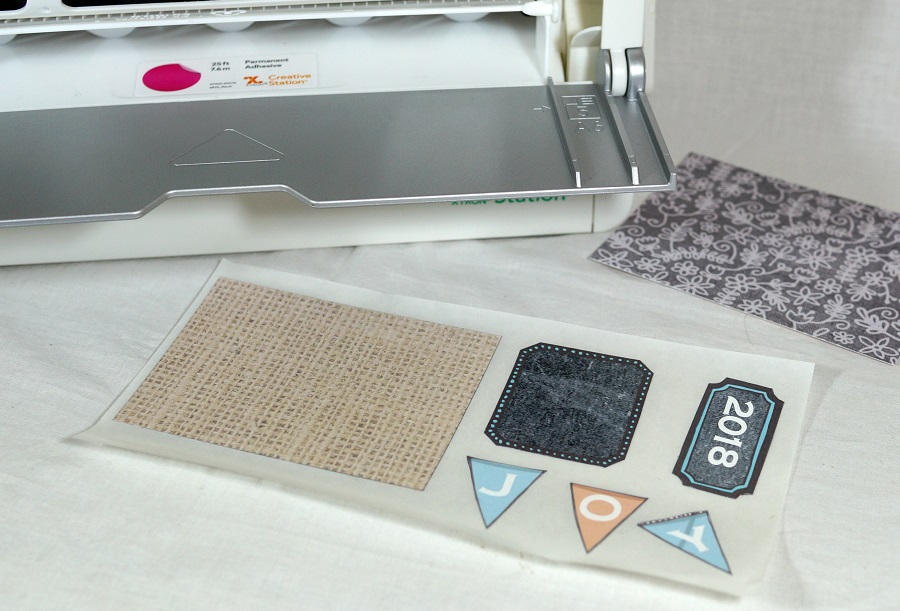
To make my Mini Albums…
- I use chipboard or mat board for the base of my Mini Album and cut it to my preferred size.
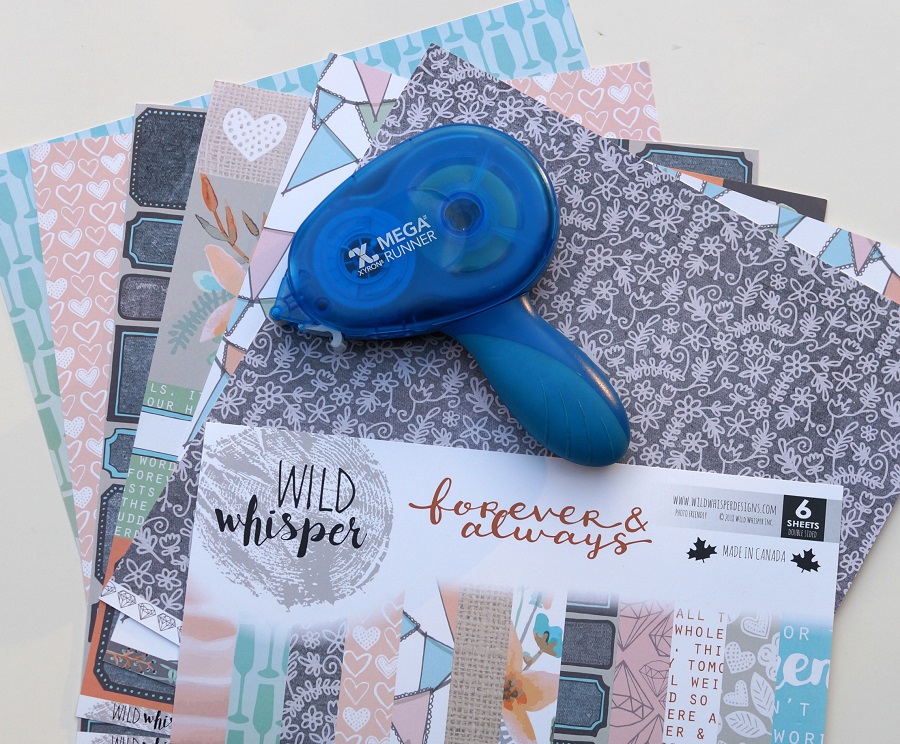
- I cut decorative scrapbook paper to fit onto the base.
- Put the paper design side up on the *Xyron Creative Station, 9″
crank the handle to run the paper through the machine. As it moves through the Xyron Creative Station it adds adhesive to the back side of the paper. Easy to use and it doesn’t need any electricity.
- Line up the paper onto the chipboard.

- Create extra pages for the inside of the Mini Album using cardstock or coordinating scrapbook paper.
- Bind the album together using a Book Binding Machine*
.
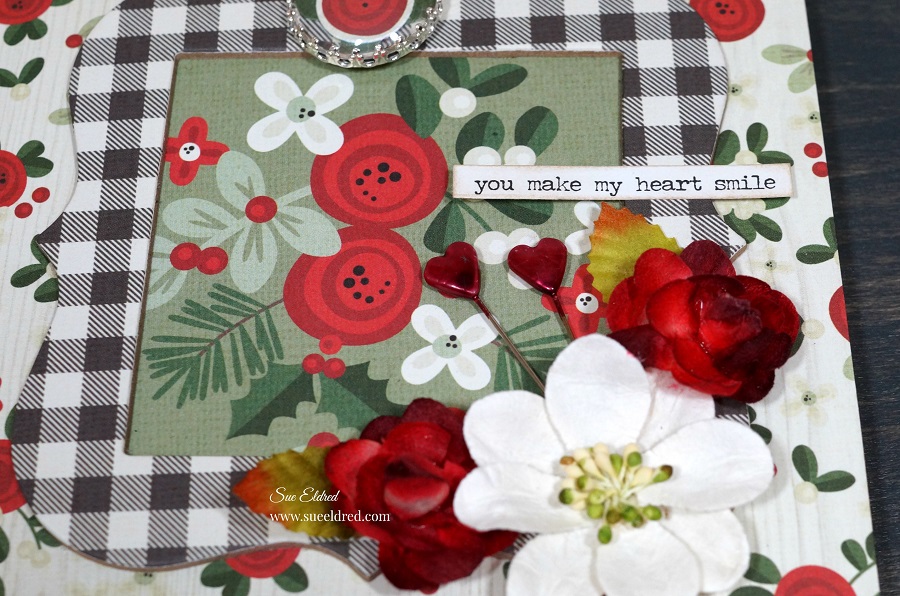
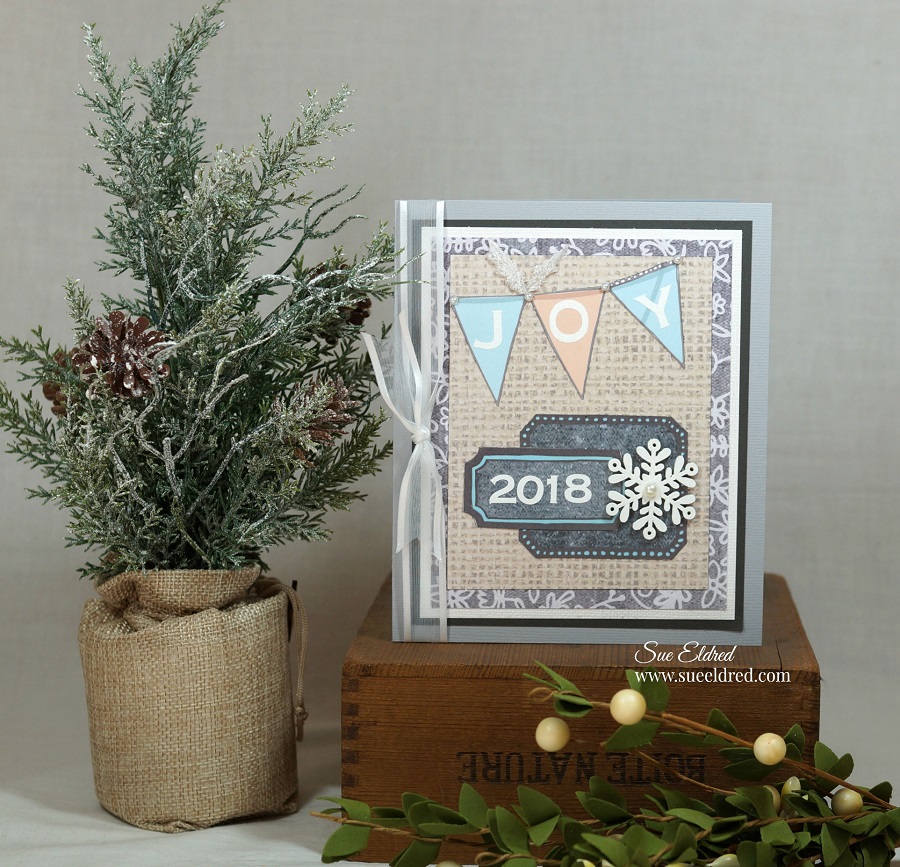
- Embellish the front of the album with frames, flowers, charms, stickers and ribbon.
- I created a frame for the cover using chipboard and scrapbook paper and cutting it out using a steel rule die.
- You can run the frame through the Xyron Creative Station*
- The Creative Station makes quick work of putting my Mini Album together.
The paper used on my Mini Album was from Simple Stories Merry & Bright Collection*

“This is a sponsored post. As a member of the Xyron Design Team I have been provided product and compensation in exchange for my creative ideas. The views and opinions are my own.


