DIY Wedding Projects Day 2: Love Frame

Offray Wedding Frame 2056

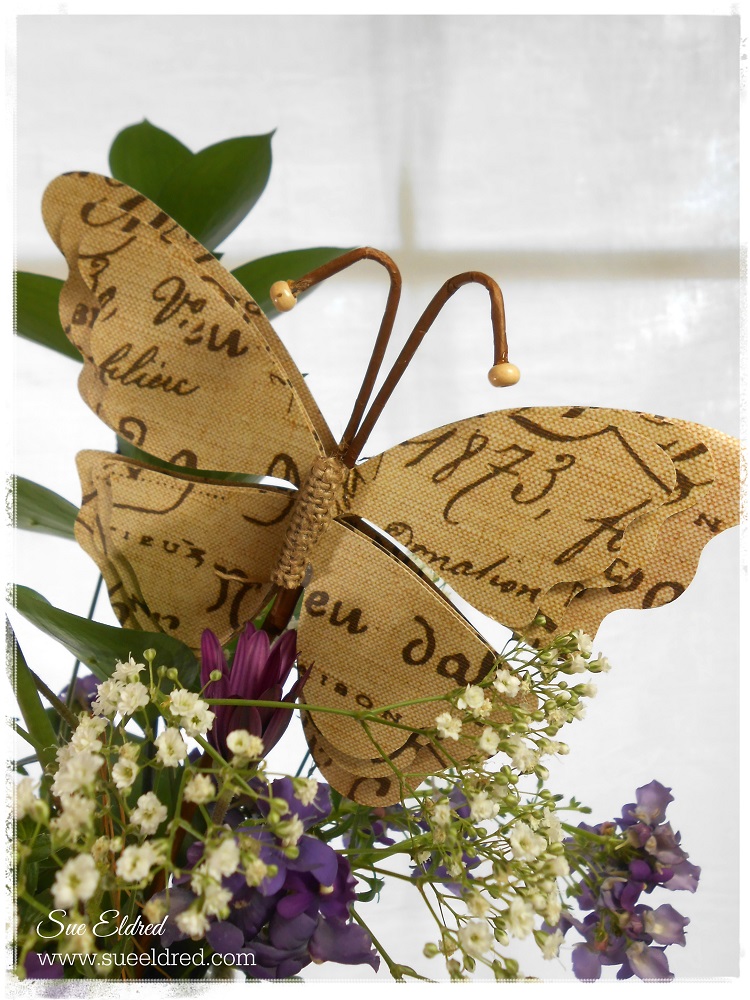
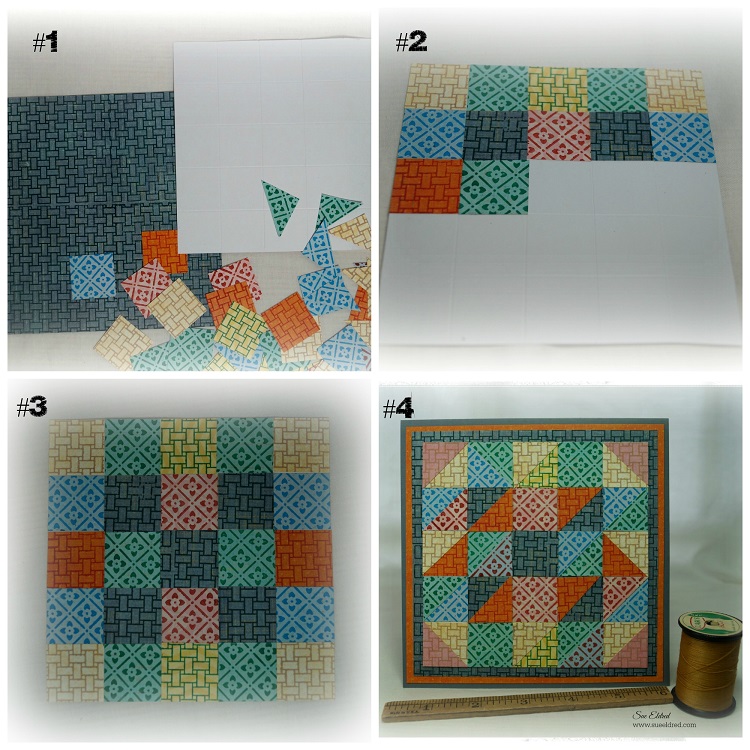
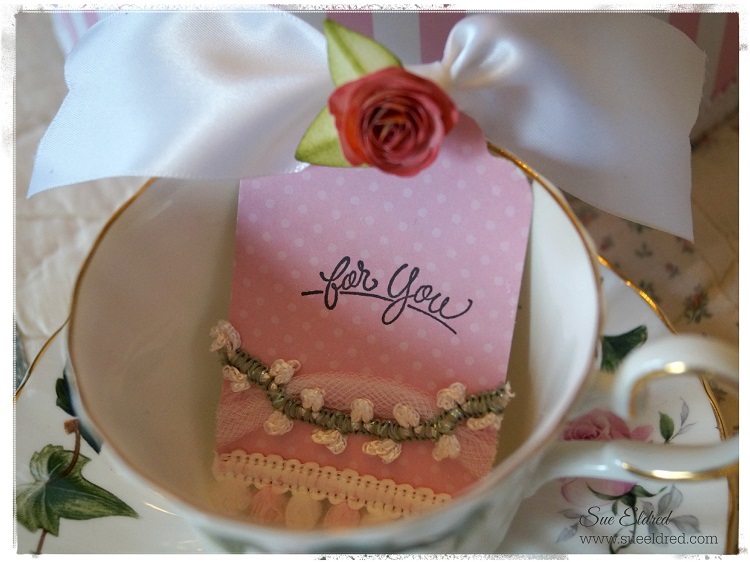
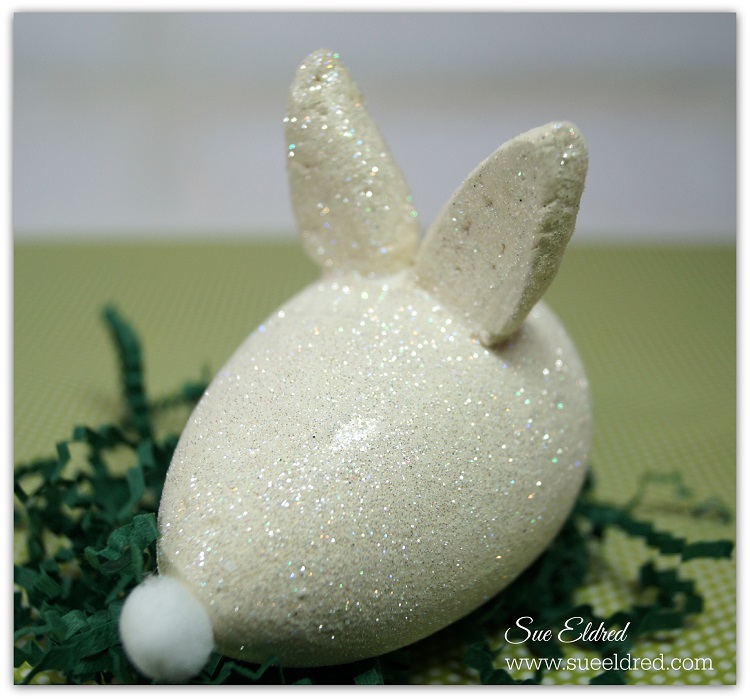
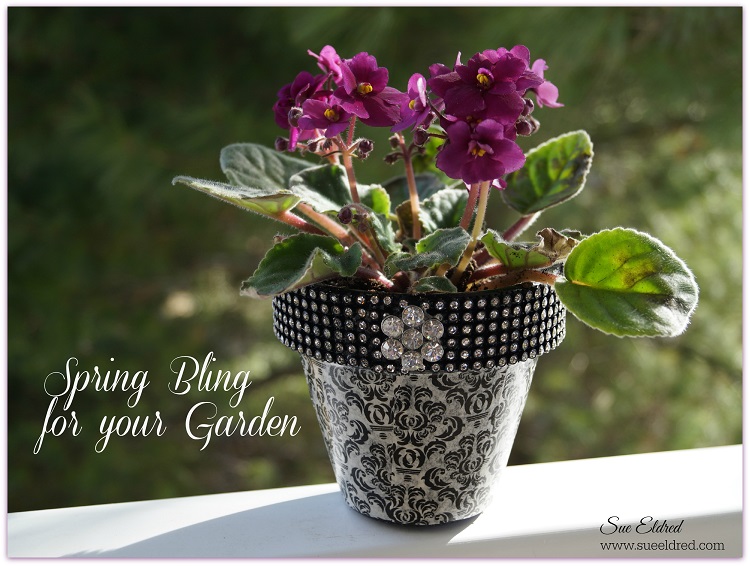
 Make a special frame for a wedding day gift or another special event.

This DIY frame has a soft, shabby chic feel that is perfect for a spring or summer wedding.

Supplies Needed

Wedding Love Frame Directions:

  1. Paint the Plain Wooden Frame with Antique White acrylic paint. Once the frame is dry, lightly sand the edges of the frame to give a distressed look.
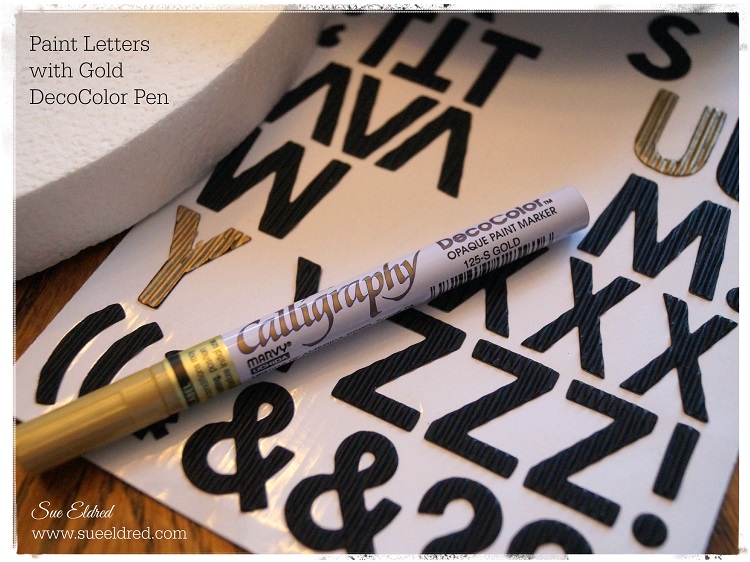
  2. Spray paint chipboard letters with Cream Spray paint.
  3. Adhere chipboard letters to the frame with Fabri Tac Glue.
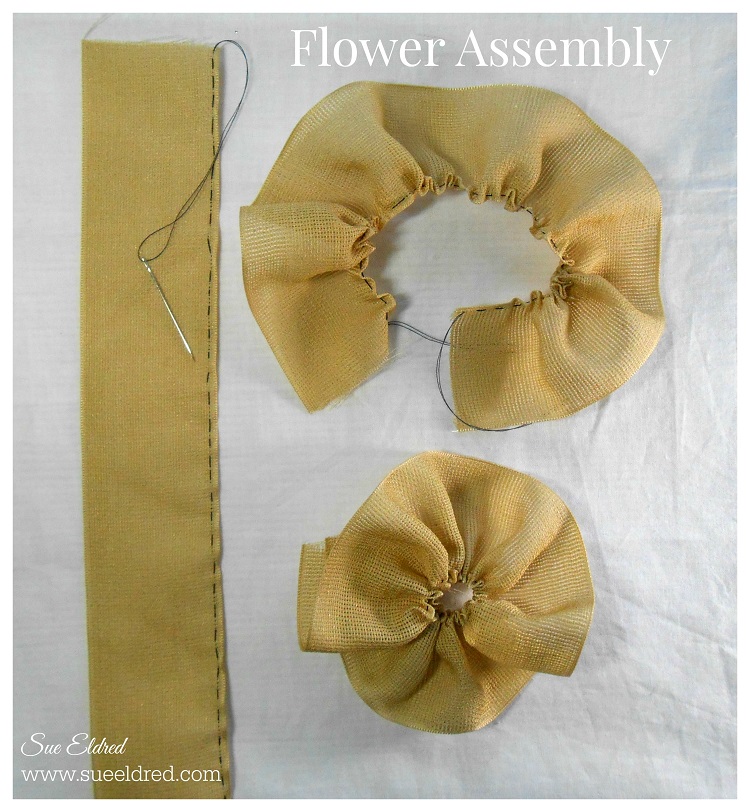
  4. Cut approx. 18” of Gazette Raw Silk Ribbon. With the needle and thread with long tail, make a simple running stitch down one side of the ribbon. Ribbon Flower Assembly 2123
  5. Gather ribbon together with thread and tie in the center to form the ribbon rosette.
  6. Create a second ribbon rosette using 12” of 7/8” Antique White Double Faced Satin Ribbon.
  7. Glue Antique White rosette onto the center of the Raw Silk rosette.
  8. Glue Dazzle Radiance Pin onto the center of both flowers.
  9. Wrap 25” piece of Gazette Raw Silk Ribbon around the frame, meeting the two ends near the top of the frame. Glue ends to the frame.
  10. Glue Flower onto ribbon cover the two ends of the wrapped ribbon.
  11. Adhere Design Chain Tracy-Silver down center of the ribbon and underneath the flower.  Glue Gleaming Leaves Dazzle onto frame.

Click on the pictures below for links of Offray Products Used:

gazette_rawsilkdfs_antiquewhiteradiance

gleaming_leaves_24karatdesignchain_tracy

Shop Handmade – The Wedding Store

Disclaimer:  This blog uses ads and affiliate links.  If you choose to make a purchase using one of the links, I receive a small commission (at no additional cost to you) that helps offset the costs of maintaining this blog.  Thanks for your support!

DIY Wedding Projects Day #1: Vase Table Marker

Offray Wedding Vase 2

Make your own table markers for your wedding day or another special event.

This DIY table marker features a pretty butterfly theme that is perfect for a

Spring or Summer wedding.

Butterfly 2255  Wedding Table Marker Vase

Supplies Needed:

Wedding Vase Instructions:

  1. Measure the distance around the top of your jar. Cut and remove the wire from the Natural Jute Cord.
  2. Apply a little bit of glue on each end of the Jute Cord to prevent fraying.
  3. Glue cord around top of the jar. Glue on gem to cover seam.
  4. Thread two Blingella Beads onto a length of Quasar ribbon. Tie ribbon around neck of the jar with a knot. Trim and knot ends of Quasar ribbon to hold the beads in place. A little bit of glue on the ends of each knot will add extra security.
  5. Tie Gazette Ribbon around the center of the vase with a knot. Add a small amount of glue underneath the knot to hold the ribbon in place.
  6. Glue small gem onto knot.
  7. Print a computer generated table number or greeting onto cream card-stock.
  8. Trim and cut card stock. Cut the end with a “v” to create the banner. Leave enough card-stock on the left side of the banner so that it can be folded around the Deco Ice stick pin.
  9. Attach banner around the Deco Ice stick pin and insert into the Gazette Ribbon knot.
  10. Fill vase with flowers and add the Fabrique Butterfly.

Shop Handmade – The Wedding Store

Disclaimer:  This blog uses ads and affiliate links.  If you choose to make a purchase using one of the links, I receive a small commission (at no additional cost to you) that helps offset the costs of maintaining this blog.  Thanks for your support!

Crazy Quilt Card

Crazy Quilt Card 2

I am fascinated by quilts.  Old ones, new ones, it doesn’t matter…

I love all the colors and patterns.

I once thought I might enjoy making a quilt.

But… I knew I’d never have the patience to finish the job.  (So I quit before I even started.)

Crafter's Ink 87508-Canyon

I recently received some new stamps and inkpads from Ann Butler Designs and

Clearsnap to use for a Blog Hop with a few other designers.

The stamps I received are quilt themed stamps and the Crafter’s ink is perfect for fabric, wood and

more.  Being a paper crafter… my first thought was a quilt card.  (Now that’s a quilt I can make.)

Crazy quilt card Collage

Quilt Card Supplies Used:

  • ColorBox® Background Basics by Ann Butler  Basket 1 and Picnic 1
  • ColorBox Crafter’s® by Ann Butler Canyon, Ocean Breeze, Desert Sand, Evergreen, Deep Woods
  • Blender Basics Paper Pack from Adorn It

Here’s how I made the card:

  1. Cut 1″ squares from the pre-stamped colored paper.  Make extra so that some of them can be cut in 1/2 diagonally.  I stamped the “basket” stamp several times on a 5 1/2″ x 5 1/2″ piece of paper to create my background piece.
  2. I made a 5″ x 5″ scored grid to glue my 1″ squares on.  You don’t necessarily need to make a grid; you could actually glue it right onto the background piece.  I found it easier to arrange and re-arrange my squares on the grid before gluing.   It also helped me keep the squares straight when gluing.
  3. Once pattern is glued down, create secondary pattern by adding cut 1/2″ squares.
  4. Adhere quilt card onto 5 1/2″ stamped square and additional layers.  Finished card is 6″ x 6″.

Shop Amazon Scrapbooking Supplies*

Disclaimer:  This blog uses ads and affiliate links.  If you choose to make a purchase using one of the links, I receive a small commission (at no additional cost to you) that helps offset the costs of maintaining this blog.  Thanks for your support!

Creating a Keepsake Memory Box with Decorative Trimmings

Sue Eldred's Keepsake Memory Box

I recently got a beautiful assortment of ribbons and trims from Decorative Trimmings to use

on a special project.  It was hard choosing which trims I wanted to use, because their selection

is wonderful.  I decided to Create a Keepsake Memory Box.

You know… for all those special little things that you want to keep and remember forever.

A perfect little box to fill with small gifts for Weddings, Mother’s Day, Bridal or Baby Showers.

Or maybe old love letters from your husband.   (Hmmm… I’d need a bigger box.)

Keepsake Box and Tag Close Up 4973

For my Keepsake Memory Box and Tag I used three of the trims.

  • 1/2″ Pink & White Mini Polar Puff
  • 3/4 Inch Pink Rose Tulle Trim
  • Chinese Braid White
  1. Paint a large papier mache box with white acrylic paint.
  2. Cover it with scrapbook paper.   (I purchased mine from Michael’s.)
  3. Glue the Decorative Trimmings using Beacon Fabri-Tac Permanent Adhesive* (affiliate link)
  4. Stamped greeting is from Serendipity Stamps.

Tea Cup and Tag 4969

Today’s post is part of a blog hop hosted by Decorative Trimmings.

Shop Handmade – The Wedding Store

Disclaimer:  This blog uses ads and affiliate links.  If you choose to make a purchase using one of the links, I receive a small commission (at no additional cost to you) that helps offset the costs of maintaining this blog.  Thanks for your support!

Eco Friendly Projects with Walnut Hollow and Kunin Felt

Eco Friendly Projects with Walnut Hollow and Kunin Felts

Today, I’ve teamed up with Walnut Hollow and Kunin Felt, both eco friendly companies,

with some fun projects for Spring.

For my projects I used Walnut Hollow’s:     (*affiliate links)

Earth Day Step Out Collage

Earth Day Projects Collage

Walnut Hollow Earth Day Project 04385

I added Eco-Friendly tableware consisting of Bio-degradable cutlery and Bamboo plates.

Did you know?

Walnut Hollow has always been a huge advocate of environmental sustainability within the art, craft and hobby industry. Walnut Hollow has a strong commitment to environmental initiatives by preserving natural resources through their raw material consumption practices, production processes and recycling activities as well as maintaining an active involvement in the community.

Kunin Felt is made from Eco-fi,® a high-quality fiber made from 100% post-consumer recycled and BPA-free plastic bottles.

Earth Day is April 22nd.  Let’s make a difference.

Disclaimer:  This blog uses ads and affiliate links.  If you choose to make a purchase using one of the links, I receive a small commission (at no additional cost to you) that helps offset the costs of maintaining this blog.  Thanks for your support!

Join Amazon Kindle Unlimited 30-Day Free Trial

Simply Beautiful Handmade Flower

Learn how to make a Simply Beautiful Handmade Flower in a few easy steps.

To make the flower you’ll need:      (*affiliate link)

Disclosure:  This blog uses affiliate links.  If you choose to make a purchase using one of the links, I receive a small commission (at no additional cost to you) that helps offset the costs of maintaining this blog.  Thanks for your support!

Directions:

  1. Punch 3 daisies from each one of the punches for a total of 12 punch outs.
  2. Using the end of a pencil or skewer, round each of the petals up.
  3. Turn the punched shaped over and press down into the center.
  4. Glue two of the largest flowers together slightly off centered.  Add the third flower.
  5. Continue adding and gluing the next size flower and glue on top.  Repeat with the third size.
  6. Pinch the smallest flowers up tight and stagger and glue onto the center of the flower.
  7. Spray the finished flower with Glimmer Mist until you get the desired shade of color.
  8. Once the flower is dry add a small adhesive pearl in the center of the flower.
  9. Create card using Captivating Squares shapes and layers misted with Glimmer Mist

*FTC Disclosure… “This is a sponsored post.  I have been provided product in exchange for my creative ideas.  The views and opinions are my own.”

Glittered Bunny Egg

Are you ready for Spring?

Warm Weather, Pretty Flowers and Sweet Little Bunnies and Easter Eggs.

My project today is a Sweet Glittery Little Bunny made from a Smoothfoam Egg.

Bunny Parts and Supplies 3178 Glittered Bunny Egg 3224

To Make the Glittered you’ll need:        (*affiliate links)

  1. Cut two bunny ears from the smoothfoam sheet
  2. Lightly sand Smoothfoam egg and bunny ears.
  3. Glue ears onto Smoothfoam egg.
  4. Paint with cream paint.  Paint inside of the bunny ears pink.
  5. Cover the entire bunny with a thin coat of mod podge and sprinkle with glitter.
  6. Insert micro brads for the eyes and heart brad for the nose.
  7. Draw small mouth with fine black marker.

This project was created for and sponsored by Smoothfoam.

Shop Your Fav Brands at Scrapbook.com

*Disclosure:  This blog uses ads and affiliate links.  If you choose to make a purchase using one of the links, I receive a small commission (at no additional cost to you) that helps offset the costs of maintaining this blog.  Thanks for your support!

Spring Bling for your Garden

Spring Bling for your Garden 3640

Add a little Spring Bling to plain boring terra cotta pots.

With Spring Fever setting in, I decided I needed a new flower to perk up the place.

I chose a pretty little African Violet that reminds me of my grandma.

Grandma loved African Violets.

In no time at all, armed with a few simple products, I transformed a boring terra cotta pot into

something sparkly and fun.  Just what I needed.

Spring Bling 3596

 To make my Spring Bling Pot you’ll need:      (*affiliate links)

  1. Start with a 4 1/2″ Terra Cotta Pot painted with black acrylic paint.
  2. Cut Black Damask tissue paper the width of the lower portion of the pot.  Cut the strip into smaller sections.  (my sections were 2 3/4″ x 1 1/2″)
  3. Apply a thin layer of Mod Podge to a small section of the pot, add tissue paper and apply another layer of Mod Podge over tissue.
  4. Continue adding tissue sections until the bottom of the pot is covered.
  5. Apply a thin layer of Mod Podge over the top of the pot to give it a nice shiny finish.
  6. Cut a strip from the Black Crystal Sheet to fit around the rim of the pot.
  7. Glue crystal sheet onto rim of the pot.
  8. Glue vintage button over seam for added sparkle.
  • FYI:  I could have used the Weldbond glue shown in the picture above which is a good permanent glue.  But, because of the weight of the crystals I decided to use my Quick Grip glue instead.

Spring Bling 3606  Spring Bling 3607

My Spring Bling Pot was created for and sponsored by Connie Crystal.

connie crystal logo

Disclosure:  I am an Amazon Affiliate.  If you chose to make a purchase using one of the links, I receive a small commission that helps offset the cost of running this blog.  Thanks for your support!

Mini Desk Calendar

Deflecto Mini Calendar 2976

Today’s project is one of those quick & easy projects that just make me smile.

You can put together this Mini Desk Calendar in just a few minutes.

I started with a 3″ x 4″ clear acrylic frame from Deflecto Craft Solutions

and a Mini Tear Off Calendar from Taylored Expressions.

Along with some left over scrapbook paper from a class I was working on.

And… because the paper is inserted inside the frame you can easily change

it out with the seasons.  You can make the mini desk calendar with the acrylic

frame upright or laying down.  Either one is cute.

Mini Desk Calendar 3029

“This is a sponsored post. As a member of the Deflecto Design Team I have been provided product in exchange for my creative ideas, views and opinions.”

Shop Amazon Scrapbooking Supplies*

*Disclaimer:  This post uses ads and affiliate links.  If you choose to make a purchase using one of the links, I receive a small commission (at no additional cost to you) that helps offset the costs of maintaining this blog.  Thanks for your support!

Make a Lucky Hat for St. Patrick’s Day

Feeling a little Irish? 

Need a Lucky Hat for St. Paddy’s Day?

Using only a few Smoothfoam shapes you can make yourself a Lucky Hat centerpiece

in no time.  A fun centerpiece for all your “GREEN” celebrations.

Here’s what you’ll need:                                                                                    (*affiliate link)

Directions:

  1. Paint 8″ Half Ball and 10″ Disc with English Ivy paint.
  2. Repaint Disc and Half Ball with Kelly Green paint, allowing some of the darker paint to show through.
  3. Paint sides of 8″ Disc with Black paint.
  4. Glue 8″ Disc onto the 8″ Half Ball.
  5. Center and glue onto the  10″ Disc.
  6. For a shiny finish, paint the entire piece with Mod Podge.
  7. To create gold letters, paint the chipboard letters with a gold paint pen.

Have a great day and may the “Luck of the Irish” be with you!

 
Click on the pictures for product ordering through Amazon*.

Disclosure:  This post uses affiliate links.  If you choose to make a purchase using one of the links, I receive a small commission that helps offset the cost of maintain this site.  Thanks for your Support!

This project was created for and sponsored by Smoothfoam.

Shop Amazon Scrapbooking Supplies*