Home is the place where you belong.
As we stay home and shelter in place, home becomes such so much more.
A safe haven, a place to work, a place to play, and a place to be.
I can’t wait until the day when I can welcome friends and family back into my home.
I can’t wait to hug my kids and grandsons.
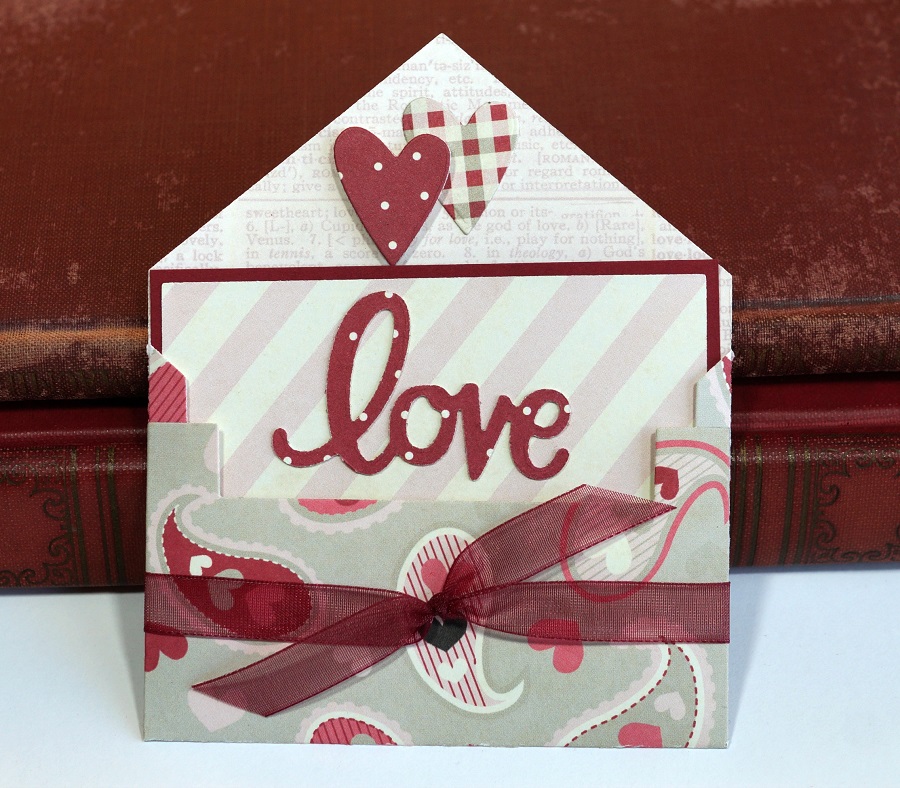
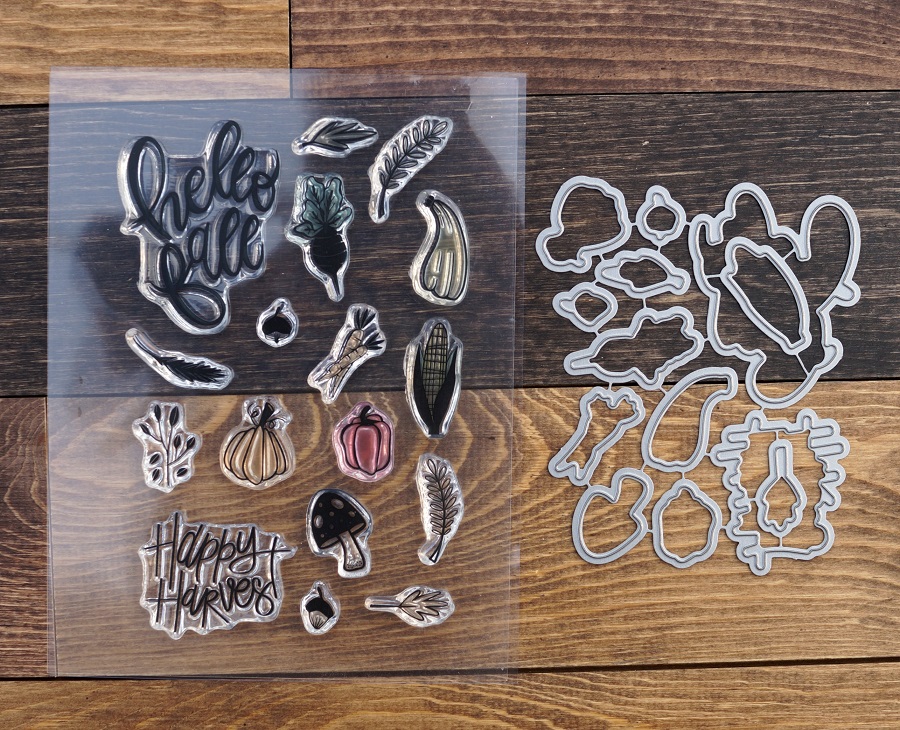
Whatever your meaning of home, I hope you like this Welcome Home card made with
the Welcome Home Stamp and Die Set from the Maker’s Movement.
This heartfelt set is perfect for a new baby, housewarming, homecoming, and more.

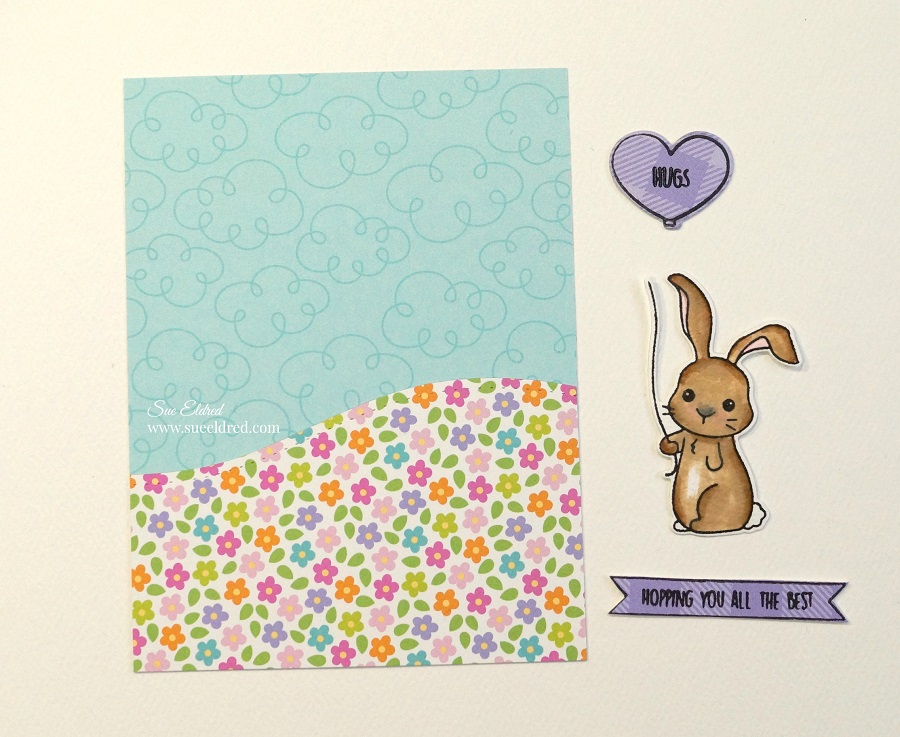
The Welcome Home Card was made using the Gingham Garden paper collection from My Mind’s Eye and various metal dies from The Maker’s Movement.
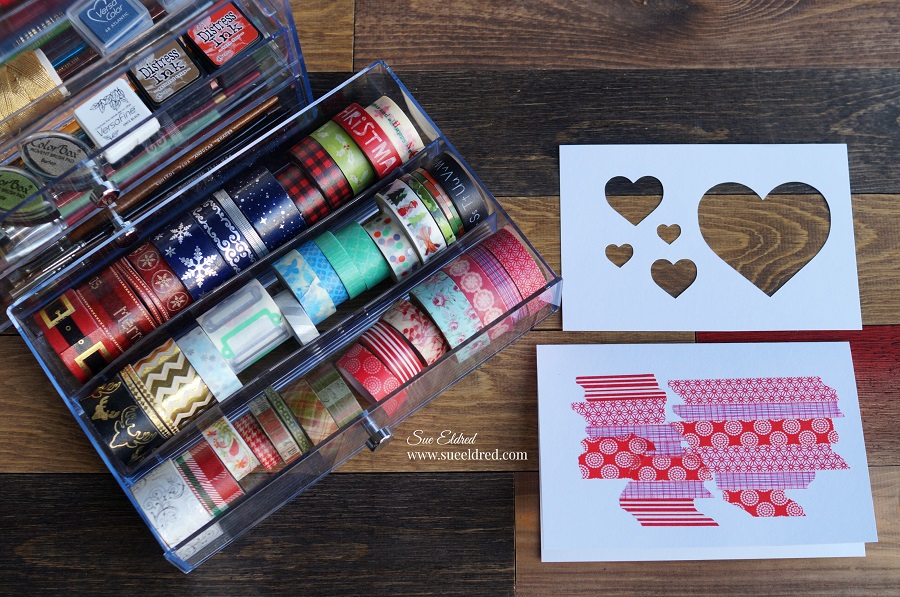
Crafter Tip: The metal dies in the kit are all connected when you get them. One of the first things I do when I start snipping the dies apart is to cut a piece of thin Magnetic Craft Sheet* and adhere it to the packaging. It’s a great place to put your small dies so you won’t lose them.
Supplies Used: (*affiliate link)
- MSD216 Welcome Home Stamp and Die Kit
- MSD215 Hello Sunshine Stamp and Die Kit (cloud die cut)
- MOD275 Petite Posies Die Set
- Crossover II Fabric & Paper Cutting System*
- My Mind’s Eye Gingham Garden’s Paper Collection*
- My Mind’s Eye Gingham Garden Enamel Dots*
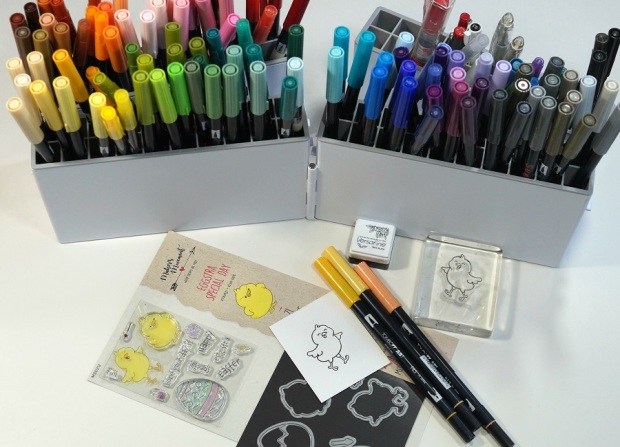
- VersaFine Instant Dry Pigment Ink, Onyx Black*
- Acrylic Mounting Blocks for Clear Stamps*
- Tombow Mono Adhesive Tape Runner*
- Card-stock: Antique White, Rose, Blue, Olive
- Scrapbook Adhesives by 3L Thin Pre-Cut 3D Foam Squares*


*Disclosure: This blog uses ads and affiliate links. If you choose to make a purchase using one of the links, I receive a small commission (at no additional cost to you) that helps offset the costs of maintaining this blog. Thanks for your support!

This is a breakdown of all the die cut and stamped pieces used to create the house.
- The shutters were made by stamping two additional doors and cutting the bottom panel from the left side of the door. (the right side has the door knob, and I didn’t want to include that)

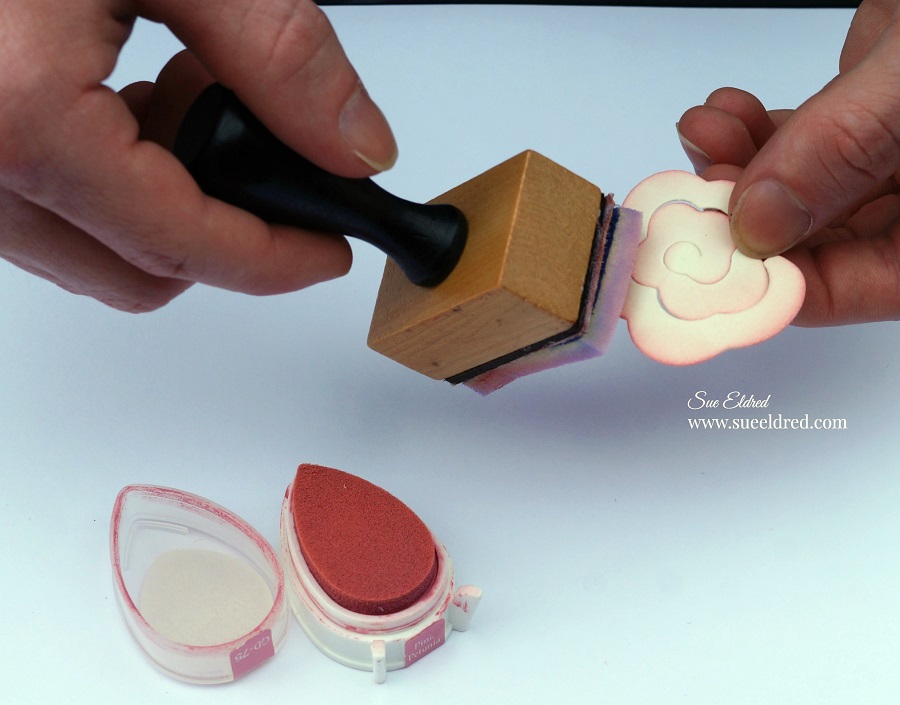
- The bushes were made using the small cloud die.
- For added dimension, the clouds were popped up using thin foam mounting squares.

*FTC Disclosure… “This is a sponsored post for The Maker’s Movement. I have been provided product and compensation in exchange for my creative ideas. The views and opinions are my own.”