How to Personalize a Wine Glass with Glitter Vinyl

One of my favorite snack combinations is Wine and Popcorn.

It’s great for a casual party or a perfect movie night snack!

For your next party, try personalizing inexpensive Wine Glasses from Dollar Tree*.

Add names to the glasses, and they’ll be no more mixing them up .

*Disclosure:  This blog uses affiliate links.  If you choose to make a purchase using one of the links, I receive a small commission (at no additional cost to you) that helps offset the costs of maintaining this blog.  Thanks for your support!

How to Personalize a Wine Glass with Glitter Vinyl

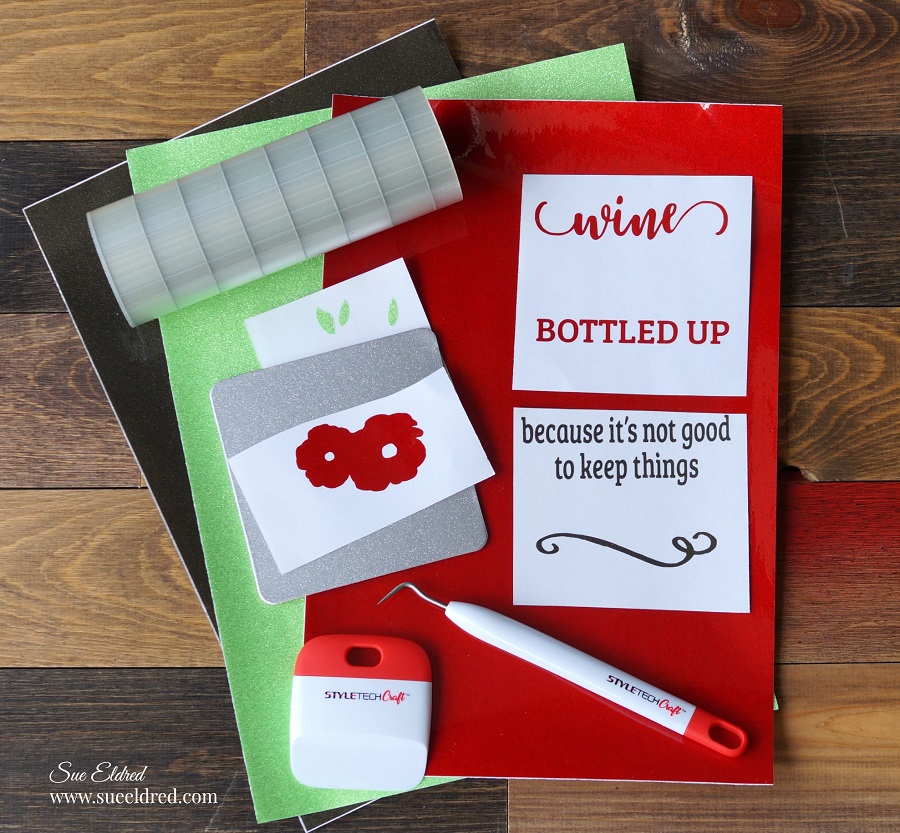
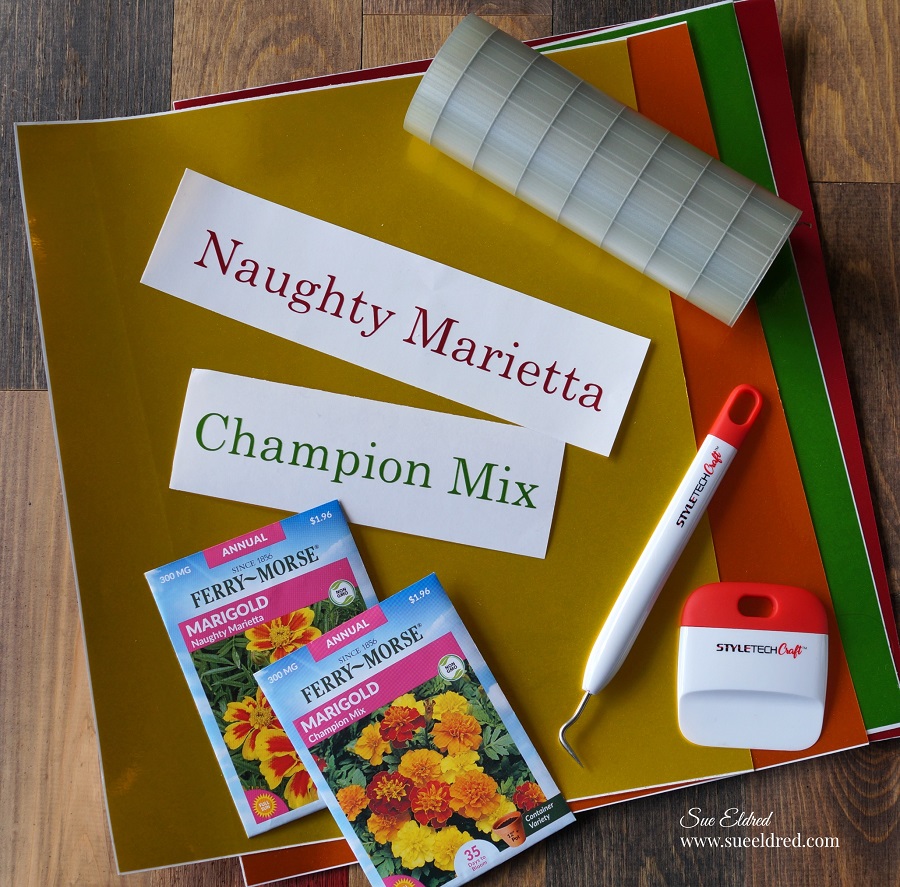
Materials:    (*affiliate link)

The great thing about StyleTechCraft Transparent Glitter Vinyl is that it’s the only film in the world that is colored glitter on both the inside and outside.  

Styletech Craft products brought to you by ATSM Craft

Directions:

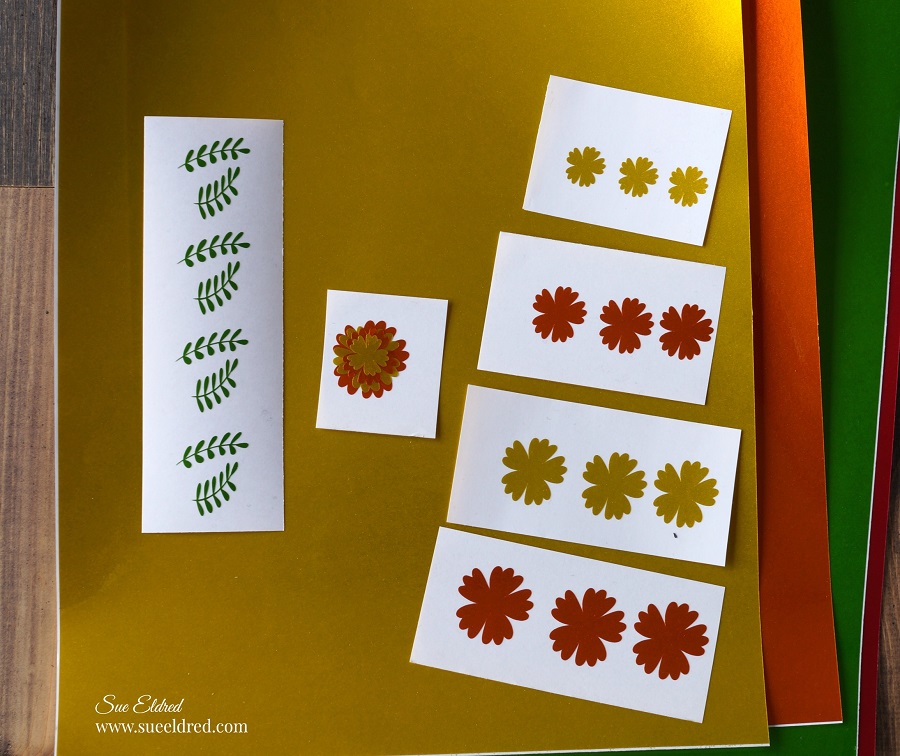
  • The flower and leaves image used on the wine glass was purchased online as a “cut file” from the Silhouette Store.
  • Using the Silhouette Cameo Electronic Die Cutting Machine*, I resized the flower and leaves image to fit on the front of the wine glass.  (Mine was approx. 2 1/2″ x 1 3/4″)
  • Lay the vinyl on the cutting mat.  (Because my mat is old and not super sticky, I use a piece of removable tape to hold my vinyl on the mat.)
  •  Set machine on the vinyl setting, cut images out using the Silhouette Cameo Electronic Die Cutting Machine*.  Cut the image out in red and green adhesive glitter vinyl.
  • Use the Weeding Tool, to carefully remove the negative spaces in and around the image.

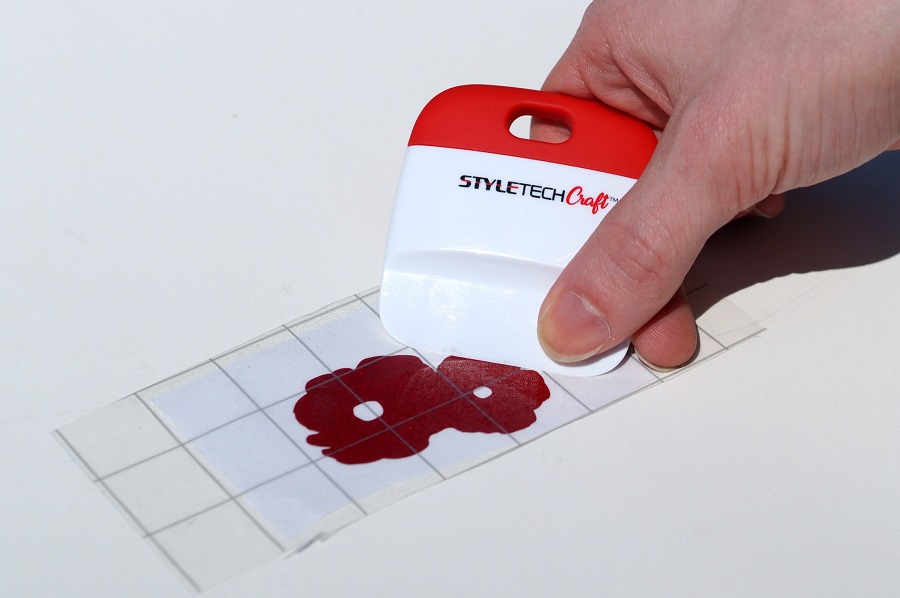
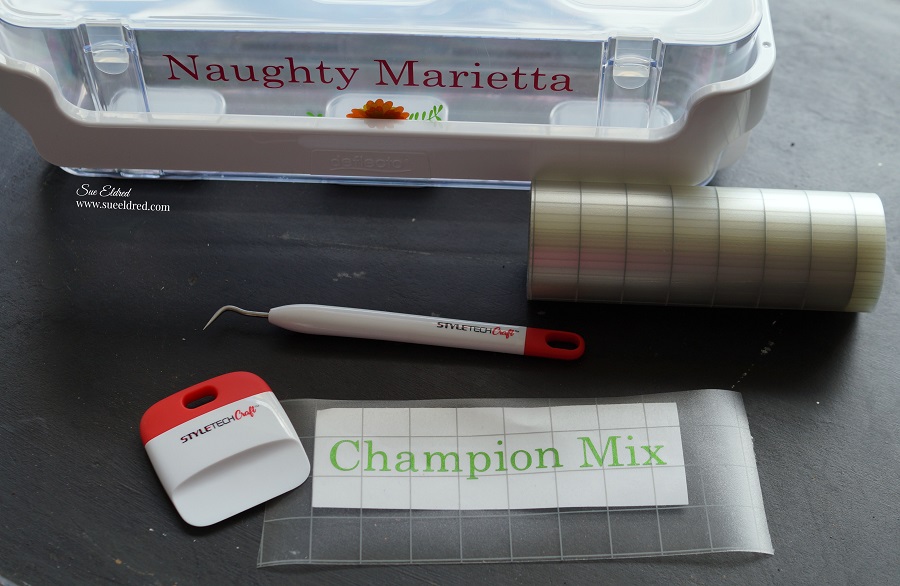
  • Cut a piece of Vinyl Transfer Tape* a little larger than the flower shape.
  • Lay the Vinyl Transfer Tape*on top of the flowers. Gently rub over the transfer paper using the vinyl scraper tool to make sure the image has transferred.

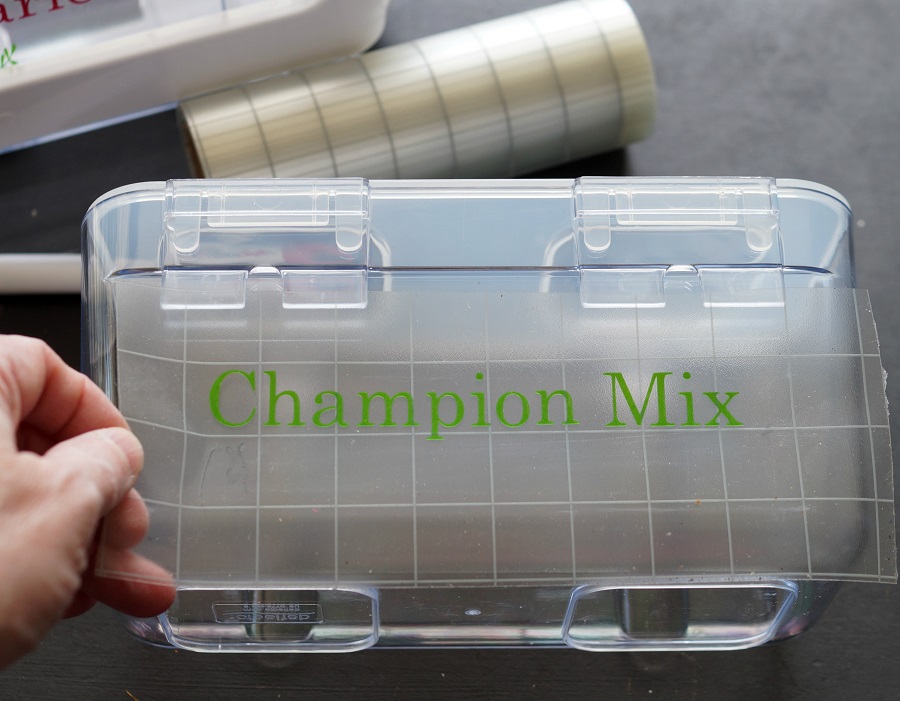
  • To help the vinyl stick securely to the glass…Wipe the surface of the wine glass with the alcohol wipe to remove any oils.   
  • Lay transfer paper onto glass. Because the surface is curved, start from the center of the image and rub one side at a time using vinyl scraper tool. The tool allows you to smooth the image and get rid of air bubbles.
  • Remove Vinyl Transfer Tape*.
  • Center leaves over floral design and repeat process.

Allow the vinyl to cure on the glass for 4 days before using. (Hand Wash Only)

And of course, you’re going to need a cute coaster to go with your wine glass.

  • Apply adhesive Silver Glitter Vinyl to the front of a chipboard coaster.  Trim around the edge of the coaster with a craft knife.
  • Create the words using red and black transparent and apply onto the coaster the same as the wine glass.  Enjoy!

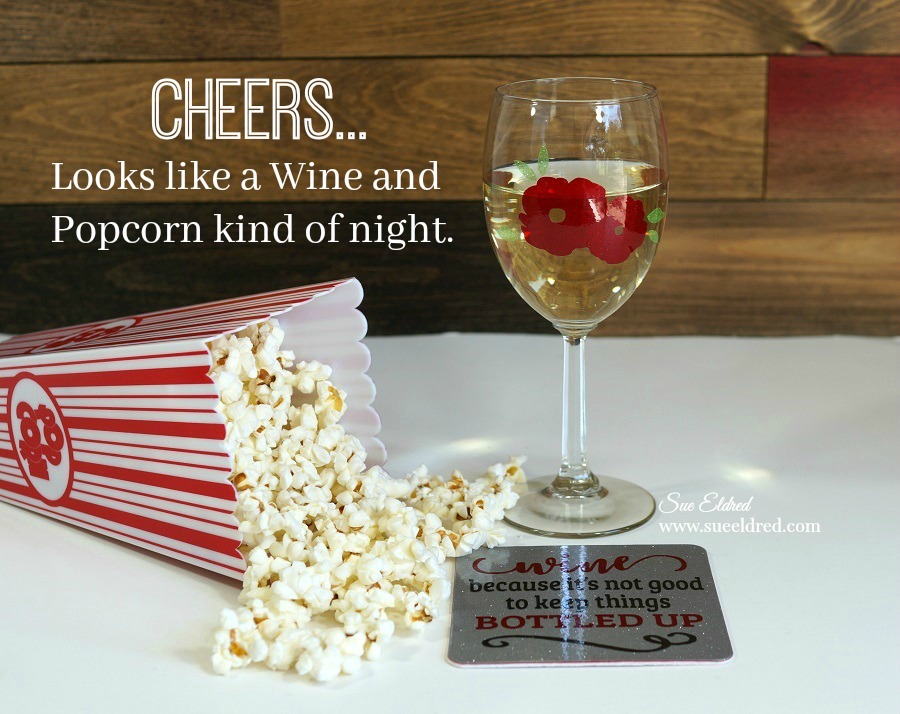
Cheers…looks like a Wine and Popcorn kind of night!

“This is a sponsored post.  As a member of the StyleTechCraft Design Team I have been provided product and compensation in exchange for my creative ideas.  The views and opinions are my own.

Save

Spring Care Basket

With so many people stuck at home, share a little love and kindness with a Spring Care Basket.

Hang the basket on the front door of an older relative or neighbor to brighten their day.

I created the care basket with extra essentials and re-purposed items I already had at home.

Here’s what I used to create the Spring Care Basket:

*Disclosure:  This blog uses affiliate links.  If you choose to make a purchase using one of the links, I receive a small commission (at no additional cost to you) that helps offset the costs of maintaining this blog.  Thanks for your support!

I refreshed the look of the basket with a new coat of paint using a white color stain.

I glued the floral applique to the front of the basket with craft glue.

After adding a little paper shred to the bottom of the basket, I filled it with useful essential items.

A little chocolate might be a nice touch too.  (if you’re willing to share)

“This is a sponsored post.  As a member of the Joy® Design Team I have been provided product and compensation in exchange for my creative ideas.  The views and opinions are my own.

Tips and Benefits of working at Home

Now that more and more people are working from home, I wanted to share a few tips for

getting organized, creating a neat desktop and benefits of working at home.

One of the first steps in creating a working environment is your workspace.

It doesn’t have to be fancy or stylish.

My desk/work surface is an old Sunday School table that I purchased at a church rummage sale.

Start with a clean desktop.  It’s the one thing I like to do to help control the chaos in life.

Find useful items to keep you organized.

I use a variety of new and vintage items to organize my craft/office space.

On my desk, I like to keep it as clutter-free as I can.

I found the Deflecto 12″ x 12″ Stackable Storage Trays* is a great way to corral my paper

clutter.  I use the first tier to hold the items I reference most often.

As a paper crafter, I use the second tier  to hold my scrapbook paper and future projects.

Also on my desk, I used the Deflecto Interlocking Marker Organizer* to hold my everyday

items.  Of course, it’s also perfect for holding your markers and other crafty items.

It’s interlocking, which means you can add multiple organizers.

And best yet…it fits inside the Deflecto Stackable Caddy Organizer*.

As a member of the Deflecto Design Team for the last 5 years,

I’m partial to all the craft and office storage items that they have.

You can check out their website here.

Disclosure:  “This is a sponsored post. As a member of the Deflecto Design Team I have been provided product and compensation in exchange for my creative ideas, views and opinions.”

Make it Personal.

It doesn’t matter if your space is temporary or permanent,

make sure it reflects your personal style.

Choose Good Lighting.

To help your eyes from getting tired, choose a light fixture to brighten up your space.

I chose an inexpensive desk lamp in my favorite color of red.

If you have room, place a favorite family photo on your desk.

It’ll remind you why you’re doing what you’re doing in the first place.

One of my favorite benefits of working from home is Cute Co-Workers.  

Don’t let the cuteness of this scruffy puppy throw you.

He’ll steal your supplies the moment you turn your back.  (sometimes right in front of your face)

Below is a short list of benefits I discovered while working at home.  (in no particular order)

10 Benefits of Working from Home

  1. A Short Commute:  My son has to be at work at 8:00 in the morning.  He said he can get up by 7:55 and still be there on time.
  2. No Traffic or Crowds
  3. Every day is Casual Friday:  (really, really casual)  Shoes optional.
  4. You don’t have to make small talk with your co-workers.  (that is unless your co-workers are really small and also home)
  5. Less annoying co-workers.
  6. No boss breathing down your neck.
  7. Save Money on Gas, Coffee, and Lunches
  8. You can eat when you want.  (Heck, you can drink wine while you work.)
  9. Throw in a load of laundry during breaks
  10. More time with your Family

(There are definite disadvantages of working from home, but, for this post, I’m choosing not to focus on those.)

This is one corner of my Office/Craft Room/Studio.

It’s where all the real work happens.

I’ve been working on this space since last Spring when I moved into my son’s old bedroom.

This room is a much larger space than I had previously.

With a fresh coat of paint, a ship-lap accent wall, it’s turning into my favorite room of the house.

With additional purging, picture hanging and organizing, it’ll be ready for a full studio tour

in no time.

*Disclosure:  This blog uses ads and affiliate links.  If you choose to make a purchase using one of the links, I receive a small commission (at no additional cost to you) that helps offset the costs of maintaining this blog.  Thanks for your support!

Creating a Mini Greenhouse for Starting Seeds

I was searching online for Mini Greenhouses when I came across an image of a container

for starting seeds that reminded me of the containers found in the

Deflecto Stackable Caddy Organizer*.

That image sparked an idea for creating a moveable mini greenhouse.

“This is a sponsored post.  As a member of the StyleTechCraft Design Team I have been provided product and compensation in exchange for my creative ideas.  The views and opinions are my own. 

Because everything’s a little better when you add vinyl…

I decided to personalize the containers.

I used a Silhouette Cameo Electronic Die Cutting Machine* to create and cut the flower

names out of Ruby and Apple Green Polished Metal adhesive vinyl from StyleTechCraft.

Using the weeding tool, carefully remove the negative spaces in and around the letters.

This blog uses affiliate links.  If you choose to make a purchase using one of the links, I receive a small commission (at no additional cost to you) that helps offset the costs of maintaining this blog.  Thanks for your support!

I also cut and weeded 4 graduating sizes of ruffled flowers using Yellow and Orange Polished

Metal Adhesive Vinyl and leaves made from Apple Green Polished Metal Vinyl.

Stager and layer the vinyl flowers to create a marigold-looking flower.

To apply the vinyl:

  • Cut a piece of transfer tape a little larger than the words.
  • Lay transfer tape over the words and give a gentle rub using a scraper tool.

  • Use the transfer tape* to apply the words onto the container.
  • Rub over the transfer tape with the scraper tool to help the letters stick.
  • Remove the transfer tape*.

The Deflecto Stackable Caddy Organizer* comes with three clear containers; small, medium,

and large.  I used the two larger containers to plant my seeds.

I took the lid off the smallest container and used it to hold my garden tools and seed packets.

  • Add a layer of potting soil to the bottom of the clear containers and sprinkle the top with seeds.
  • Add a thin layer of soil on top of the seeds and water.

The containers create a humidity dome which is great for keeping seeds moist and protected.

The seeds will start to sprout in a 5-10 days.

Old Weathered Flower Pots-Sue's Creative Workshop www.sueeldred.com

When the seedlings mature, I will transfer them into pots and then into the ground.

My Mini Greenhouse Seed Starter is easy to move around so I can take advantage of the best

sunshine.  A great project to do as a family.

(Watch the video for more information on the Deflecto Stackable Caddy Organizer*.)

Save

For more Family Fun you might also like…

How to Make Shaving Cream Art.

Shaving Cream Art-Sue's Creative Workshop www.sueeldred.com 541

PIN ME↓

DIY-Mini Greenhouse for Starting Seeds-Sue's Creative Workshop www.sueeldred.com

Lucky Number 3

Lucky Number 3

When you’re as cute as this kid…

When you’re the third brother, the third grandkid, the third grandson and…

it’s  your birthday and you’re turning three.  (it’s a really big deal)

You’re “Lucky Number 3”.

I decided to make him a special shirt for his birthday.

Making a special shirt for a special occasion is really easy when you have iron-on

embroidered letters from Joy.

Directions:

  1.  Set iron to cotton setting, approx. 350°, or follow garment care label.
  2. Remove letters from sheet.  Position letters with shiny side down onto the t-shirt.
  3. Cover letters with a fine cloth.  With firm pressure, iron cloth over the letters for 30 seconds.
  4. Turn t-shirt inside out and iron the back of the letters for 30 seconds.
  5. Allow to cool for 1 minute before handling.
  6. Turn shirt inside out when washing.

“This is a sponsored post.  As a member of the Joy® Design Team I have been provided product and compensation in exchange for my creative ideas.  The views and opinions are my own.

*Disclosure:  This blog uses affiliate links.  If you choose to make a purchase using one of the links, I receive a small commission (at no additional cost to you) that helps offset the costs of maintaining this blog.  Thanks for your support!

How to make a Ribbon Flower Wreath

Learn how to create ribbon flowers to embellish a small 6″ grapevine wreath.  

A great little Spring decoration.

Ribbon Flowers looks great on bags, gifts, wedding decorations and hair accessories.

How to make a Ribbon Flower Wreath-Sue's Creative Workshop www.sueeldred.com 8744

to make the Ribbon Flower Wreath you’ll need:

Disclosure:  This blog uses affiliate links.  If you choose to make a purchase using one of the links, I receive a small commission (at no additional cost to you) that helps offset the costs of maintaining this blog.  Thanks for your support!

How to make a Ribbon Flower Wreath:

  • Cut a 6″ piece of ribbon.
  • Use the ink applicator to apply purple ink to one edge of the ribbon.

Ribbon Flower Wreath-Sue's Creative Workshop-www.sueeldred.com 8754

  • create a running stitch down one side of the ribbon.

Ribbon Flower Wreath-Sue's Creative Workshop www.sueeldred.com 8761

  • gather the ribbon and tie thread ends in a knot.

How to make a Ribbon Flower Wreath-Sue's Creative Workshop www.sueeldred.com 8770

  • glue small vintage button to the center of the flower.
  • to create leaves:  fold a small strip of green ribbon and glue to the back of the flower.

How to make a Ribbon Flower Wreath-Sue's Creative Workshop www.sueeldred.com 8784

  • Glue flowers onto wreath.
  • Optional:  Glue small sprigs of flowers on each end of the ribbon flowers.

Did you notice?  I used the Deflecto Ribbon Dispenser* to organize and hold my ribbon.

The Deflecto Ribbon Dispenser* also fits into the Deflecto Stackable Caddy Organizer*

Hang your small wreath on a doorknob or decorative window and Enjoy.

“This is a sponsored post. As a member of the Deflecto Design Team I have been provided product in exchange for my creative ideas, views and opinions.”

Random Letter Art

You don’t need to be perfect, you are awesome.

I’ve been on the Creating with Joy Design Team for the past 5 years.

During that time I’ve created all kinds of projects using a large variety of Embroidered Iron-On

letters.  And because I occasionally change my mind of what I want my projects to say,

I have a bag of random letters.

For this month’s Design Team project I decided to use from that bag of random letters.

I gathered my letters together to see what I could spell.

Doesn’t it look like a colorful bowl of Alphabet Soup?

Supplies Needed:

To make a Framed Word Art…

  • Measure and cut a 8″ x 10″ piece of Kraft cardstock* to fit inside frame.
  • Cut a 5 1/2″ x 7 1/2″ piece of white heavyweight cardstock.
  • Arrange letters on white cardstock to play with the random letter placement.
  • Use a piece of removable painters tape to keep the letters in line.  (just because it’s not perfect doesn’t mean it can’t be straight.)
  • Apply fabri-tac glue* to the back of the letters before adhering them to the paper.  (I used my finger tip to rub the glue to the letters.)
  • Cut a piece of black cardstock 5 3/4″ x 7 3/4″, adhere finished letter art onto the black cardstock.  Adhere white and black layers onto Kraft cardstock and place inside frame.
  • Optional:  Glass in or Out?  I left the glass out of the frame for photography purposed.  I added the glass back in after I was finished taking the picture.

*Disclosure:  This blog uses affiliate links.  If you choose to make a purchase using one of the links, I receive a small commission (at no additional cost to you) that helps offset the costs of maintaining this blog.  Thanks for your support!

A little matting and a frame and I have a fun inspirational piece of  Random Letter Art.

“This is a sponsored post.  As a member of the Joy® Design Team I have been provided product and compensation in exchange for my creative ideas.  The views and opinions are my own.

Organizing the Craft Cabinet

Organizing the Craft Cabinet with Deflecto Storage

I have been slowly working on creating my perfect workspace since last Spring

when I moved my craft room into my son’s old bedroom.

I’ve been taking my time, I want to get it right.

It’s coming along beautifully.  (I hope to share it soon.)

As crafter’s go, I’m a fairly neat and tidy person.

I’m also a fan of closed-door storage.

With closed-door storage, cabinets can easily get ignored and out of control.

I had one of those ignored craft cabinets.

After clearing out the cabinet, I organized items into clear storage containers from Deflecto.

Because I’m such a nice person, I occasionally allow others to use my craft supplies.

Labeling the bins not only look good, but it’s helpful for those looking for supplies.

I used a  Silhouette Cameo Electronic Die Cutting Machine* to create and cut the words out of

StyleTechCraft black adhesive vinyl*.

I used transfer paper to apply the words onto the clear bins.

*Disclosure:  This blog uses affiliate links.  If you choose to make a purchase using one of the links, I receive a small commission (at no additional cost to you) that helps offset the costs of maintaining this blog.  Thanks for your support!

As a self proclaimed organizing nut, I find labeled bins extremely satisfying.

Clear bins make everything easier to find.

The bins are also easy to take with you when you need to work.

They keep your work space clutter-free and your supplies close at hand.

My newly Organized Craft Cabinet.  Everything fits so nice in this space.

Here’s what I used to organize my Craft Cabinet:    (*Amazon Affiliate Links)

Look for Deflecto products on Amazon, Scrapbook.com and at Michaels and Hobby Lobby.

“This is a sponsored post. As a member of the Deflecto Design Team I have been provided product in exchange for my creative ideas, views and opinions.” 

Great Craft and Home Storage from Deflecto

As a crafter, I LOVE great Craft and Home storage.

That’s just one of the reasons I like working with Deflecto.

I have their organization pieces all over my house and craft room.

I’m excited to let you know that…

Deflecto has been working on a New and Improved website for the last several months.

And it’s finally done!

They’ve updated it with a fresh modern feel with Great Inspiration and Great Products.

With links to fun videos and blog posts.

But don’t just take my word for it, check it out for yourself at www.deflecto.com.

“This is a sponsored post. As a member of the Deflecto Design Team I have been provided product in exchange for my creative ideas, views and opinions.” 

Washi Tape Heart

Washi Tape Heart Card

I love a clean and simple card, and this Washi Tape Heart Card is so simple to make.

To make the Washi Tape Heart Card…

  • Create the cut-out heart layer by cutting various sizes of hearts on a 4 3/4″ x 6 3/4″ piece of white cardstock.  I used a  Silhouette Cameo Electronic Die Cutting Machine*.  (You can also use punches or dies to create the hearts.)
  • Center the cut-out heart layer onto a white 5″ x 7″ card and lightly traced the hearts with a pencil.
  • Cover the heart outlines with several different strips of coordinating washi tape pieces.
  • Use a tape runner to adhere to the cut-out heart layer onto the front of the card, aligning it with the washi tape.

*Disclosure:  This blog uses affiliate links.  If you choose to make a purchase using one of the links, I receive a small commission (at no additional cost to you) that helps offset the costs of maintaining this blog.  Thanks for your support!

A Clean and Simple Valentines Day Card.  

Just stamp a simple greeting onto the front of the card,

or you could cut the words out of red glossy craft vinyl as I did. 

I’m glad my husband doesn’t read my blog.  

This card will make a perfect Valentine’s Day card for him.

I want to share with you the perfect organizer for holding washi tape.

The small three-drawer organizer* from Deflecto was made with washi tape in mind.

Each of the three drawers are divided and can hold a lot of washi tape.

The small three-drawer organizer* is also great for holding small ink pads and paintbrushes.

“This is a sponsored post. As a member of the Deflecto Design Team I have been provided product in exchange for my creative ideas, views and opinions.”