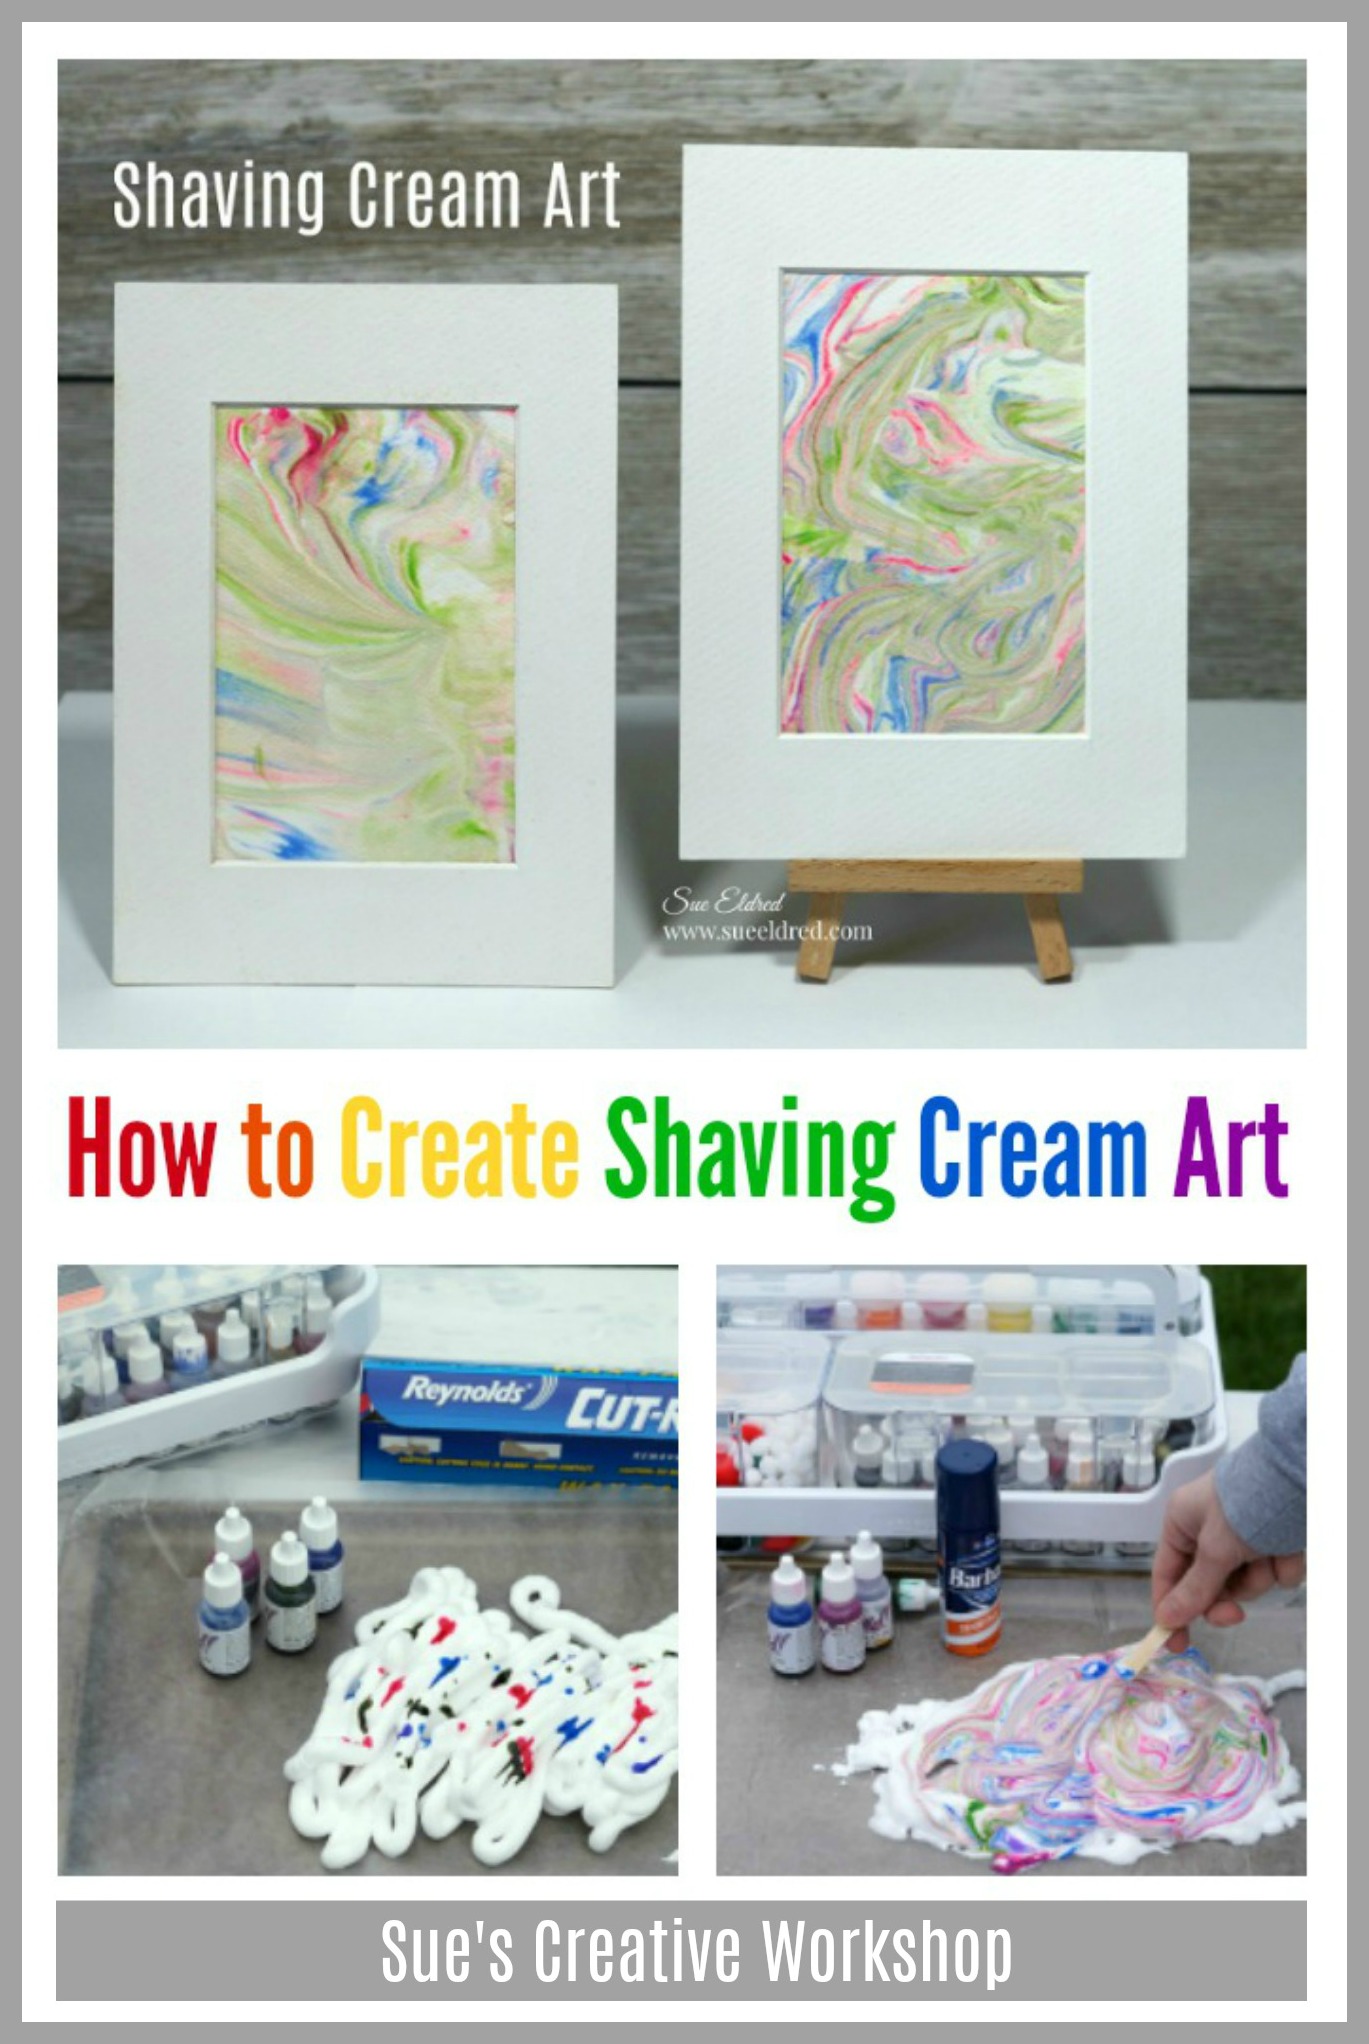
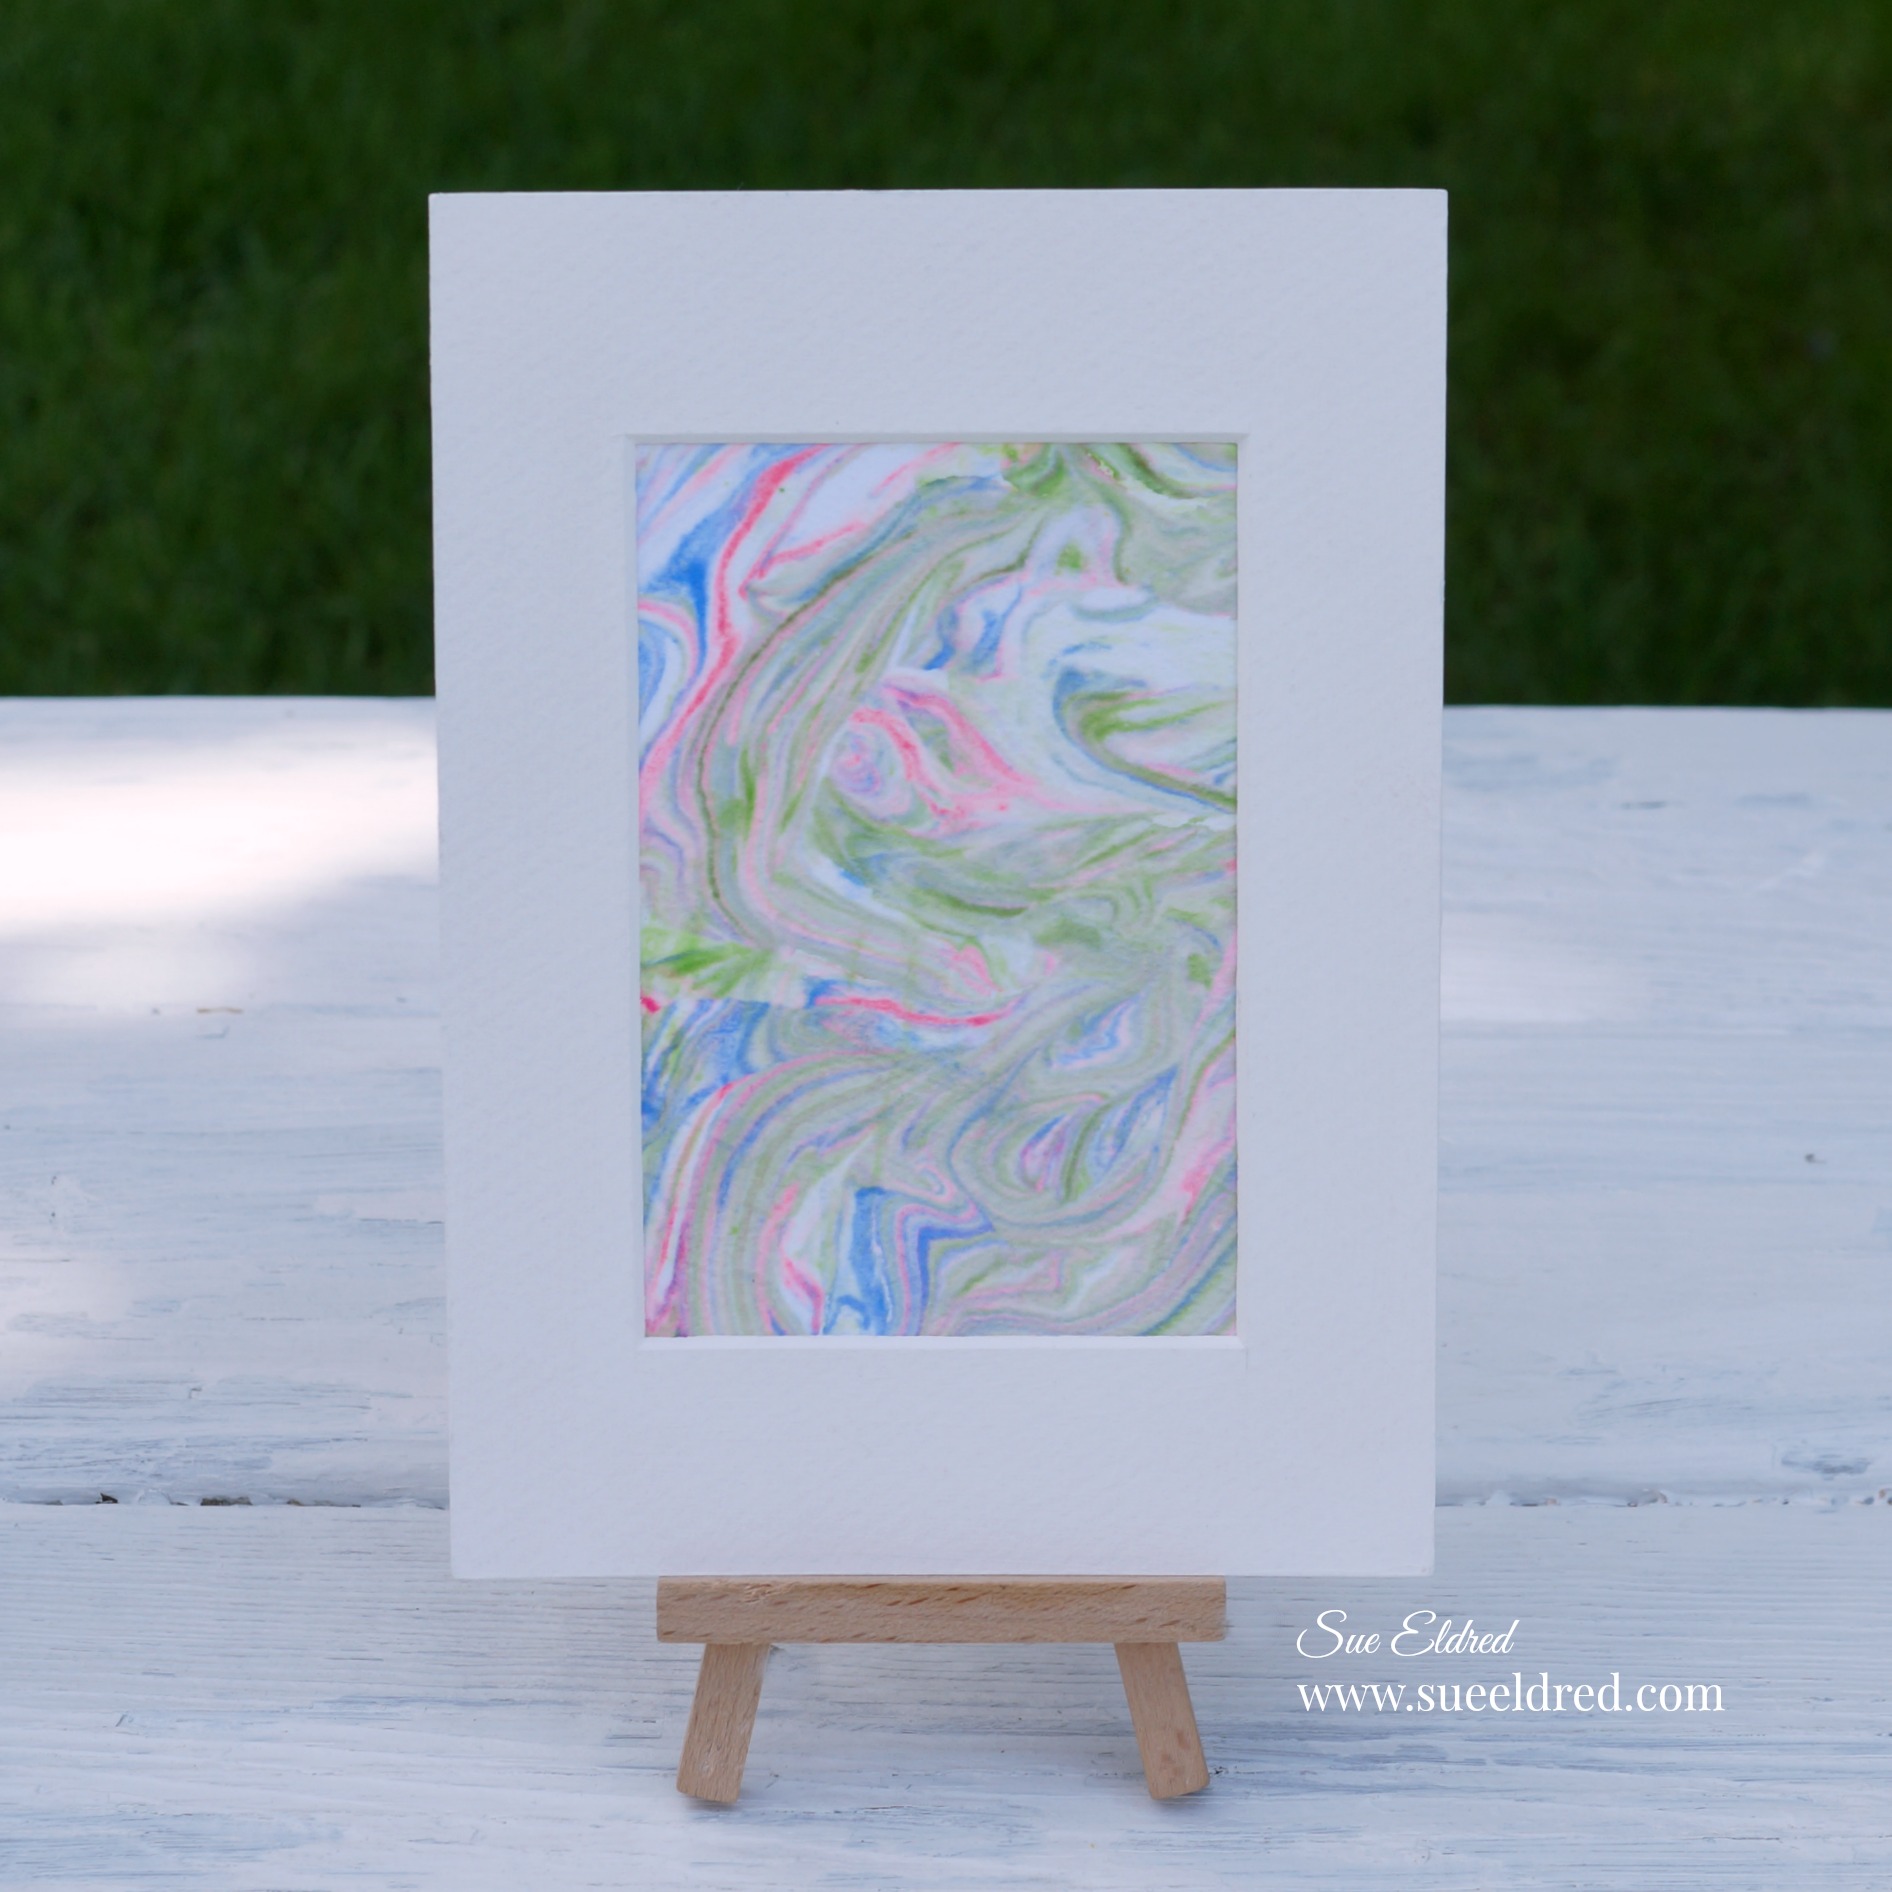
Create Unique One of a Kind Art with Shaving Cream.
Shaving Cream Art is a fun project that the whole family can participate in.

How to Create Shaving Cream Art
Materials Needed:
- Foam Shaving Cream (not gel shaving cream)
- Heavyweight Cardstock*
- Dye Base Ink Pad Refills or Food Coloring
- Wax Paper*
- Craft Sticks*
- Scraper Tool*
- Disposable Gloves*

I use the Deflecto Stackable Caddy Organizer* to hold my ink refills and other crafty supplies.

*Disclosure: This blog uses ads and affiliate links. If you choose to make a purchase using one of the links, I receive a small commission (at no additional cost to you) that helps offset the costs of maintaining this blog. Thanks for your support!
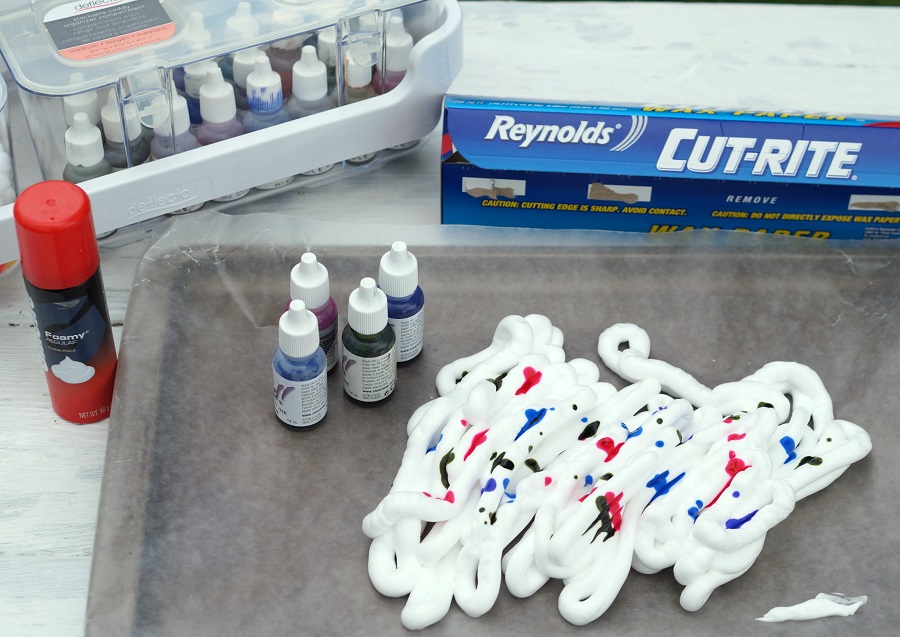
Shaving Cream Art can get a little messy so a little prep work is necessary.
- For easy clean up…Place a piece of wax paper*
over a large baking sheet.
- Add shaving cream onto wax paper.
- Add several drops of ink onto the shaving cream.
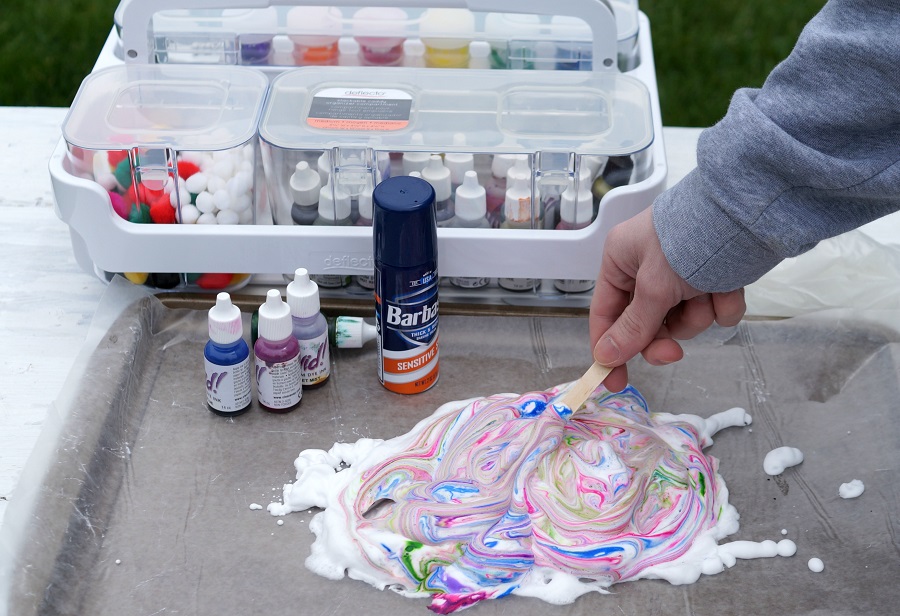
- Use a craft stick*
to swirl the ink into the shaving cream.
- Do not over stir or the shaving cream will become muddy.

- Place card-stock directly onto the shaving cream and lightly Smoosh.

- Carefully lift the card-stock from the shaving cream.
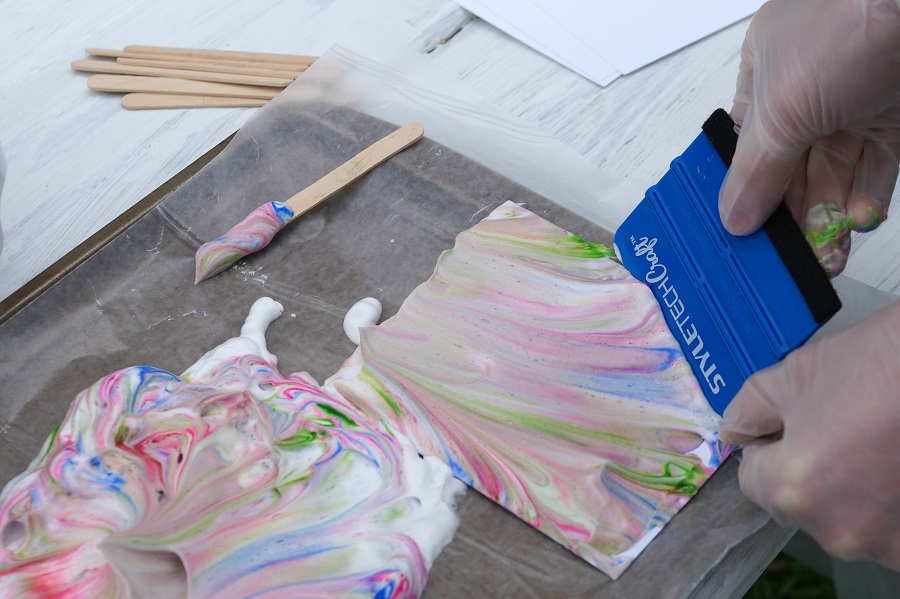
- Use the scraper tool* to scrape the excess shaving cream from the card-stock.
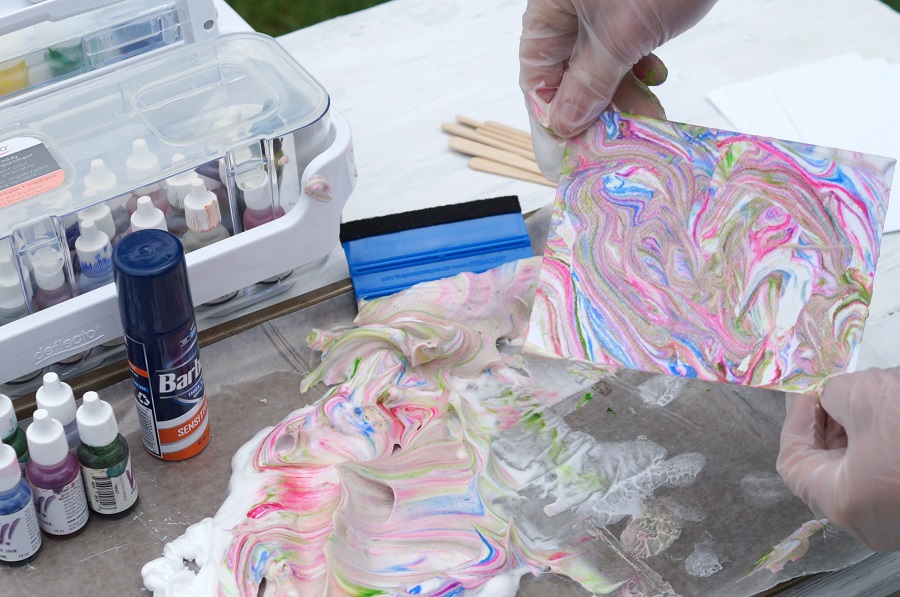
- Without re-stirring the shaving cream, you can repeat the process several more times.
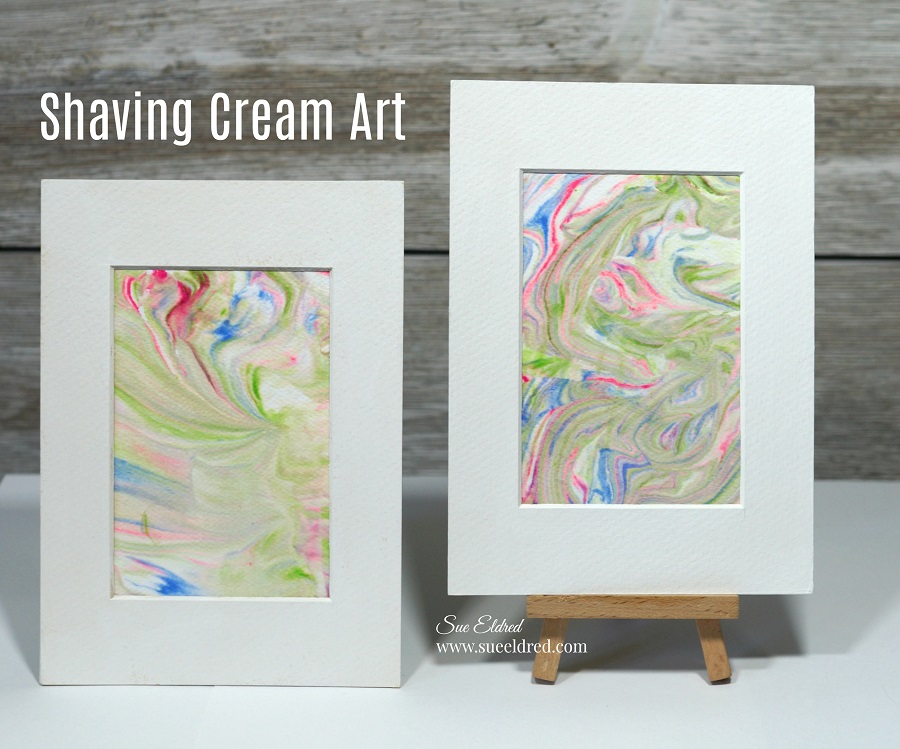
- The first one will be the most vibrant and will get subtly lighter each time.
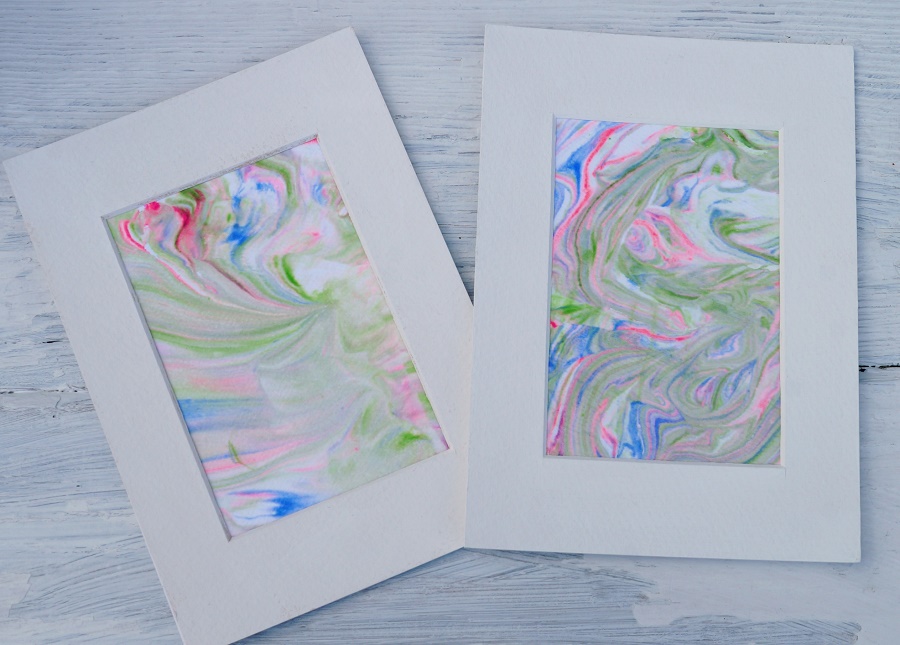
Each one will be different and will lighten as they dry.
You can use this process to create even larger pieces of art.

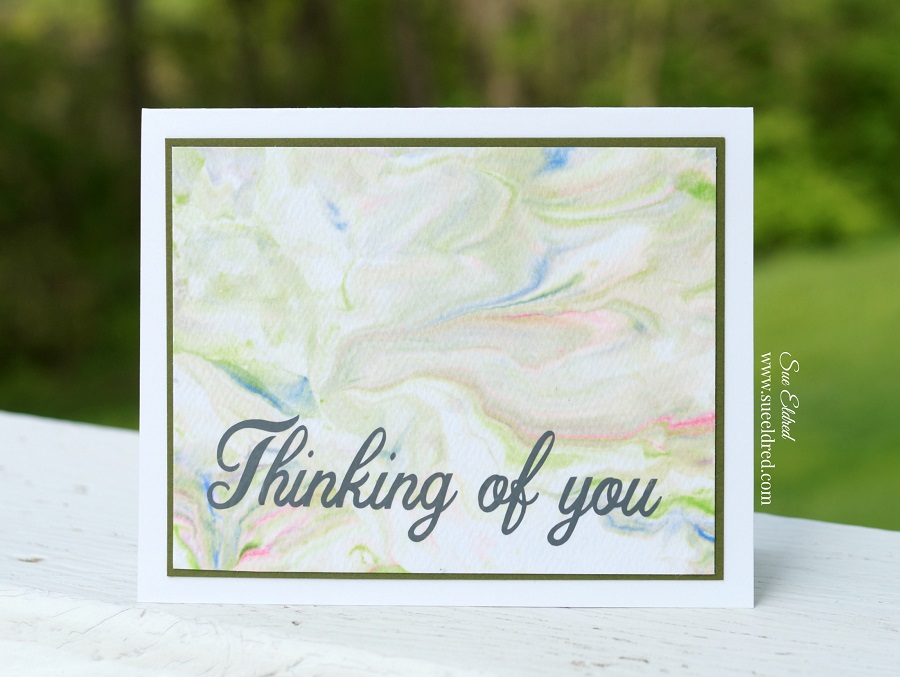
Shaving Cream Art also makes a great background for card-makers.
![]()
Disclosure: “This is a sponsored post. As a member of the Deflecto Design Team I have been provided product and compensation in exchange for my creative ideas, views and opinions.”


Don’t Miss a Thing…Make Sure to Follow me

If you liked the Shaving Cream Post you might like Gnome Gardening with Boys.
PIN ME↓