Party like it’s your Birthday

Party like it's your birthday 6158 4

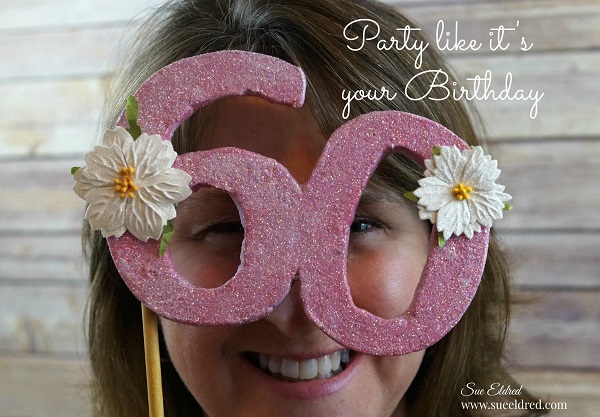
My MUCH OLDER and wiser sister recently turned 60.

Being the sweet little sister that I am… I thought I’d embarrass her with a pair of fun

party glasses.  (since she a bit shy, I’m modeling them instead)

cutting the foam 6113

Supplies:

  • Smoothfoam Sheet
  • Computer Generated Clip Art
  • Craft Knife
  • Acrylic Paint and Paintbrush
  • Mod Podge
  • Glamour Dust
  • Wood Dowel

Here’s how I made the glasses:

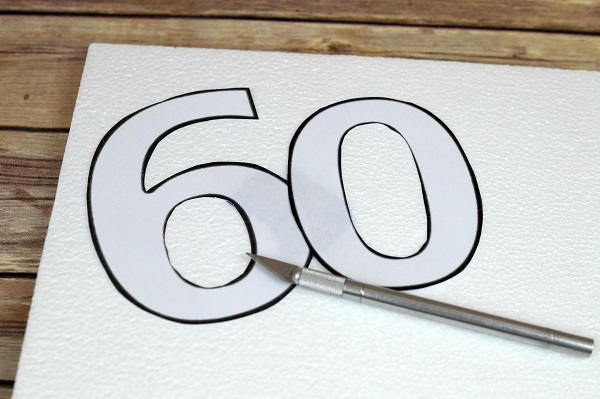
  1. Print clip art numbers onto white printer paper and cut them out.
  2. Tape the number together before tracing them onto a Smoothfoam sheet.
  3. Cut numbers out with craft knife.
  4. Paint the numbers a lipstick pink.  (my preference)
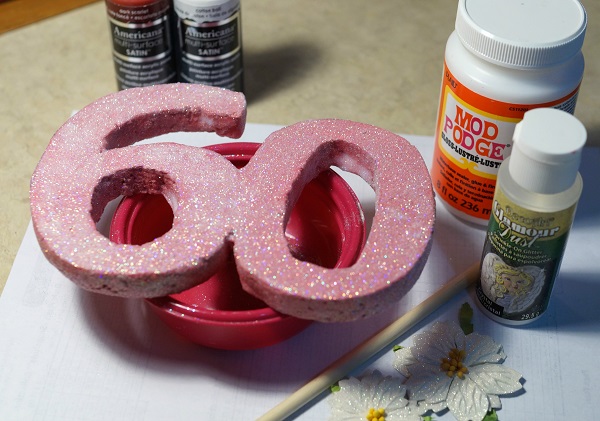
  5. After the painted numbers have dried, coat the letters with Mod Podge and sprinkle with glamour dust.glittering the numbers 6130
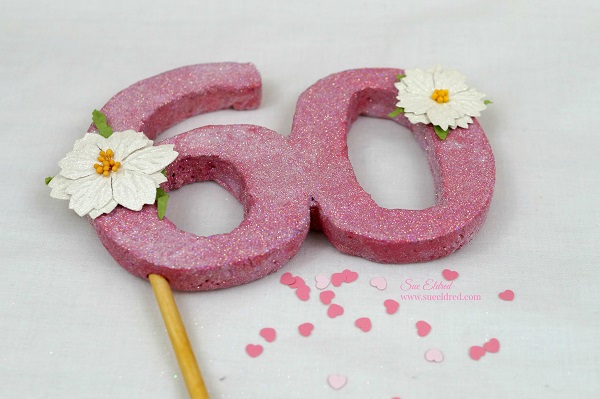
  6. Decorate the glasses with white paper flowers.
  7. Paint a thin wood dowel with gold paint and insert into glasses as a handle.

60's glasses 6150 2

This project was created and sponsored by Smoothfoam™ The Crafter’s Foam.

A Quick and Easy DIY Gift for Her

Quick and Easy Gift for her 6988

Need a quick and easy gift for Mom or that new Grad in your life?

plain pink pencil cup 7023

 Deflect-O Photo Frame Pencil Cup*                                      (*affiliate link)

This pretty pink pencil cup from Deflecto is cute all by itself.

But add some decorative washi tape, a couple small pieces of decorative paper and

a few random stickers and you have a special gift ready to give.

♥ Make it extra special and add a couple photos of you and her together. ♥

Pink Pencil Cup Close Up 7013

I wish I could tell you where to find this cute pink rosebud washi tape.

My daughter gave it to me as a mother’s day gift a few years ago.

I’m sure with the huge variety of washi tape available you’ll find one just as nice.

Pink Pencil Cup 7009

If pink’s not your style?

Here’s a project I did last year using Deflecto’s Black pencil cup. ↓

Quick & Easy Washi Tape Make Over 7014

Quick & Easy Washi Tape Make-Over

“This is a sponsored post. As a member of the Deflecto Design Team I have been
provided product in exchange for my creative ideas, views and opinions.”

 AD↓

*Disclaimer:  This post uses ads and affiliate links.  If you choose to make a purchase using one of the links, I receive a small commission (at no additional cost to you) that helps offset the costs of maintaining this blog.  Thanks for your support!

Join Amazon Kindle Unlimited 30-Day Free Trial

Justin’s Baseball Layout for Paper House Productions

Justin Baseball layout 6527

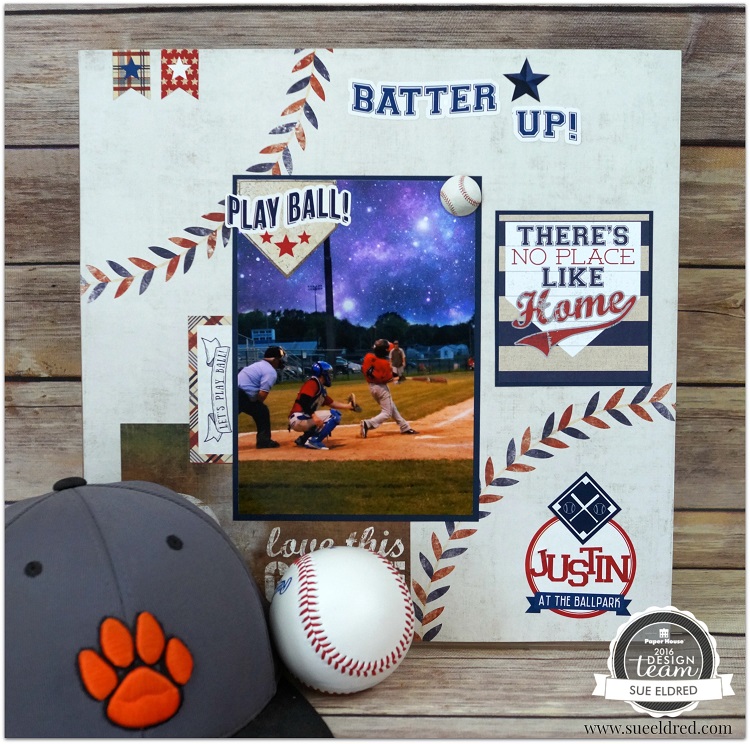
Of the 100’s of baseball pictures I’ve taken throughout Justin’s years of playing baseball,

this is one of my favorites.  Under the lights on a warm summer day.

I don’t even remember if he scored.  (I do remember we got creamed.)

Justin Baseball layout close up 6532

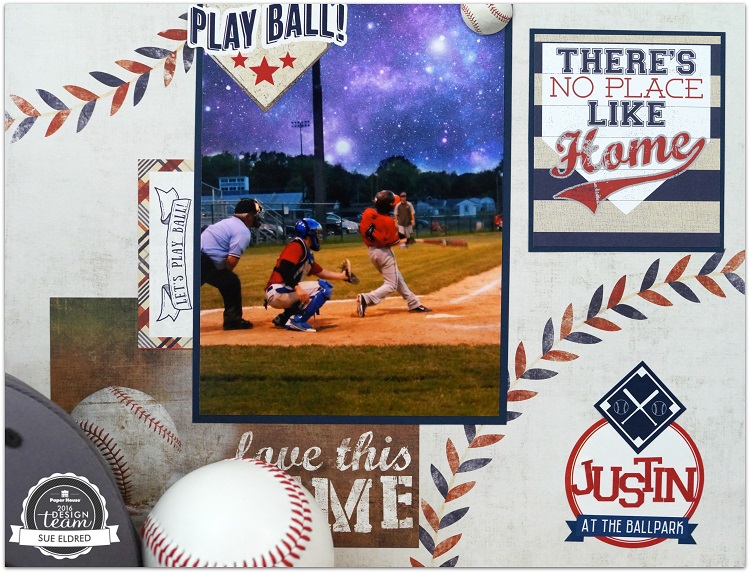
Justin decided to get a little creative and added a galaxy background to the picture.

We framed it as an 11 x 14 for his room.

Now that he’s done with baseball, I miss being a Baseball Mom.

Justin Baseball Layout 6512

Here’s what I used:


As a member of the Paper House Design Team…

This layout was created for and sponsored by Paper House Productions.

Crafting with Kids: Serenity’s Craft Bag

Serenity's Craft Supplies 2

When it comes to craft supplies for some reason people tend to refer to me.

So when I heard that my 5 year old niece was looking for beads and craft supplies for her

birthday, I jumped all over that one.

Serenity's Crafting Supplies 4207

I had a small 8″ x 8″ canvas bag from Canvas Corps and iron-on letters from Creating with Joy.

Who doesn’t like a personalized bag, to let everyone know just who’s bag it is?

I filled Serenity’s bag with a divided container full of beads and gave her paintbrushes,

pom poms, craft stems and pink scissors.  (Things a typical 5 year old might need.)

True story…

Sad Nick Face

One Sunday, my 5 year old grandson, said to me, “Grandma, let’s do a project.”

I looked him straight in the eyes and said…

“Do I look like the kind of Grandma that does projects?”

He gave me the saddest look, not knowing what to say.

Happy Nick Face

When his mom started laughing, a big smile emerged.

I can’t remember if we did a project or not.

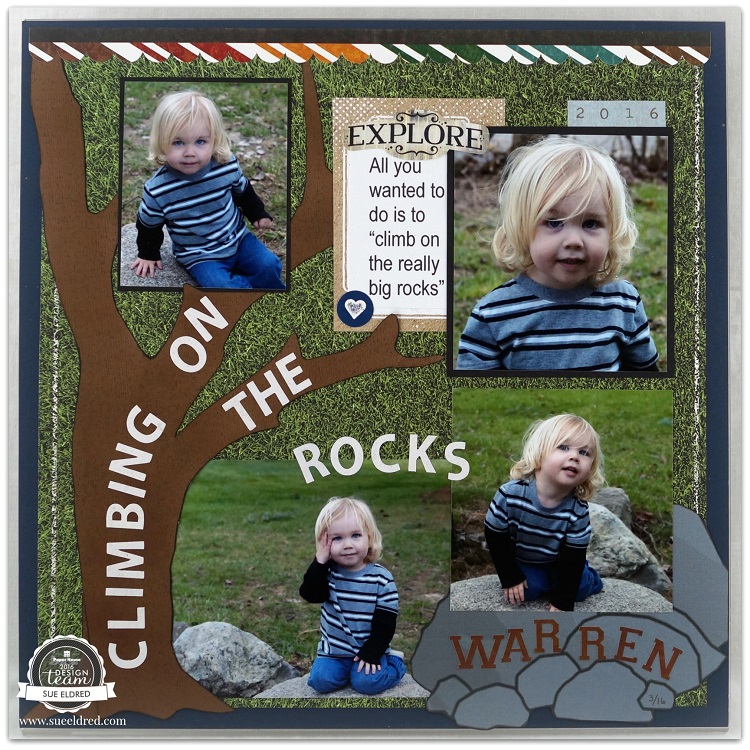
Climbing on the “Really Big Rocks” with Warren

Climbing on the really big rocks with Warren 6062

On a warm afternoon in March, I got the chance to play with Warren outside all by himself.

We played basketball for a little while and then he was off to climb on the “really big rocks”. 

Under the tree, in our front yard we have a grouping of big rocks.

When your a two year old little boy it’s the perfect place to climb.

It was such a beautiful day, we played outside for over an hour.

Warren Climbing on the Rocks 6076

I mixed a variety of Paper House Collections to create this fun layout.

From the Faith Collection to Sports and Travel.  They all work well with each other.

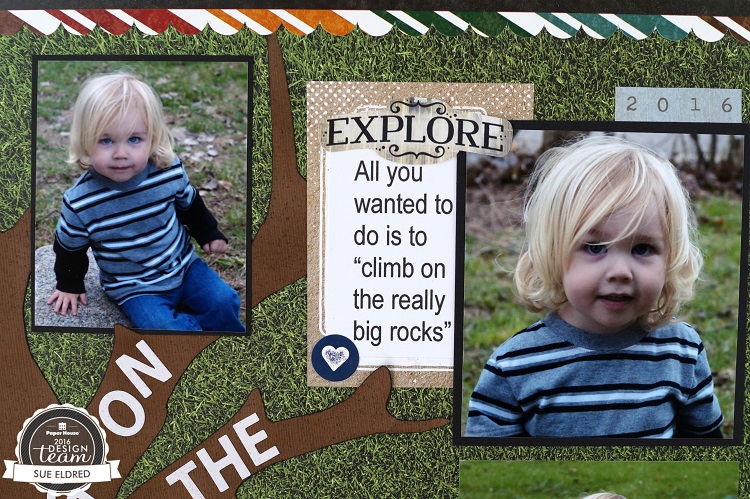
Climbing on the rocks close up 6082

I cut a tree silhouette out of brown cardstock and rubbed Tim Holtz Distress Ink in Vintage photo

and outlined the tree with a black marker to give it some dimension.

I printed the rocks clip art onto grey cardstock and cut out.

Climbing on the rocks 06083

Here’s what I used for my layout:

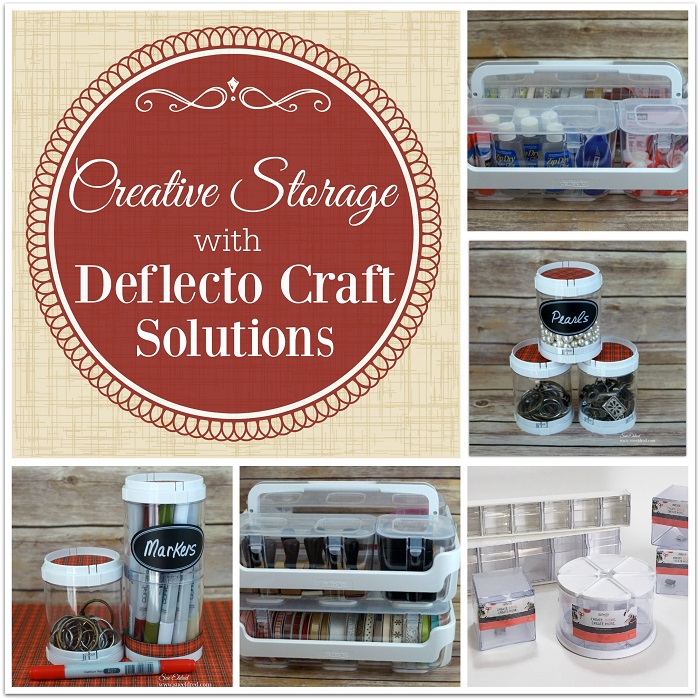
Clever Storage Ideas

Creative Storage Collage 2

I’m not one that’s easily impressed…

I’ve been told I’m a hard sell.

Let me tell you, these new storage containers from Deflecto has really impressed me.

So much that I made a quick 2 minute video to show the benefits and features.

Well thought out and versatile.  My new go to caddy to take to classes.

Ask for them at your local craft store.  Also available on Amazon*.

Deflecto Caddy Organizer, Three Compartments, White (29003CR)

Deflecto Stacking Organizer, 3″ x 3.89″ x 3″, 1 Compartment (20101CR)


“This is a sponsored post. As a member of the Deflecto Design Team I have been
provided product in exchange for my creative ideas, views and opinions.”

*This post uses Amazon Affiliate links.  I am an Amazon Affiliate

DIY Seashell Lamp

DIY Seashell Lamp 5998

Oh…to be by the ocean listening to the waves and picking up shells.

Lately, I’ve been dreaming of summer vacation and relaxing on the beach.  (it’s my happy place!)

Like most people, I love to walk the beach and collect shells.

During the summer, I like to display my shells in a large clear vase on the mantle.

It reminds me of fun summer family vacations.

Last month, when I received the Lighten Up Kit from Etchall®, I thought…

“wouldn’t it make a cute Seashell Lamp to put on the patio to use on those

warm summer nights?”

I used shells collected during our trips to South Carolina.  (some even from the Isle of Palms)

Lamp Close Up 5992

Here’s what I used to make the DIY Seashell Lamp:        (*affiliate link)

Seashell Lamp Collage 2

The shade measures 4″ x 7″.

Directions:

  1. Clean mason the jar to remove all dirt, fingerprints and oil.  Dry with a coffee filter, paper towel, or lint-free cloth.
  2. Mask off a 1″ area around the mason jar with removable painters tape.
  3. Apply a heavy coat of etchall® etching crème to the masked area using the etchall® squeegee.  Leave etching crème on for 15 minutes.  After etching time has elapsed, use the squeegee to return the crème back into the original container for later re-use.
  4. Rinse etched surface with hot water to remove any remaining crème.  Remember to keep crème away from porcelain or ceramic tiles.
  5. Dry mason jar and apply the “relax” peel and stick stencil onto the middle of the first side.  Mask the sides of the stencil with removable painter’s tape.
  6. Using a stencil brush and the multi surface paint, fill in the open areas of the stencil.
  7. Carefully remove stencil and clean before stenciling on the other three sides of the jar.
  8. Fill Jar with sand and shells.
  9. Using the plastic sleeve template, trace onto a piece of burlap. Cut the burlap leaving a 1/2″ allowance around traced template.  Craft Confession:  I tried using a “stick it adhesive sheet” on the burlap first before cutting it out.  It didn’t work.  (see next step)
  10. Use spray adhesive to coat the back of the burlap.  Apply onto the lampshade and trim.
  11. Glue twine around edge of lampshade.

Optional:  The top of the shade is removable so I spray painted it black.

DIY Seashell Lamp 05959

The Lighten Up Kit is pretty easy to customize.  Lots of possibilities.

It comes with a self-illuminating lampshade with LED lights, template and instructions guide.

It uses 3 AA batteries so it’s portable and can be used almost anywhere.

The DIY Seashell Lamp was created for and sponsored by Etchall®.

Shop Your Fav Brands at Scrapbook.com

*Disclosure  This blog uses ads and affiliate links.  If you choose to make a purchase using one of the links, I receive a small commission (at no additional cost to you) that helps offset the costs of maintaining this blog.  Thanks for your support!

The Beautiful Monochromatic Colors of Colorways

If you love beautiful monochromatic colors and patterns…

then you’ll love the new paper collections from Paper House Productions called ColorWays.

Colorways Atlantis 5409

Today I’m sharing a couple of cards I made using the ColorWays collection for the Paper House

Productions Design Team.  My “beautiful Memories” patchwork card was made using the “Atlantis”

collection of lovely turquoise and blues.

Beautiful Memories Card:

Paper House Pink Birthday Card 4312

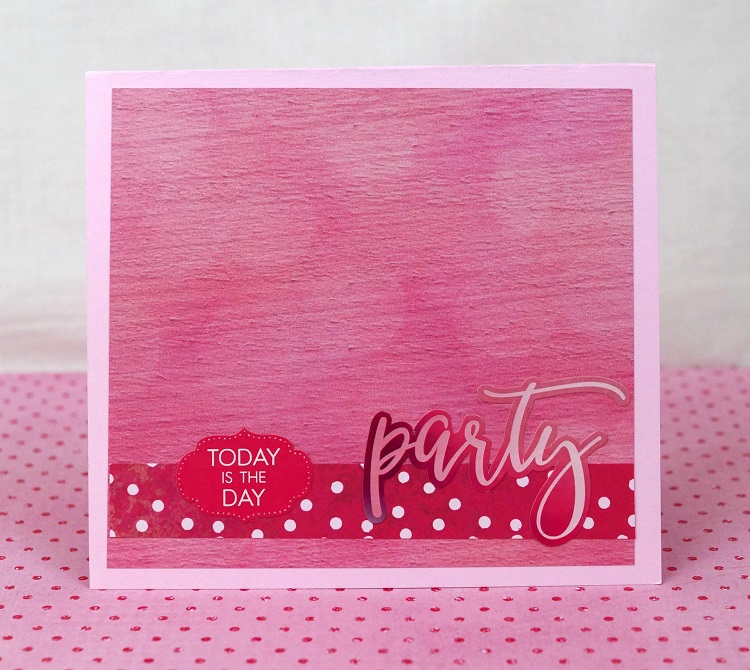
This next card is a birthday card I made for my niece using the “Flamingo” collection.

A fun loving pink collection.  It’s so easy to make cards with these perfectly coordinated patterns.

Tori’s Birthday Card:

Tori's Birthday Card 4337                                                                                                               (inside of Tori’s card ↑)

“This is a sponsored post.  As a member of the Paper House Productions Design Team, I have been provided product in exchange for my creative ideas.  The views and opinions are my own.

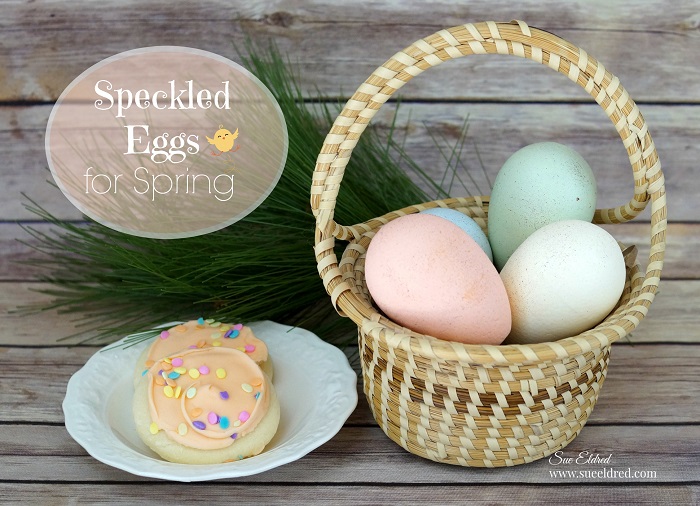
Speckled Eggs for Spring

Speckled Eggs for Spring 4927

Now that I only have a teen-ager at home, we don’t do the dyed eggs anymore.  (he’s no fun)

But… I still needed some soft pastel hued Speckled Eggs for Spring.

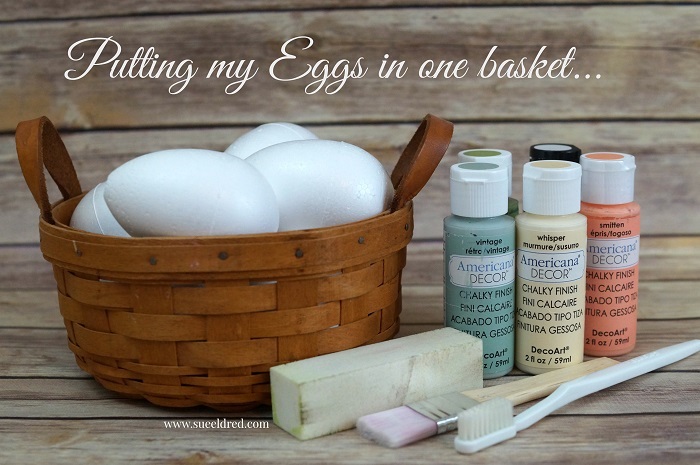
Putting my eggs in one basket 4847

So… I grabbed a few of my Smoothfoam Eggs.

I gave the eggs a light sanding to remove the ridge and painted them with a soft chalky finish.

Like the name suggests, these eggs have a smooth finish making them perfect for painting.

The best way to paint an egg 4895

The best way to paint an egg…

Use a small glass or candle votive to hold the egg.  Paint one half of the egg at a time.

Speckled Eggs Close Up 4943

I especially like the look of speckled eggs, so I grabbed an old toothbrush for speckling.

  • Speckled the eggs by lightly rubbing the old toothbrush into brown paint and gently flicking the paint onto the eggs.
  • Make sure to wear an apron to protect your clothing.  Flicking can be quite messy.

This project was created for and sponsored by Smoothfoam™, The Crafters Foam.

Paper Sculpting made easy…

Another Fun Blog Hop!

As a Deflecto Design Team member, I am super excited this week to play with our friends over at Stampendous.  With two amazing teams joining in the fun you will want to check in everyday of the hop.  There will be some fabulous projects and we’re going to be showing them off all week long.

Make sure to scroll all the way to the bottom for a chance to win some awesome prizes.

Deflecto Stampendous Blog Hop Logo 2

 Paper Sculpting made easy…

Deflecto Stampendous Blog Hop 5022 1

Years ago, when I still had my store, we had a Paper Sculpting Card Class

using of all things a sunflower stamp.  (oh, my…cutting all those petals!!!)

While the end look was beautiful, I thought the ladies were going to revolt.

They held that card over my head for years.  (it was not for the faint of heart)

Matter of fact, I was reminded of that card not that long ago.


Do you love the look of paper sculpting but hate all that fussy cutting?

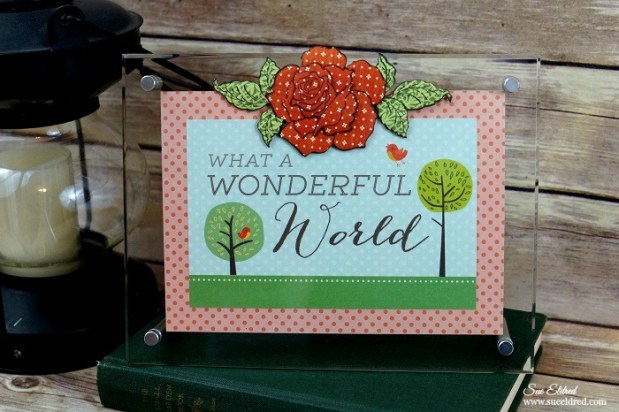
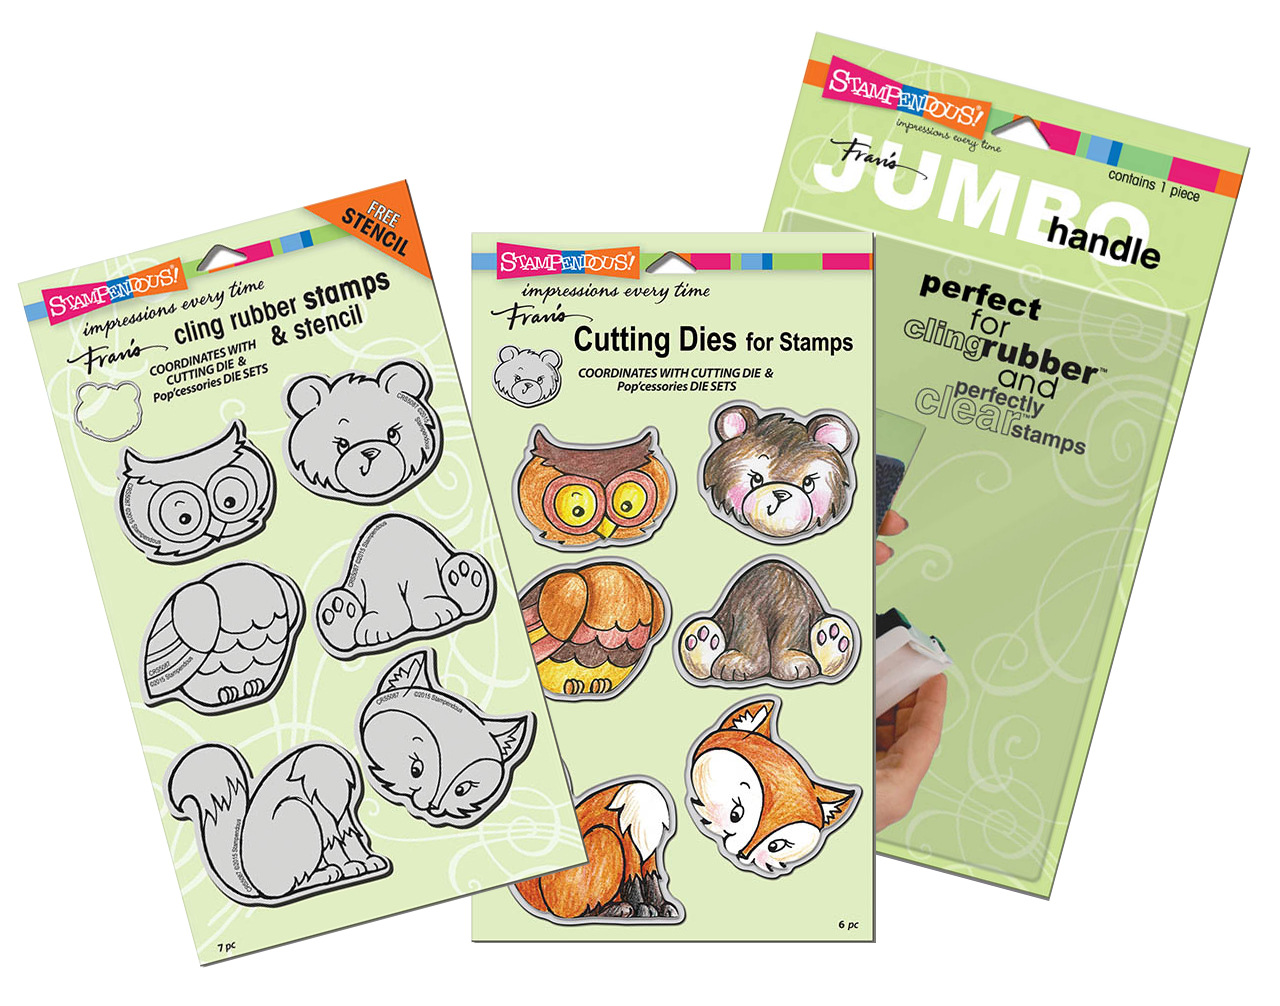
With this stamp and die set from Stampendous, there is minimal cutting and the flower assembly

goes together very quickly.

The Cling Rose Bouquet Rubber Stamp Set from Stampendous comes with various sizes

of flowers each meant to be used separately or layered together to create one large dimensional flower.

When used with the matching die set, you get amazing results.
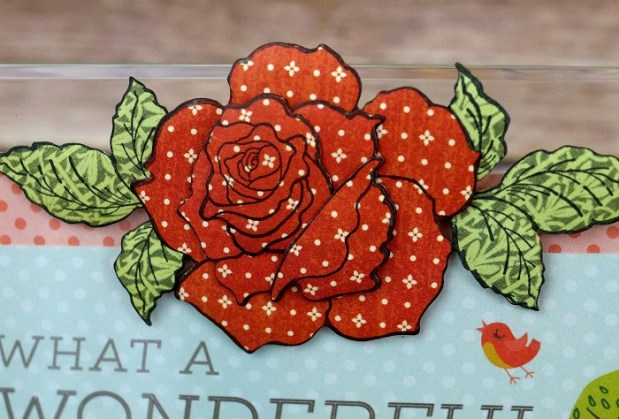
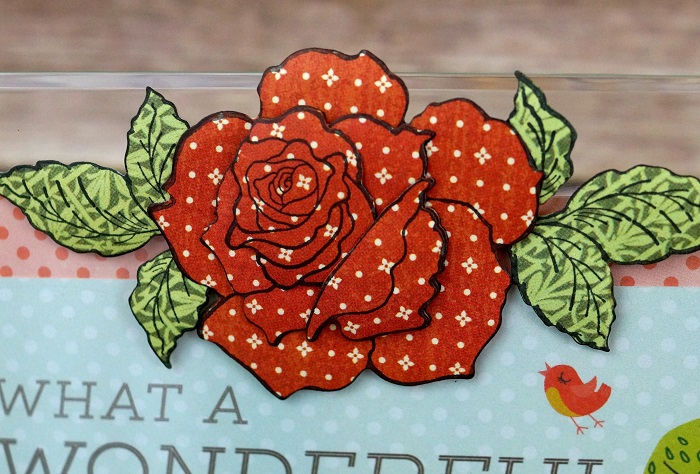
Flower Close Up 5015

Here’s what I used on my frame:

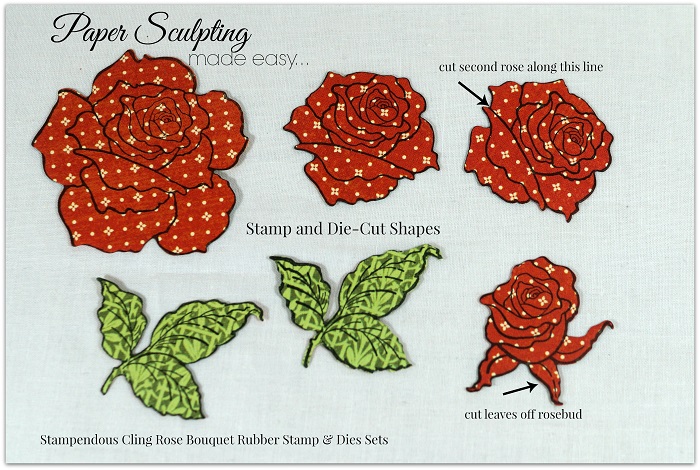
Paper Sculpting made easy

Directions:

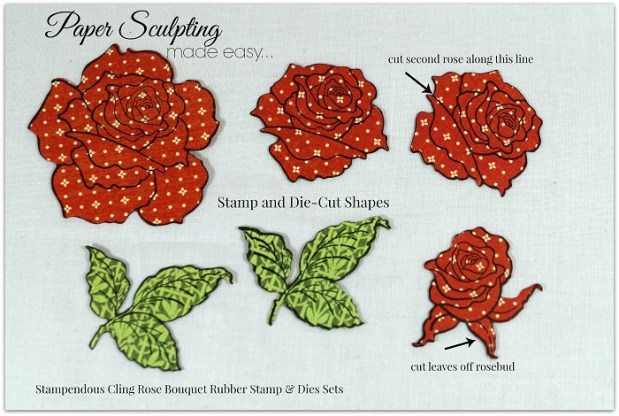
  1. Stamp the flowers and leaves onto the patterned paper.  (see above image)
  2. Die-cut the shapes using the thin dies and big shot die-cutting machine.
  3. Cut the leaves off the rosebud and the bottom portion of the second stamped rose image.
  4. Use a gray marker to go around the outside edge of each image to hide the white core of the patterned paper.
  5. Using a foam mat or mouse pad and a large ball stylus, turn the shapes over onto the mat and gently rub the shapes with medium pressure on the back of the shapes.  This will give the shapes added dimension.
  6. Using thin foam mounting squares, adhere the flower sections together in this order: large rose, medium rose, rosebud and bottom section of medium rose to create one large rose.
  7. Cut out the 4″ x 6″ What a Wonderful World section and adhere onto a 5″ x 7″ polka dot paper layer.
  8. Add layers inside the clear acrylic beveled frame from Deflecto.
  9. Mount dimensional flowers and leaves onto the front of the frame using thin foam mounting squares.

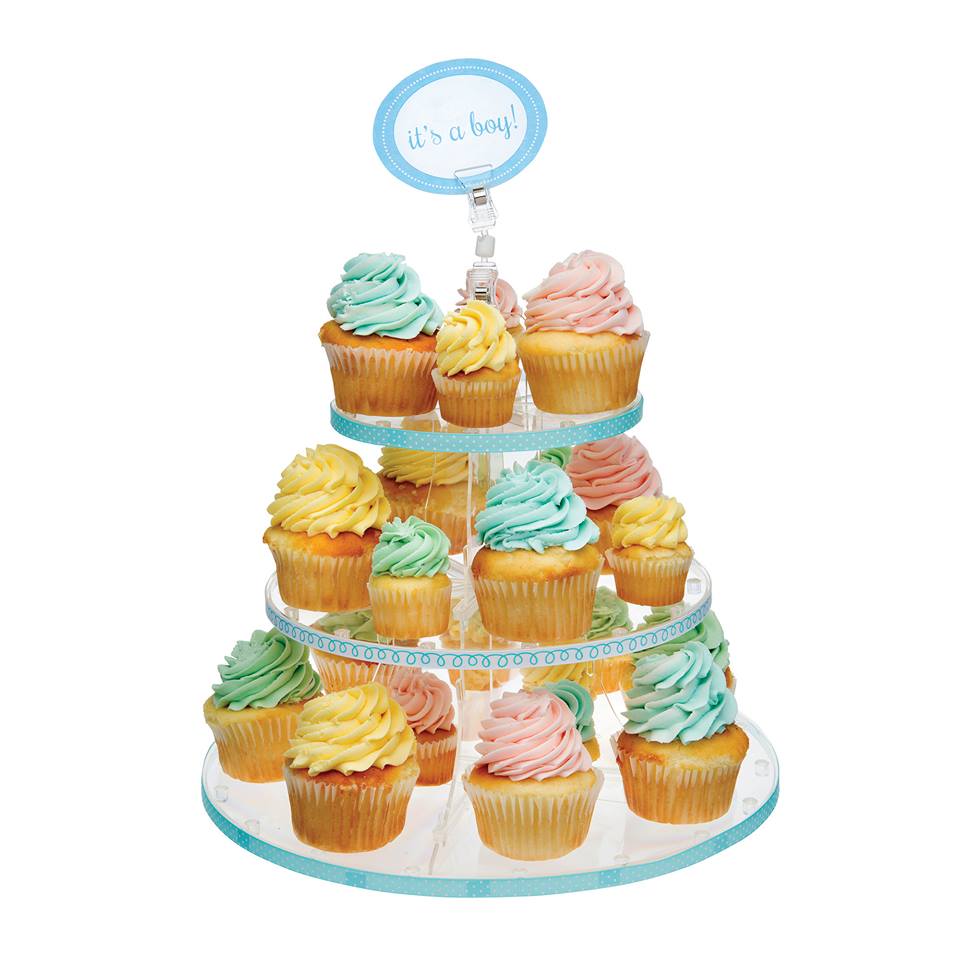
You’ll want to get your commenting fingers ready!  Each comment on a post this week will enter you to win a fabulous prize package! (one comment per post, per person)  Contest open to USA residents only.  We have three prizes, and each will have a 3 Tiered Cake Stand from Deflecto AND the Stamp and Die Sets from Stampendous.

Cupcake StandCRS5087_DCS5087_SSH57

Now click on the links below and get to hoppin’!  Remember to comment on each blog and then return to the Deflecto Blog and leave a comment there for your chance to win.

Are you social? We are too! Please check us out at the following locations…


“This is a sponsored post. As a member of the Deflecto Design Team I have been
provided product in exchange for my creative ideas, views and opinions.”

*This post uses Amazon Affiliate links.  I am an Amazon Affiliate