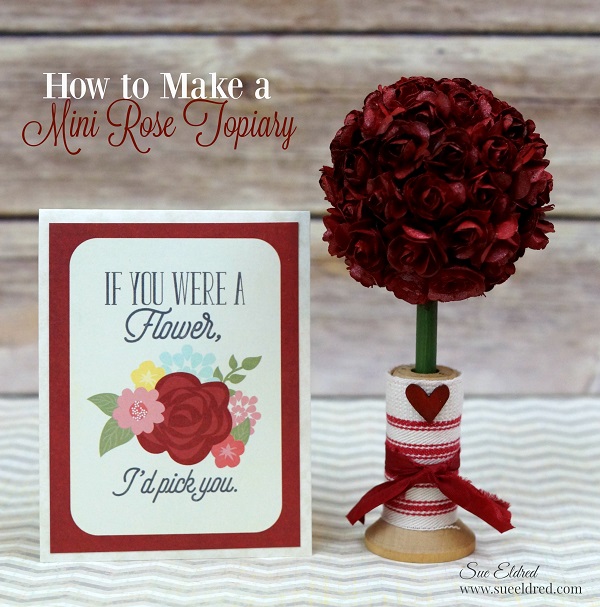
How to Make a Mini Rose Topiary

How to Make a Mini Rose Topiary 04034

Maybe it has something to do with my short stature, but, I have always had a thing for

miniatures.  My momma always told me “Good things come in small packages”.

(which I whole-heartily believed)

The Mini Rose Topiary is a project that can be easily adapted to make larger topiaries.

I just happen to like mine mini.

How to make a Mini Rose Topiary

How to make a Mini Rose Topiary

Here’s what I used:                                                                    (*affiliate link)


Directions:

  1. Spray Roses and small wood heart with the Mistable Paint.   Allow plenty of time to dry.
  2. Paint the 2″ Smoothfoam Ball  and the wood dowel with the green acrylic paint.
  3. Poke hole into the end of the 2″ ball.  Squirt a little glue in the hole and insert the painted dowel.
  4. Starting at the top of the ball.  Glue roses, one by one, onto the ball with a fast drying glue until covered.  After the rose ball is formed, you may want to go back and re-mist the flowers for additional coverage.
  5. Cover the wood spool with the ticking material and glue the end in place.  Tie a small piece of crinkle ribbon around the ticking and glue the wood heart on top.
  6. Insert rose topiary into the small wood spool.

TIP:  Try making a topiary using larger Smoothfoam balls and silk flowers inserted into a pail, vase or containers.

The Mini Rose Topiary was created for and sponsored by Smoothfoam™ The Crafter’s Foam.

"Painting

*Disclaimer:  This post uses ads and affiliate links.  If you choose to make a purchase using one of the links, I receive a small commission (at no additional cost to you) that helps offset the costs of maintaining this blog.  Thanks for your support!


How to Create a Wedding Memories Card Box

I am honored to have had my Wedding Memories Card Box featured as a special project in

DIY Wedding Magazine’s Holiday Issue.

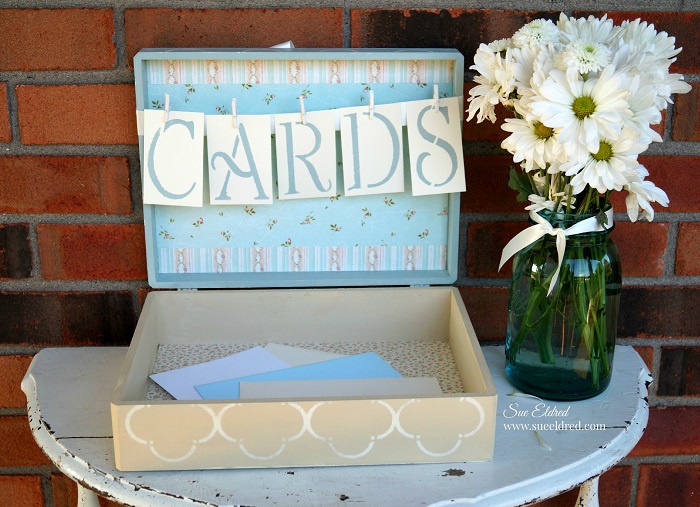
Wedding Memories Keepsake Cards Box 1

The Wedding Memories Cards Box is a dual-purpose box to hold cards at the Reception

and then to be used later to store the Wedding Memories to be cherished for years to come.

Wedding Memories Card Box 8032

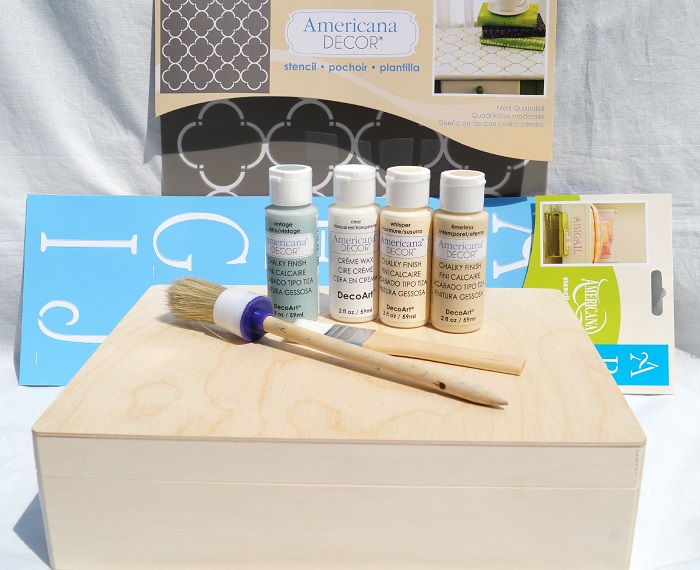
I started with a plain wood box from Walnut Hollow and Chalky Finish Paint from Deco Art to create a soft timeless finish.

Supplies Used:    (*amazon affiliate links)

Finished Size: 9” x 12” x 3 1/2”

Wedding Memories Card Box Collage

Directions:

  1. Paint the top portion of the cornice box with “Vintage” Chalky Finish paint and the bottom portion of the box with “Timeless” Chalky Finish paint. (Inside and out)
  2. Lightly sand the box to smooth out the finish.
  3. Position “Mod Quatrefoil” stencil over the top of the box. Secure the stencil in place with the painter’s tape to prevent slipping. Use stipple brush to apply “Whisper” Chalky Finish paint inside open stencil areas.
  4. Remove stencil.
  5. Position and stencil “Mod Quatrefoil” pattern onto the sides of box.
  6. Allow paint to dry for a few hours and lightly sand over the stenciled area to give a slightly worn look.
  7. Apply clear crème wax onto the inside and outside of the box.
  8. Wait one hour and buff box using a soft, clean rag.
  9. Measure and apply decorative paper onto the inside of the box.
  10. Tie a long length of Antique White Satin ribbon around the top of the box, tying a bow on the top.
  11. Cut cream cardstock into five 2 1/4” x 3 1/2” pieces.
  12. Stencil the letters to spell “CARDS” onto cream cardstock using the 3” Simple Script Alphabet.
  13. On the inside of the box: Clip the letters onto the ribbon using the mini clothespins.

Wedding Memories Card Box closed

This project was sponsored by Deco Arts and Walnut Hollow. 

Shop Handmade – The Wedding Store

Disclaimer:  This blog uses ads and affiliate links.  If you choose to make a purchase using one of the links, I receive a small commission (at no additional cost to you) that helps offset the costs of maintaining this blog.  Thanks for your support!

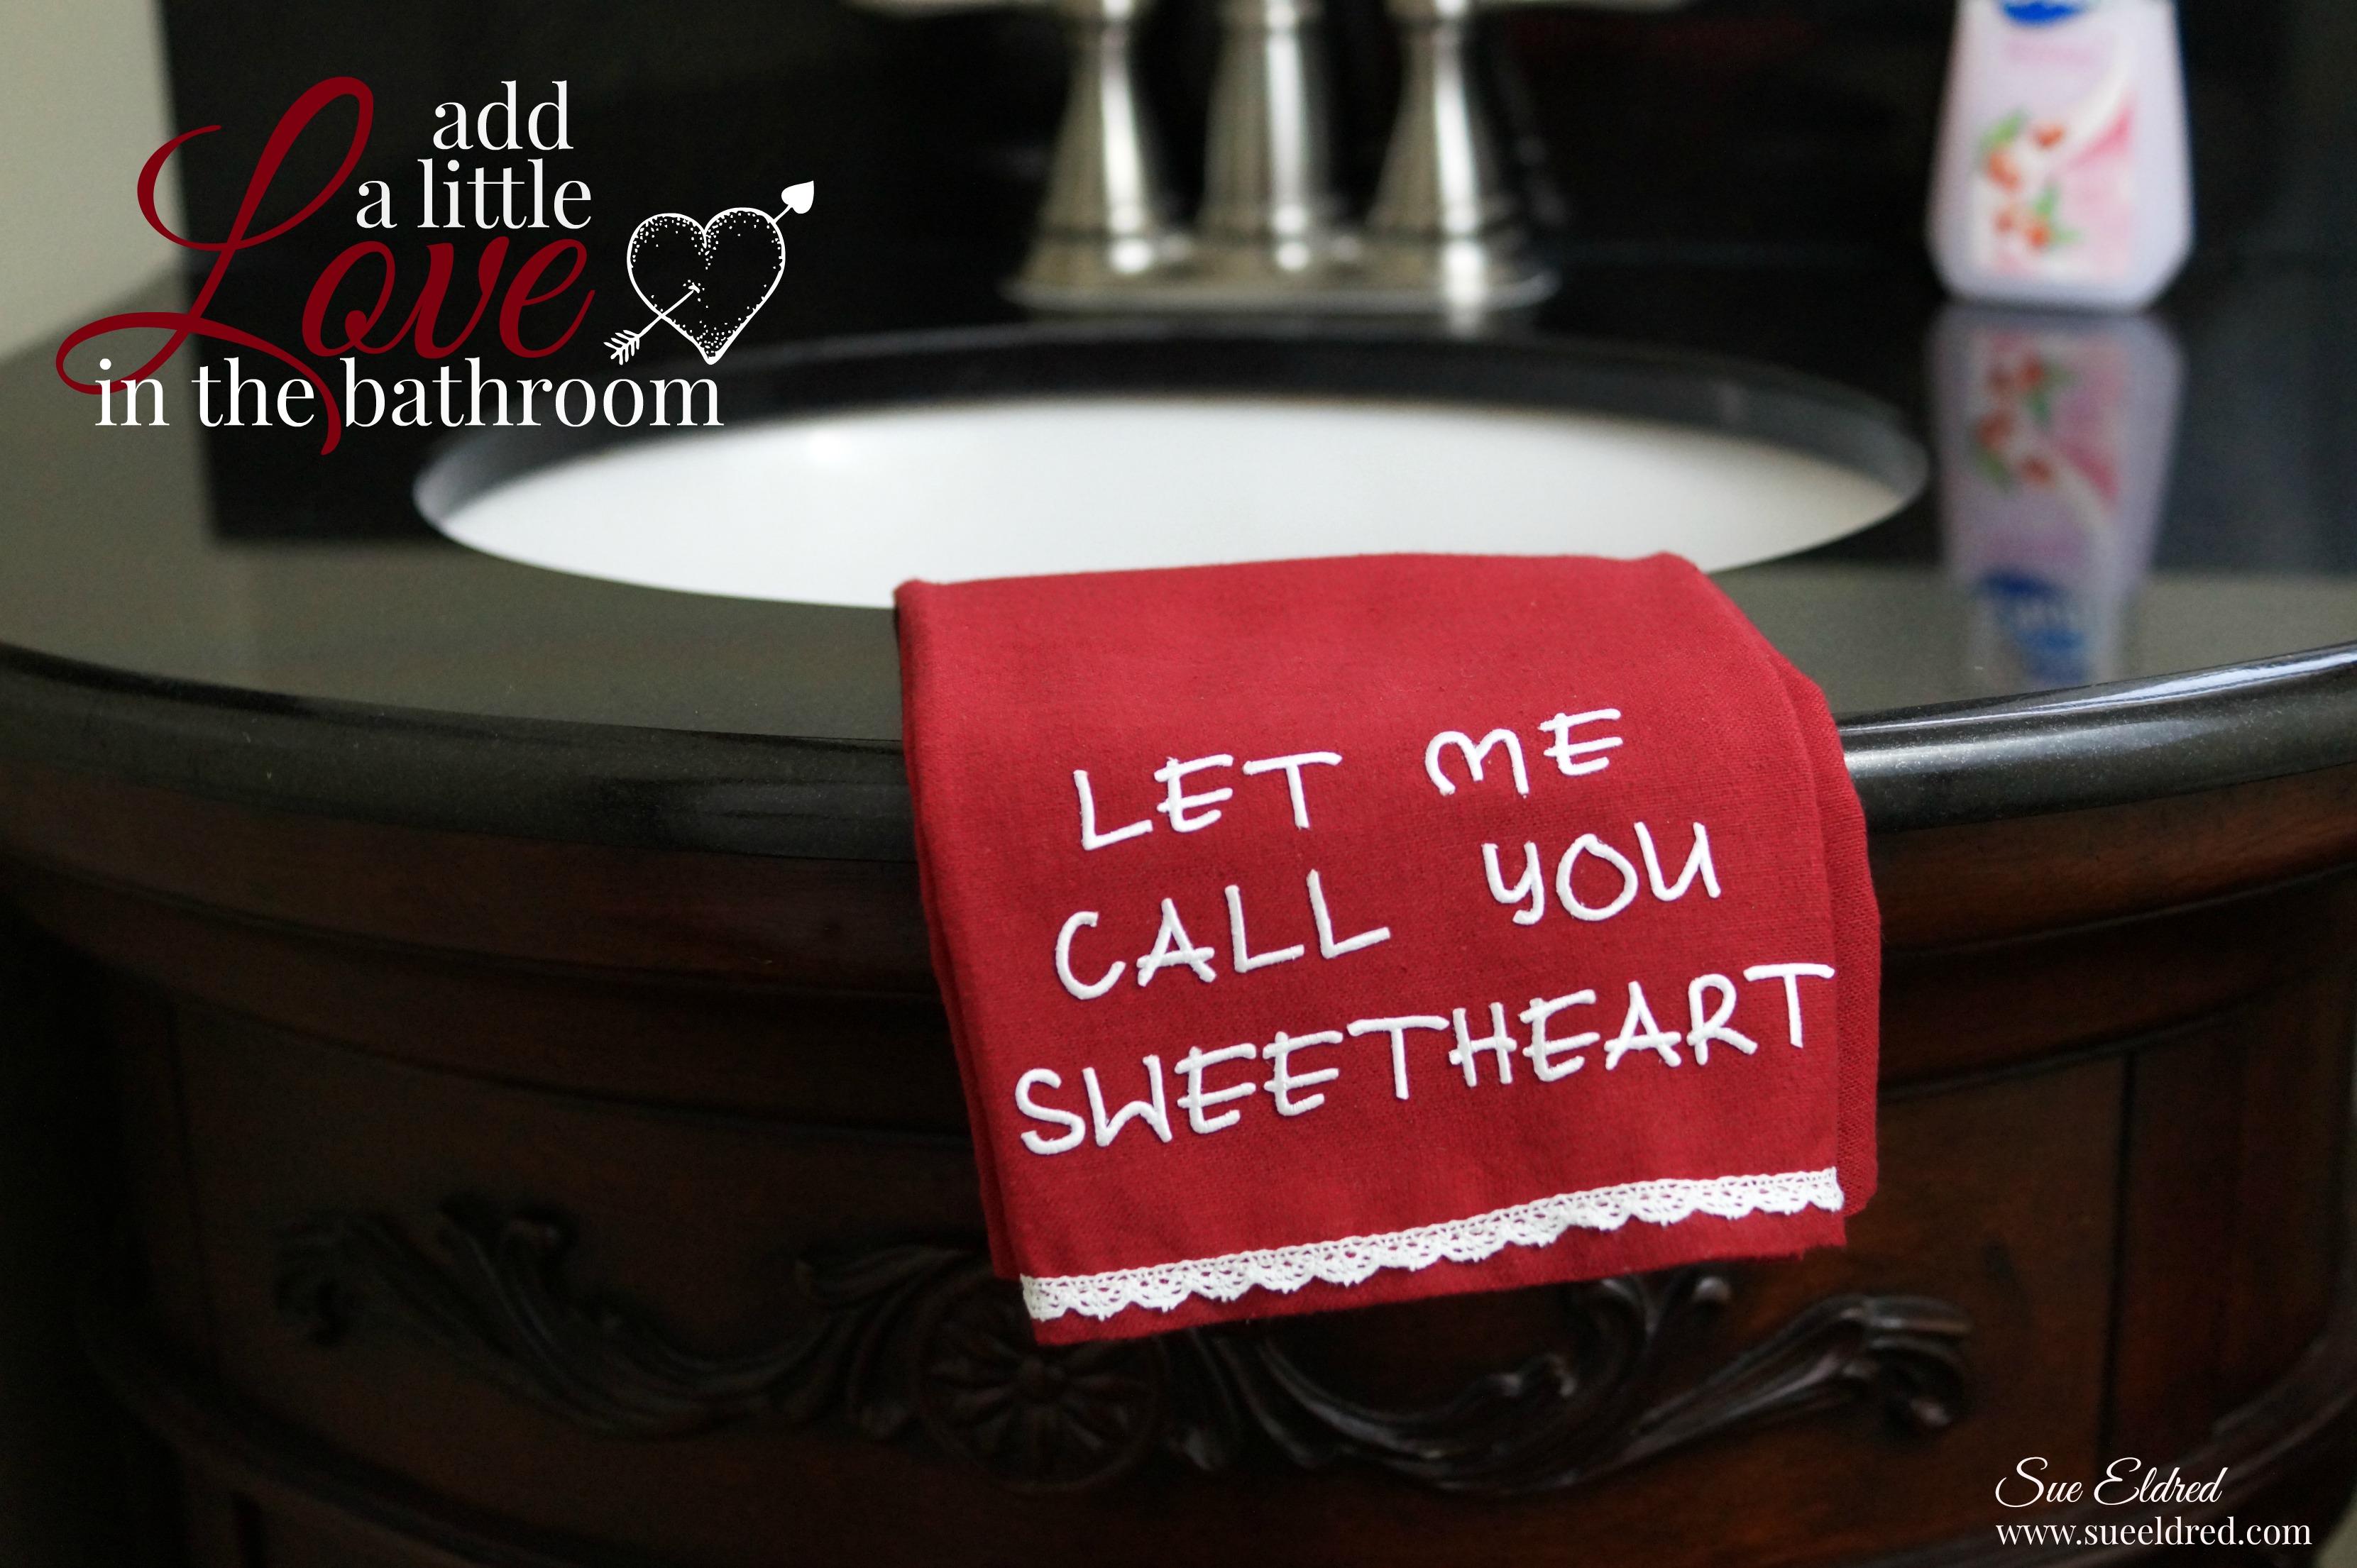
add a little LOVE in the bathroom

Add a little love in the bathroom 3442

When I was little, my Grandma B loved to sing the song “Let me Call You Sweetheart” to us kids.

It’s a sweet song endeared to my heart.

So… while decorating the house for Valentine’s Day, I thought I’d show my family a little love

by adding a cute embellished hand towel in the powder room.

A perfect way to let them how much they’re loved.

Let me call you sweetheart towel supplies

It’s easy! Use mini Joy embroidered letters to iron-on your message and then sew on a simple lace trim.


This project was created for and Sponsored by Joy S.A. Inc.

DIY Etching on a Mirror

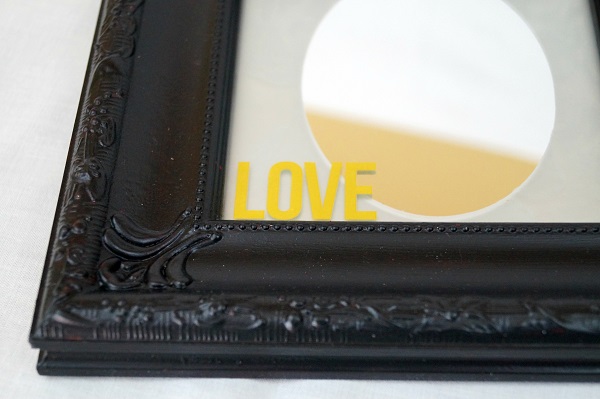
Etched Mirror 4197

It all started with an inexpensive gold mirror that my daughter didn’t want anymore.

I had spray painted it red and left it like that for a couple of years.  (it was o.k.)

I took it off the shelf, while cleaning the other day, and decided it needed an immediate update.

Of course, I had to stop cleaning.  (when inspiration strikes)

Etched Mirror Collage

This is how I etched my mirror…                                                                       (*affiliate links)

  • I removed the mirror from the frame.  I gave the red frame a light sanding and then painted it with Tattered Angels Decor and DIY Paint, Ebony*.
  • I cut an oval mask using etchall etchmask*  vinyl and centered it on the mirror.  Make sure to burnish the vinyl to get out air bubbles and to make sure the all edges all down.
  • Apply a thick coat of etchall Etching Crème* over the sides of the mirror using the squeegee.  It’s important to get an even coat of etching crème to achieve a consistent even etch.  (remember more is better)
  • Wait 15 minutes.  Scrape excess etching crème from the mirror and return the extra etching crème back into the bottle. (it’s reusable)
  • Rinse mirror with warm water to clean.
  • Remove mask and dry.
  • Return the mirror back into the frame.  Apply the gold “love” rub-on onto the mirror.

Frosted Mirror Close UP 3711

New to Etching?  You might want to check out the video on the Etchall getting started page.

The Etched Mirror project was created for and sponsored by Etchall®.

*Disclosure:  This blog uses ads and affiliate links.  If you choose to make a purchase using one of the links, I receive a small commission (at no additional cost to you) that helps offset the costs of maintaining this blog.  Thanks for your support!
Shop Your Fav Brands at Scrapbook.com

You & Me Valentine’s Frame

Valentine's Frame

With Valentine’s Day right around the corner…

I wanted to share a simple little project that’s really quick and easy to put together.

A Valentine’s Frame using the You & Me Collection from Simple Stories.

This cute little frame, from Canvas Corp Brands, is only 6″ x 6″ and I love how versatile

it is to decorate.  The larger section is perfect for a 4″ x 6″ picture and if white’s not your

style it’s available in wood stained.  I added dimension to the frame by adding

cubes made from cardstock behind the “love you lots” and “pail of flowers”.

I dressed it up by gluing on metal corners from Tim Holtz.

Click on the pictures below for ordering information.  (affiliate links)


Disclaimer:   This post uses affiliate links.  If you choose to place an order using one of the links, I will get a small commission that helps maintain the cost of running this blog.  Thanks!

Quick and Easy Stenciled Holiday Pillows

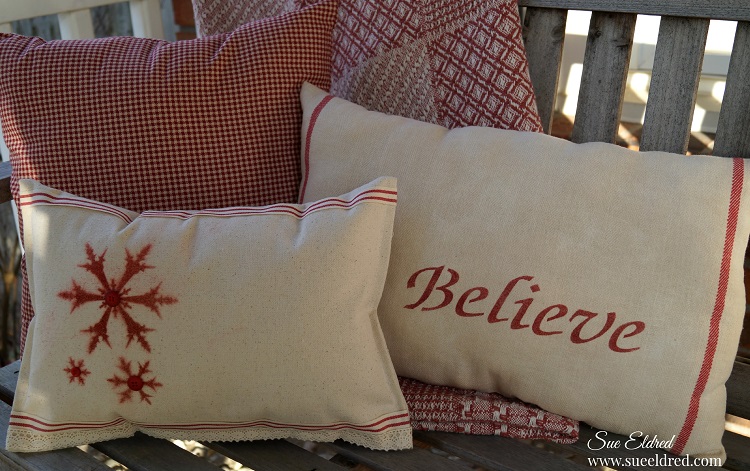
Stenciled Holiday Pillows 2422

Add a little warmth and coziness to your home with Quick and Easy DIY Holiday pillows.

Today’s pillow projects have a couple of unique twists to make these projects super easy.

Tea Staining Ikea Towel 2248

For the “Believe” pillow I started with a .79 dish towel that I picked up at IKEA.

Tea Staining the Towel

To give my towel a creamy vintage color…  I soaked my towel in a tub of hot tea.

I wanted my towel to stay light so I only left it in a minute or two.

Leave towel in longer for a darker brown color.

Rinse the towel in hot water and then throw in the dryer to set.

Stencil the Towel

  • Iron the towel to make crisp and stencil the towel using the 12″ Word Xmas Tree stencil from Clear Scraps and dark red acrylic paint.
  • Fold the towel in half, stenciled side in, stitched the towel together and fill with a soft stuffing.

Stenciled Holiday Pillows 2316

The Snowflake pillow is a No Sew Pillow.  (I really cheated with this pillow.)

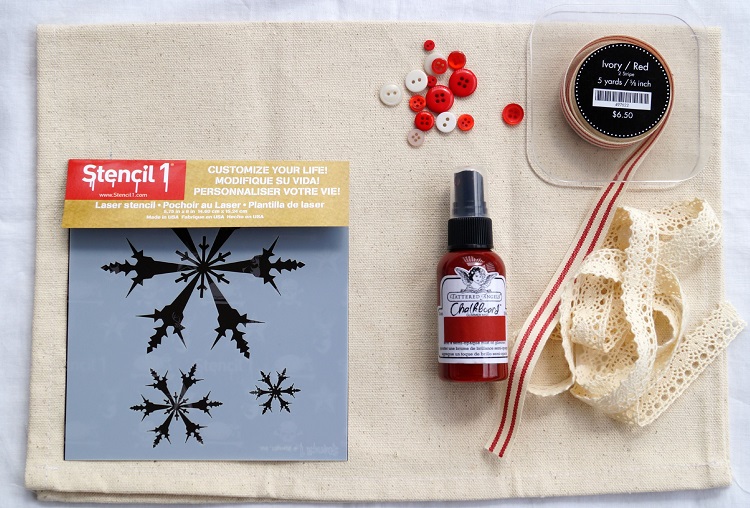
Placemat Supplies 7385

  • I used a plain 14″ x 20″ canvas placemat from Canvas Corp Brands which I stenciled with the Snowflake stencil from Stencil 1 using Tattered Angels Chalkboard Mists.  Make sure to cover and mask any areas that you wouldn’t want sprayed.
  • Glue the ribbon, lace and buttons onto the placemat using Beacon Fabri-Tac Permanent Adhesive, 4-Ounce, tucking ends to backside of the placemat.
  • Glue place mat together and fill with a soft stuffing.
  • No Sewing Required.  (for decorative use only)

stenciled snowflake pillow from a placemat

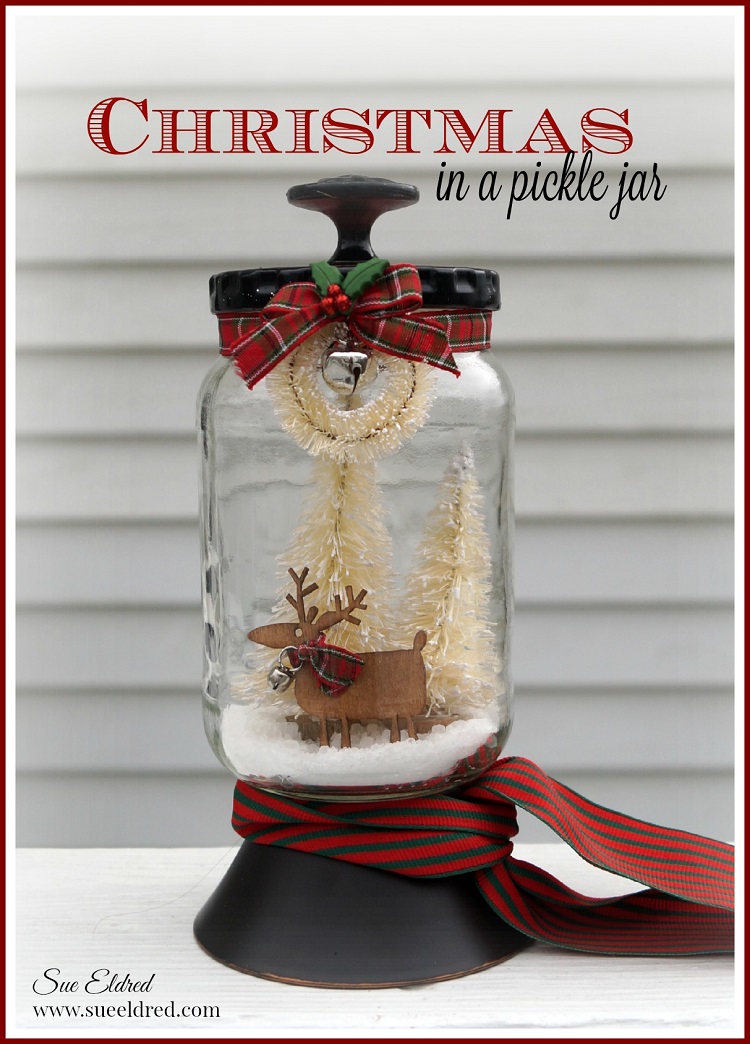
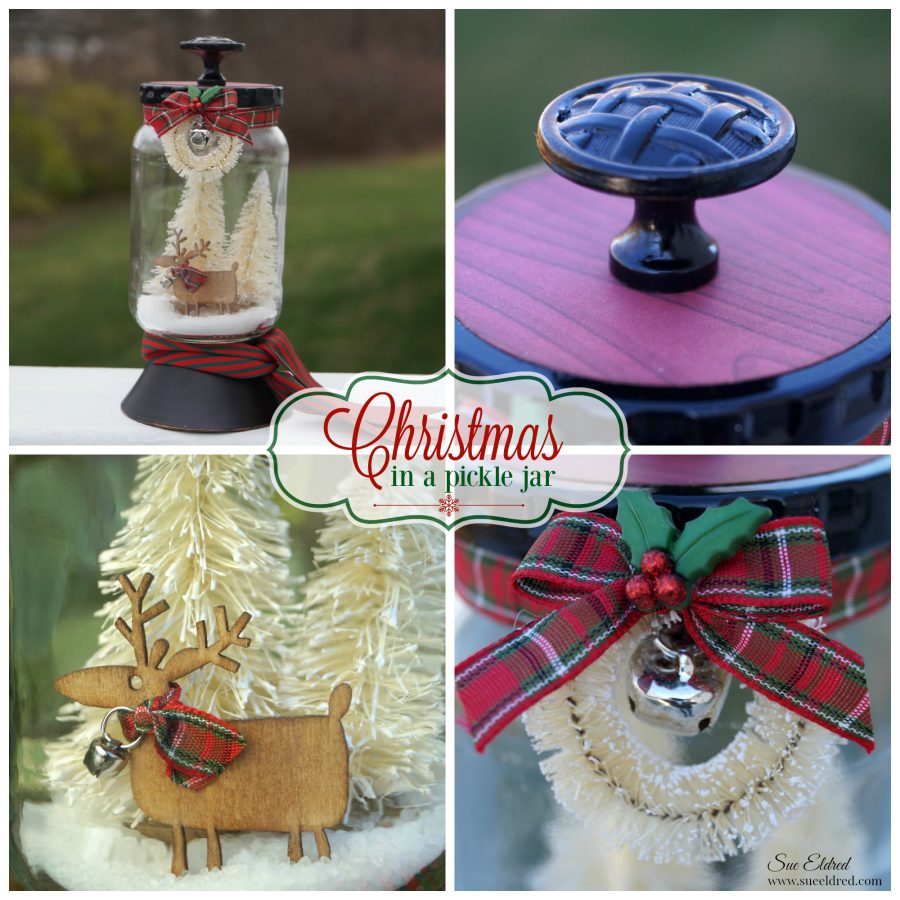
Christmas in a Pickle Jar

Christmas in a Pickle Jar 1127

Christmas Crafting with Repurposed and Recycled Items…

Sometimes you have to find and save something for awhile before their purpose is revealed.

Like the base used on my Christmas in a pickle jar.  (the inspiration for this project)

This past summer we had a new ceiling fan installed in my son’s room.

It was flush mounted to the ceiling, so, they didn’t use all of the parts that came with the kit.

I came across the unused parts in the garbage and decided to save them.

FYI…It’s not hoarding if you use them.  (I’m just saying.)

Because I wanted to be informative when writing this post,

I emailed my brother for the correct name of the part.  I am told it is called a canopy.

I glued the canopy onto the jar using Beacon Glass, Metal & More Premium Glue*.

Here’s what I used for my Christmas in a Pickle Jar:  

*Disclaimer:  This post uses ads and affiliate links.  If you choose to make a purchase using one of the links, I receive a small commission (at no additional cost to you) that helps offset the costs of maintaining this blog.  Thanks for your support!
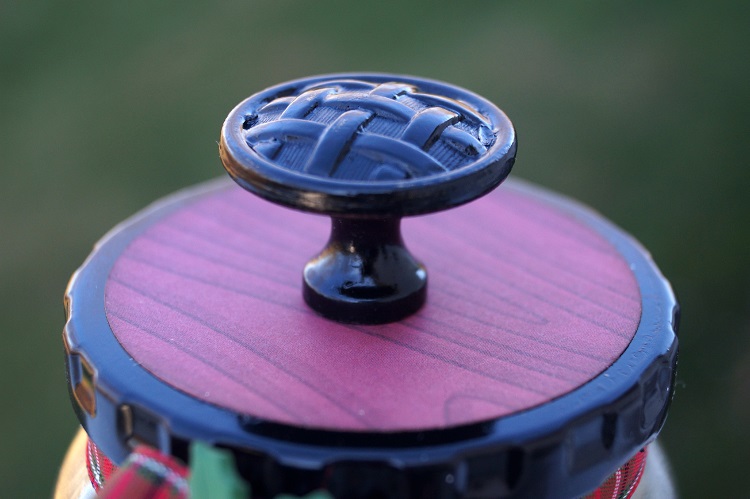
I painted the pickle jar lid and the old knob with semi gloss black spray paint.

I added a circle cut from a decorative scrapbooking paper and glued it onto my lid before

gluing on the knob.  (I could have added a hole and screwed on the knob, this was easier.)

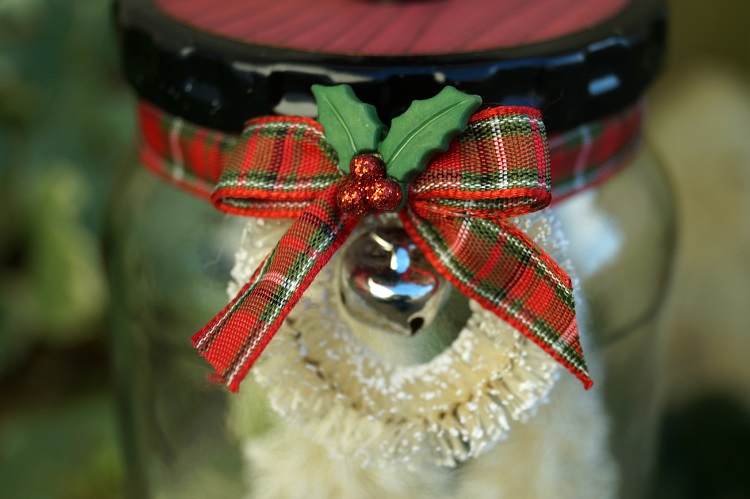
I spruced up the plain little wreath by adding a new bow and jingle bell and a small holly

berry embellishment.  I added the ribbon to the neck of the jar before gluing on the wreath.

The little wood deer would of looked fine just as it came.

Instead, I decided to rub brown ink onto the deer to give it a stained look.

I used Vintage Photo Distress Inkpad* with a Ink Applicator & Blending Tool* (*affiliate link)

To make installing the deer a little easier, I glued the finished deer onto the front of one

of the trees before I placed it in the jar.

The Cream Bottle Brush Trees* come with a little wood base.

I added a super sticky craft glue dot under the base of each Cream Bottle Brush Tree*

before adding to my jar.

You can use a liquid glue instead of the sticky glue dots.  (this was just faster and easier for me)

Next, I added Epson Salts into my jar for snow.

A great Holiday Gift Idea.   

Shop Your Fav Brands at Scrapbook.com

Join Amazon Kindle Unlimited 30-Day Free Trial

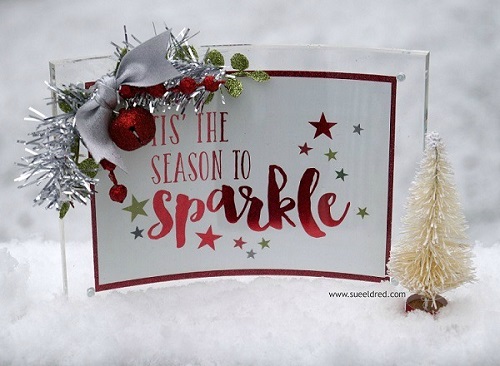
A little Holiday Sparkle…

Sue Eldred's Holiday Sparkle Frame

Thinking of adding a little Holiday Sparkle this year?

Adding a little Holiday Sparkle doesn’t get much easier than this.

Holiday Sparkle Bow 2007

Gather up a few sparkly holiday sprigs…

tie them together with a jingle bell and satin ribbon and then glue them onto

your favorite frame.  Your frame will be dressed to impress.

Holiday Sparkle Frame in the Snow

I loved the way this frame turned out, so sweet and simple. 

But let me tell you… I really struggled trying to get a good picture to show you.

Taking good pictures of clear acrylic frames is really hard.

I took over 150 pictures of this frame.  (no joke)

When it started snowing yesterday morning, I decided to try again.

It was such a beautiful snow, I didn’t even mind getting cold.

Holiday Sparkle Supplies 1808

For my Holiday Sparkle Frame I used the NEW Clear Magnetic Curved frame

that will be available from Deflecto Craft Solutions in January 2016.

I love the original curved magnetic frame* and I am so happy that they decided to

make it in a smaller size without a border.  (can’t wait to get my hands on a few more)

This new frame measures 5″ x 7″ and is perfect for a 4″ x 6″ picture or graphic.

(you can find the larger size here*)

“Tis the Season to Sparkle” comes from the 4×6 Horizontal Journaling Card Elements

from Simple Stories “Claus & Co.” collection layered on red glitter cardstock.

*Disclaimer: “This is a sponsored post. As a member of the Deflecto Design Team I have been provided product in exchange for my creative ideas, views and opinions.” This post uses Affiliate links if you choose to make a purchase, I receive a very small commission that helps maintain this site.  Thank You for your support!

Countdown to Christmas

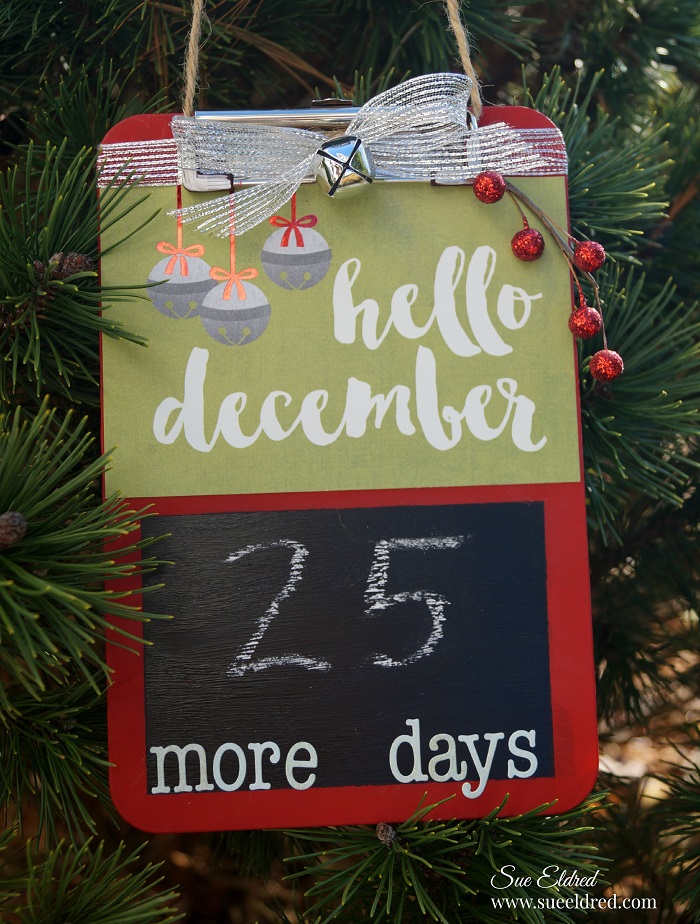
Hello December Christmas Countdown

I had this idea to make a Countdown to Christmas using a small wood clipboard.

I’d been thinking about it and planning it in my head for a while.

When I went to the store all I could find were bright colored acrylic ones.

I knew if I kept searching I could find a wood one…

But, I really didn’t want to go running around to more stores so I picked one up

and decided I would change my plan.

Christmas Countdown Clipboard

The more I looked at this neon clipboard, I knew I wasn’t happy.

So… I decided to improvise.

I lightly sanded both sides of the clipboard with a fine grit sanding block.

Next, I gave the clipboard a couple of coats of Red Chalky Finish Paint.

After it was completely dried, I masked off an area with removable painter’s tape

and painted the inside of the masked area with black chalkboard paint.

Christmas Countdown Close Up

 “Hello December” is from a sheet of scrapbook paper from Simple Stories “Claus & Co.” Collection.

I embellished the clipboard with a silver ribbon, jingle bell and sparkly red berries.

Christmas Countdown 2

I’m never satisfied with my own handwriting on these things…

so I added letter stickers on the bottom.  (now I’m happy!)


Here’s what I used:

These products available at your local craft stores or online on amazon.com*

*Disclosure:  I am a Amazon Affliate.

French Country Fall Stenciled Burlap Table Runner

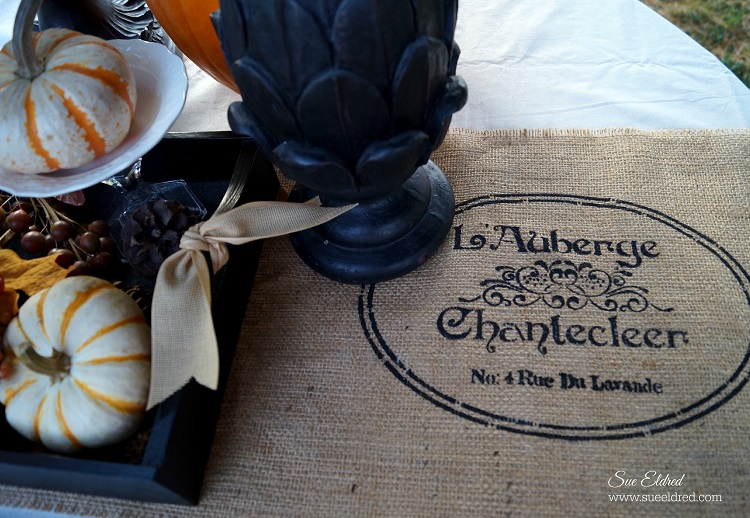
French Country Fall Stenciled Burlap Table Runner 681 2

French Country Inspired Stenciled Burlap Table Runner for Fall.

This table runner is a Quick & Easy DIY project with no sewing involved.

Supplies 223

To make the table runner you’ll need:                                     *(affiliate links)

*Disclaimer:  This post uses ads and affiliate links.  If you choose to make a purchase using one of the links, I receive a small commission (at no additional cost to you) that helps offset the costs of maintaining this blog.  Thanks for your support!

Stenciling 269

Stenciled 380

Directions:

  1. Make sure to lay paper down before stenciling on burlap.
  2. Tape around stencil with removable painter’s tape so that the stencil won’t move.
  3. Using a stencil brush, dip just the tip of your brush into the paint.  Tap off excess paint.
  4. Stenciling is a “dry” brush technique.
  5. Apply paint with stencil brush in a straight up and down motion called stippling.
  6. Clean Stencil between each image.
  7. Glue lace trim onto each edge of the runner using Fabri Tac glue.
  • Burlap is a rough fabric.  You may want to add a layer of fabric or felt underneath the runner to protect the finish of your table.

Close UP 0666

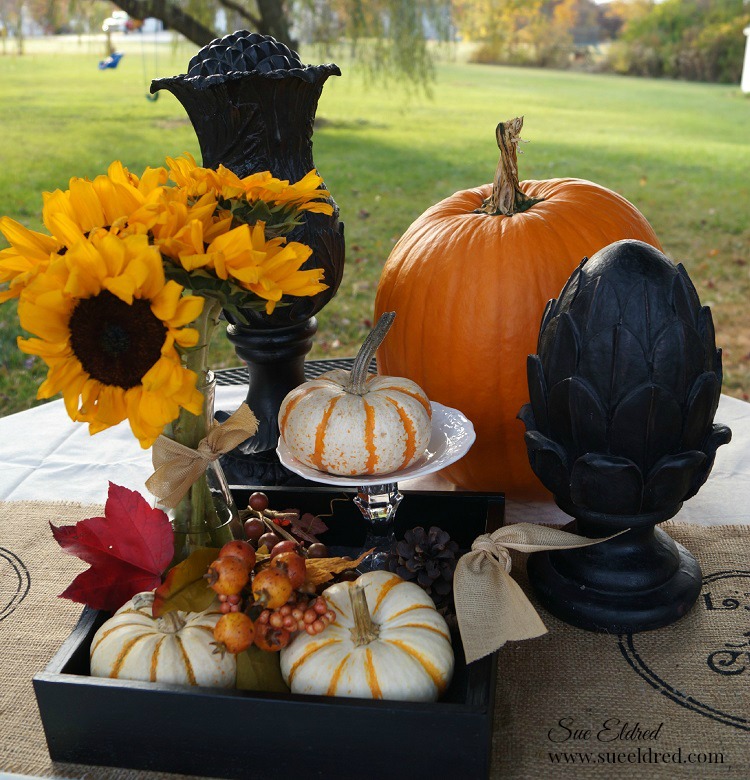
Fall Display

Because I really liked how the table runner turned out…

I decided to create a pillow for the comfy chair in my dining room

I used muslin as a lining for the burlap and on the reverse side of the pillow.

(The pillow, of course, consisted of some sewing.)

Shop Amazon Scrapbooking Supplies*