Reverse Glass Painting Technique with Decocolor Markers

I learned the Reverse Glass Technique, a long time ago,  from my Mom who loved to paint.

I believe, when did the reverse glass technique, she used Acrylic Paint on her painting.

For mine, I’m using Deco Color Paint Markers* (affiliate link) from Marvy Uchida.

I use these paint markers all the time on a variety of surfaces.

First thing you’ll want to do is to pick out the image.

For me, the simpler the better.

I picked a free graphic from Coloring Hub. (link below)

Stained Glass Clip Art from Coloring Hub

Reverse Glass Paint #1

1.  Lay Clip Art under glass and trace around image with black Decocolor marker.

Reverse Glass Paint #2

2. Use ruler for outside areas to get those lines straight.  Make sure to leave time for the ink to dry before laying ruler on top the previous line.

Here is the design outlined.  I like using the fine point marker better than the extra fine marker.

Reverse Glass Paint #3

3.  Flip the glass over and do your coloring on the reverse side of the glass.  Make sure to color all the way to the edge of the lines.

Reverse Glass Paint #4

4.  Color in the remaining sections.  Make sure to get the colors as close as possible.  Here is the back of the glass with the full design colored in.

Marvy Uchida also makes a DecoColor Paint Marker Remover* which I absolutely love.  It has saved me on more than one occasion.  It works wonderful to correct any mistakes you make.  I recommend you pick one of those up also.  (FYI:  it also removes alcohol ink from non porous surfaces)

Here’s some interesting history on Reversed Glass Painting.  (it’s been around for a long time)
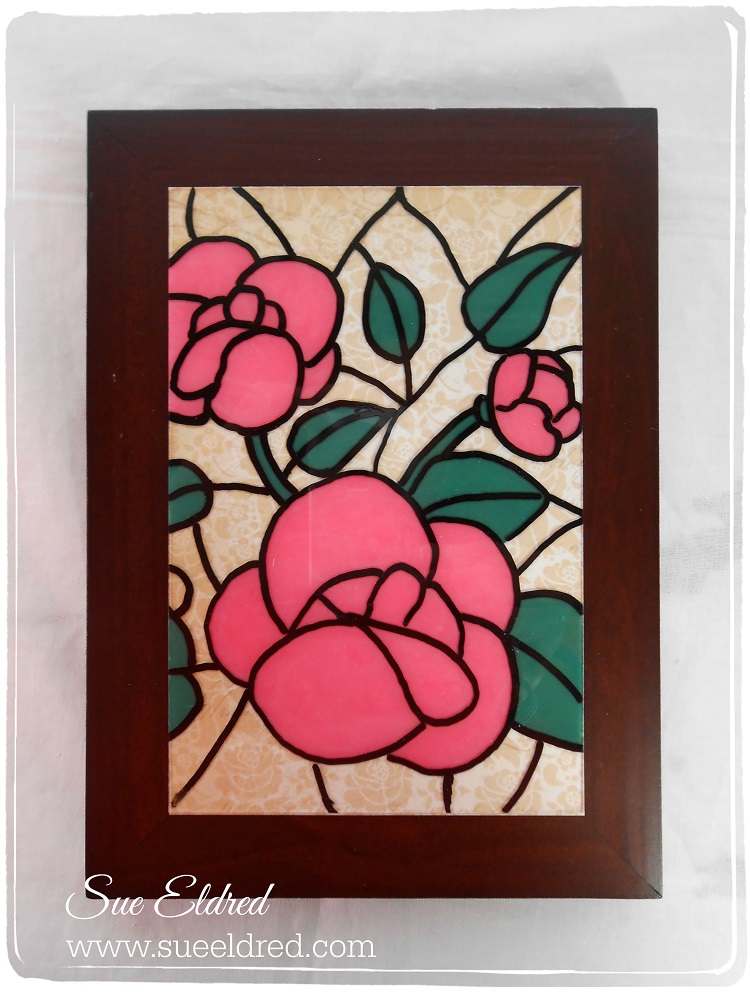
Reverse Glass with Scrapbook Paper

Here’s another possible way to do a background.  (a more updated version)

Color/Paint only a portion of the image and leave the rest unfinished.

Add a piece of scrapbook paper to the back of the glass before framing.

Shop Amazon Scrapbooking Supplies*

Disclaimer:  This blog uses ads and affiliate links.  If you choose to make a purchase using one of the links, I receive a small commission (at no additional cost to you) that helps offset the costs of maintaining this blog.  Thanks for your support!

Ugly Chair Make-Over

Ugly Chair Before

I picked up this ugly green chair last fall at a garage sale for only one dollar.

The man who sold it to me that morning wanted to hurry up and sell it before his wife came home

from taking the kids to school and changed her mind.

To him, it was an ugly chair.  To me, I saw possibilities.

As luck would have it, the very same week-end, I picked up a wonderful length of red and cream

ticking fabric for 50 cents.  It was perfect, it was meant to be.

But…because I just couldn’t cut the lovely fabric just yet,

I left the project in the garage to marinate over the winter.

Beautiful Chair After

I discovered in the process of recovering the chair that it used to have a red velvet seat.  (yuck!)

It was gross.  I took everything off and added new foam before re-covering the seat.

The chair was glued, reinforced and painted with red paint left over from previous projects.

Last night I put the final coat of red paint on the chair.  (red takes a lot of coats)

I just love it.  Now to find the perfect spot.  Maybe my workshop.

Total cost on the project $4.50.  Not to bad of a bargain.  (Pretty resourceful if I say so myself.)

I can’t decide it I should leave it as is or add some kind of stencil design in the middle.  Thoughts?

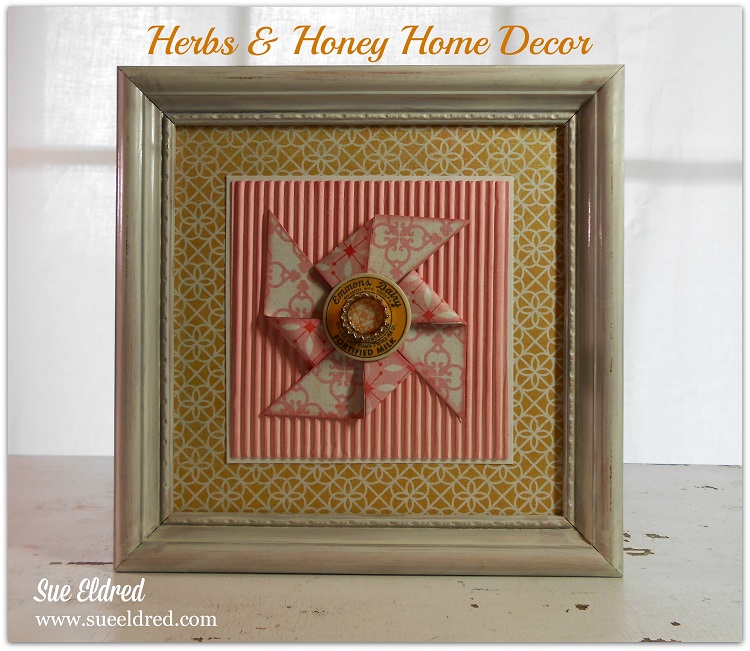
Basic Grey’s: Herbs & Honey Home Decor

Herbs & Honey Home Decor

One of the things I look for when I go treasure hunting are picture frames.   Square ones in particular.  I am just drawn to square frames.  Doesn’t matter how ugly the picture is inside.

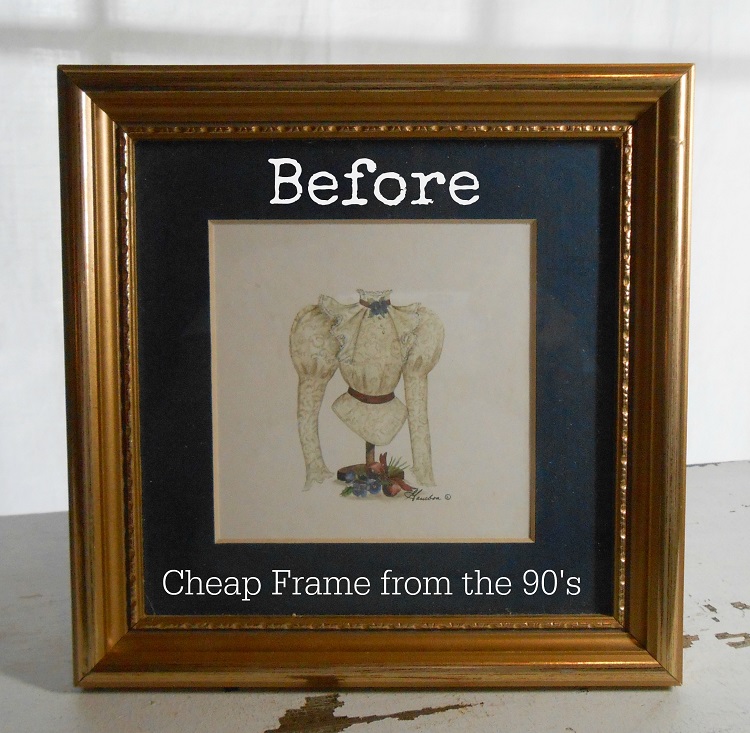
Herbs & Honey Home Decor before

I gave the gold frame a white wash look with Tim Holtz Distress Paint in Antique Linen. (frame cost .50)

Herbs n Honey Home Deco close up

I made a simple 3″ pinwheel using two different pinks from the “Herbs & Honey” Collection.  The middle of the pinwheel was made using “bottle cap” stickers from the same collection.

What do you look for when you go treasure hunting?  (I think that sounds better than garage sales)

Nick and Grandma’s Mini Garden

A few weeks ago, Nick and I talked about making a special project.

I decided we should make a miniature garden for him to help me take care of.

Saturday, my little buddy came over to help me work on it.

Garden Tools

We had previously collected moss, sticks, bark and rocks for our project.

I added some mini plants (for fairy gardens), potting soil, a small park bench, tiny garden fence,

green spray bottle and a set of teeny tiny tools.

While cleaning out the garage a couple of weeks ago, I almost threw out this rusty broken

wagon.  I’m so glad I decided to keep it.   It was perfect for our mini garden.

Nick with Tools

All I needed was one excited 3 1/2 year old to help me.

Nick working in the garden

I added a piece of paper towel over the holes in the bottom of the wagon and we filled it

with potting soil.  I added the small fence, large flat rock and bench.  I let Nick finish the rest.

Nick loved digging in the dirt and adding the plants.

Garden Close Up

We put rocks around the little fence and even added a chicken to our garden.

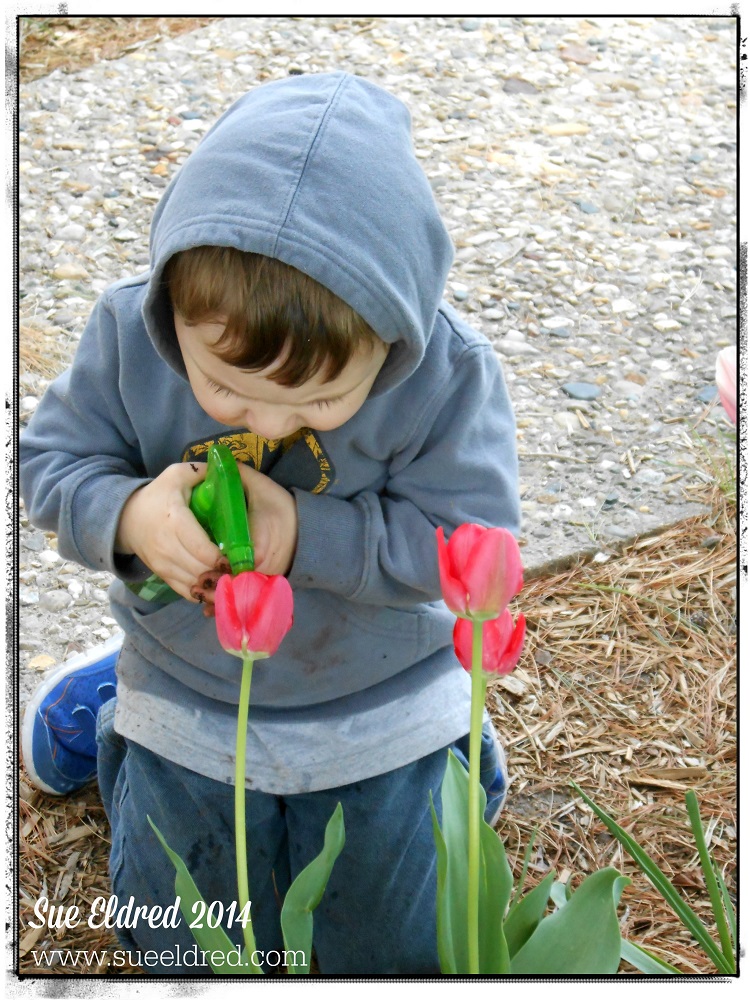
Nick watering the tulips

Occasionally, Nick had to stop and water other things.  Like my tulips.

Grandma and Nick's Special Garden w watermark

I don’t know who was more excited about the garden, him or me.

picnic lunch

Since, grandpa had brought the little white picnic table up from the barn.

Nick decided we needed to have a picnic lunch.  All in all, a day very well spent.

Shop Your Fav Brands at Scrapbook.com

Disclosure:  This blog uses ads and affiliate links.  If you choose to make a purchase using one of the links, I receive a small commission (at no additional cost to you) that helps offset the costs of maintaining this blog.  Thanks for your support!

Join Amazon Kindle Unlimited 30-Day Free Trial

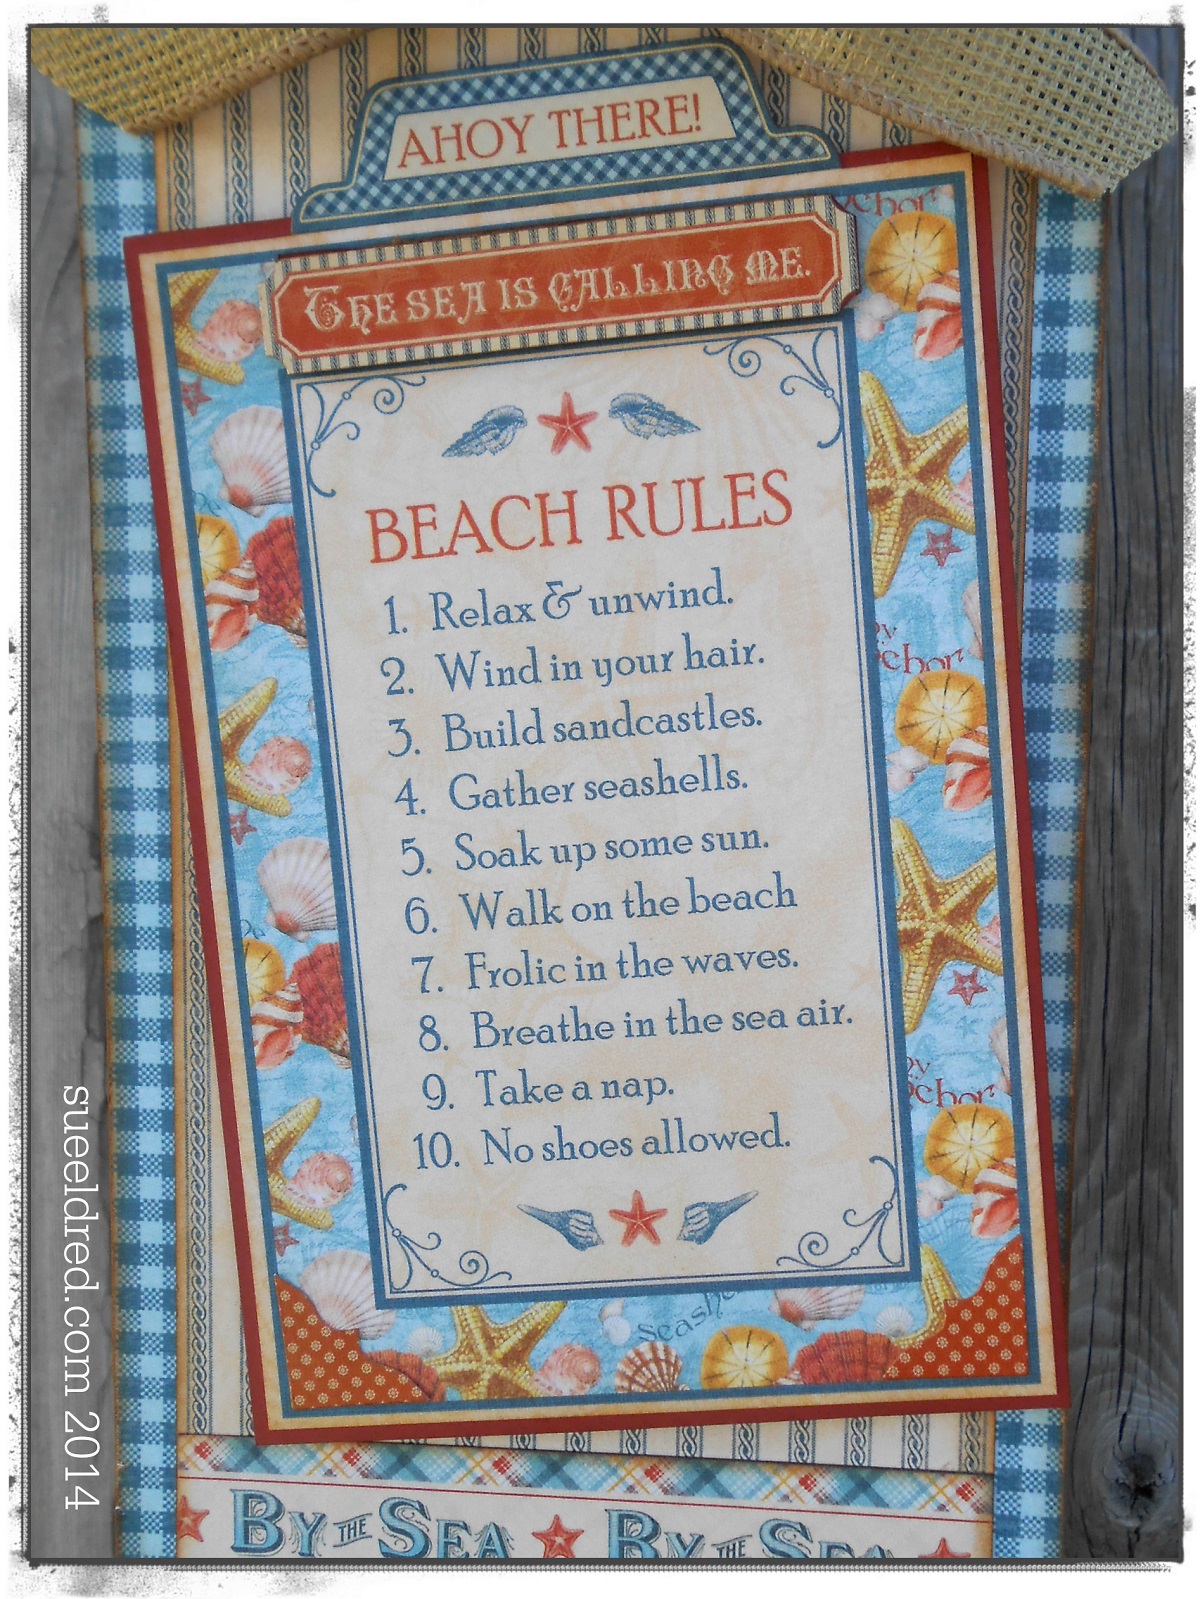
Beach Rules

Beach Rules 2

Planning a Beach Vacation this year?

If so, here are a few rules you may want to consider.

Beach Rules close up

I love it when you can use an item for multiple purposes.

Like the “All Mixed Up” chipboard album from Clear Scraps.

The chipboard album comes with six different overlapping pages.

I used the fifth page in the album to create my “Beach Rules” wall hanging.

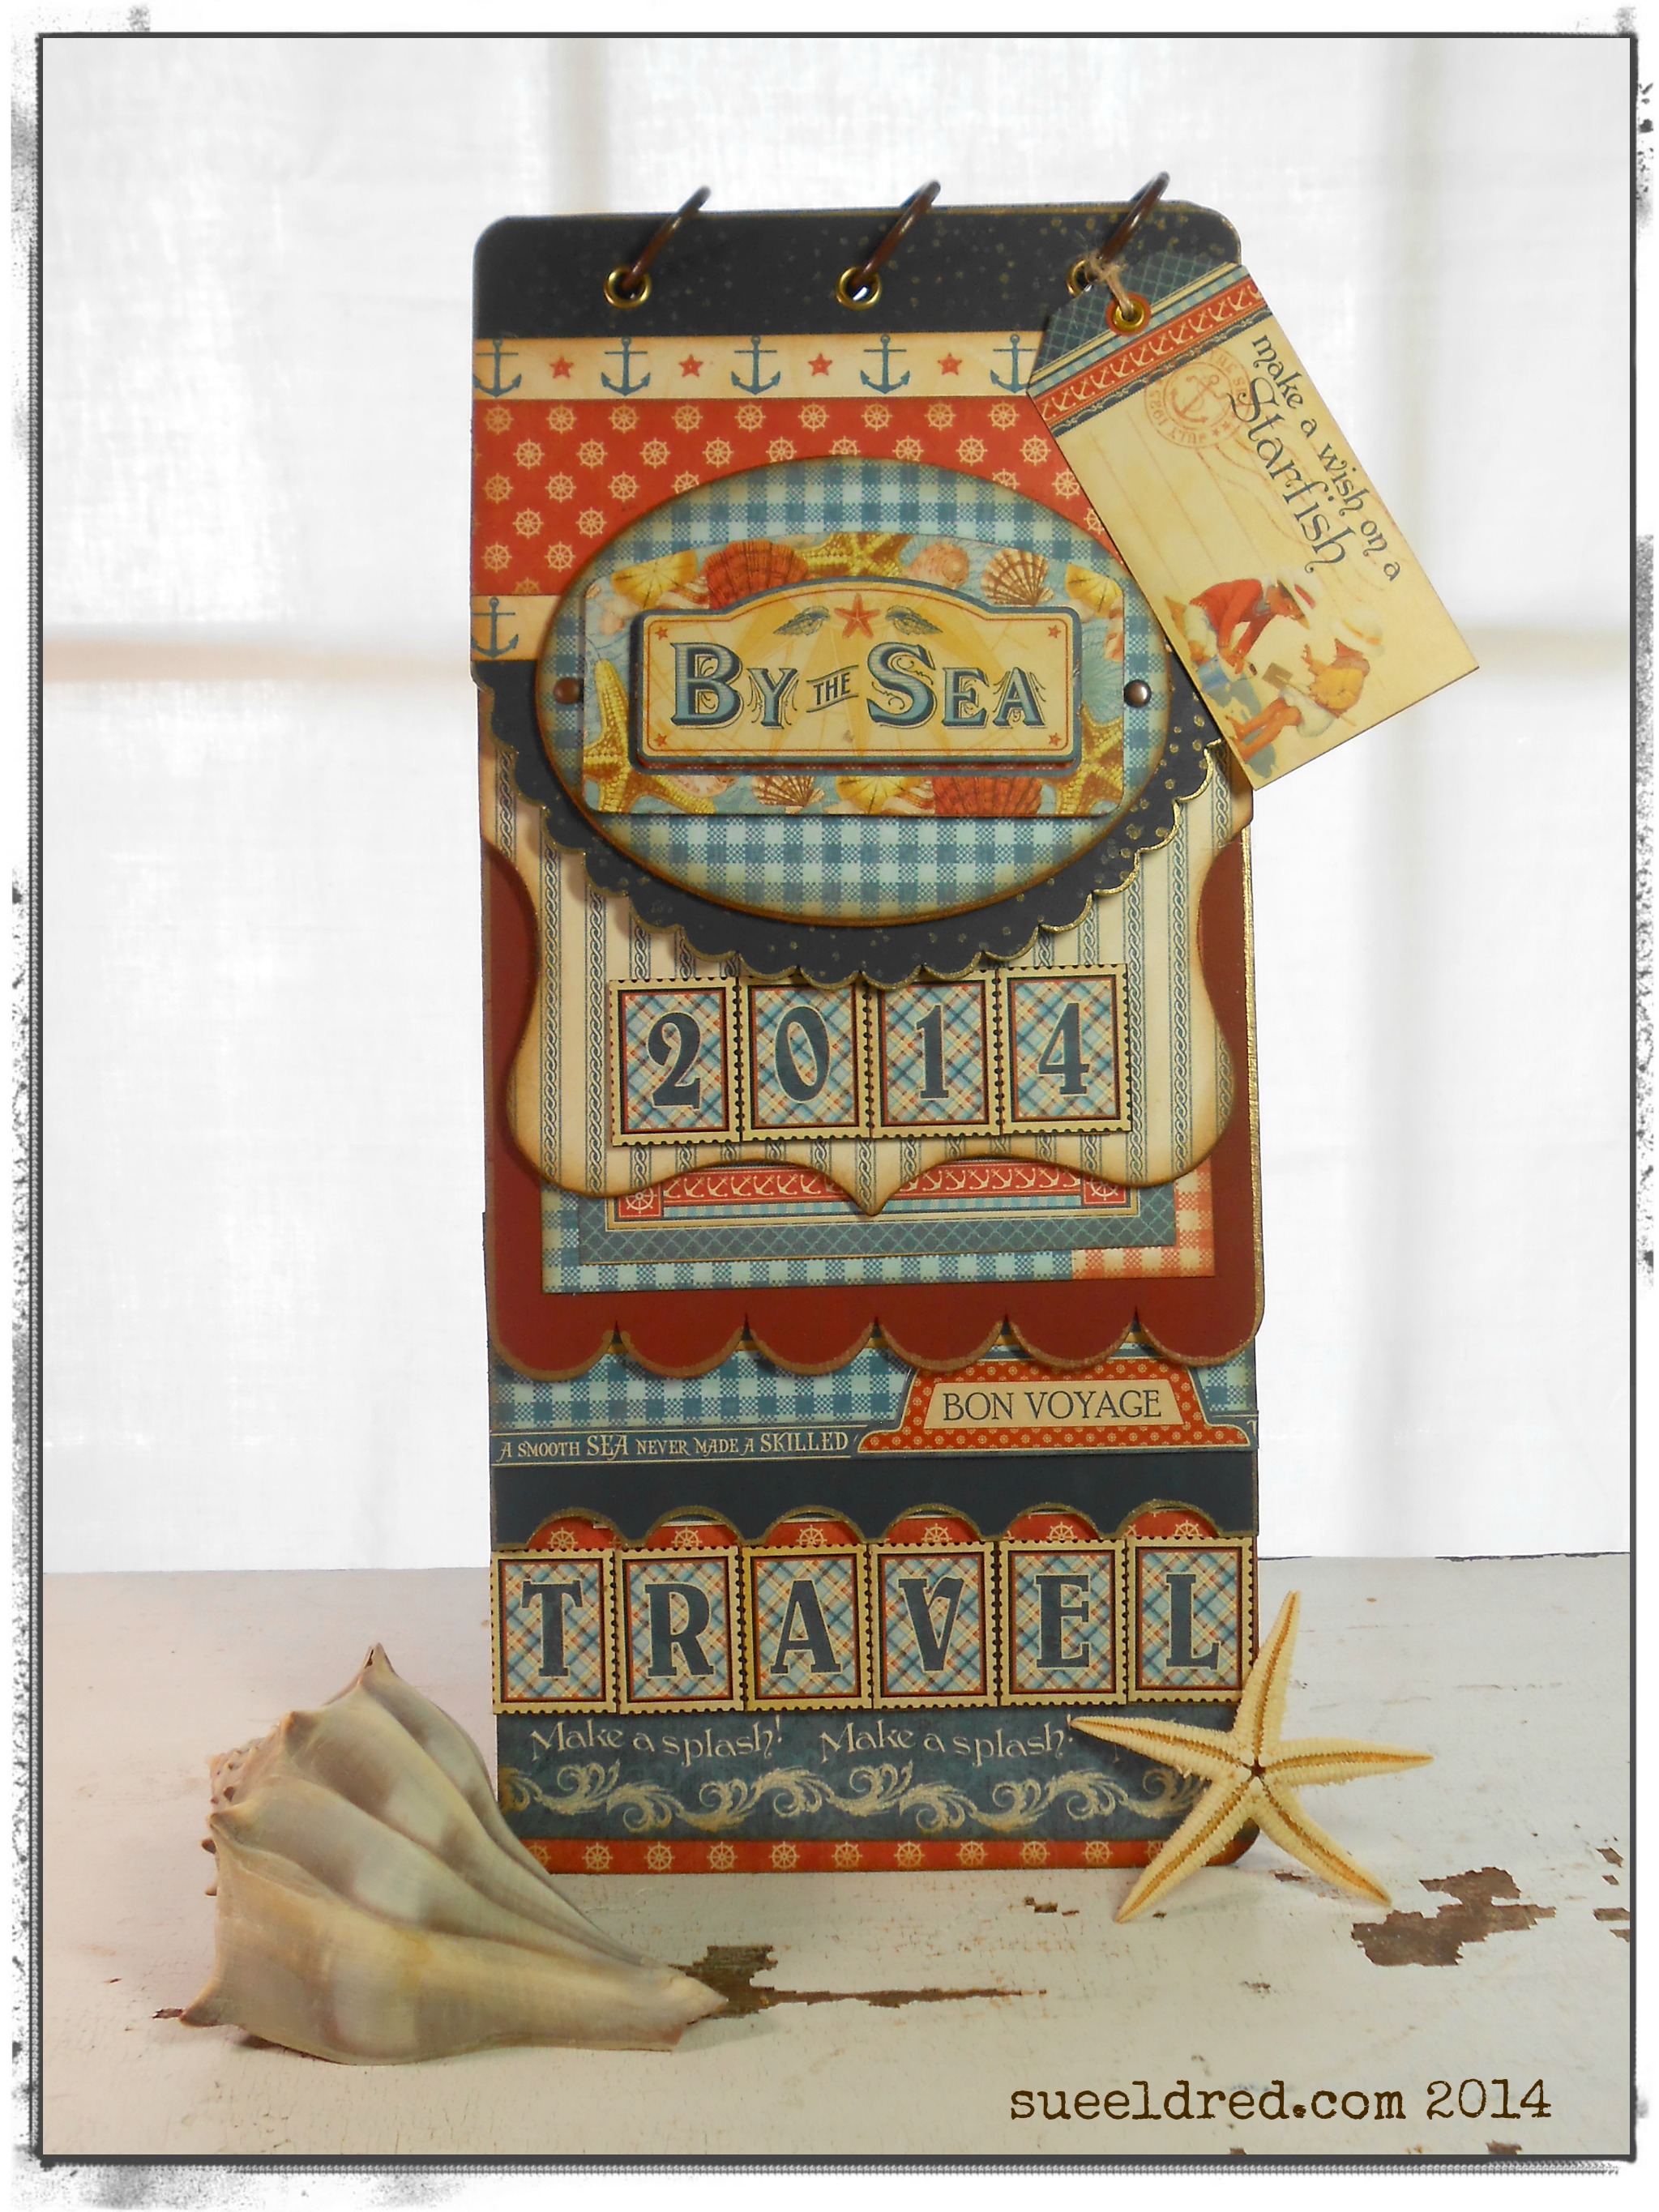
By the Sea Album

To create the “Travel” album, I used the remaining 5 chipboard pages.

I painted three of the pages with acrylic paint the others are covered with papers from

Graphic 45’s “By the Sea” Collection.

I'm dreaming of a beach vacation 2

I’m not sure it’s in the cards for me this year.  But a girl can dream, can’t she.

This project was created for and sponsored by Clear Scraps.