Snowflake Wreath

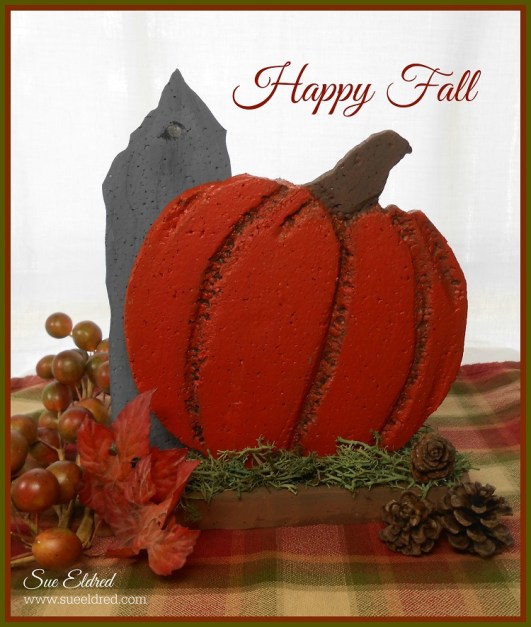
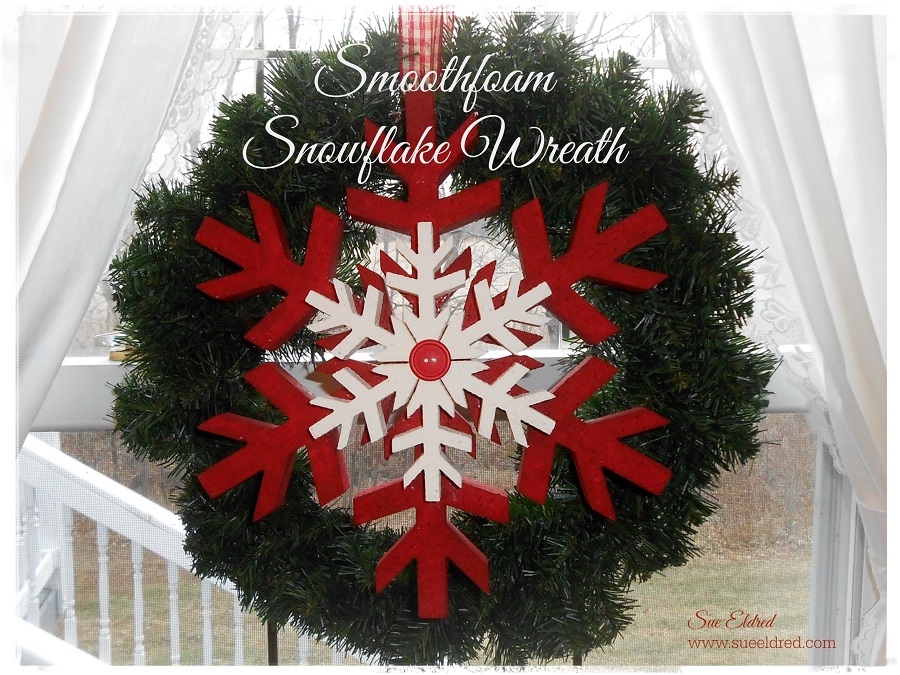
Smoothfoam Snowflake Wreath 2535

When it comes to Holiday Decorating, I love anything with a Snowflake on it.

Make it a Red or Cream Snowflake and I’m a happy girl.

So when I found these Large Snowflakes from Smoothfoam, I fell in love.

Smoothfoam Snowflake

To make my Snowflake Wreath you’ll need:

  1. Paint 6″ Snowflake cream and the 12″ Snowflake red; let both dry.
  2. Glue the two snowflakes together using craft glue.
  3. Glue red button onto the center of the cream snowflake.
  4. Poke a hole on the side of the top of the snowflake with needle and thread.  Pull thread through and tie snowflake onto wreath.
  5. Hang wreath with large piece of ribbon.

This project was created for and sponsored by Smoothfoam.

a little Christmas Home Décor

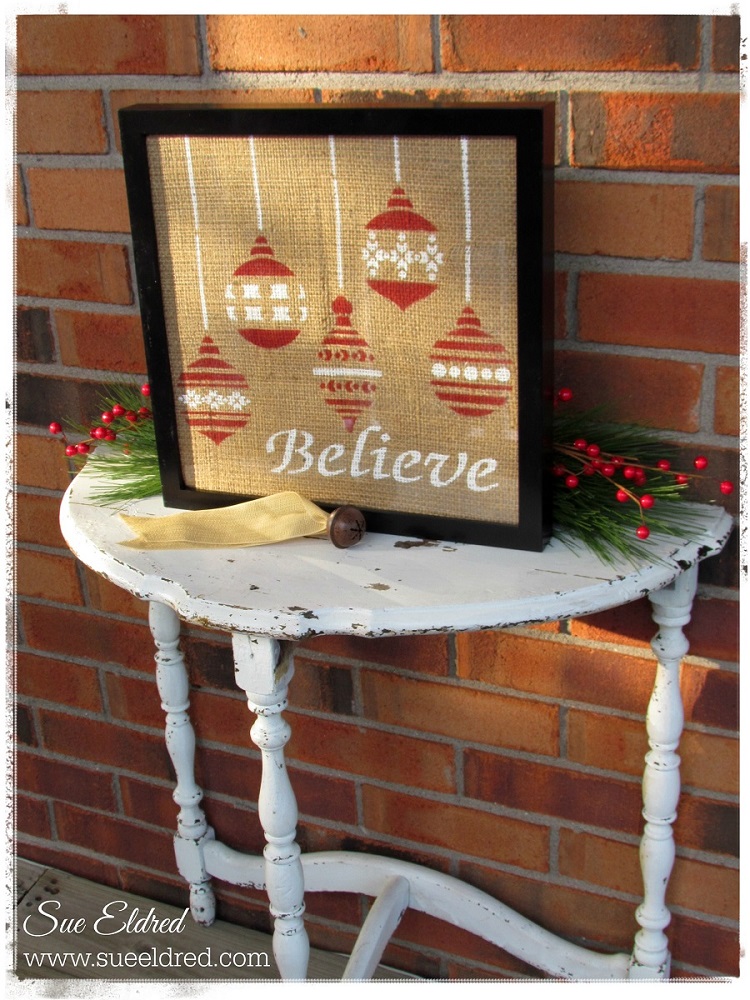
Stenciled Burlap Outside

This Christmas has been the year of Holiday Stenciling for me.  (I just can’t seem to get enough)

This time I’m making a Quick & Easy Home Décor piece for a Blog Hop with Fairfield World

using Foamology Stickybase Tiles™.

What’s Foamology?

Well…. I could try to explain this cool product to you, but. this video explains it much better.

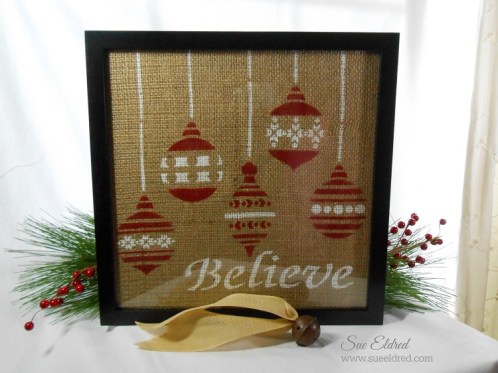
For my project, I decided to try my hand at stenciling on Burlap.

I used a large piece of burlap about 14″ wide and the 12″ Christmas Bulbs stencil

and the 12″ Word Xmas Tree stencil from Clear Scraps.

After I stenciled on the burlap, I wrapped it around the 12″ foam square as shown in the

video and inserted it into a shadow box frame.

Stenciled Burlap

Some of the products used on this project were generously donated by Fairfield World and Clear Scraps.

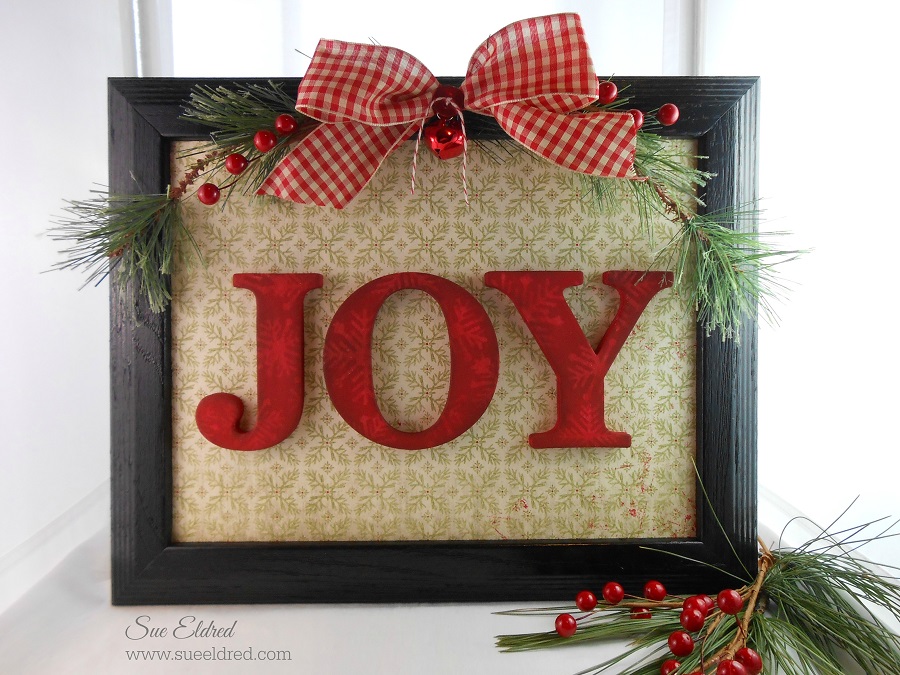
Holiday Joy

I love using the word “JOY” in my holiday decorating.
It’s one of my favorite words.  Who doesn’t need a little more “JOY” in their life.
The Joy Frame is a Quick and Easy Holiday Home Décor Project.


Supplies Needed:                                           (*affiliate link)

Directions:

  1. Remove the backing and glass from an old frame and spray paint it black.  My frame holds an 8 1/2 x 11 picture.
  2. Cut the scrapbook paper to size and add to frame.
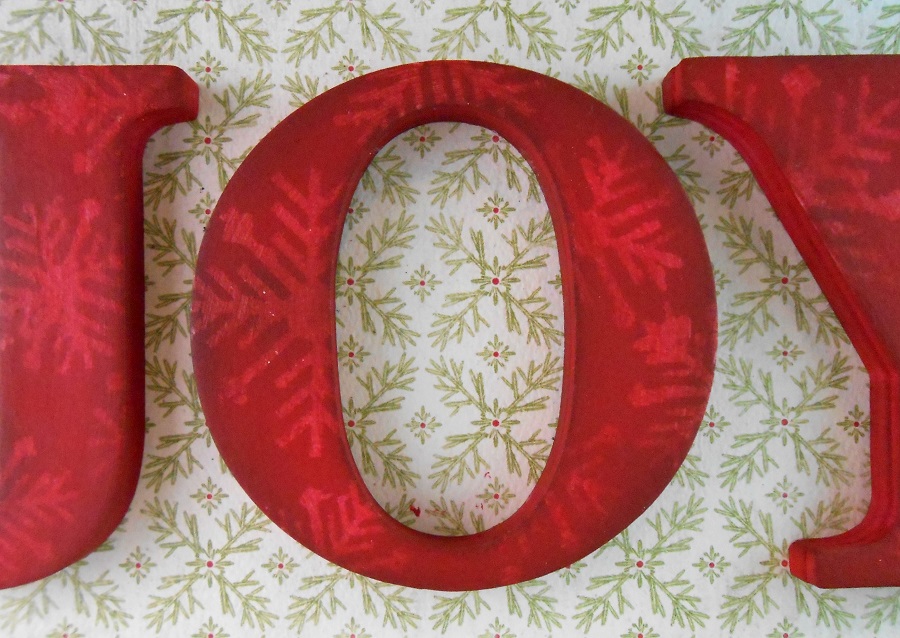
  3. Paint the chipboard letters red.
  4. Stencil Snowflake design onto the red letters with cream paint.
  5. Apply a light coat of red paint over the snowflakes.
  6. Antique the letters with Vintage Photo ink and ink applicator.
  7. Glue inside of frame.
  8. Embellish frame with some greenery and a red and cream gingham bow.
Craft Confession:
My original plan was to have cream snowflakes on red letters.  After I got through with the stenciling, I thought the snowflakes looked too bright so I decided to re-paint the letters.   As soon as I put on the first thin layer of paint, I loved the tone on tone result.  Happy Accident!
This project was created for and sponsored by Clear Scraps.

Join Amazon Kindle Unlimited 30-Day Free Trial

Disclaimer:  This blog uses ads and affiliate links.  If you choose to make a purchase using one of the links, I receive a small commission (at no additional cost to you) that helps offset the costs of maintaining this blog.  Thanks for your support!

Updated… A New Look for an Old Snowman

Updated Sock Snowman

Last year at my Holiday Workshop we made cute little snowmen out of socks.

They were a big hit.

But… one thing, I noticed when I pulled mine out again this year,

was that they looked a little misshapen.  More like a kidney bean than a snowman.

That was because I used rice for the entire body.  (the rice settled)

My updated snowmen still uses rice in the bottom, it now has fiberfill in the top

so that it doesn’t loose its shape.

I also decided my Snowman was cold, so I re-purposed an old sock for his sweater.

For more Making More Sock Snowmen Ideas you can find them here.

Here’s What You’ll Need:                    (*affiliate Links)

Here’s how I made my Snowman:

  1. Tea dye a new white sock, crew length or bigger.  Or if you have boys you could use one of their dingy ones.  (It’s better not to use a sock with the grey toe and heel.)
  2. Cut the top of the sock off, right around the heel.  (save that for the hat.)
  3. Turn the sock inside out and attach a rubber-band tightly around the top of the sock.  Because rubber bands wear out with time, I added a good squirt of Fabri-Tac Permanent Adhesive* (*affiliate link) in and around the rubber band.  (I left the rubber band on)
  4. Turn the sock right side out and fill sock about 1/2 way with rice.
  5. Fill the remaining portion of the sock with Fairfield Poly-Fil Premium Polyester Fiber*
  6. Use an additional rubber-band to close the sock.  Again, I re-enforced the rubber band with glue.
  7. Tie a piece of twine around sock to create the head.
  8. I used mini black square brads for his eyes, the tip of a bamboo skewer colored orange for his nose and a simple sewn black thread for his mouth.
  9. I used some paper craft sprays to add color to the toe of the sock.  I tied the tip with a piece of red and white twine and finished with a bow.  Roll the edge to create a cuff.  I glued my hat to the top of my snowman with Fabri-Tac Permanent Adhesive*(*affiliate link)
  10. Dress with Snowman with part of an old sock.  Add a couple of buttons for added detail.  A  fringed piece of fabric works great for the scarf.

Shop Your Fav Brands at Scrapbook.com

Disclaimer:  This blog uses ads and affiliate links.  If you choose to make a purchase using one of the links, I receive a small commission (at no additional cost to you) that helps offset the costs of maintaining this blog.  Thanks for your support!

Give the Gift of Amazon Prime*

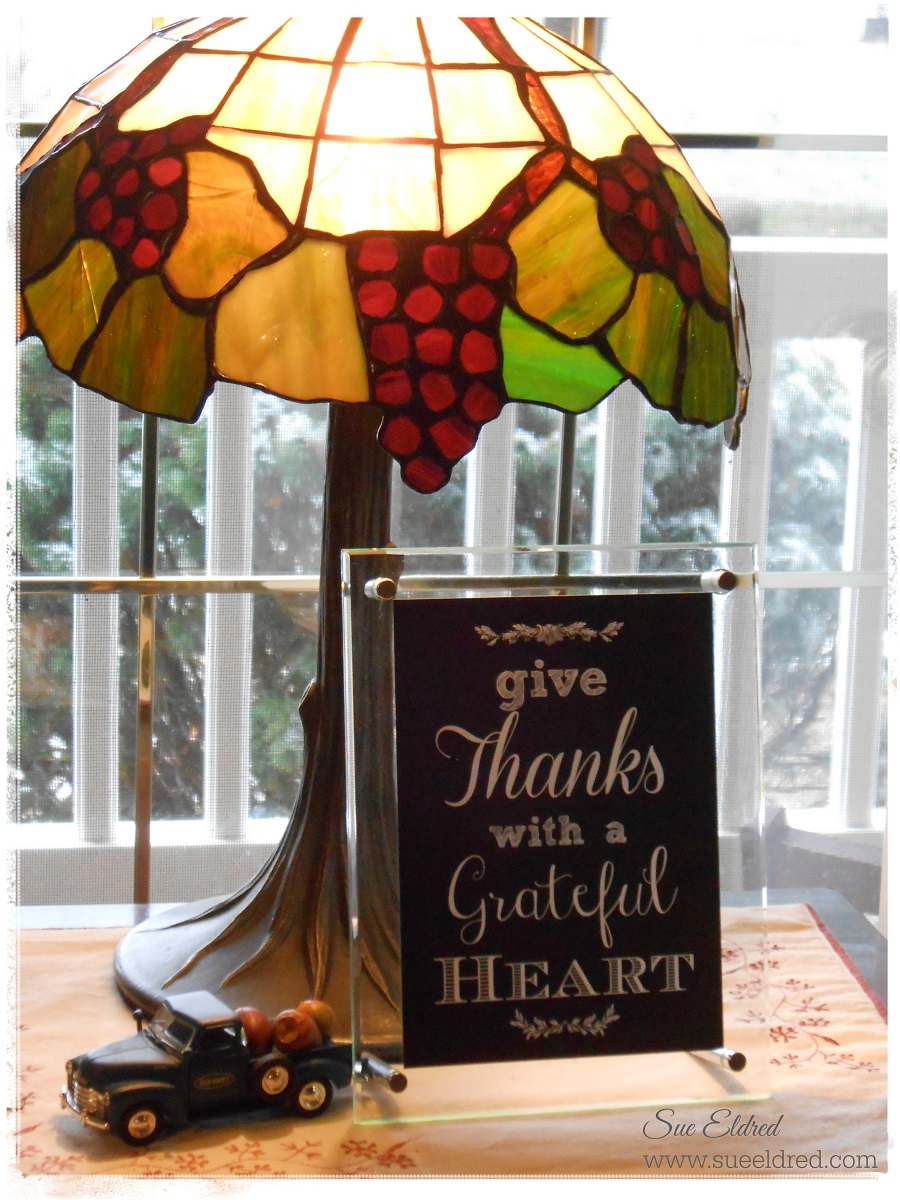
Give Thanks with a Grateful Heart

Deflecto Give Thanks Acrylic Frame

Give Thanks with a Grateful Heart. 

Powerful Words, Great Advice.

Words I need to be reminded of everyday, not just at Thanksgiving time.

As a gift for you, I created the below graphic using a free photo editing site,

with no watermark so that you can save it onto your computer.

I printed the below image out as a 5″ x 7″ photo and put it in one of the Beveled Edged Craft Frames

that I received from Deflecto Craft Solutions.

Enjoy!

Give Thanks 2

“This is a sponsored post. As a member of the Deflecto Design Team I have been provided product in exchange for my creative ideas, views and opinions.”

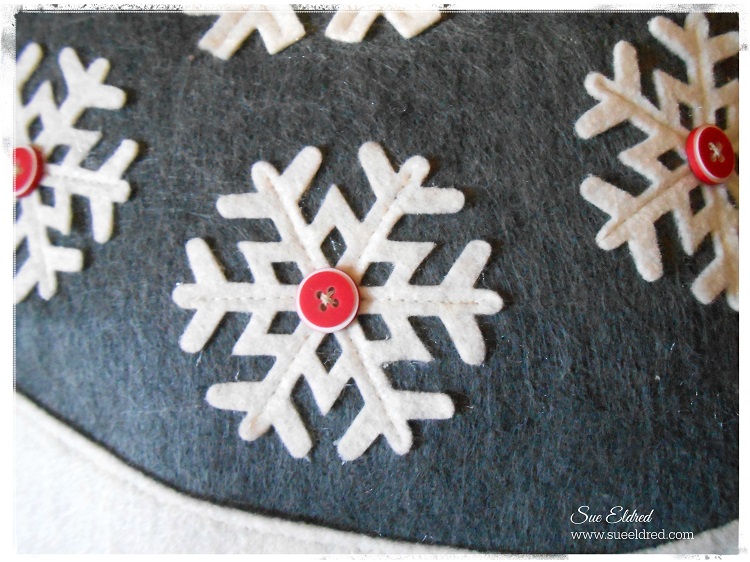
Handmade Holiday: Sew Simple Snowflake Pillow

One of my favorite things to do during the holidays (besides eating Christmas cookies)

is to make things to decorate my home.  My snowflake pillow is a simple sewing project

that makes a warm and cozy winter accent.

You can leave this pillow out long after the holidays are over.

For my Snowflake Pillow I used:                     (*affiliate link)

Directions:

  1. Cut a 4″ x 12″ wavy piece from the cream felt.
  2. Add a small amount of Fabri Tac Glue on the back of the cream felt to keep it in place before sewing.  Place that piece 1/2″ up from the bottom of the grey 13″ piece of felt.
  3. Glue Snowflakes in place.  Hand sew the red buttons in the center.
  4. Machine sew around outer edges of the large cream piece.
  5. Machine sew between each of the snowflake arms.
  6. Turn felt pieces right sides together and sew with a 1/2″ seam allowance.
  7. Leave a 3″ opening at the bottom to add fiberfill.
  8. Turn pillow back around and stuff with fiberfill.
  9. Hand sew the pillow closed.

FYI…You can find die cut snowflakes in my Etsy Shop.

Thanks to the generous folks at Fairfield World for supplying the Poly-Fil.

*Disclaimer:  This post uses ads and affiliate links.  If you choose to make a purchase using one of the links, I receive a small commission (at no additional cost to you) that helps offset the costs of maintaining this blog.  Thanks for your support!

Try Amazon Prime 30-Day Free Trial

Creative Ideas using Craft Frames by deflecto

Deflecto Craft Badge (1) team badge

I recently started working with a new company called Deflecto.  Some of you may recognize the name Deflecto from dryer vents or bicycle reflectors. (among many other things)   Deflecto now has Craft Storage Solutions.  Providing solutions to stay organized so you can concentrate on your projects not your clutter.  (and that’s always a good thing)
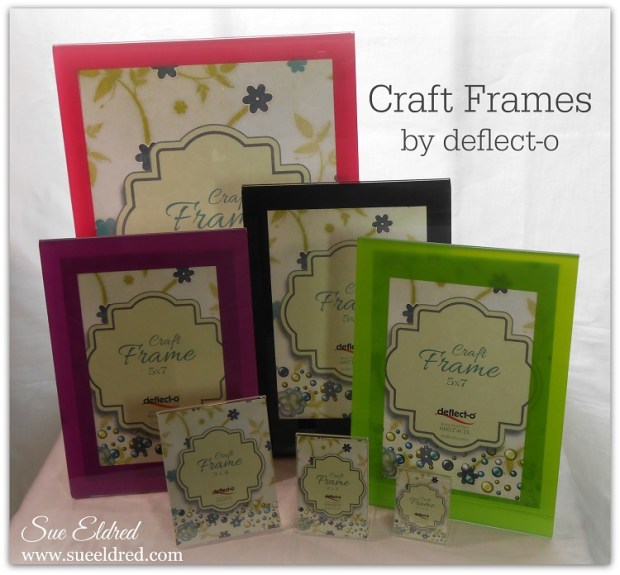
Deflecto Craft Frames 2

Each month Deflect-o will send me something new to play with.  This month, I’m getting creative using their Craft Frames.
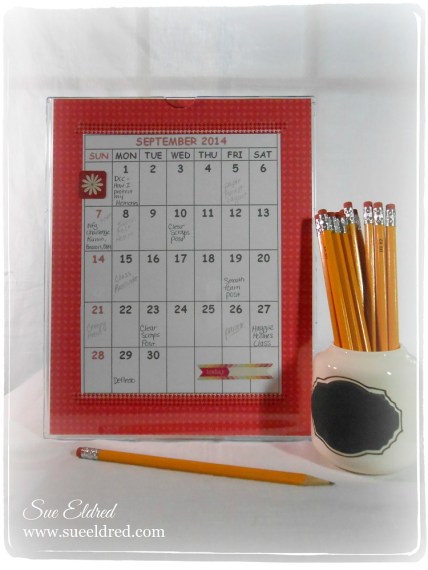
September Calendar

Call me silly, but, this has to be my favorite frame so far.
This frame is not just a clear 8 1/2″ x 11″ acrylic frame.  It is flat backed and comes with heavy-duty magnets, velcro and a push pins attachment so that it can go on a fridge, wall or even a bulletin board.  They’ve thought of everything.

For my frame, I went with the velcro and have it attached inside my office cabinet.  I’m always losing my Editorial/ Blog calendar on my desk among piles.  Now I can find it, take it down and update it anytime I want.

Look Listen Create Enjoy

I like that this frame comes with a black edge.  I added some personal inspiration with scrapbook paper and stickers.
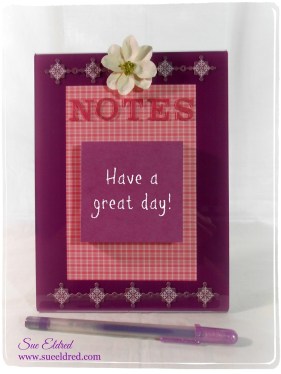
 Note Holder w scrapbook paper  Note Holder Clear

The purple frame I made into a girly Post It Note Holder.  The second picture shows the frame clear with no paper scrapbook paper added.  I’m not sure which one I like the best.

Holiday Joy

How about this mini 2″ x 3″ frame decked out for the Holidays. (too cute right?)

I think I’m going to really enjoy working with this company and all their Crafty Storage Solutions.

I love being organized and this will work out great.

“This is a sponsored post. As a member of the Deflecto Design Team I have been provided product in exchange for my creative ideas, views and opinions.”

Simple Decorated Linen Bag and Burlap Utensil Holder


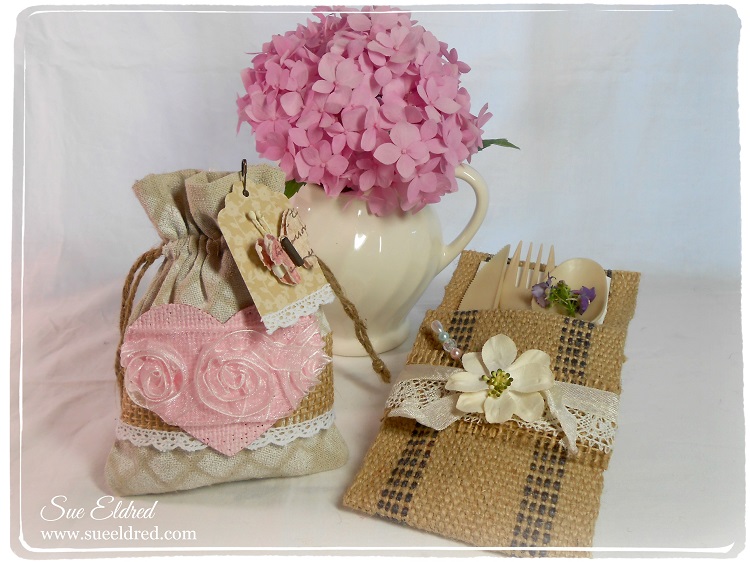
Burlap Pouches

I recently got the opportunity to play along with a group of Designers using some fun burlap products.

I really love working with burlap.  So many ideas, too little time.  Here’s a few of the many things you can make using burlap.

Decorated Muslin Bag w vase

My first project is a simple and elegant idea for decorating a plain muslin bag.

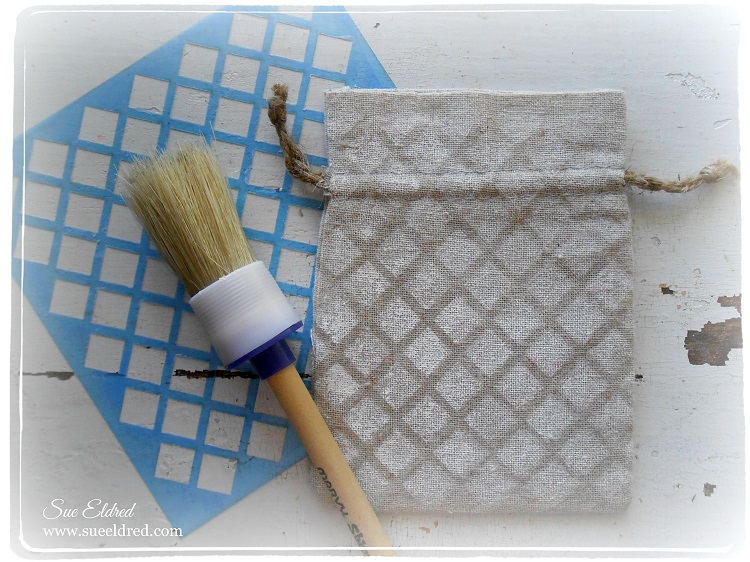
muslin pouch and stencil tools

  1. Start with a plain muslin bag.
  2. Lay diamond stencil over the bag and secure in place with removable tape.
  3. Stipple over the stencil with white acrylic paint.
  4. Adhere a 1 1/2″ strip of burlap around center of bag.
  5. Glue a thin piece of white lace around the bottom of the burlap strip.
  6. For the heart:  Paint a small piece of red burlap with several coats of white acrylic paint, creating the nice soft pink color.
  7. Cut burlap with heart die.
  8. Adhere sheer pink rosette ribbon onto pink heart and glue onto front of muslin bag.
  9. Cut and Decorate a small tag.

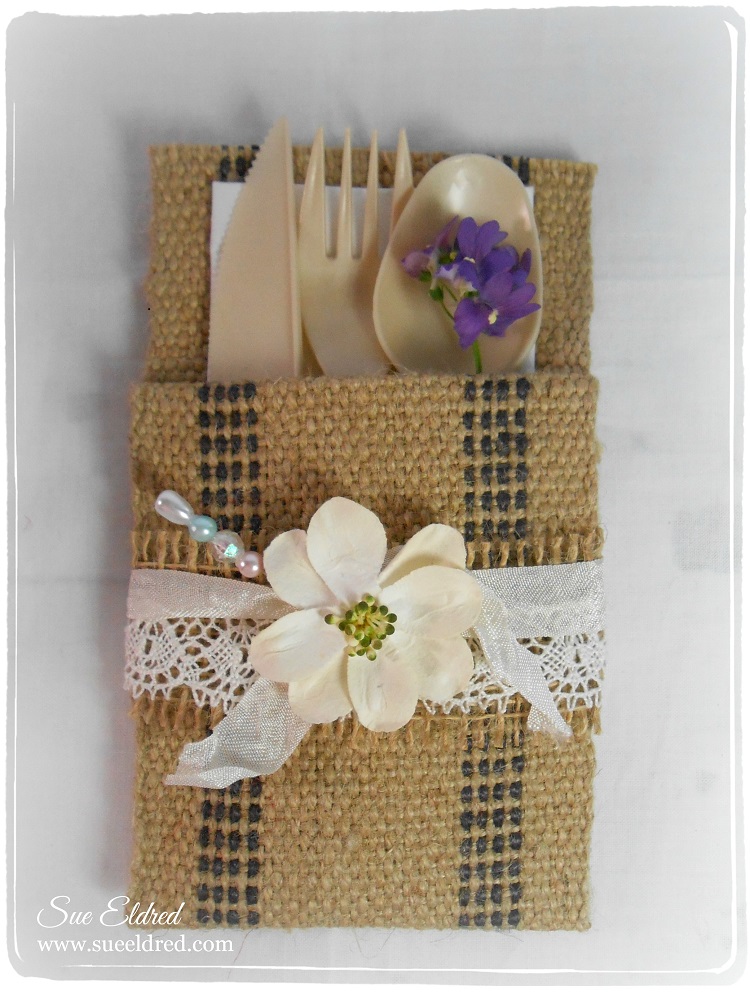
Burlap Utensil Holder 2

The Burlap Utensil Holder uses the 3 1/2″ navy striped burlap ribbon.

  1. Cut a 12″ strip of burlap ribbon.
  2. Fold over one end of the ribbon approx. 1/2 end and glue using a good Fabri Tac glue.  I used small metal binder clips to secure the ribbon in place while drying.
  3. Create a 4″ pouch by folding and gluing ribbon.  (love those binder clips)Glue a piece of 1 1/2″ burlap ribbon around pouch.
  4. Glue lace over burlap ribbon and tie with a piece of cream crinkle ribbon.
  5. Embellish with a flower and stick pin.
  6. Add a napkin and utensil and your ready to go.

Quick & Easy Washi Tape Vase

Today’s the first Monday of the month time for the Designer Craft Connection Blog Hop.

The Theme this month is Handmade Gift Ideas.  (don’t forget to hop)

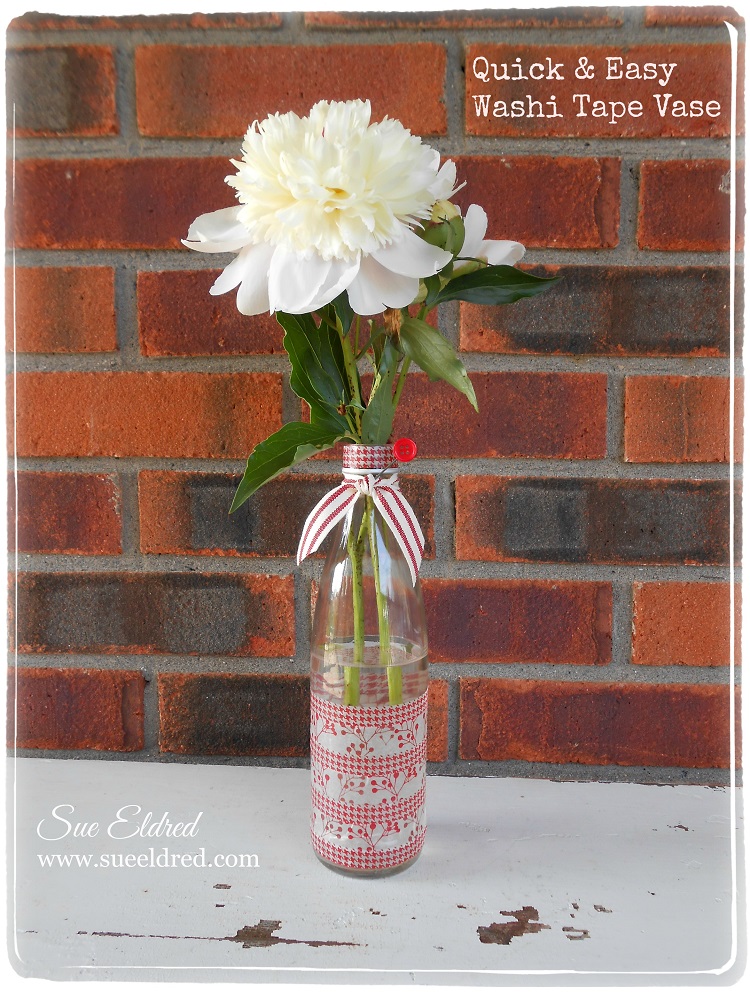
Quick & Easy Washi Tape Vase

My project today is a fun, quick & easy project that you can make in minutes.

This would make a great last minute gift.

Washi Tape Vase Close Up  Washi Tape Vase Details

I started with a narrow glass bottle that has a fairly long straight section.

Wrap the bottle with Washi Tape.  Choose two patterns or more.

Having a straight section is important to getting the washi tape on evenly.

You can smooth out any wrinkles in the tape with your thumb nail or a bone folder.

I added a little more detail around the neck of the bottle with some ribbon and a button.

I picked up the ribbon this Spring at The Paper Source in Indianapolis.  (I’ll be hoarding this)

I glued the button onto a Memo Pin* from Tim Holtz and stuck into the ribbon.

Grab a flower from the garden and your ready to go.  It really is that easy.

Just a note in case you’re wondering:

The tape on the vase, just like the flower won’t last for ever.  It’s just pretty.

*Disclosure:  I am a Amazon Affiliate.