How to create a double-sided sign to show off your Patriotic and Olympic Spirit.
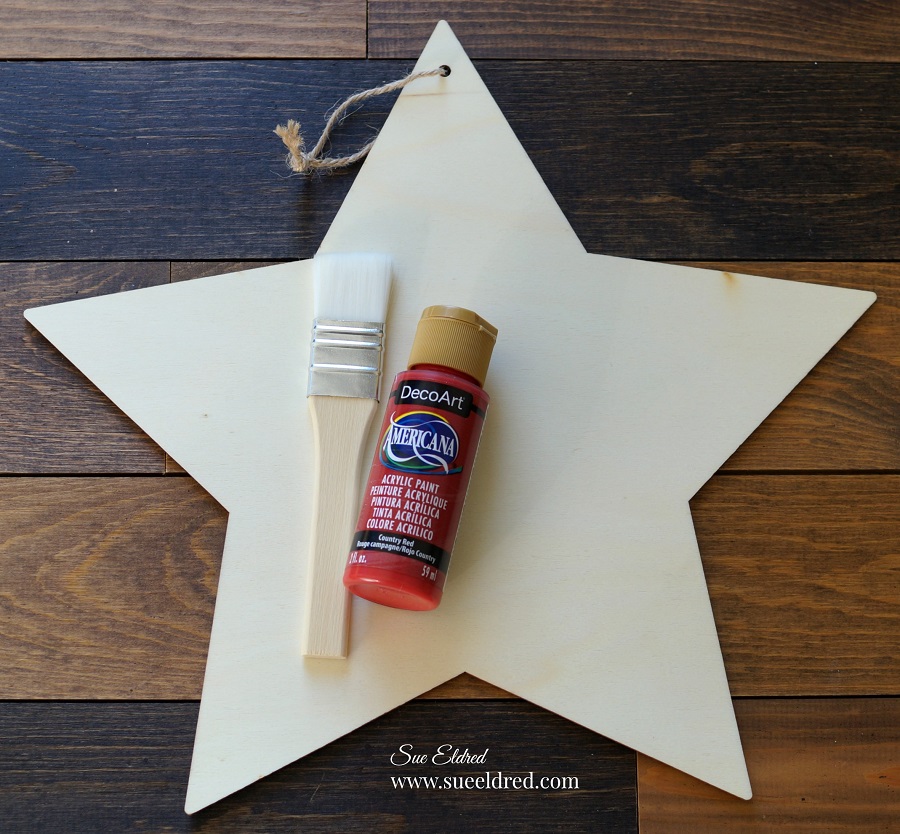
I picked up this wood star sign at Dollar Tree* to make something for the 4th of July.
Being indecisive, I couldn’t decide if I wanted to do that or make something for the
upcoming Olympics. So, I decided to do both.

*Disclosure: This blog uses ads and affiliate links. If you choose to make a purchase using one of the links, I receive a small commission (at no additional cost to you) that helps offset the costs of maintaining this blog. Thanks for your support!
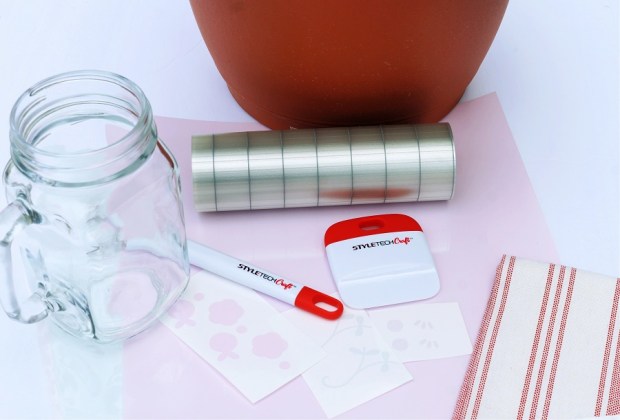
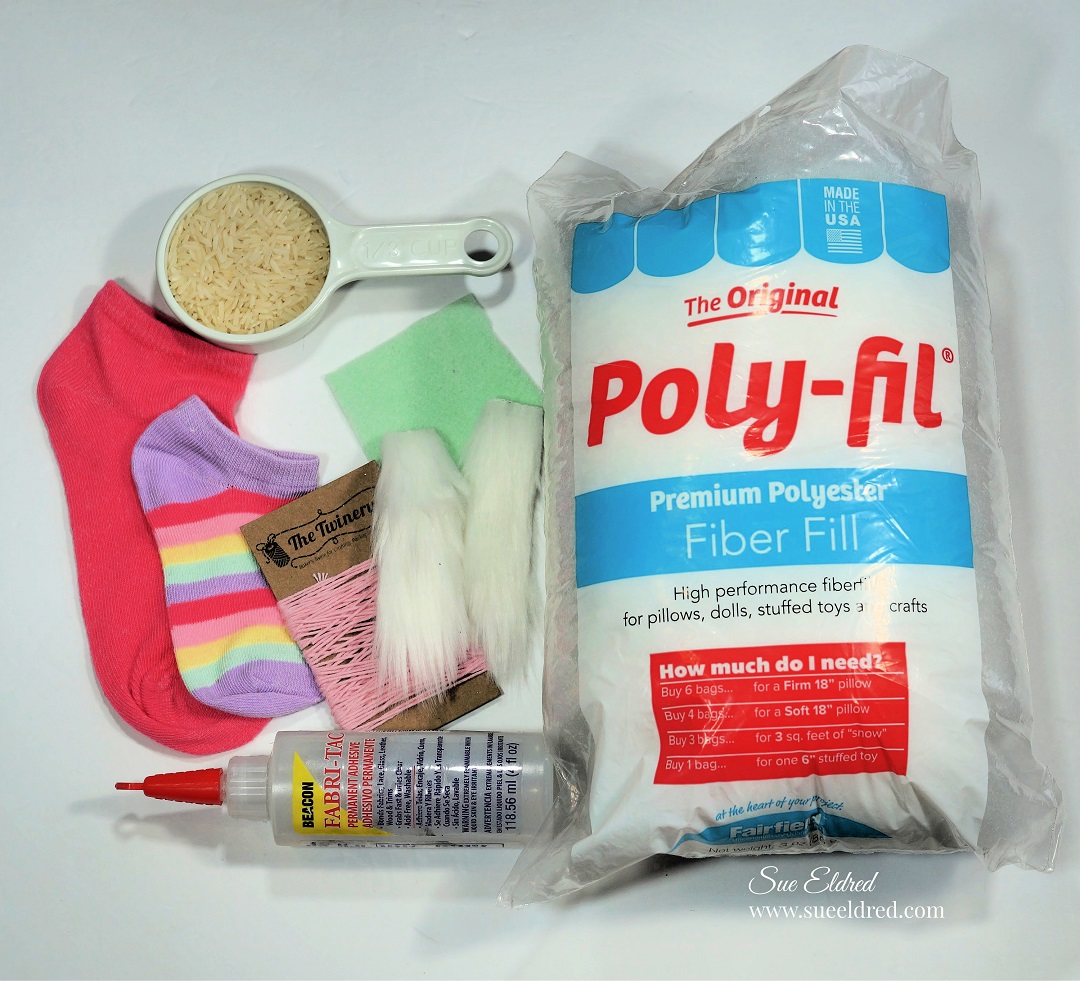
Materials Used:
- Wood Star Sign*
- Acrylic Paint: Red, White and Blue
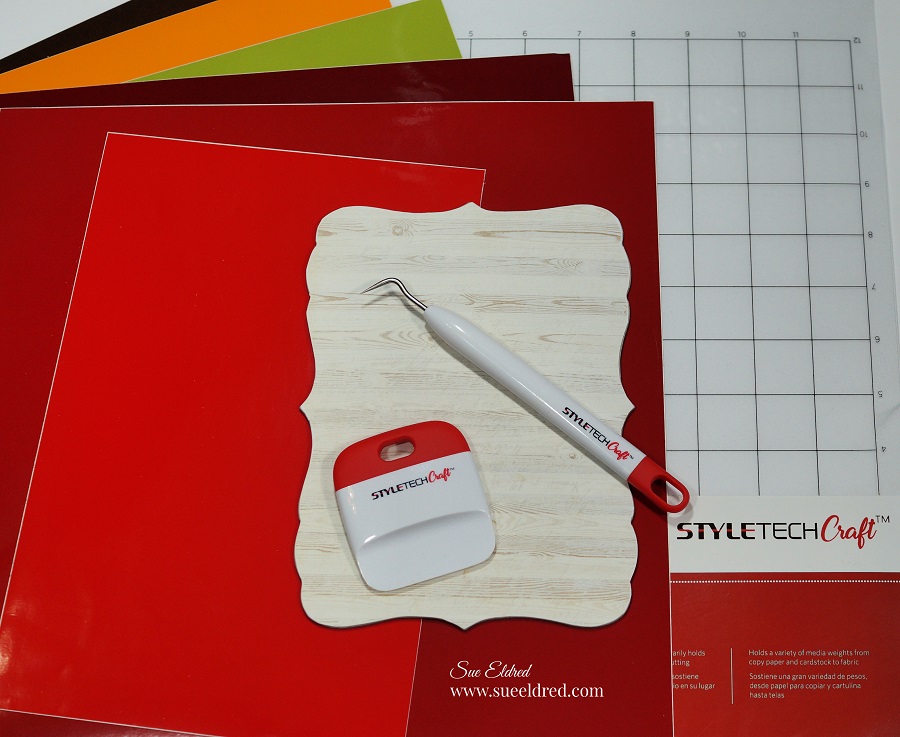
- White Extra Fine Sanding Block*
- 1″ Removable Painter’s Tape*
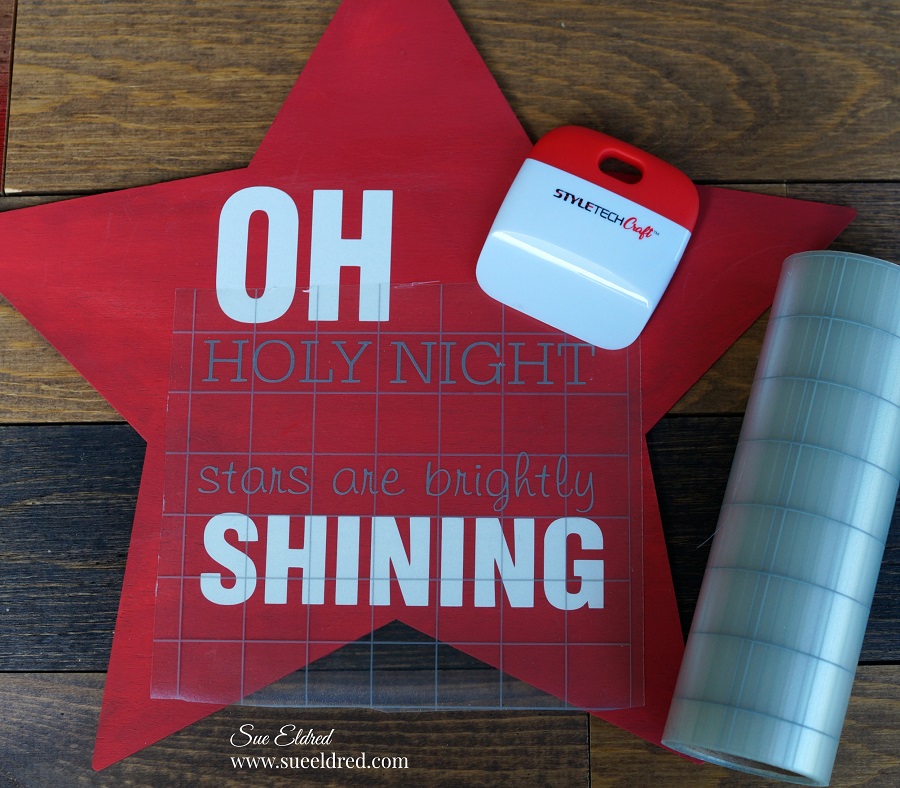
- StyleTechCraft White Glossy Craft Vinyl*
- StyleTechCraft Royal Blue Luster Vinyl*
- Silhouette Electronic Die-Cutting Machine*
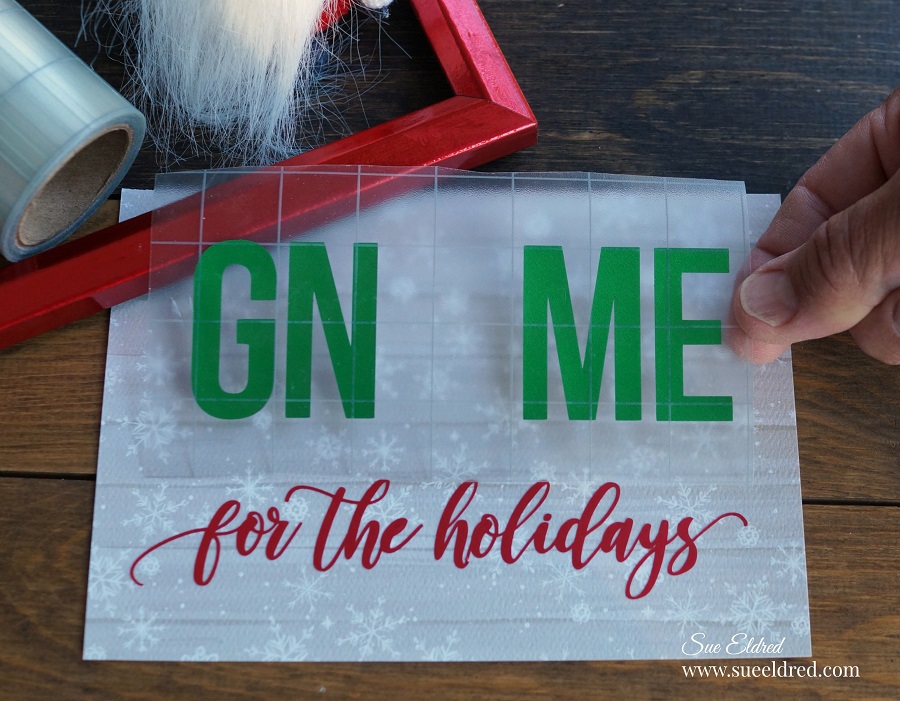
- StyleTechCraft Clear Transfer Tape*
- StyleTechCraft Vinyl Tool Kit*
- Red and White Striped Ribbon
Directions:
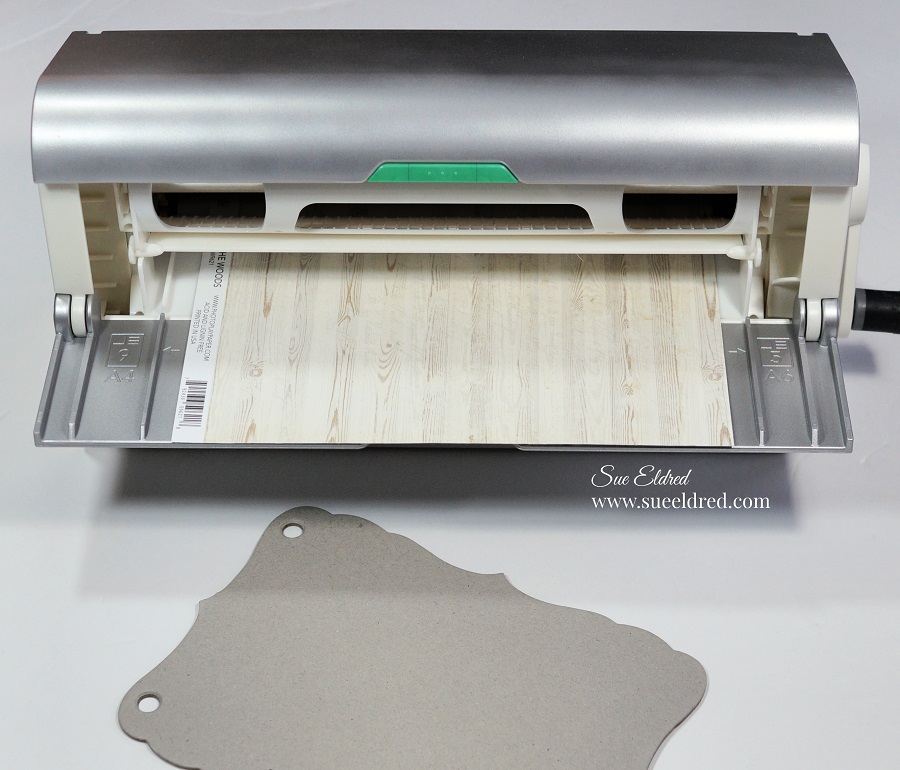
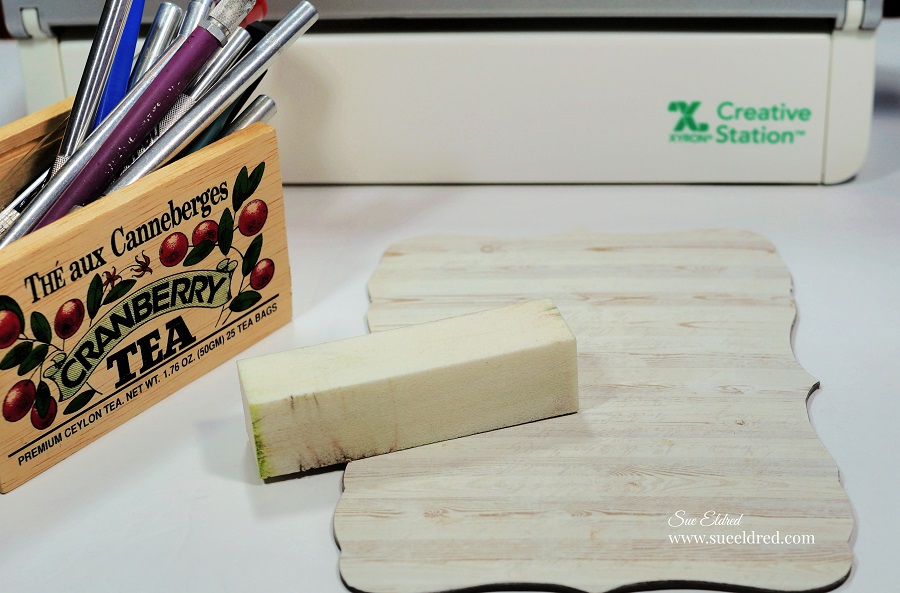
- Lightly sand the wood star with the sanding block* to smooth.
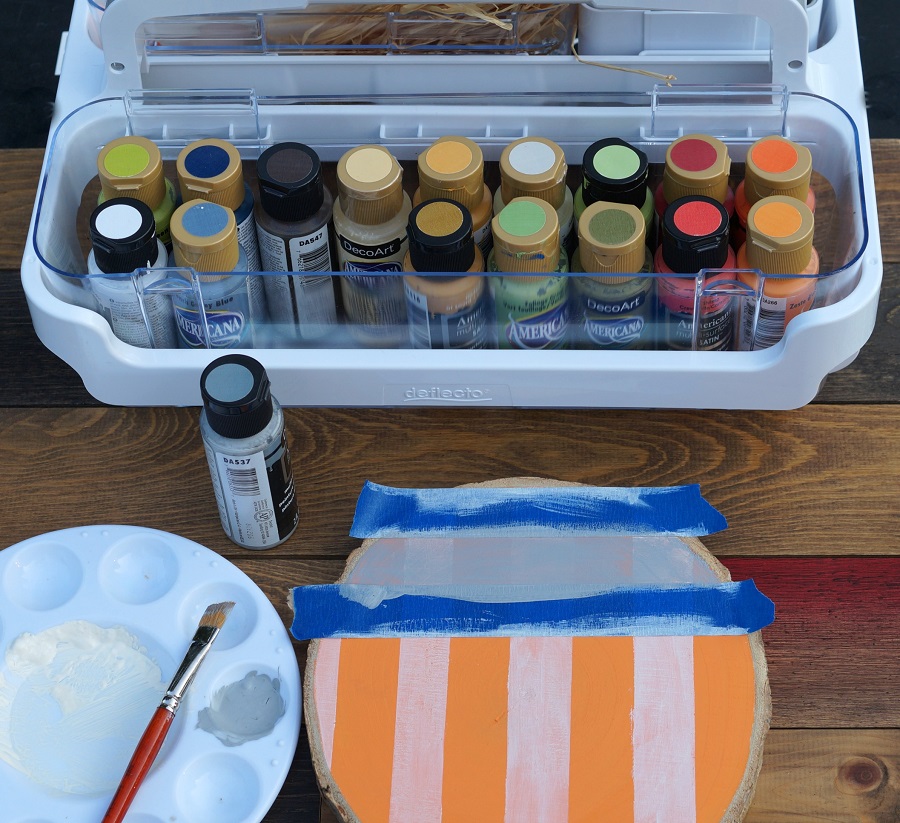
- Paint both sides of the star with white acrylic paint.
- To make 1″ stripes, lay the painter’s tape onto the surface, butting each strip up to the other. Remove the middle piece of tape.
- Gently rub the painter’s tape* to make sure the edges are securely down.
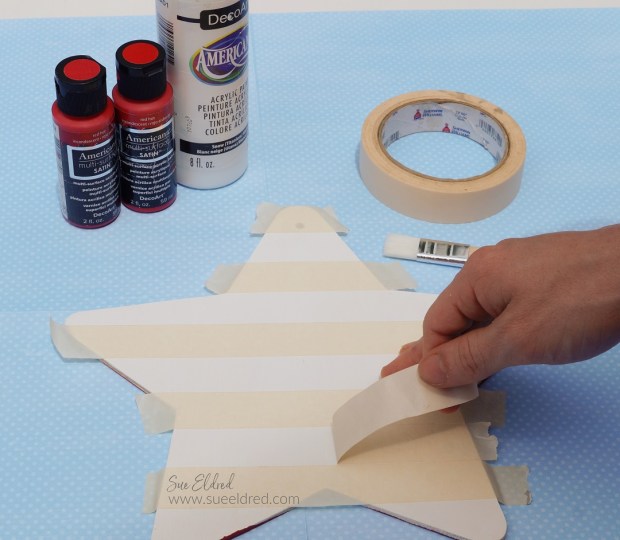
- Paint between the lines of the tape. Wait until the paint has dried before removing the tape.
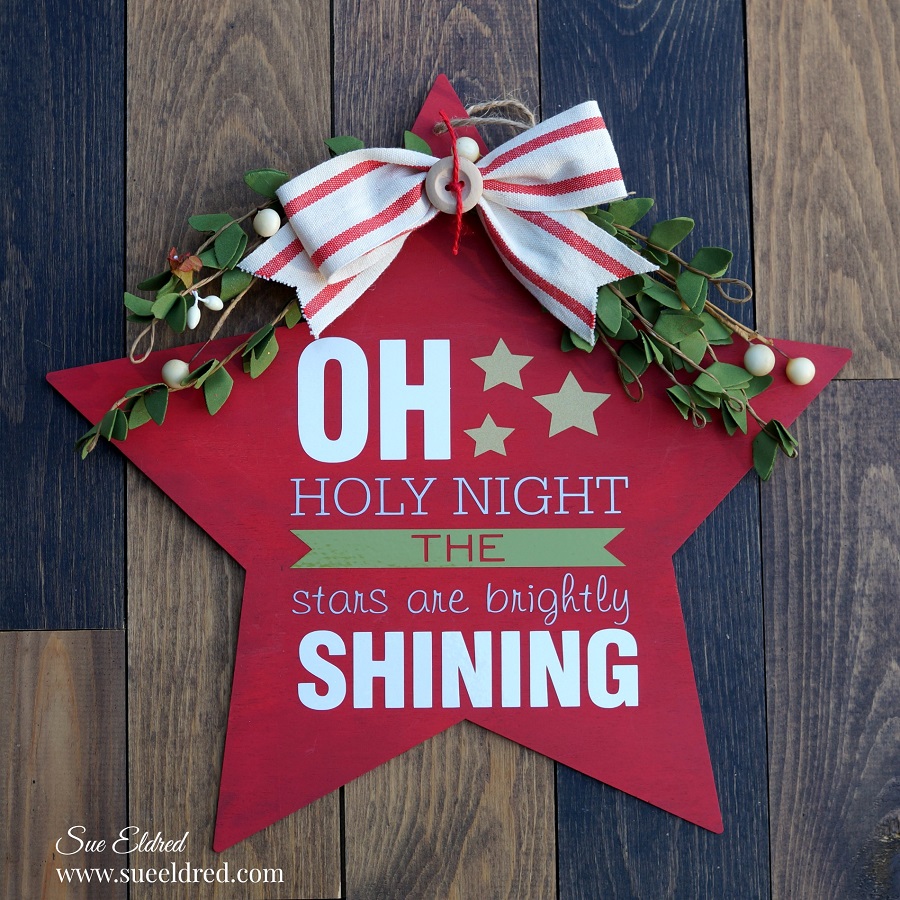
- For a distressed look, gently sand the star to blur the paint lines.
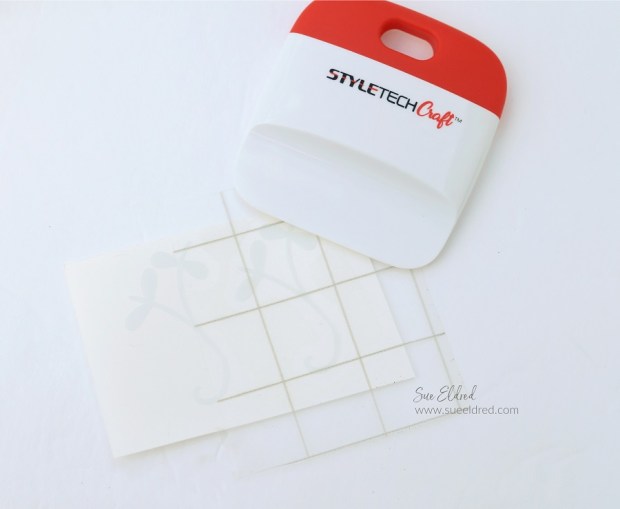
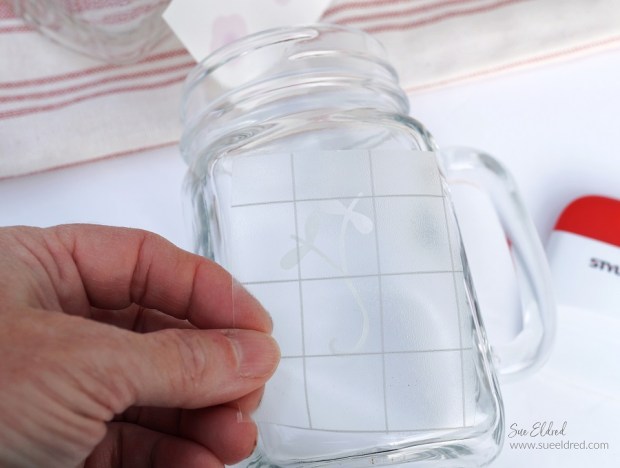
- I used my Silhouette Electronic Die-Cutting Machine* to create the words and stars to put on the front and back of the sign.
- Apply the vinyl onto the star using vinyl transfer tape*.


I added my sign to the simple boxwood wreath on my front door.
After the 4th of July, I will turn it over to show my Olympic Spirit.
GO TEAM USA!