A Joyful Village

As the Christmas Season gets closer…

I wanted to share this simple little wood project that I made for the “Creating with Joy” blog.

Being Joyful, is my goal not only at Christmas but throughout the entire year.

For my “Joyful Village”…

I  started with some wood trim scrap pieces cut into simple whimsical house shapes.

My pieces measure 4″ x 2″, 3″ x 2 3/4″ and 3 1/2″ x 2 1/4″.

I painted the house with a couple coats of Americana Decor Satin Enamels 8oz-Grey Taupe*.     (*Amazon affiliate link)

After painting the houses…                                                                             (*Amazon Affiliate Links)

      • I created a roof using Black Corrugated Paper*.
      • I added color to my white iron-on embroidered letters by dampening them and rubbing color directly onto the letters using my Distress Mini Ink Pad-Fired Brick*.
      • After the letters are dry, glue the letters onto the houses using a craft glue.
      • I created a mini wreath and mini pine swags using Pine Craft Stems*.
      • I created small number charms by printing the numbers onto white cardstock and punching with a small circle punch.  I added the numbers inside Metal Type Charms by Tim Holtz Idea-ology*.
      • I tied the charms onto the wreath and swags with thin twine and glued them onto the front of the houses along with a little tiny bow.

The village wouldn’t be complete without a cute little red truck.

I picked up the tiny red truck at the Elkhorn Flea Market in Wisconsin and I glued three little

bottle brush trees to the back of the truck.  I rubbed the trees with clear glitter glue

for added sparkle.

This project was sponsored by Joy SA and DecoArts.

Shop Amazon Scrapbooking Supplies*

*Disclaimer:  This post uses ads and affiliate links.  If you choose to make a purchase using one of the links, I receive a small commission (at no additional cost to you) that helps offset the costs of maintaining this blog.  Thanks for your support!

DIY…”Merry” Canvas

Make the holidays “Merry” with this mini decorated canvas.

Create frosty, glittery goodness with this fun mini canvas project.

To make the Merry Canvas you’ll need:                                      *affiliate link

*Disclosure… This blog uses ads and affiliate links.  If you choose to make a purchase using one of the links, I receive a small commission (at no additional cost to you) that helps offset the costs of maintaining this blog.  Thanks for your support!

Directions:

  • Wrap twine around canvas and embellish with jingle bells, greenery and bow.

“This is a sponsored post.  As a member of the Joy® Design Team I have been provided product and compensation in exchange for my creative ideas.  The views and opinions are my own.

Holiday Diamond Art

Christmas Carol Set - 25 Favorite Songs, Delicious Holiday Recipes, Party Ideas & More!

Ring Toss Anyone?

For Nick’s Carnival themed birthday party, earlier this month…

I was given the task to create the Ring Toss Game.

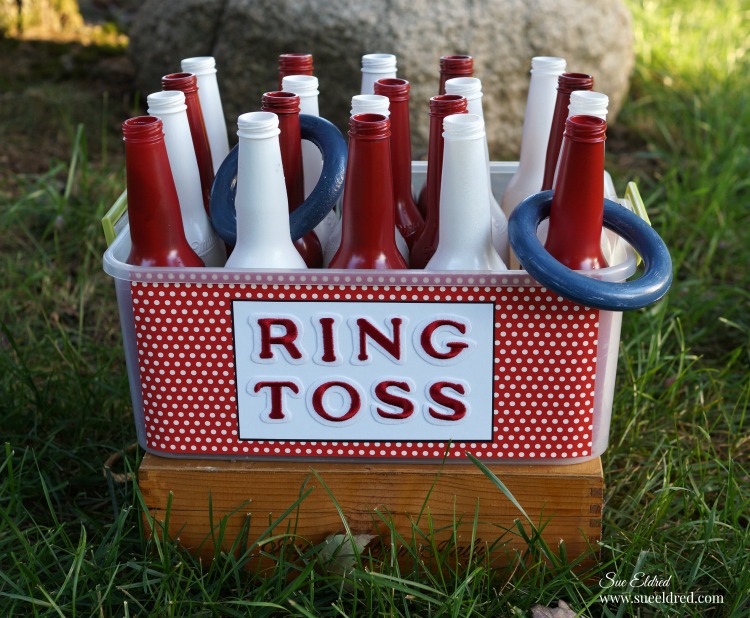
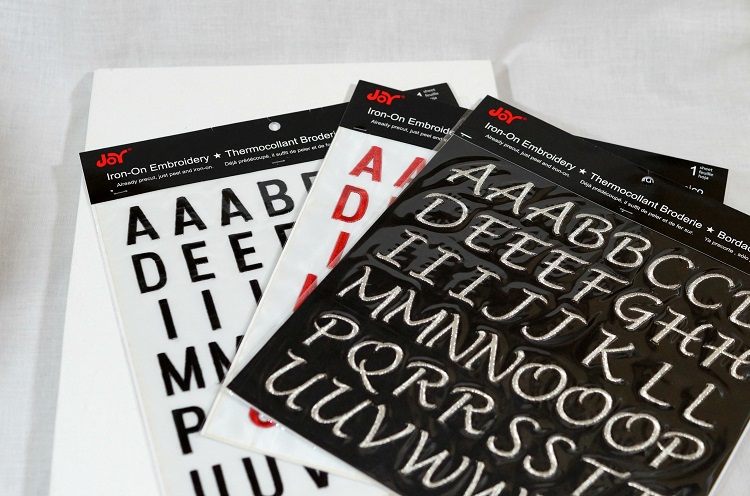
 After washing and spray-painting all the bottles, I needed a cute sign for the game.

Joy letters to the rescue – I just adhered them to scrapbook paper I added to the outside

of the plastic bin that holds the bottles.

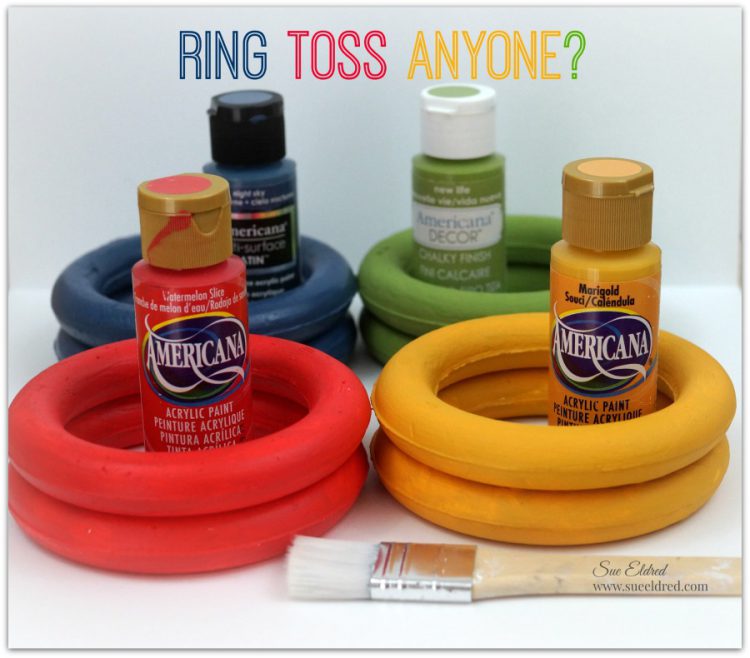
I used lightweight Smoothfoam rings painted with acrylic paint for the kids to toss.

ring-toss-game-sues-creative-workshop

Besides the Ring Toss Game there was a Hit the Can, Frisbee Toss, Fishing Game, Shoot Em Up, Tattoo Parlor, Fortune Teller.

fishing-game

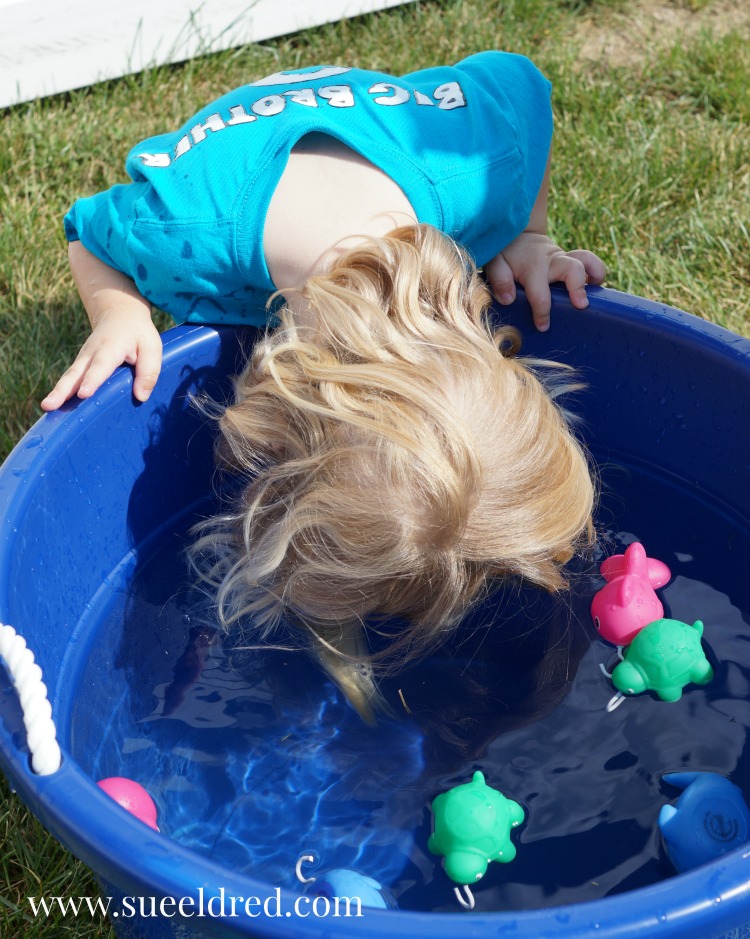
Warren especially love the Fishing Game.

So much, he stuck his head in the tub.  (it was unseasonably HOT that day)

nicks-6th-birthday-party

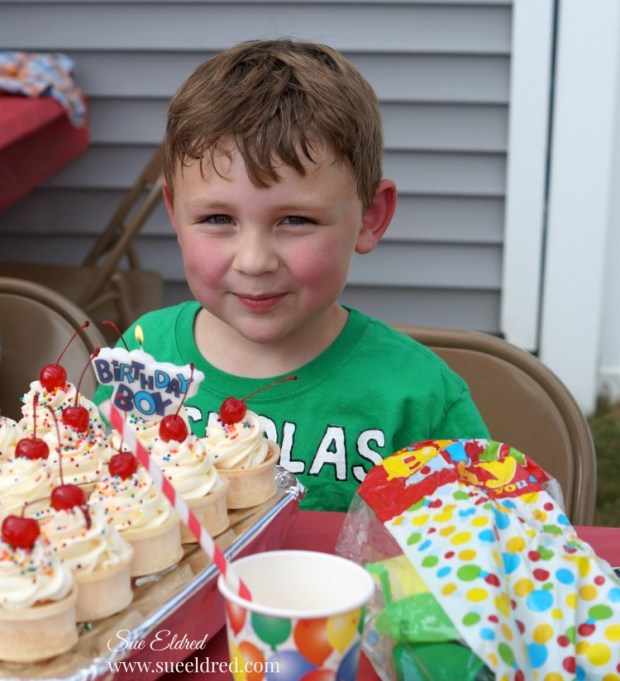
There was Ice Cream Cone Cupcakes, Corn Dogs, Popcorn, Nacho’s and a ton of prizes.

The kids and adults had a really good time at the party.

This post was sponsored by Joy Sa and DecoArt.

Disclosure:  This blog uses ads and affiliate links.  If you choose to make a purchase using one of the links, I receive a small commission (at no additional cost to you) that helps offset the costs of maintaining this blog.  Thanks for your support!

Join Amazon Kindle Unlimited 30-Day Free Trial

The last time I cooked, hardly anyone got sick.

For some people, cooking defines them.

I AM NOT that person.

Ask me to bring chips and soda to a potluck and I’m totally fine with that.

But… don’t let the apron fool you.

It’s not that I can’t cook.  I just don’t like too.

If I had a personal chef, I’d be one happy girl.

So… If I’ve got to do it, I might as well have a little fun.  (and keep the expectations low)

This apron should do the job.

Red Ticking Apron

Want an apron like mine?

A while back, I asked the good folks at Canvas Corp Brands if they made an

apron with Red Ticking (they only had blue) and they made this apron special just for me.

Last Time I Cooked 9942

The lovely lettering is Iron-on Embroidered Letters from Joy SA.

Look for them at your local Hobby Lobby and Michaels craft stores.

“This is a sponsored post.  As a member of the Joy® Design Team I have been provided product and compensation in exchange for my creative ideas.  The views and opinions are my own.

Shop Your Fav Brands at Scrapbook.com

*Disclosure:  This blog uses ads and affiliate links.  If you choose to make a purchase using one of the links, I receive a small commission (at no additional cost to you) that helps offset the costs of maintaining this blog.  Thanks for your support!

DIY Canvas: What the World needs now…

What the world needs now canvas 9097

A Quick and Easy DIY canvas and a throw back to the 1960’s.

What the World needs now canvas 9121

Song Trivia:

The song “What the World needs Now is Love” was first recorded in 1965…

and was written by Hal Davis with the music composed by Burt Bacharach.

What the world needs now canvas and letters 9059

To make a canvas you’ll need…

  • 8″ x 10″ white canvas
  • Iron Embroidered Letters from Joy SA
  • Blue Acrylic Paint
  • Paintbrush
  • Water
  • Craft Adhesive
  • Clean Soft Rag or White Paper Towel

painted canvas 9073

Directions:

  • Using watered down acrylic paint I created a light watercolor wash on the canvas.
  • To create the cloudy look, I dabbed the painting, while the background was still wet, with a clean towel to remove portions of the paint.
  • After the canvas has fully dried, arrange letters on canvas.
  • Draw light pencil marks on the canvas to keep your lines straight.
  • Adhere to canvas with adhesive.

What the world needs now canvas 9090

This canvas was created for and sponsored by Joy SA.

How to Mist and Stencil a Mixed Media Pillow

Home Pillow for Joy 6602

I enjoy making pillows.

Especially when it’s a quick and easy “no sew” pillow with a twist.

How about a little misting and stenciling with Tattered Angels Glimmer Mists?

Home Pillow for Joy Project Supplies Close Up 5805

I started my project off with a 12″ plain canvas pillow cover, versatile check stencil (see end of post),

Tattered Angels Glimmer Mists and large iron-on embroidered letters from Joy.

masking the stencil 5818

Using removable painter’s tape, I taped the stencil onto the canvas.

I wanted my pillow to have a subtle background so I lightly sprayed with Tattered Angels

Crushed Shells Glimmer Mist.

Because the pillow is decorative, I’m not worried about the spray being washable.

Home 5820

I used large Iron-on letters from Joy to spell out the word “Home”.

Spraying the letters5824

To customize the plain white letters, I sprayed them with Coffee Shop Glimmer Mist for contrast.

ironing 6395

Allow the letters to fully dry before arranging onto the pillow.  Cover the letters with a cotton cloth

and iron for about 30 seconds.  I ironed it again from the back of the fabric for another 30 seconds.

Burlap Flower

I added an old button to the center of a burlap flower from Canvas Corp Brands

and glued it onto the corner of my pillow with Fabri Tac Glue.

I used a 12″ pillow form from Fairfield World to stuff the pillow.


Deco Art DECADS.20 Americana Decor Stencil Versatile Checks*


This project was created for the Creating with Joy Blog and was sponsored by Canvas Corp Brands, Deco Arts, Fairfield World, Beacon Adhesives and Joy SA.

*This post uses affiliate links.

Monogramed Jeans Jacket

Monogram Jeans Jacket for Instagram 6282

My daughter was telling me about a store near her that was having a Monogramming Event where

they would custom monogram an item of clothing for you while you waited at the store.

She said it was a pretty big thing.

Monogram Jeans Jacket 6279

Being the “thrifty” one…

We used Iron-on Embroidered Letters from Joy instead.

It only took about a minute to create this custom look on her “thrifted” denim jacket.


This project was created for and sponsored by Joy SA.

“I’d rather be thrifting” bag

Thrifting Bag 6289

My daughter is an expert at shopping the thrift stores

and finding a great deal… 

When she asked me to make her a tote bag similar to the ones she’d seen online.

I knew exactly where to start.  I used a large canvas bag from Canvas Corp Brands

and ironed on a fun saying using Joy® embroidered letters.

ironing the letters 6266

It’s quick and easy – just preheat your iron to the cotton setting, then remove the paper liner

on back of each letter (exposing the temporary adhesive) and press into place on your tote bag

to spell out your quote. Cover the letters with a cotton cloth and iron for about 30 seconds.

I ironed it again from the back of the fabric for another 30 seconds.

bag close up

Fast, Quick, Personalized and Ready to Go!

We’re thinking of adding “take me to a flea market” on the other side.


This project was created and sponsored by Joy SA.

Crafting with Kids: Serenity’s Craft Bag

Serenity's Craft Supplies 2

When it comes to craft supplies for some reason people tend to refer to me.

So when I heard that my 5 year old niece was looking for beads and craft supplies for her

birthday, I jumped all over that one.

Serenity's Crafting Supplies 4207

I had a small 8″ x 8″ canvas bag from Canvas Corps and iron-on letters from Creating with Joy.

Who doesn’t like a personalized bag, to let everyone know just who’s bag it is?

I filled Serenity’s bag with a divided container full of beads and gave her paintbrushes,

pom poms, craft stems and pink scissors.  (Things a typical 5 year old might need.)

True story…

Sad Nick Face

One Sunday, my 5 year old grandson, said to me, “Grandma, let’s do a project.”

I looked him straight in the eyes and said…

“Do I look like the kind of Grandma that does projects?”

He gave me the saddest look, not knowing what to say.

Happy Nick Face

When his mom started laughing, a big smile emerged.

I can’t remember if we did a project or not.