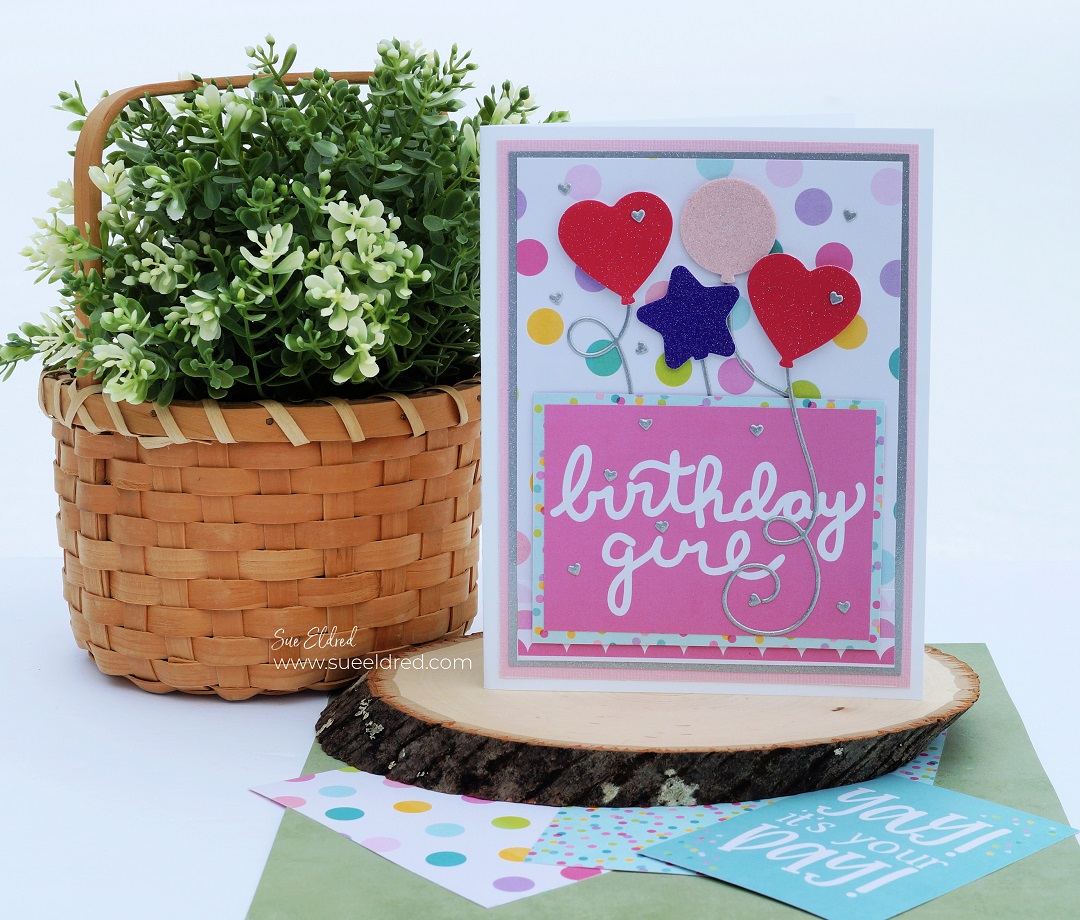
A fun birthday card for a sweet girl who just turned 10.
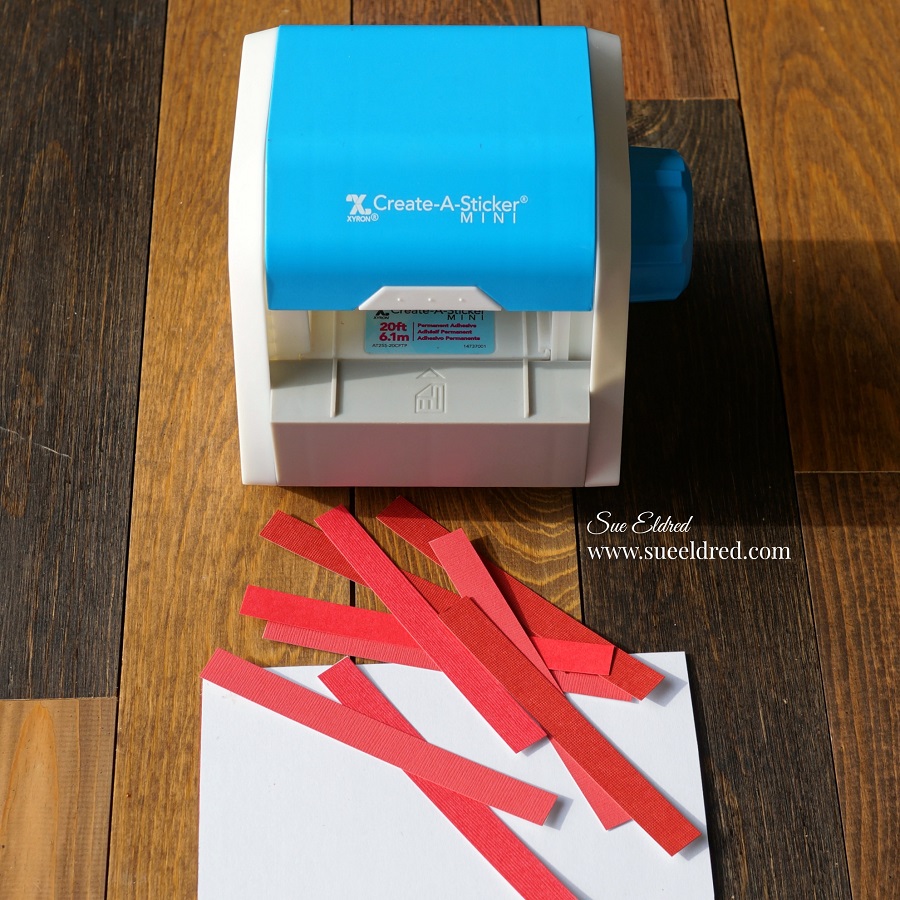
Because 10-year-old girls need a little sparkly glitter, the balloons were made using Ultra Metallic
Glitter Vinyl from StyleTechCraft.
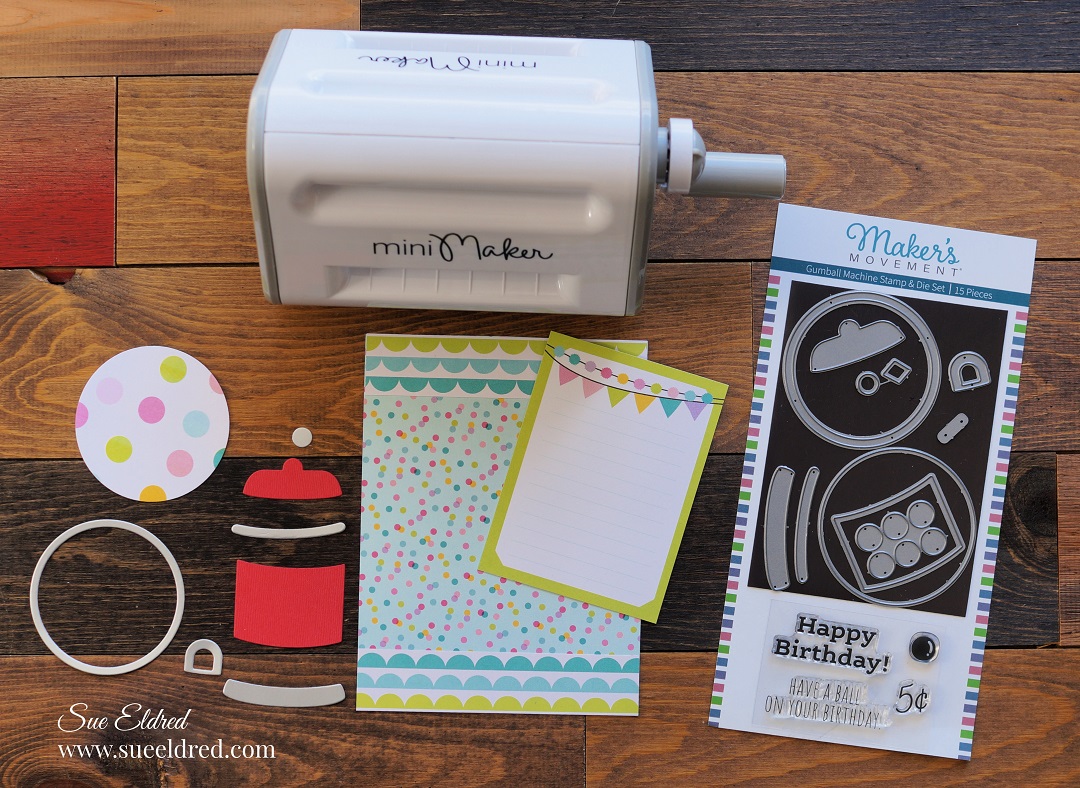
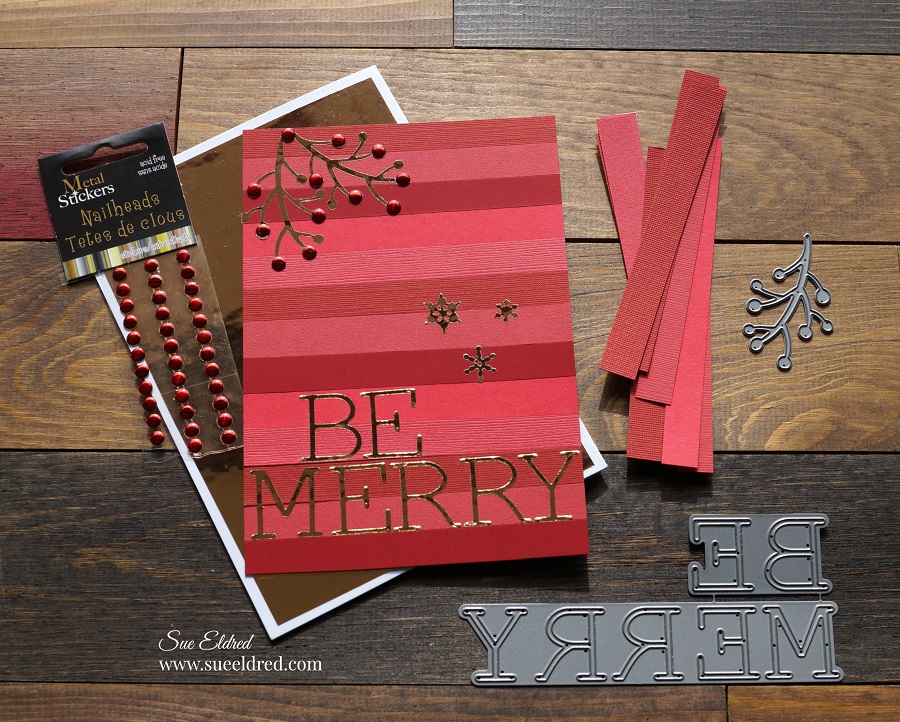
The card uses the Confetti and Balloons Die Set from the Maker’s Movement.

Disclosure: This is a sponsored post for the Maker’s Movement. I have been provided product
and compensation in exchange for my creative ideas. The view and opinions are my own.

Card Details…
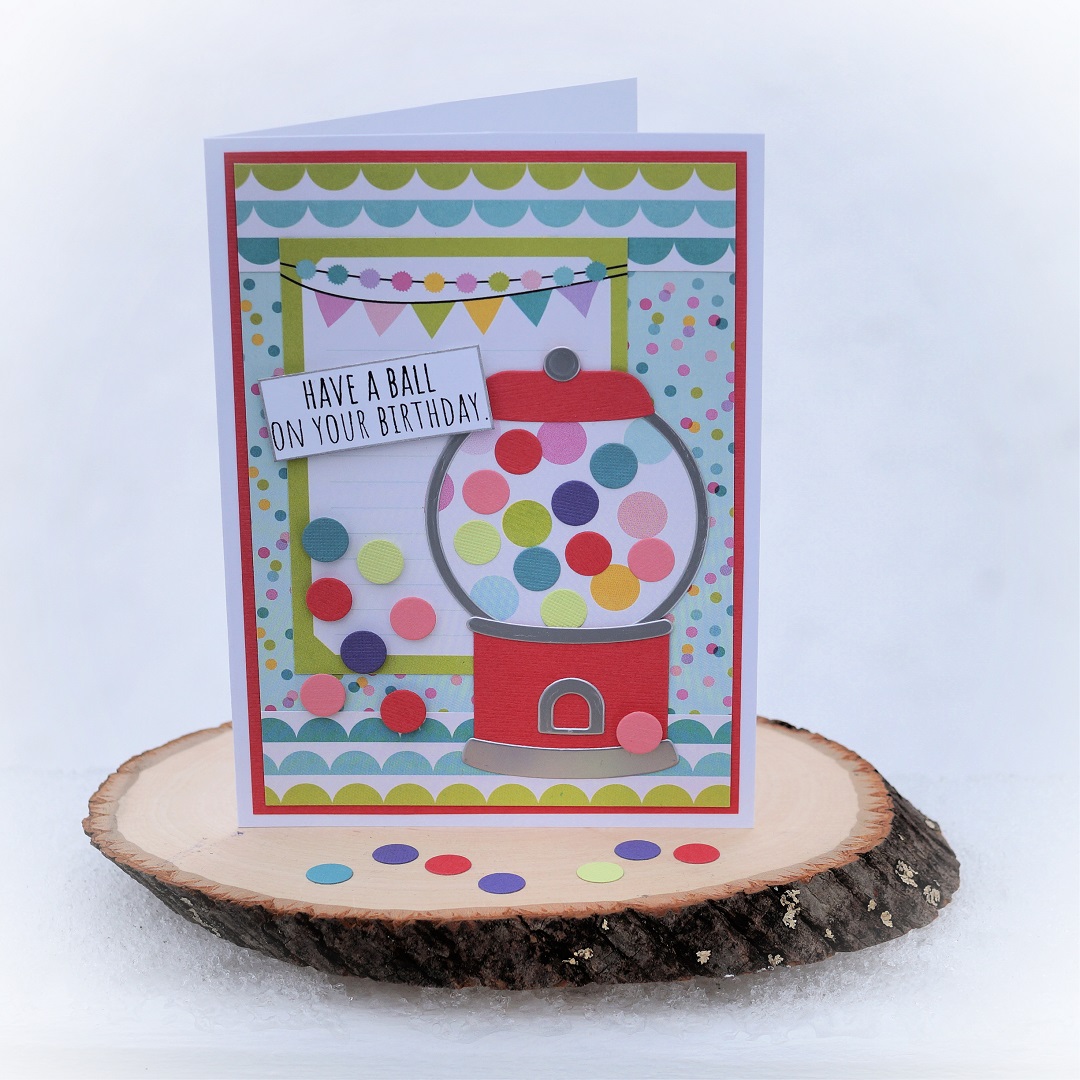
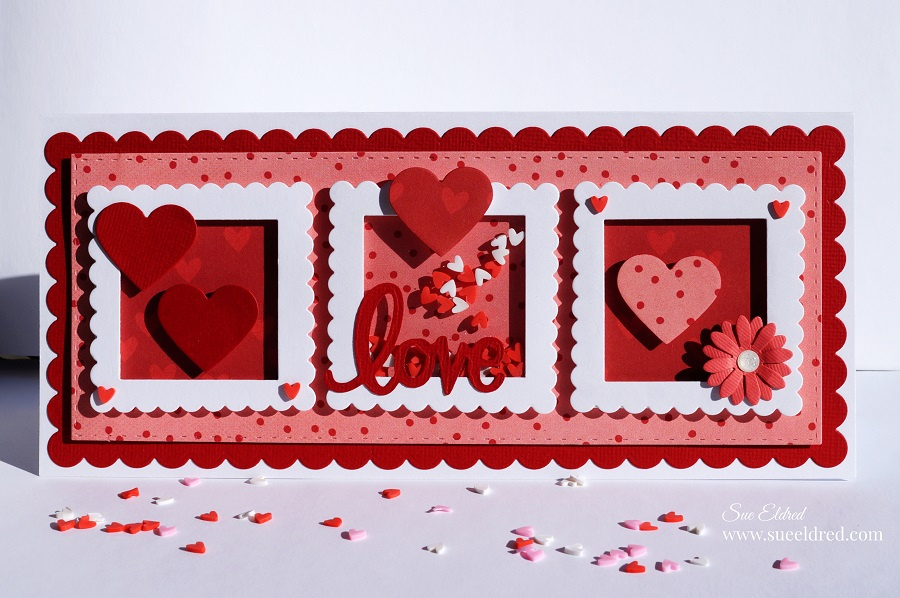
- I like a little dimension when I create cards, so I added the glitter vinyl onto cardstock before die-cutting it. I added foam mounting squares under the balloons to pop them up.
- It’s hard to tell by my picture but the heart balloons are hot pink not red. The strings on the balloons were cut using silver ultra-metallic glitter vinyl.
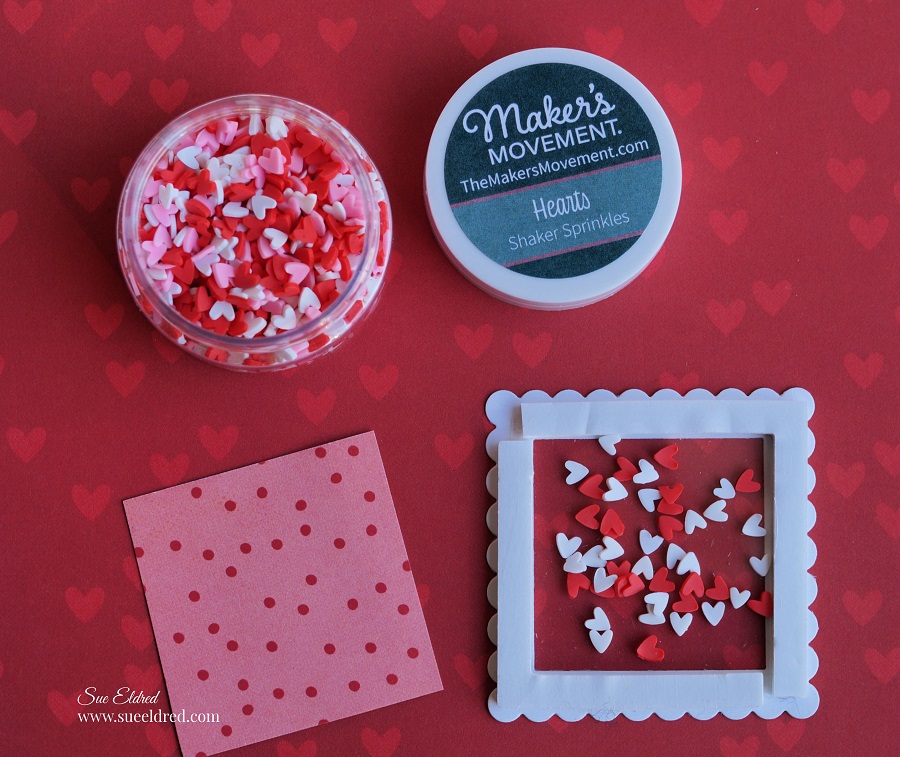
- I used the tiny heart die-cuts to make heart confetti. It adds a little extra fun.

Materials Used: (*affiliate link)
- M12258 Confetti and Balloons Die Set
- Simple Stories – Magical Birthday Collection – 12 x 12 Double Sided Paper – 3 x 4 Elements
- Simple Stories – Magical Birthday Collection – 12 x 12 Double Sided Paper – HB2U
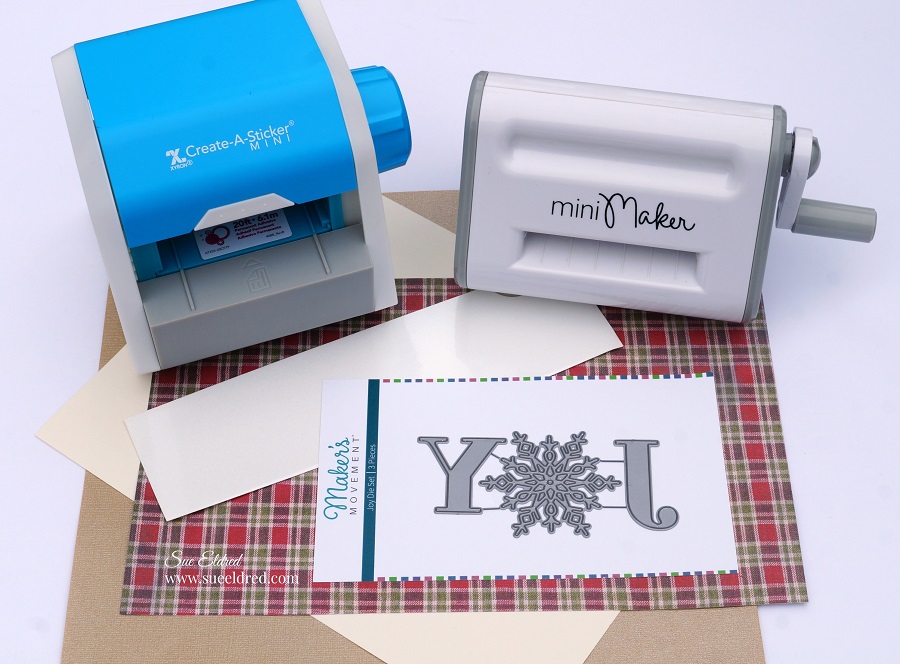
- MMT213 Mini Maker Die Cutting Machine
- StyleTechCraft Ultra Metallic Adhesive Vinyl
- Magical Birthday 12″ x 12″ Collection Kit by Simple Stories*
*Disclosure: This blog uses affiliate links. If you choose to make a purchase using one of the links, I receive a small commission (at no additional cost to you) that helps offset the costs of maintaining this blog. Thanks for your support!