Red Buffalo Plaid Hot Chocolate Bar

Fun and Easy Red Buffalo Plaid Party Ideas

The theme for this year’s Sue’s Holiday Workshop was “Mad for Plaid”.

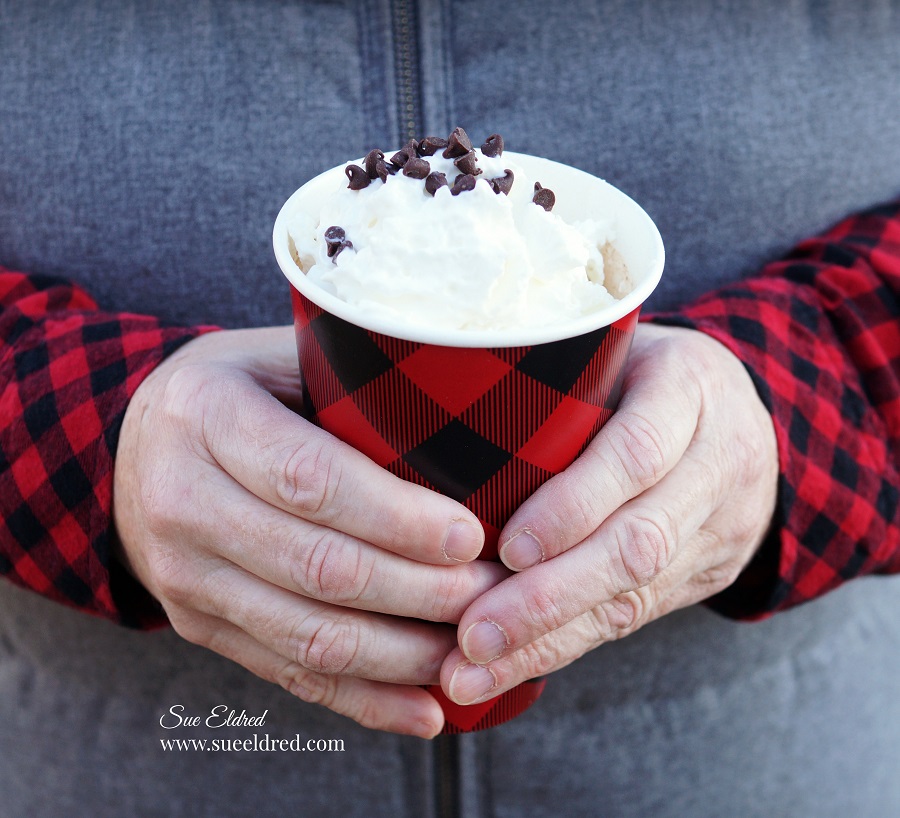
To add to the fun of the event, I created a Red Buffalo Plaid Hot Chocolate Bar.

The Hot Chocolate Bar was simple to put together and was a big hit.

The most important part of the Hot Chocolate bar is the Hot Chocolate.

I went back and forth trying to decide on how I wanted to present the Hot Chocolate.

There are so many recipes online for delicious hot chocolate.

Because this was a “creative event”, I went with a little more creative approach.  (and simple)

For my Hot Chocolate Jars…

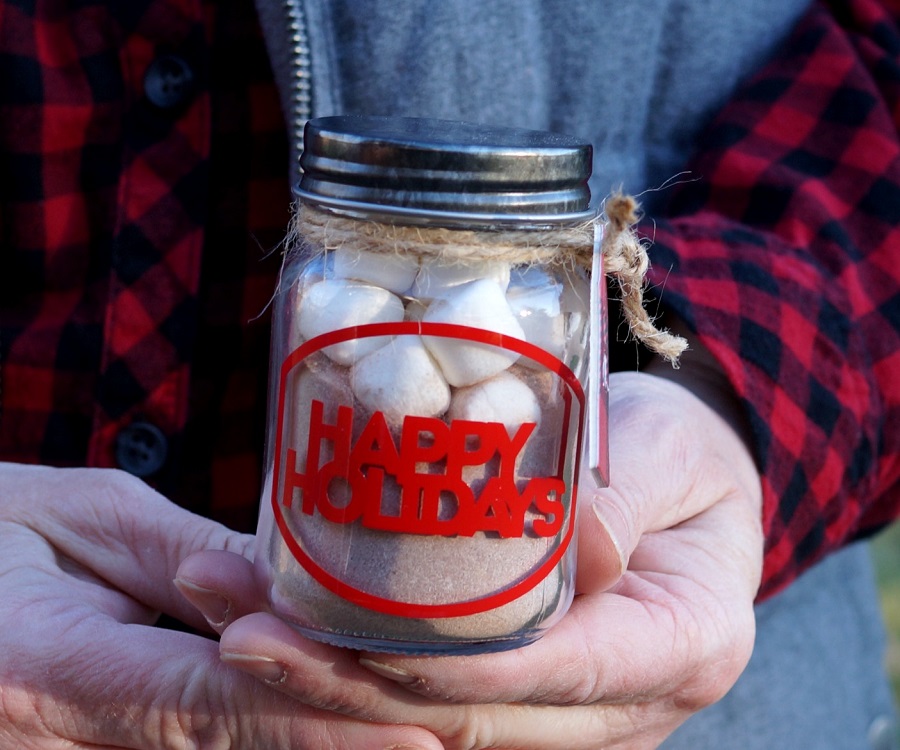
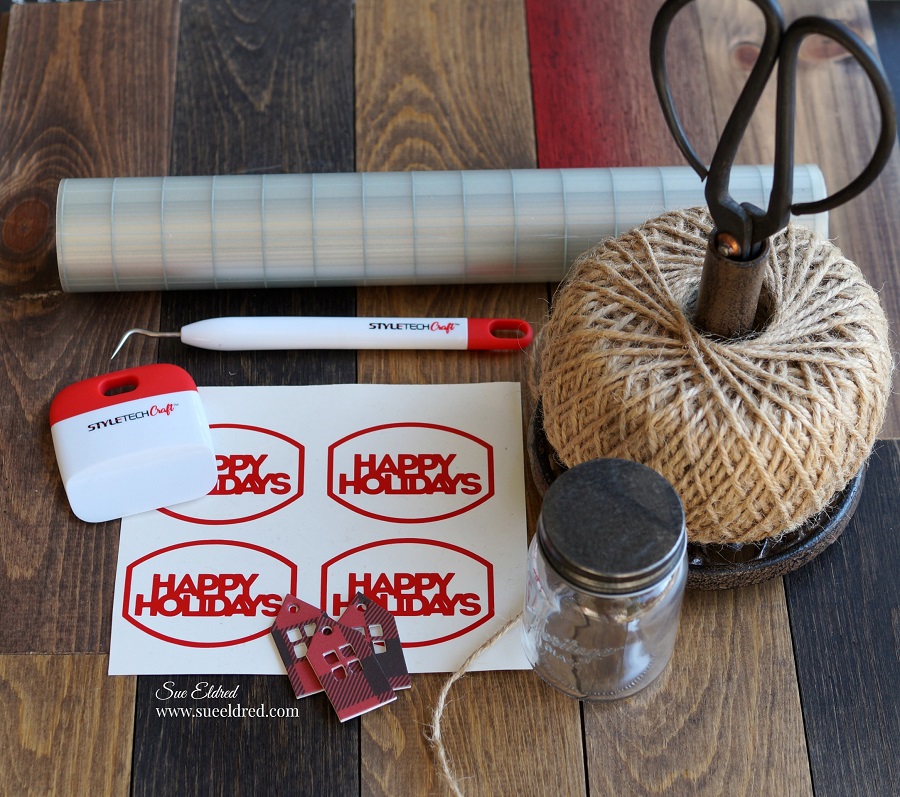
I found little tiny mason jars at Michaels Craft Store.  I created labels for the jars using a

Silhouette Cameo Electronic Die Cutting Machine* and Red Glossy Craft Vinyl from

StyleTechCraft.  I applied my labels onto the jars using Vinyl Transfer Tape* .

I tied a small plaid chipboard house made from Eileen Hull’s House Ornament Die*

with twine around the neck of the jar.

*Disclosure:  This blog uses affiliate links.  If you choose to make a purchase using one of the links, I receive a small commission (at no additional cost to you) that helps offset the costs of maintaining this blog.  Thanks for your support! 

The jars were filled with enough Hot Chocolate mix for one individual serving.  

They make a great party favor, and the guest gets to take home a cute little jar.

I put all the jars on the bottom of a plain black two-tiered metal stand.

I applied Red Buffalo Plaid Washi Tape* around the rim.

This little detail helped make it stand out and added to the theme.

On the top of the metal stand I added spoons, mini chocolate chips, candy canes.

I also left a place for a can of whipped cream (not yet added to this picture).

For the Table…

I used a black tablecloth for the base of my table and cut a red buffalo plaid runner from

plaid flannel.  (Sew Simple…I didn’t even sew the edges.)

It’s a really quick and inexpensive way to create the look

Air Pots filled with Hot Water made making the Hot Chocolate easy and mess-free.

For a vintage feel, I used large mason jars filled with extra hot chocolate mix,

extra marshmallows, and caramels.

I picked up the Buffalo Plaid Insulated Coffee Cups* and Red Buffalo Plaid Party Supplies* online.

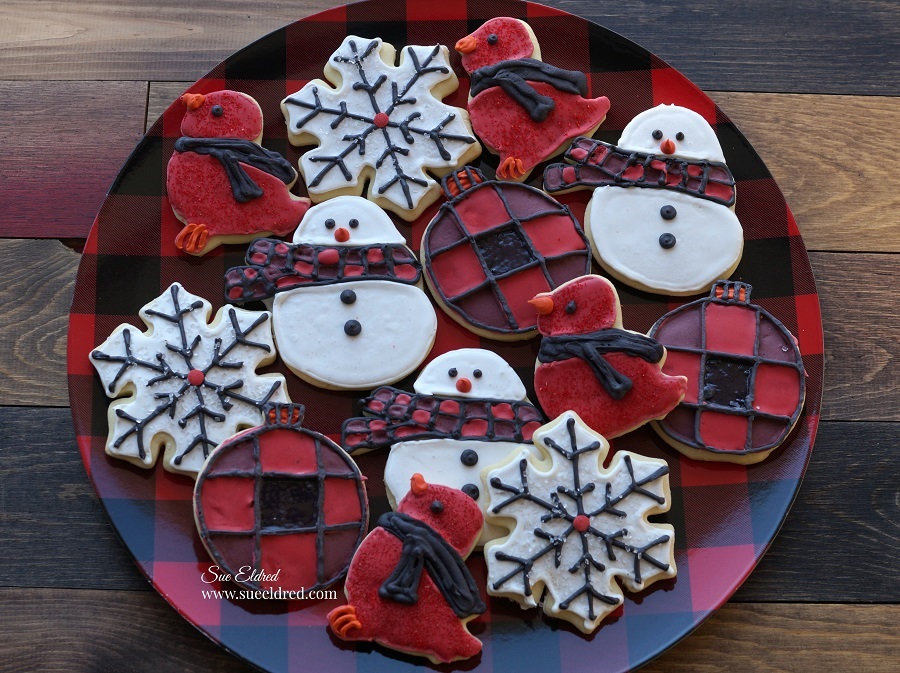
A Hot Chocolate Bar would not be complete without frosted sugar cookies.

My sweet daughter in law baked these sugar cookies from my favorite sugar cookie recipe.

You can see the sugar cookie recipe here.

(The little red bird was made using an Easter Chick cookie cutter.)

I made the Holiday Hot Chocolate Sign by painting a wood bracket sign with black chalkboard

paint.  I used a Silhouette Cut SVG file from the Silhouette Store and my Silhouette Cameo

Electronic Die Cutting Machine* and resized the image to fit my sign.

I used red and white glossy craft vinyl from StyleTechCraft.

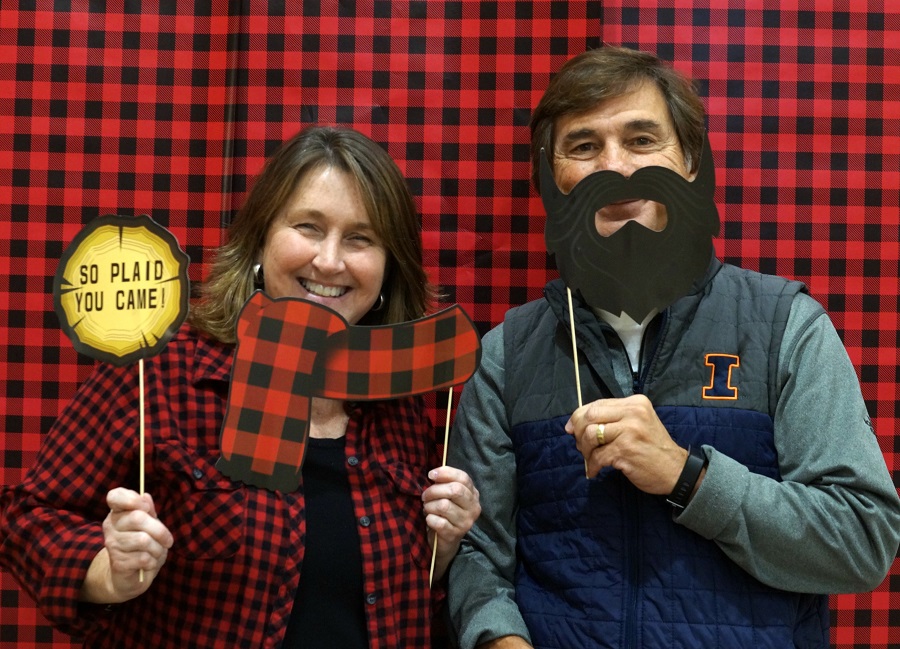
To complete the fun, I had fun Red Buffalo Plaid Themed Photo Props*.

I used Red and Black Buffalo Plaid wrapping paper on the background wall.

A fun way to break the ice and get the party started.

Red Buffalo Plaid Party Supplies Available on Amazon.

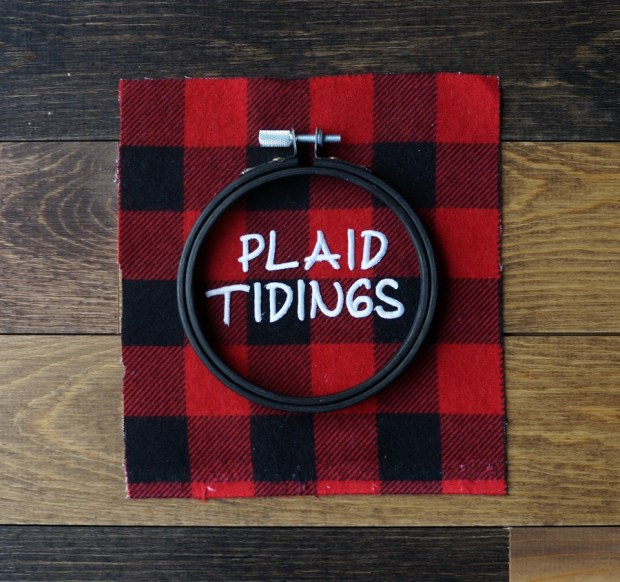
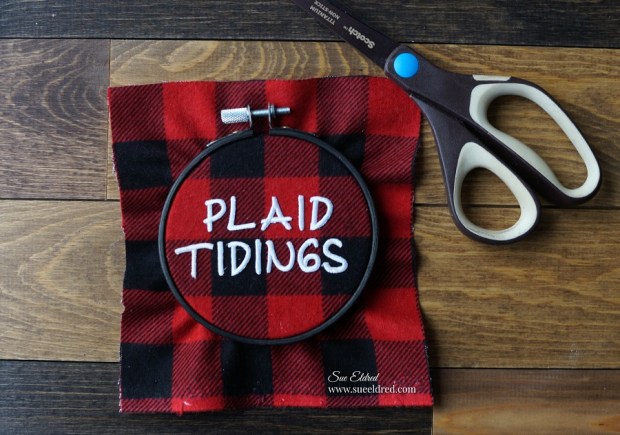
Plaid Tidings Embroidery Hoop Ornament

Plaid Tidings Embroidery Hoop Ornament-Sue's Creative Workshop www.sueeldred.com 6361

How to make a Plaid Tidings Embroidery Hoop Ornament

I guess you might say I’ve gone a little overboard on the Buffalo Plaid this year.

How can I help myself, I just love it all.

I got a little inspired by a Christmas ad I saw for clothes and decided to make this ornament.

It’s another quick and easy Holiday Ornament to make.

A perfect little gift for your Plaid Loving friends like me.

Plaid Tidings Embroidery Hoop Ornament-Sue's Creative Workshop www.sueeldred.com 6340

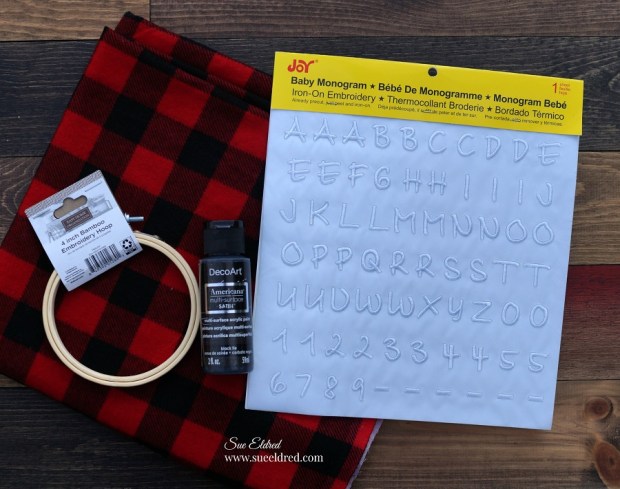
Supplies Needed:                 (*affiliate link)

Disclosure:  This blog uses affiliate links.  If you choose to make a purchase using one of the links, I receive a small commission (at no additional cost to you) that helps offset the costs of maintaining this blog.  Thanks for your support!

Plaid Tidings Embroidery Hoop Ornament-Sue's Creative Workshop-www.sueeldred.com 6353

Directions:

  • Paint the embroidery hoop with black acrylic paint.
  • Cut a piece of flannel that is larger than the hoop.
  • Arrange the Joy® Baby Monogram Embroidered Iron On Letters shiny side down onto the flannel and inside the hoop to make sure they fit.
  • Set iron to cotton setting, approx. 350° or follow fabric care label.
  • Cover letters with a fine cloth.  With firm pressure iron cloth over the letters for 25 seconds.
  • Turn flannel over and iron the back of the letters for 25 seconds.
  • Allow 1 minute to cool before handling.

Plaid Tidings Embroidery Hoop Ornament-Sue's Creative Workshop www.sueeldred.com 6354

  • Insert the flannel into the embroidery hoop and tighten.
  • Trim the excess flannel from around the embroidery hoop.
  • Glue pine craft stem around the outside edge of the hoop.
  • Embellish the hoop with ribbon and jingle bell.
  • Add a piece of red twine to hang.

You can find a wide selection of Joy® embroidered iron-on letters and alphabet sheets in different sizes at your local craft stores!

“This is a sponsored post.  As a member of the Joy® Design Team I have been provided product and compensation in exchange for my creative ideas.  The views and opinions are my own.

How to make a Plaid Tidings Embroidery Hoop Ornament-Sue's Creative Workshop www.sueeldred.com

Give the Gift of Amazon Prime*

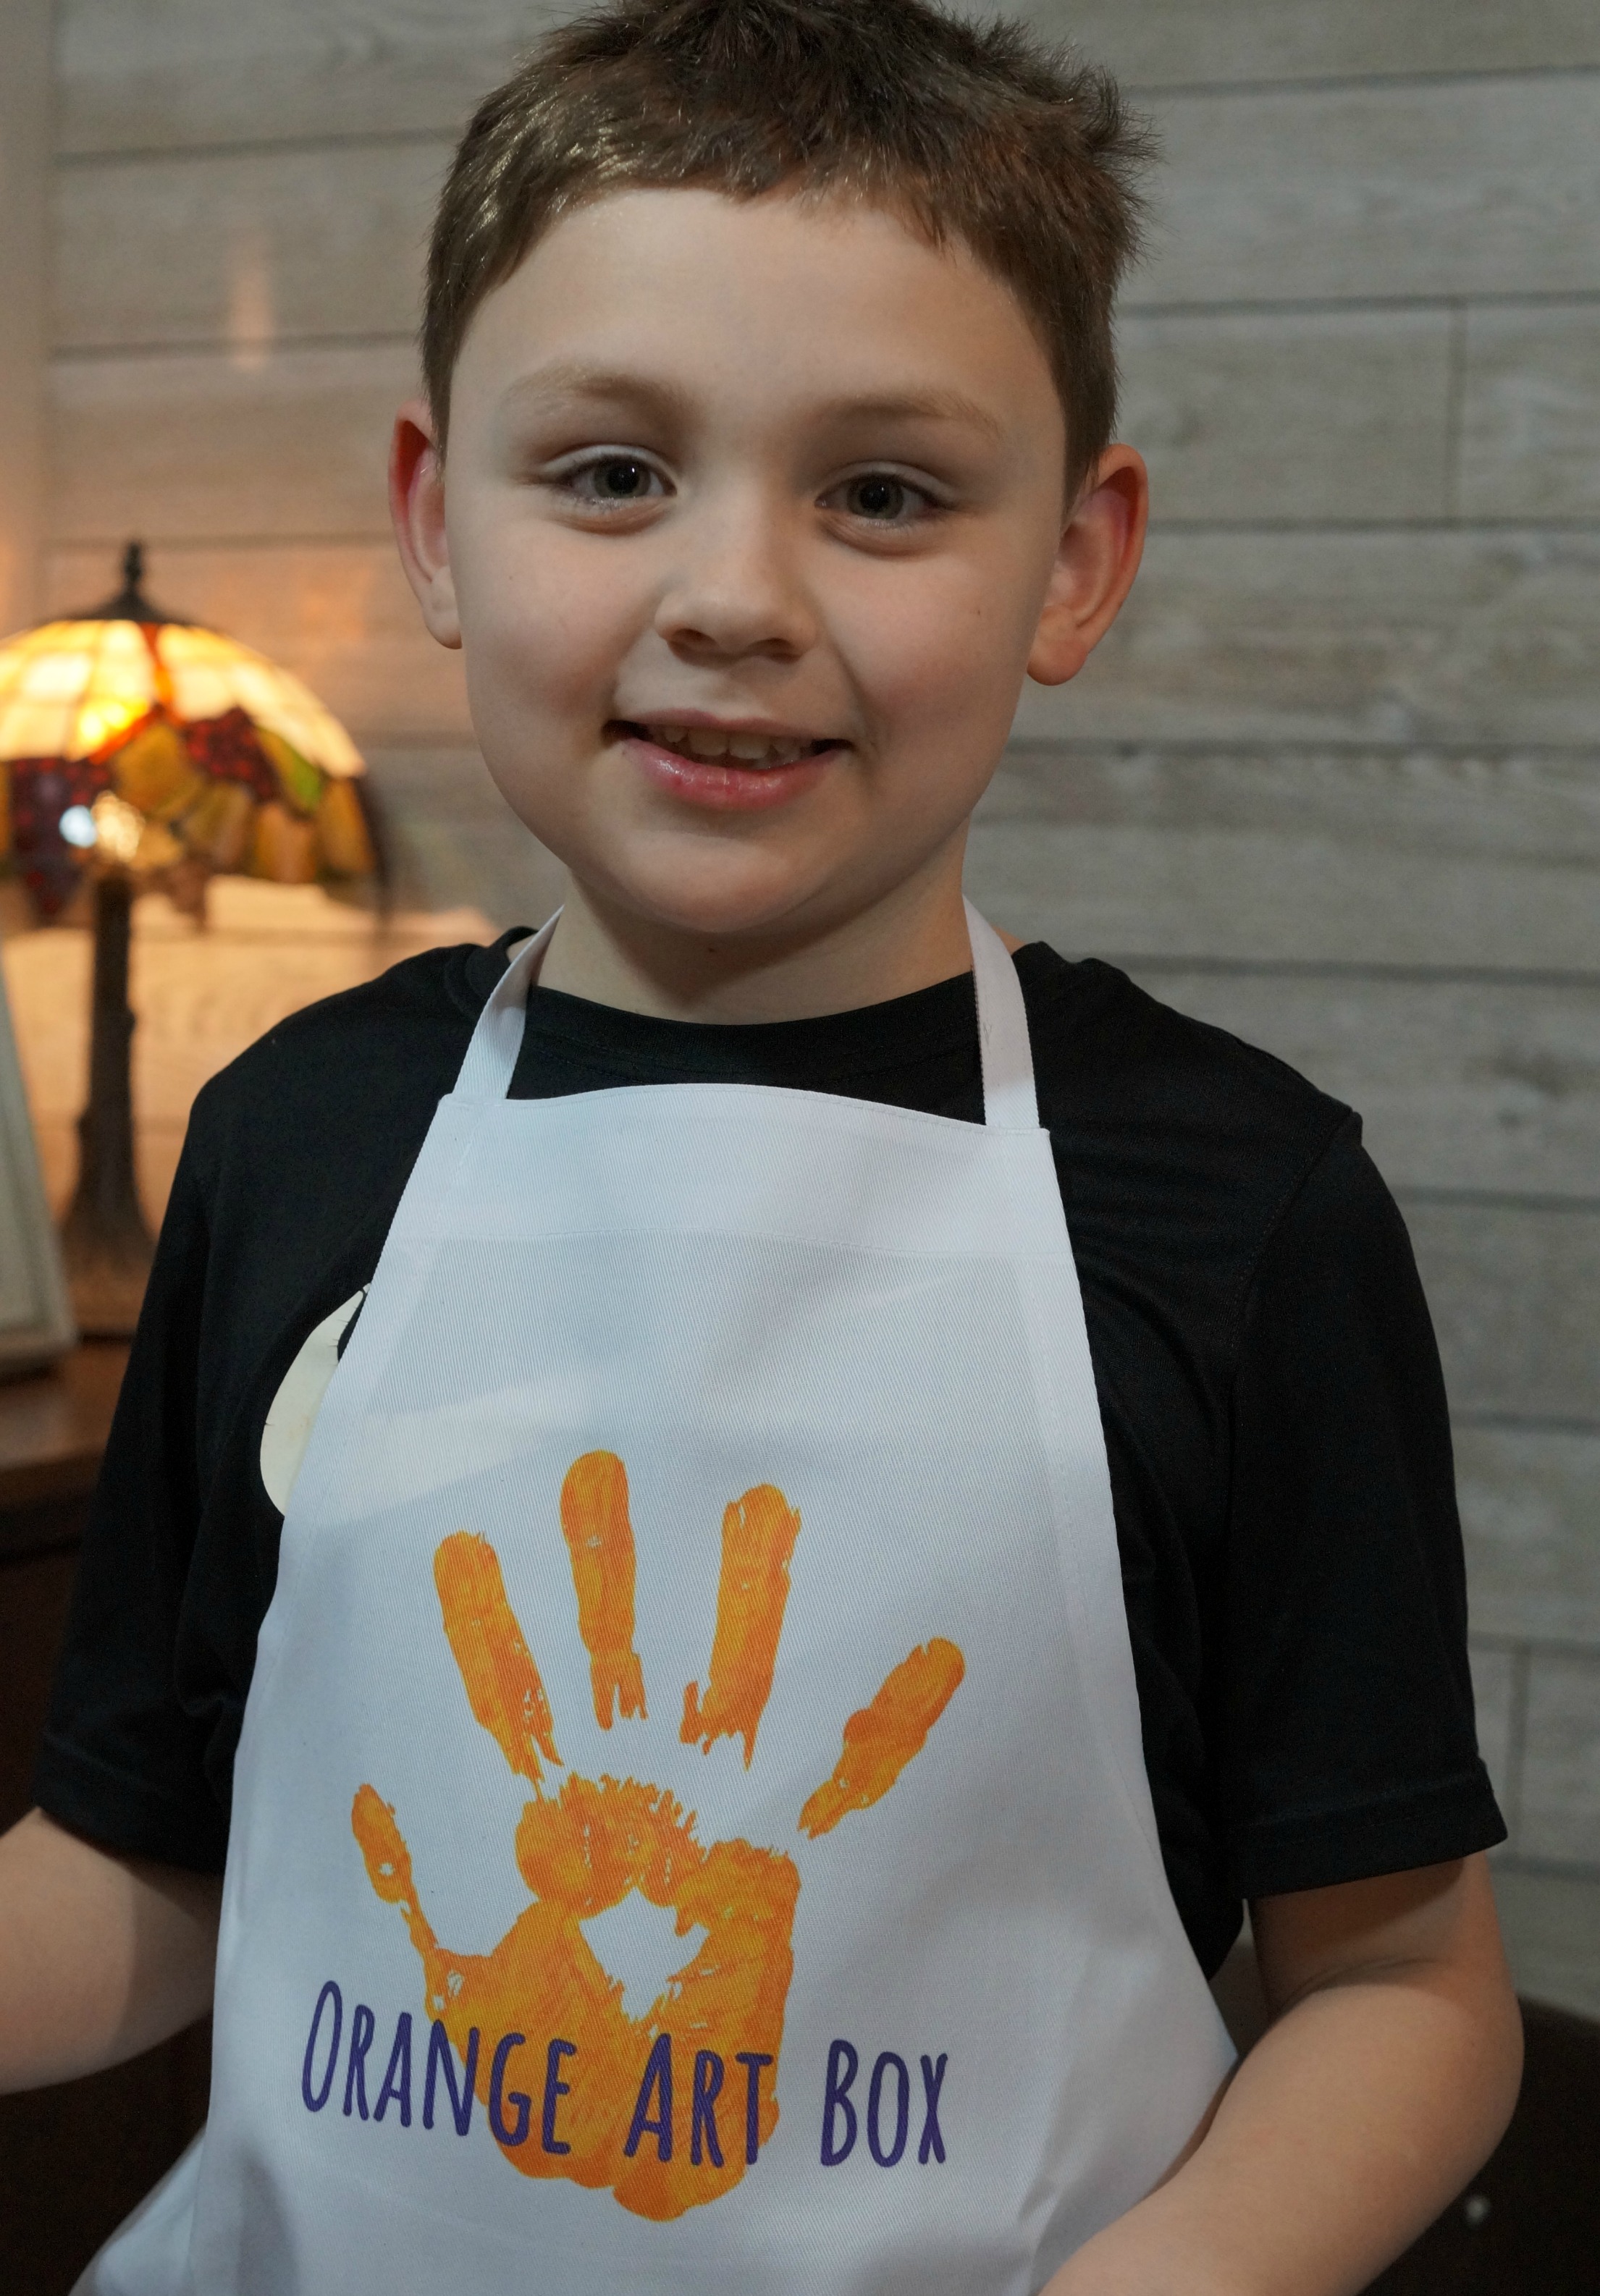
Nick and Warren and the December Orange Art Box

Nick and Warren and the December Orange Art Box

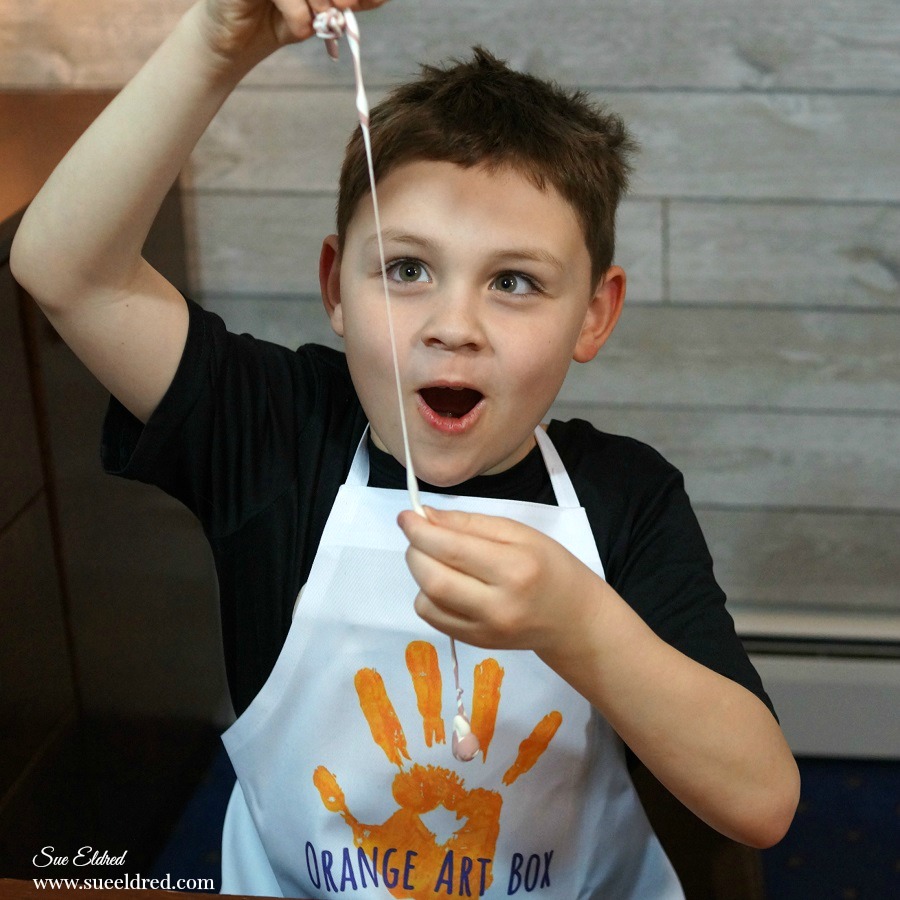
It’s always fun crafting with these two monkeys.  Always a lot of silliness and smiles.

When we finally got a chance to work on the December Box, I had picked them up right after

they got off the school bus.  They were especially wound up.

I had to threaten Warren that he couldn’t be in the video if he wouldn’t stop

talking about naked bellies and of course showing me.

Then once we got going he gave me a sweet little song included at the end of the video.

Another Bonus…

I get to give away a Orange Art Box to one lucky kid.  (details at the bottom of this post)

Please enjoy our cheesy little video.

The December Orange Art Box was all about “Artic Friends”.

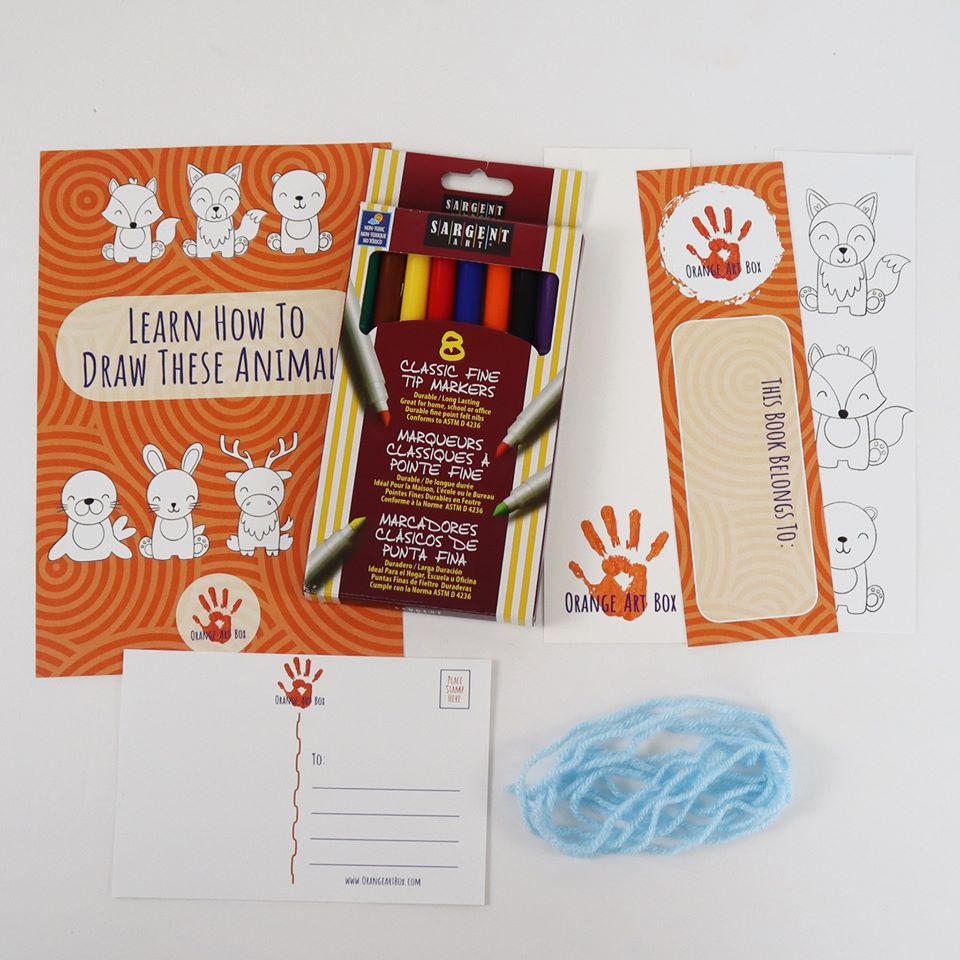
The December Orange Art Box included modeling clay, markers, card kits, postcards, bookmarks, glue, yarn to make tassels, and an instruction book that show the kids how to draw and make the animals.

Disclosure:  This blog uses affiliate links.  If you choose to make a purchase using one of the links, I receive a small commission (at no additional cost to you) that helps offset the costs of maintaining this blog.  Thanks for your support!

All silliness aside the boys had a great time creating.  

If you have a creative kid in your life and are looking for a unique and special gift

this Holiday, you may want to look into the Orange Art Box a subscription Art Box for kids.

“This is a sponsored post.  I have been provided product in exchange for my creative ideas.  The views and opinions are my own.”

Always in my heart ❤️

A Christmas Ornament with Special Meaning.

The holidays are especially hard for people who have lost loved ones.

The year I lost my Dad, right before Christmas, I found it really hard to celebrate.

I found myself just going through the motions.

This year, I decided to make a special ornament to place on my tree to remind me

that my loved ones will always be in my heart.

At Christmas Time and Every Day.

To make my ornament…

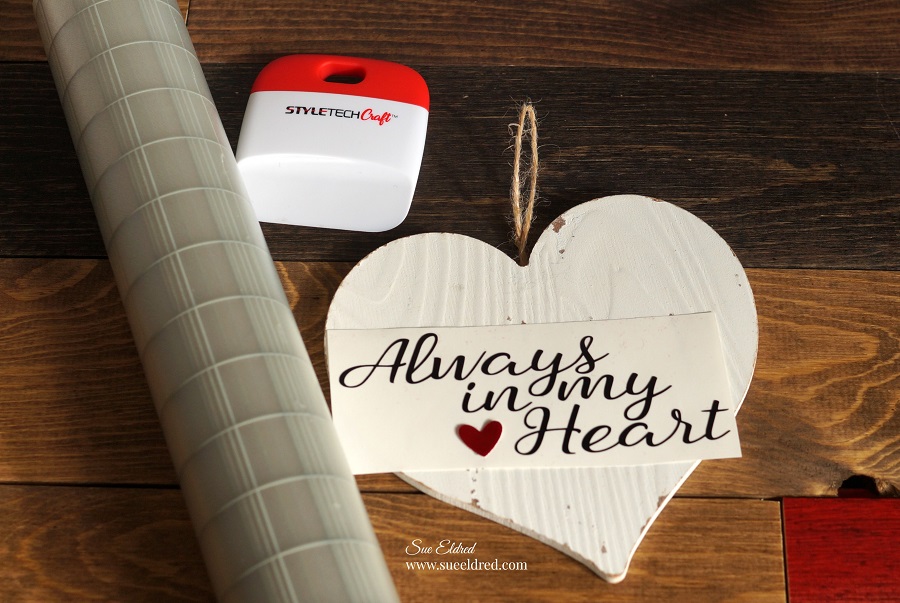
I used a simple whitewashed wood ornament that I picked up at Michael’s.

I cut the words “Always in my Heart” using my Silhouette Cameo Electronic Die Cutting Machine* out of matte black self adhesive vinyl from Styletech Craft.

*Disclosure:  This blog uses affiliate links.  If you choose to make a purchase using one of the links, I receive a small commission (at no additional cost to you) that helps offset the costs of maintaining this blog.  Thanks for your support!

Directions:

  • Using an electronic die cutting machine, I cut the words.
  • Using a weeding tool carefully remove the negative spaces in and around the letters.
  • Place a piece of Vinyl Transfer Tape* over the letters.  Rub over the letters using a vinyl scraper tool to help the vinyl cling
  • Apply words onto the whitewashed wood heart.

A simple little ornament and a whole lot of love.

You can now find the full line of StyletechCraft online at ATSM.


“This is a sponsored post.  As a member of the StyleTechCraft Design Team I have been provided product and compensation in exchange for my creative ideas.  The views and opinions are my own.

Simple Country Christmas Vase

Simple Country Christmas Vase

Create a sweet Country Christmas Vase with a little help using Joy Iron On Embroidered Letters.

Supplies Used:

Shop Your Fav Brands at Scrapbook.com

*Disclosure… This blog uses ads and affiliate links.  If you choose to make a purchase using one of the links, I receive a small commission (at no additional cost to you) that helps offset the costs of maintaining this blog.  Thanks for your support!

Directions:

  1.  Spray the mason jar with a couple coats of ivory colored spray paint.

2.  After the paint has dried, lightly sand the jar to remove the paint off the letters.

3.   Drill a hole on the top of a small wood slice and paint the center with red acrylic paint.
4.  Glue the embroidered letters and wood star onto the wood slice with craft glue.
5.  Tie ribbon around the neck of the jar and add embellished wood slice.

You can find a wide selection of Joy® embroidered iron-on letters and alphabet sheets in different sizes at your local craft stores. 

“This is a sponsored post.  As a member of the Joy® Design Team I have been provided product and compensation in exchange for my creative ideas.  The views and opinions are my own.

Give the Gift of Amazon Prime*

The Gift of Organization

The Gift of Organization

I’m a little bit of an Organization nut.

I like things to be neat and tidy. (I’m sure I’m not the only one.)

With the holidays around the corner, for that hard to buy person,

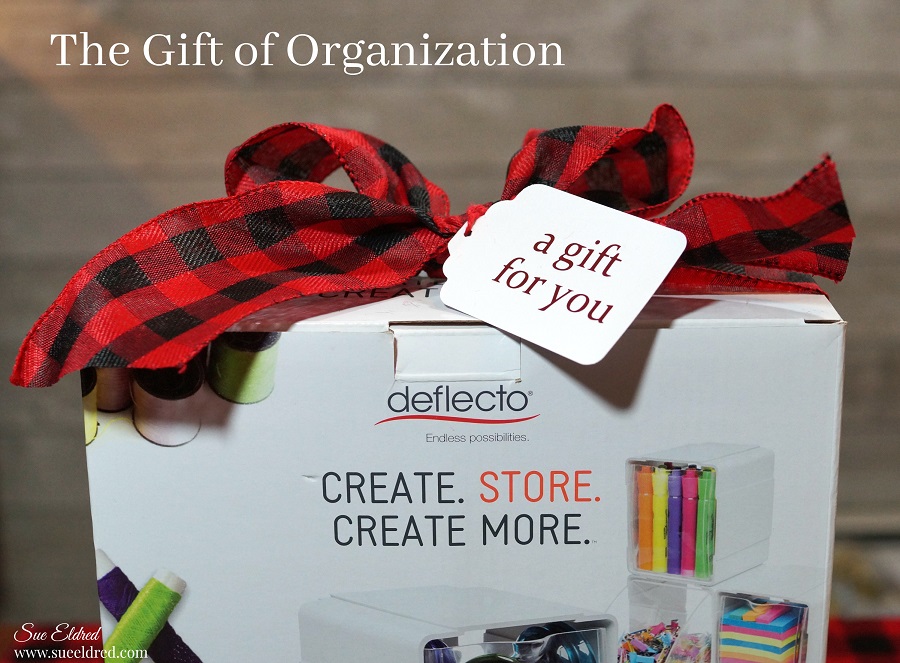
why not give the gift of organization.

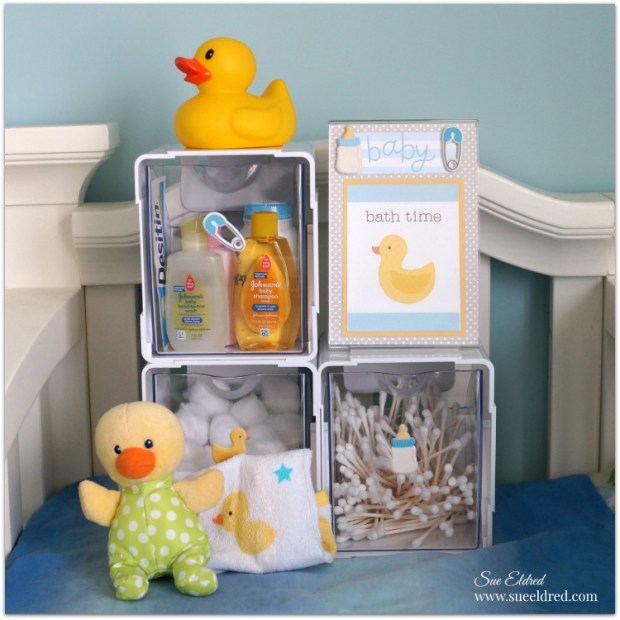
I like to use the Deflecto Interlocking Single Tilt Bins* all around the house.

I figured everyone else might like them too.

You could give the bins as is or fill them up for the ultimate gift.

Add a bow and your set to go.

Here are a few ideas to get you started.

For the Kids

Craft supplies, playdoh, Legos, the list could go on and on.

Disclosure:  This blog uses affiliate links.  If you choose to make a purchase using one of the links, I receive a small commission (at no additional cost to you) that helps offset the costs of maintaining this blog.  Thanks for your support!

In the Bathroom

Hair ties, make up…Clear up the clutter on the bathroom counter.

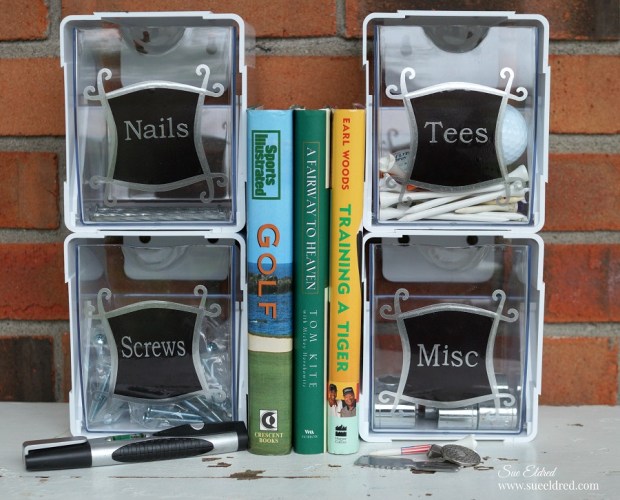
In the Garage (or Mancave)

for the golfer in my life.

In the Baby’s Room

A great gift for the new mother.

In the Craft Room

The bins are interlocking and stackable.

Great for little storage needs in the garage, craft room, nursery, kitchen, and even the kid’s room.

Wherever you need a little extra storage.

The nice thing about the interlocking single tilt bins* is that you can use just one or use

several.  You can also hang them on the wall or use them with a mounting bar*.

Disclosure…“This is a sponsored post.  As a member of the Deflecto Design Team I have been provided compensation and product in exchange for my creative ideas.  The views and opinions are my own.

Give the Gift of Amazon Prime*

It’s Orange Friday!

The boys always love receiving their Orange Art Box

It’s something we look forward to getting and working on together.  Because it’s FUN!

I wanted to share an opportunity for you to get an awesome deal on the Orange Art Box.

If you have a creative kid in your life, this will make a great Christmas present!  

*Ad Disclosure:  This blog uses affiliate links.  If you choose to make a purchase using one of the links, I receive a small commission (at no additional cost to you) that helps offset the costs of maintaining this blog.  Thanks for your support!

Disclaimer:  “This is a sponsored post.  As a member of the Orange Art Box Makers I have been provided product in exchange for my creative ideas.  The views and opinions are my own.

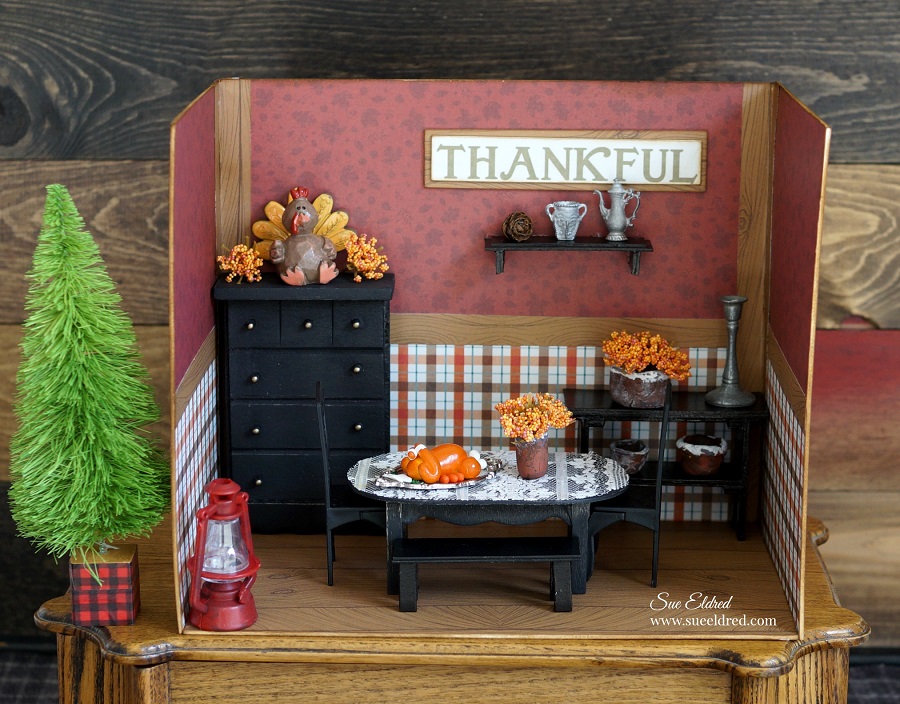
Creating a Mini Thanksgiving Room

Creating a Mini Thanksgiving Room…

Time to get your rooms ready for the Thanksgiving holiday.

I love making miniature rooms, especially for the Holidays.

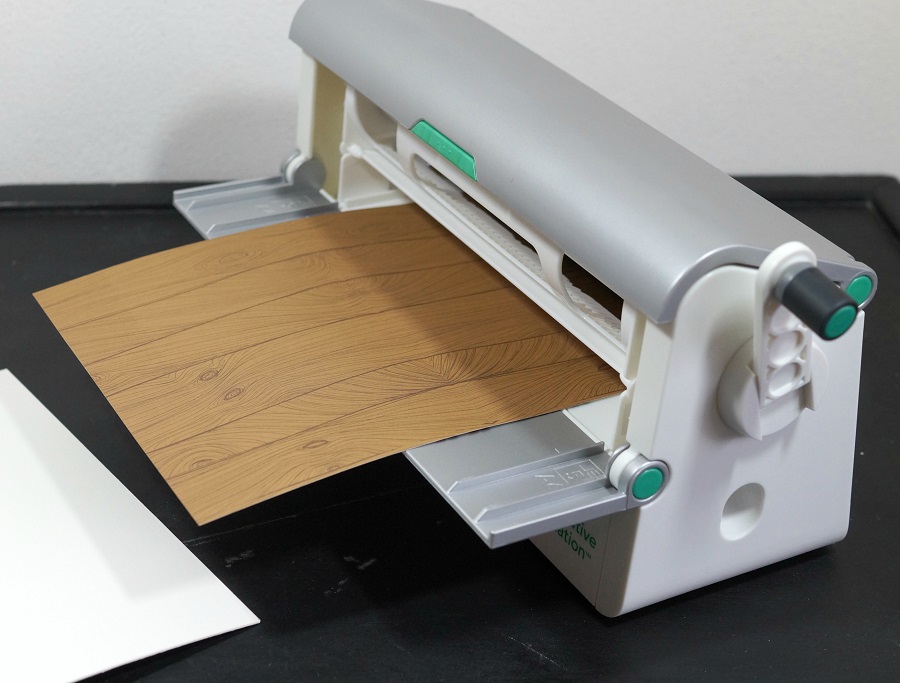
I created this special little room for Xyron using the Xyron Creative Station*.

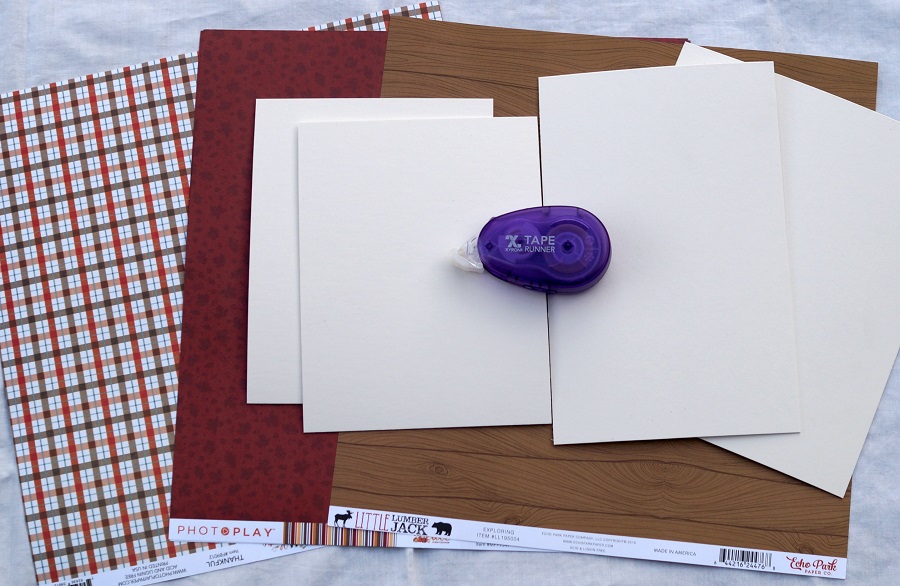
The Xyron Creative Station* is perfect for projects like this.  I wanted complete adhesive coverage on every corner and edge of the paper.  (No wrinkles, no bubbles, easy to use.)

Products Used:                                      ( *affiliate links)

*Disclosure:  This blog uses affiliate links.  If you choose to make a purchase using one of the links, I receive a small commission (at no additional cost to you) that helps offset the costs of maintaining this blog.  Thanks for your support!

To make the Mini Thanksgiving Room…

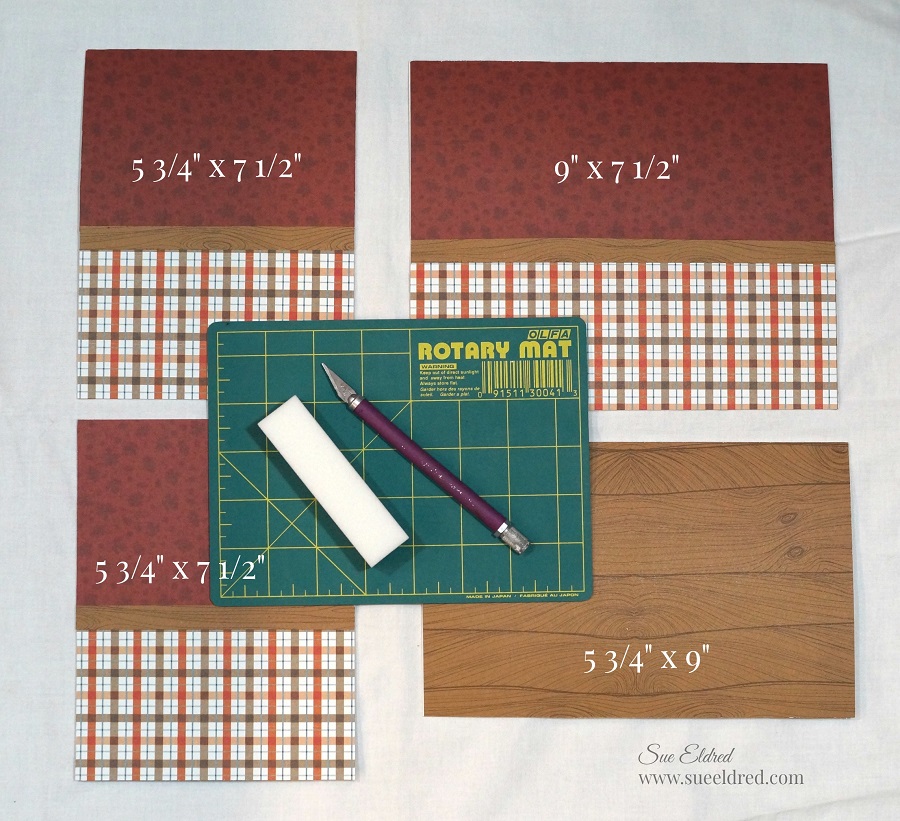
  • Cut chipboard into 4 pieces:  9″x7 1/2″, 5 3/4″ x 9″ and two 5 3/4″ x 7 1/2″
  • Cut woodgrain paper just 6″ x 9 1/4″ and run it through the Xyron Creative station design side up.   As the paper runs through the machine it adds adhesive under the paper.
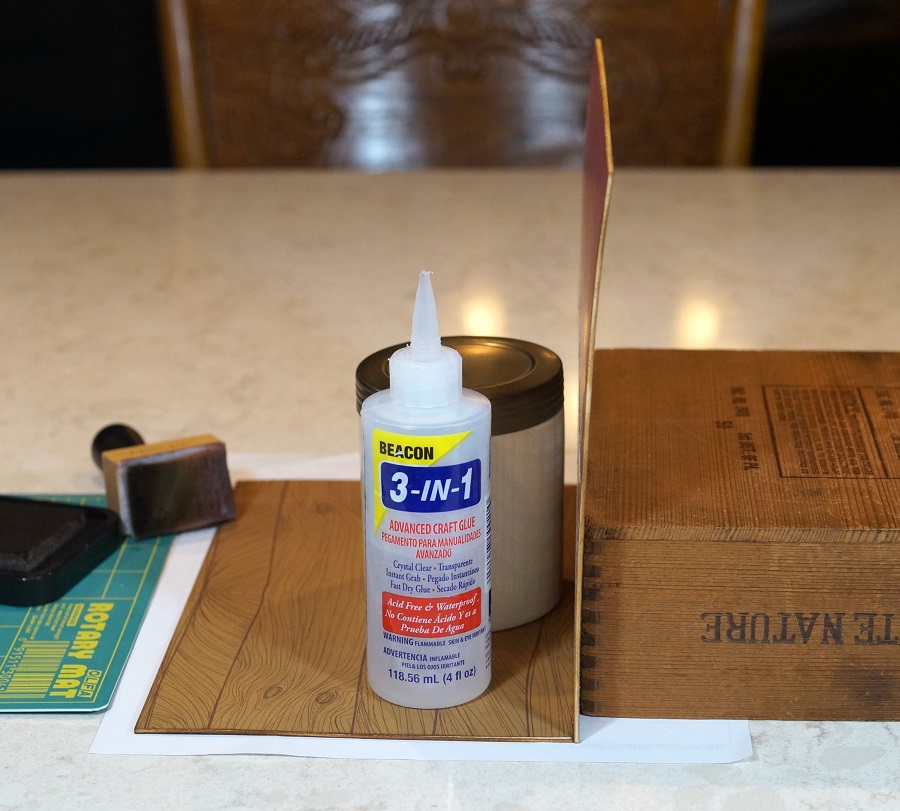
  • Adhere the paper to the chipboard.  I like to cut my paper slightly wider than I need so I can trim the edges with a craft knife.
  • Gently sand edges with a extra fine sanding block for the perfect edge.

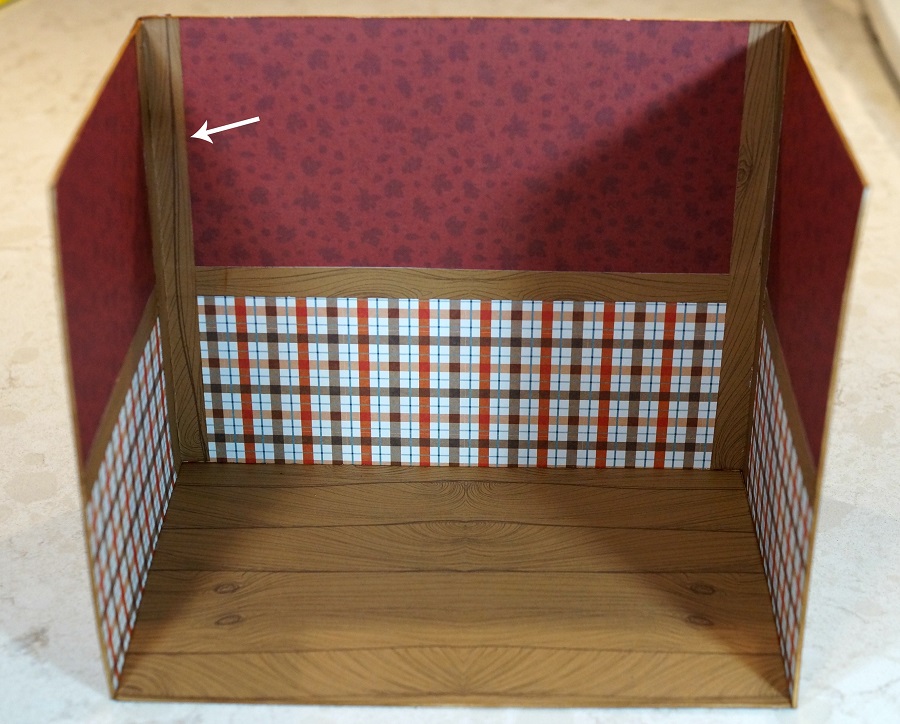
  • I cut the patterned paper half the size of the other three chipboard pieces and added a 1/2″ strip of  woodgrain paper to cover the seam.  (it looks like chair rail)
  • Using the Creative Station makes quick work of covering the walls.

  • I covered the back of my room with coordinating paper and added small strips of paper on the inside and back corners for added support.  Run those strips through the Xyron Creative Station* as well.

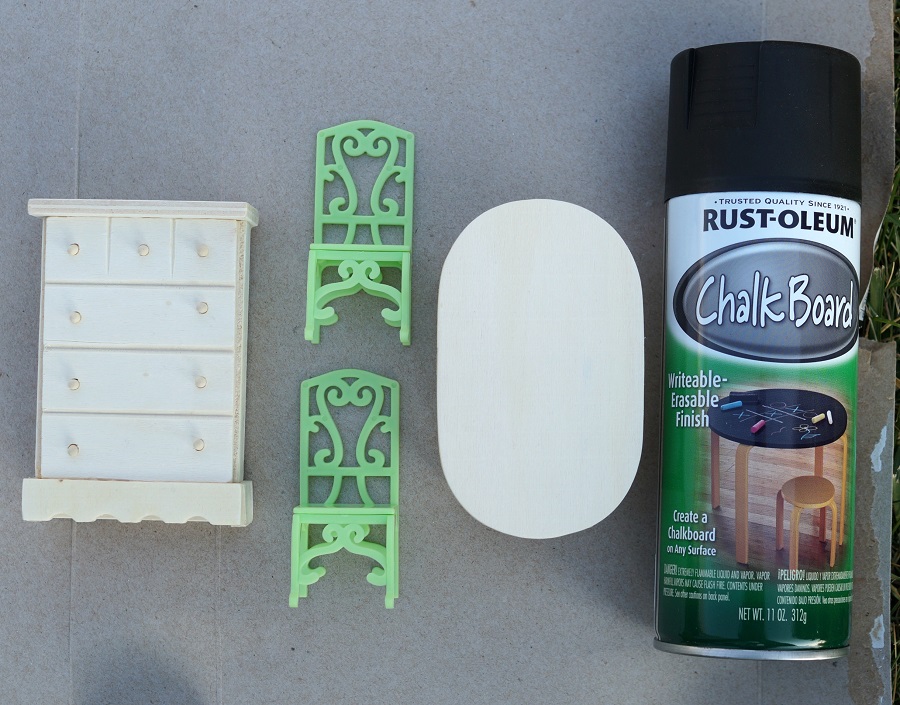
  • I picked up some inexpensive Doll furniture* at Dollar Tree* and painted them with black spraypaint.
  • I gave them a light sanding after they were dry with a sanding block to smooth.

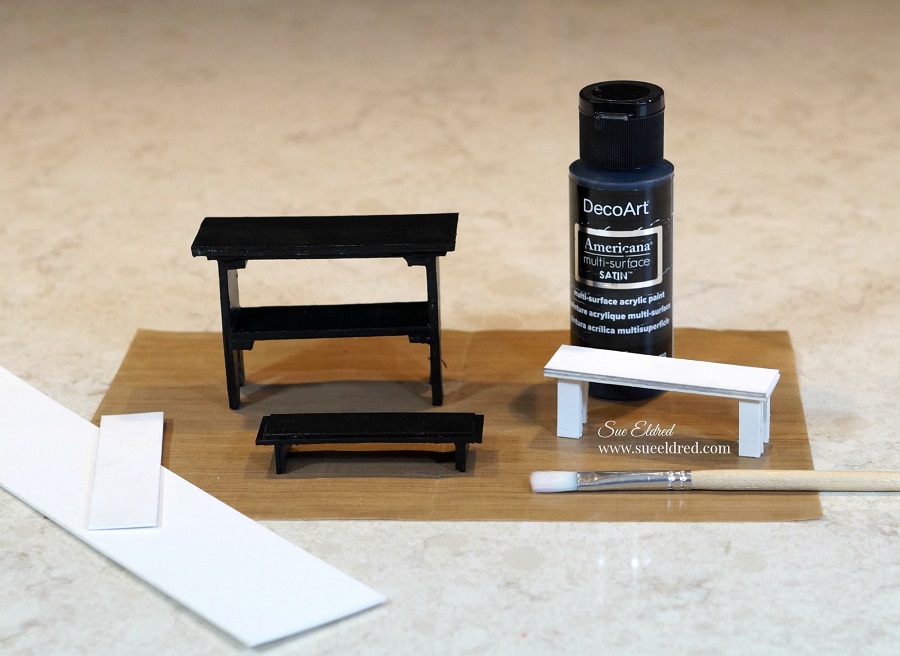
  • I created additional furniture by cutting small pieces of chipboard and adhering them together.  (simple building construction)
  • A couple coats of black paint to finish the job.

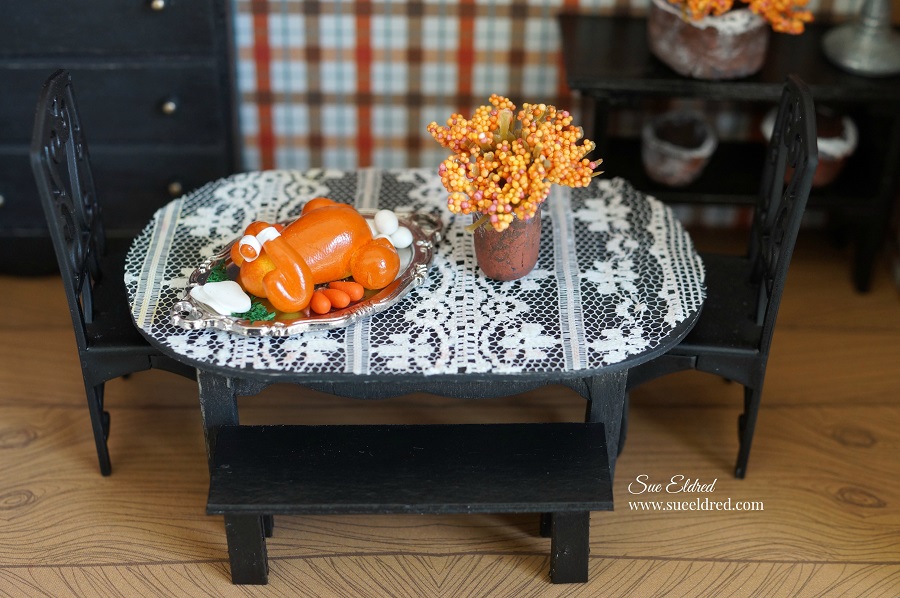
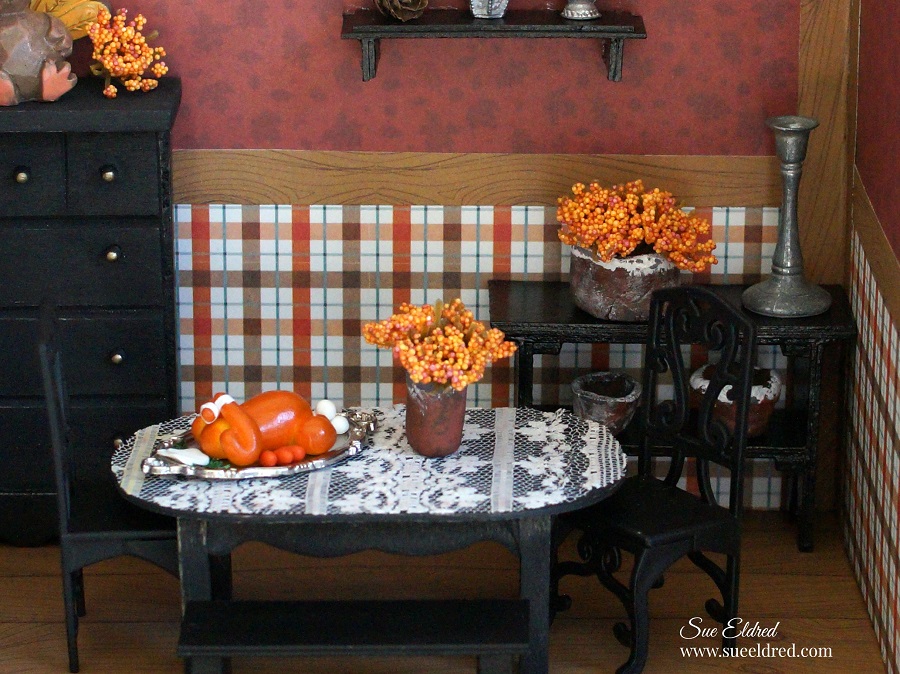
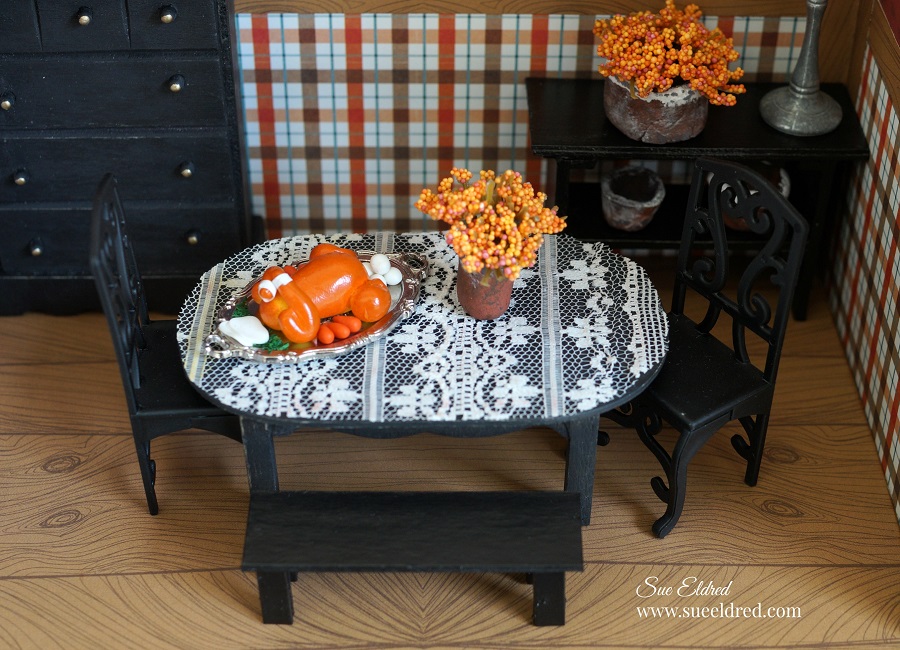
  • To Make the tablecloth…Run a piece of lace through the Xyron Creative Station* and adhere the lace to the top of the table.  Trim around the edges of the lace with scissors.
  • I created a small vase with playdoh and painted it with acrylic paint after it was completely dried.  I added craft glue inside my vase and inserted snippets of artificial flowers.
  • I added a platter of turkey on the table. (don’t tell anyone but mine’s really a chicken)

A small little handmade bench for extra seating.

A shelf on the wall with special pewter pieces.

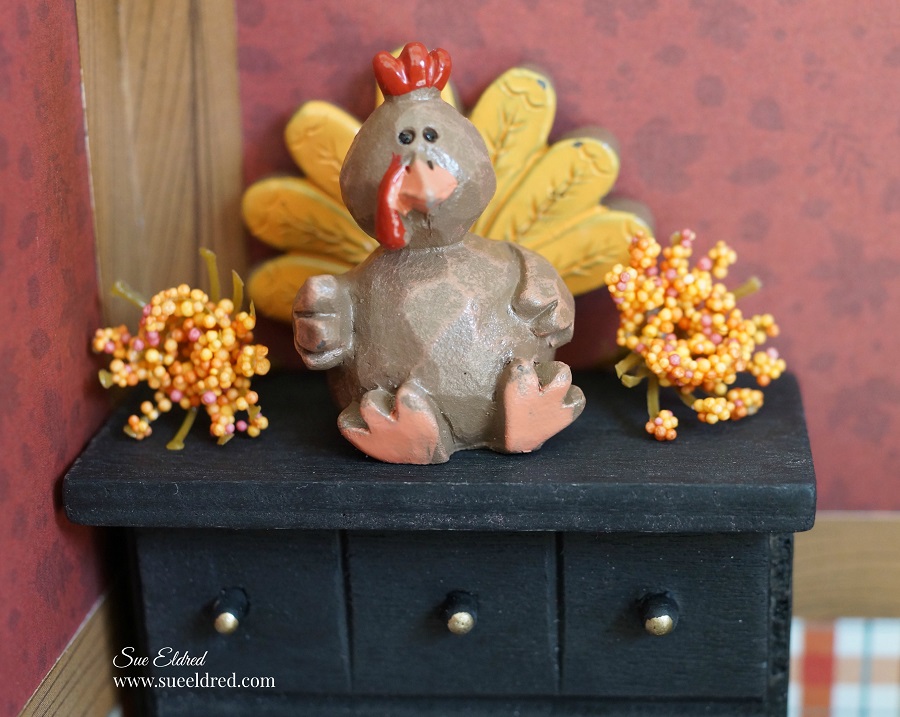
And a cute Turkey Decoration on top the sideboard to make the room more festive.

Happy Thanksgiving!

“This is a sponsored post.  As a member of the Xyron Makers Program I have been provided product in exchange for my creative ideas.  The views and opinions are my own.

If you liked the Thanksgiving Room you’ll like the Christmas Magic Room I made last year.

Buffalo Plaid Potholders

Crisp air, falling leaves, and a big pot of soup to warm you up…

Just a few of the reasons I love Fall.

So while you’re warming things up…

Warm up your plain potholder and add a little personality with Joy Iron-On Embroidered letters.

Supplies needed:

  • Joy Iron-On Embroidered Letters
  • Cotton Potholders
  • Iron
  • Pressing Cloth

Directions:

  1. Remove letters from the sheet.
  2. Position letters shiny side down on potholder.
  3. Cover letters with a clean cloth.
  4. With firm pressure iron cloth over the letters for 30 seconds.
  5. Turn potholder over and iron the reverse side for an additional 30 seconds.
  6. Allow to cool 1 minute before using.

 You can find a wide selection of Joy® embroidered iron-on letters and alphabet sheets in different sizes at your local craft stores!

“This is a sponsored post.  As a member of the Joy® Design Team I have been provided product and compensation in exchange for my creative ideas.  The views and opinions are my own.

Shop Your Fav Brands at Scrapbook.com

*Disclosure:  This blog uses ads and affiliate links.  If you choose to make a purchase using one of the links, I receive a small commission (at no additional cost to you) that helps offset the costs of maintaining this blog.  Thanks for your support!

Shared Kindness…

 (project tutorial at Bottom of Post)

Blessings are the Harvest of Kindness

When I create, I create projects for a variety of reasons. 

Sometimes the project helps me tell a story. 

This particular project reminded me of a sweet exchange that happened between

my mom and a stranger several years ago. 

Just a reminder… World Kindness Day is November 13th. 

Please take a moment to spread a little kindness.

Shared kindness…

After eating lunch with my parents and sister at the local Steak and Shake,

Dad got up to pay the bill at the counter.  I stayed back to help Mom. 

When Mom got up, she noticed a lady sitting at a nearby table and said, “I know her”. 

Mom was in later stages of dementia, so I questioned her, “I don’t think we do Mom” I said. 

As I was trying to get her to leave, she said:  “I want to talk to her, I know her.” 

The lady must have heard us and looked up.  I quietly asked, “Does she know you?” 

Mom had worked at a school for many years, and she knew a lot of people that I didn’t.

The lady shook her head no.

Then without missing a beat, the lady got up, put my mom’s hand in hers and said:

“So, you think you know me?” and introduced herself.

After Mom struggled to get her name out, the woman smiled and said, “so nice to meet you”.

And with that, my mom was happy and left the restaurant with a smile on her face.

It only took a minute for this sweet woman to make a difference.

Mom’s been gone for a while now, but It’s something I’ve never forgotten.

To create the Wood Plaque…

Supplies used:                                  (*affiliate link)

*Disclosure:  This blog uses ads and affiliate links.  If you choose to make a purchase using one of the links, I receive a small commission (at no additional cost to you) that helps offset the costs of maintaining this blog.  Thanks for your support!

Directions:

  • Lightly sand the wooden rectangle with the sanding block to prepare the surface for paint.
  • Paint four horizontal autumn hued stripes on the wood.
  • With a flat dry brush blend the colors together to create a “Fall Rainbow”.
  • Lightly sand over the painted surface to smooth the grain of the wood.

  • Using an electronic die cutting machine, I cut the words.
  • Using a weeding tool carefully remove the negative spaces in and around the letters.
  • Place a piece of Vinyl Transfer Tape* over the letters.  Rub over the letters using a vinyl scraper tool to help the vinyl cling
  • Apply words onto a small wood rectangle.


“This is a sponsored post.  As a member of the StyleTechCraft Design Team I have been provided product and compensation in exchange for my creative ideas.  The views and opinions are my own.
You can now find the full line of StyletechCraft online at ATSM.