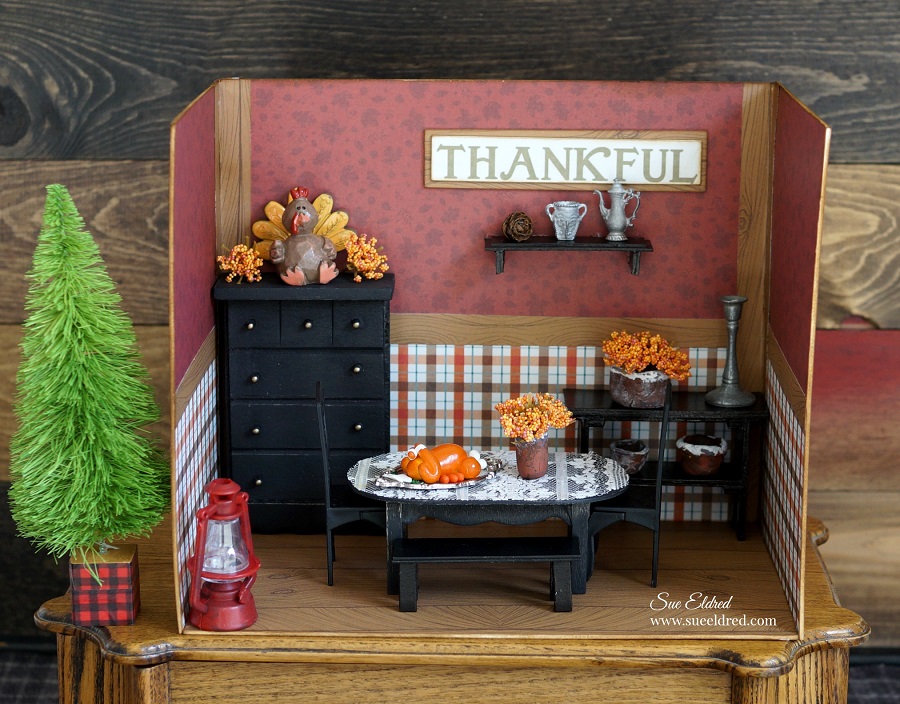
Creating a Mini Thanksgiving Room…
Time to get your rooms ready for the Thanksgiving holiday.
I love making miniature rooms, especially for the Holidays.
I created this special little room for Xyron using the Xyron Creative Station*.
The Xyron Creative Station* is perfect for projects like this. I wanted complete adhesive coverage on every corner and edge of the paper. (No wrinkles, no bubbles, easy to use.)
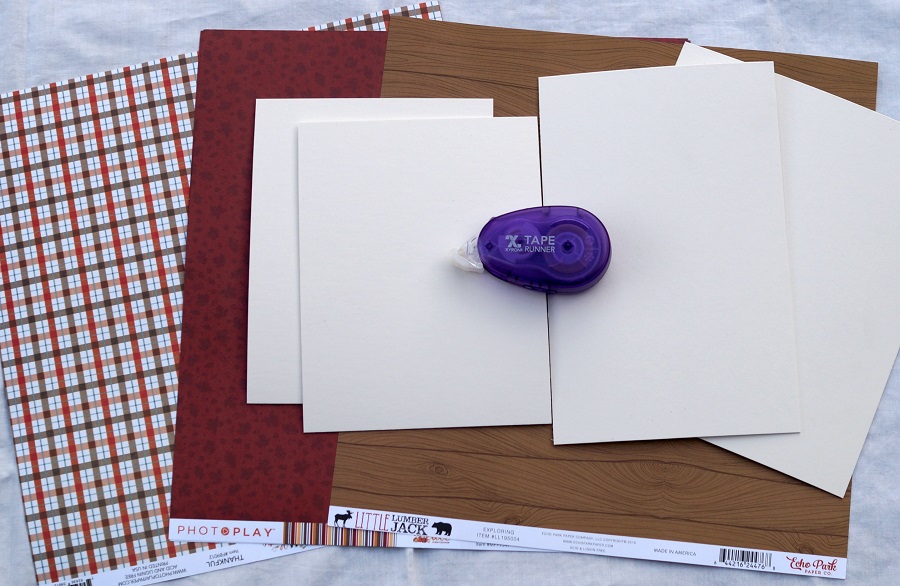
Products Used: ( *affiliate links)
- Xyron Creative Station*
- Xyron Tape Runner*
- LL195004 Exploring (Little Lumber Jack Collection from Echo Park) 12 x 12 paper*
- MPF9547 Cozy (Mad 4 Plaid Collection from Photoplay Paper) 12 x 12 paper*
- FP9012 Thankful (Fall Breeze Collection* from Photoplay Paper) 12 x 12 paper
- Matboard or Chipboard
- Sanding Block*
- Craft Knife*
and Self Healing Cutting Mat*
- Tim Holtz Distress Ink Pad, Vintage Photo*
- Ink Blending Tool*
- DecoArt Americana Multi-Surface Satin Acrylic Paint, Black Tie*
- Roast Turkey Miniature*
- Craft Glue*
*Disclosure: This blog uses affiliate links. If you choose to make a purchase using one of the links, I receive a small commission (at no additional cost to you) that helps offset the costs of maintaining this blog. Thanks for your support!
To make the Mini Thanksgiving Room…
- Cut chipboard into 4 pieces: 9″x7 1/2″, 5 3/4″ x 9″ and two 5 3/4″ x 7 1/2″
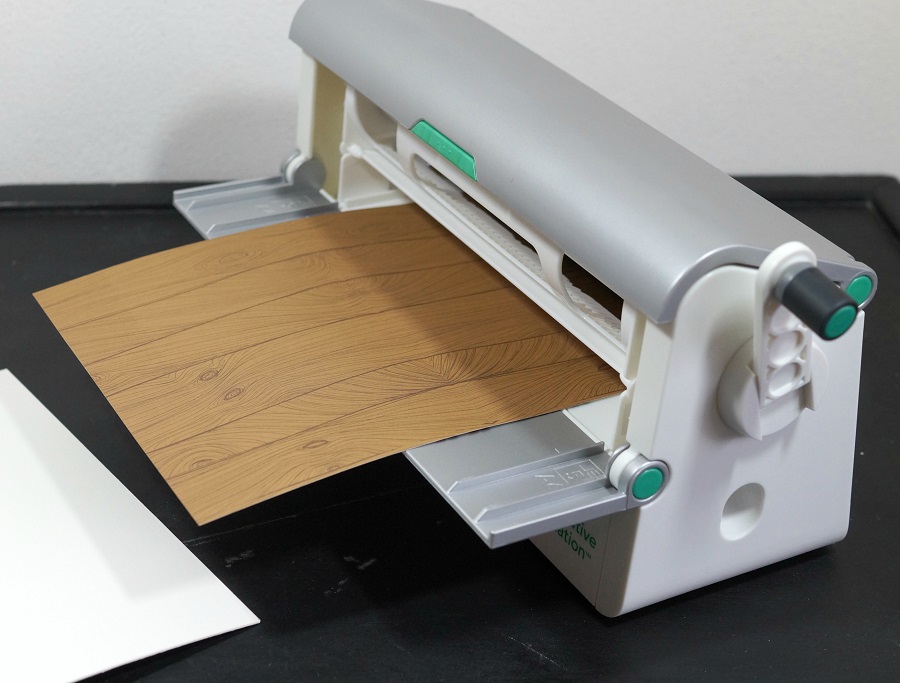
- Cut woodgrain paper just 6″ x 9 1/4″ and run it through the Xyron Creative station design side up. As the paper runs through the machine it adds adhesive under the paper.
- Adhere the paper to the chipboard. I like to cut my paper slightly wider than I need so I can trim the edges with a craft knife.
- Gently sand edges with a extra fine sanding block for the perfect edge.
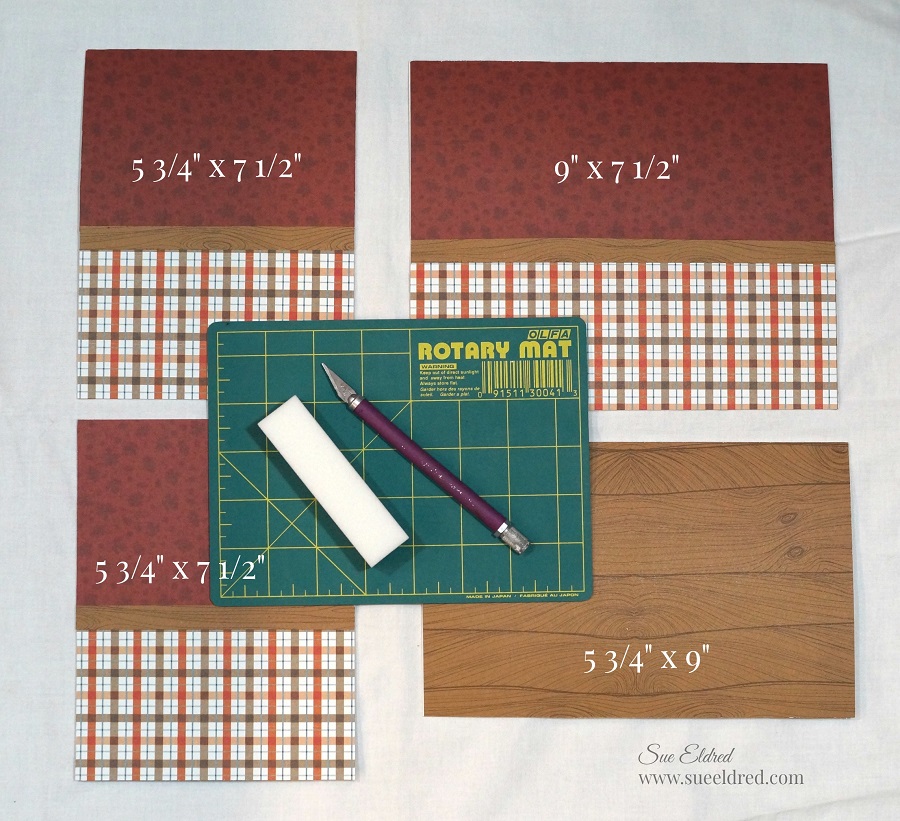
- I cut the patterned paper half the size of the other three chipboard pieces and added a 1/2″ strip of woodgrain paper to cover the seam. (it looks like chair rail)
- Using the Creative Station makes quick work of covering the walls.
- Ink the edges of the chipboard with “Vintage Photo” Distress Ink Pad* using a Ink Blending Tool*
. It hides the white core of the chipboard.
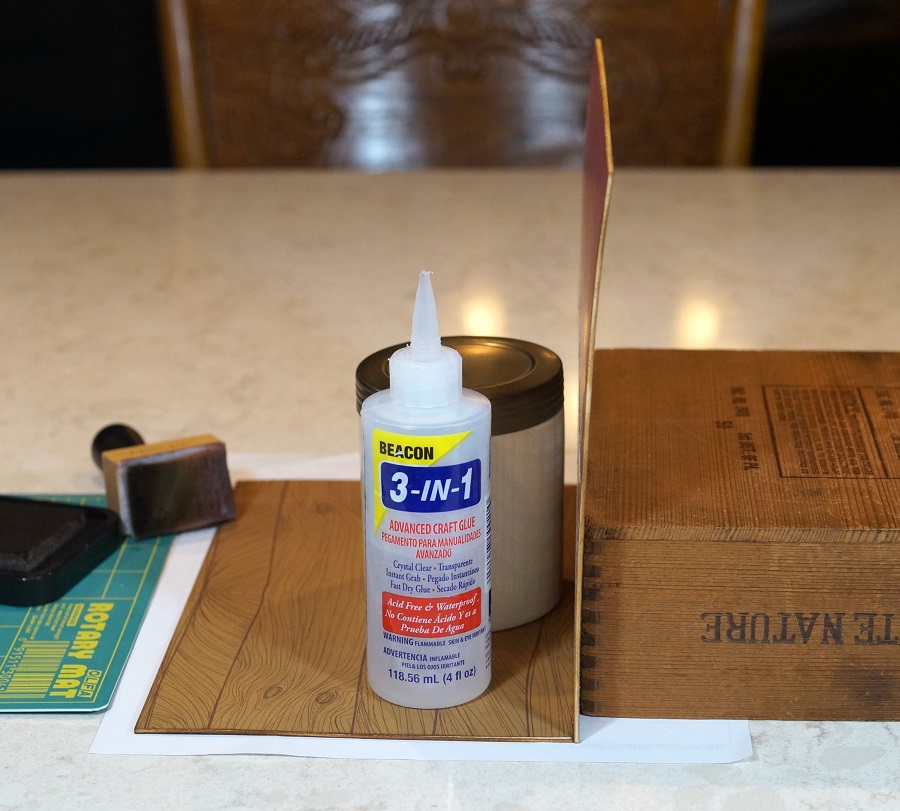
- Glue the walls together using a good craft glue. I used wood boxes to hold my wall up while the glue dried.
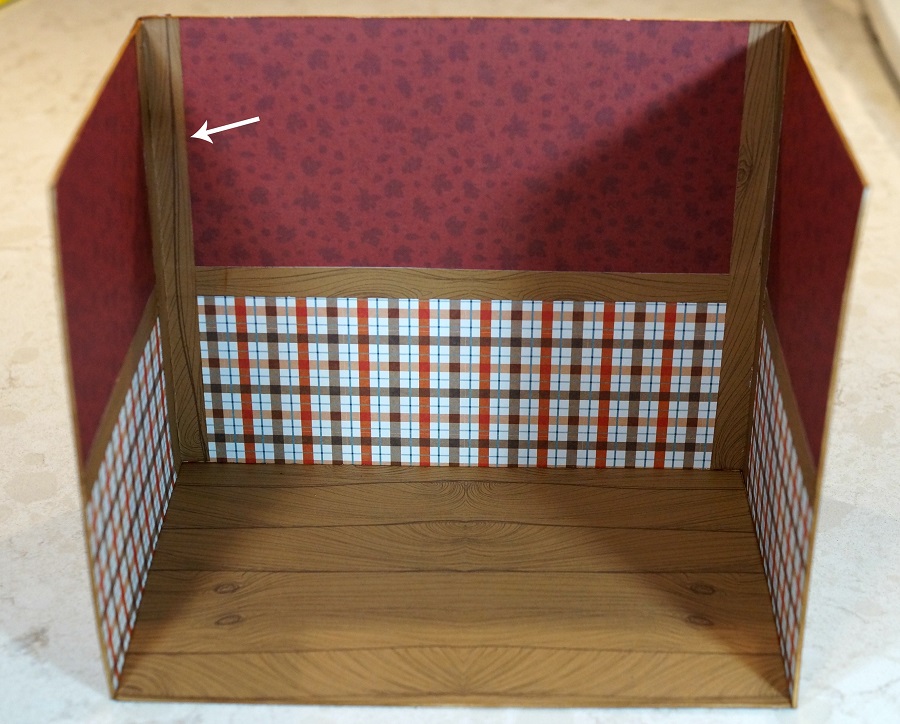
- I covered the back of my room with coordinating paper and added small strips of paper on the inside and back corners for added support. Run those strips through the Xyron Creative Station*
as well.
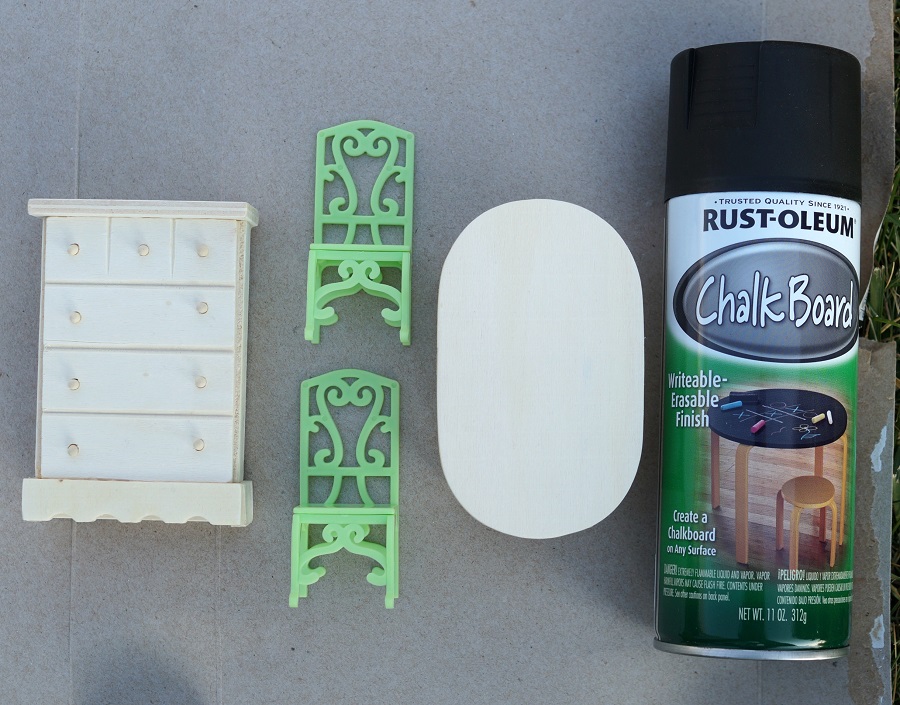
- I picked up some inexpensive Doll furniture* at Dollar Tree* and painted them with black spraypaint.
- I gave them a light sanding after they were dry with a sanding block to smooth.

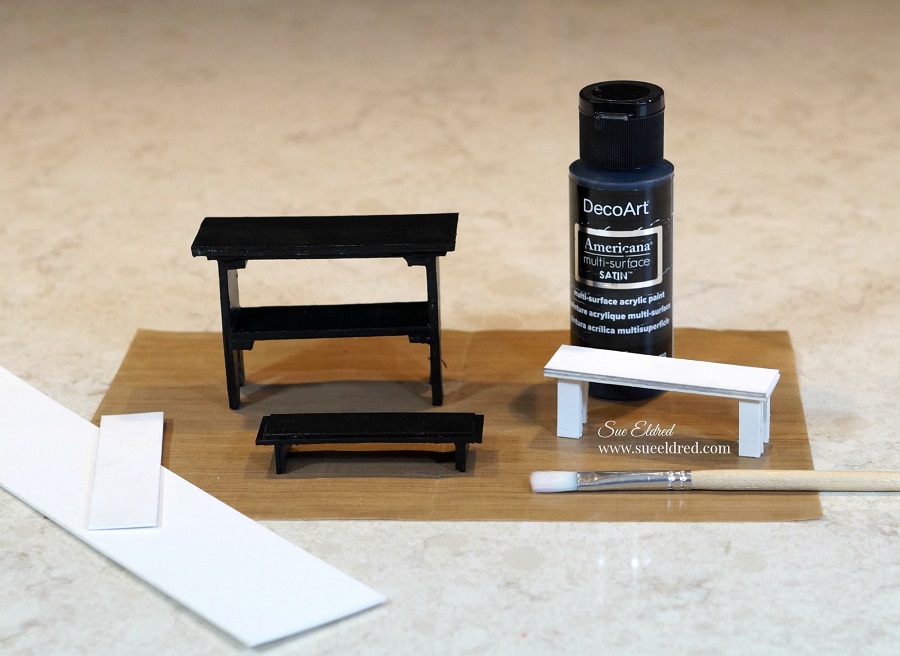
- I created additional furniture by cutting small pieces of chipboard and adhering them together. (simple building construction)
- A couple coats of black paint to finish the job.
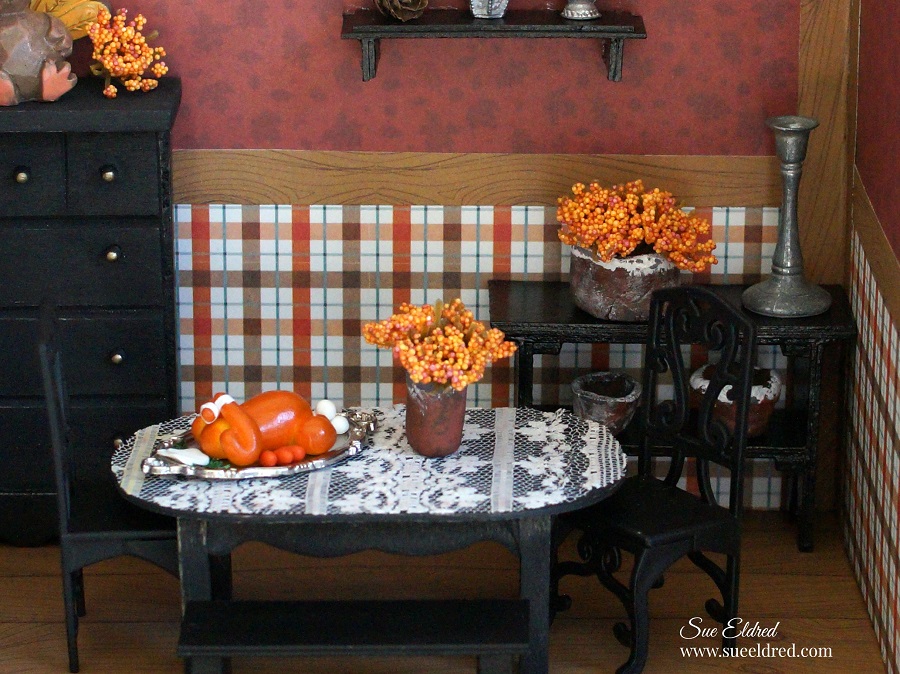
- To Make the tablecloth…Run a piece of lace through the Xyron Creative Station*
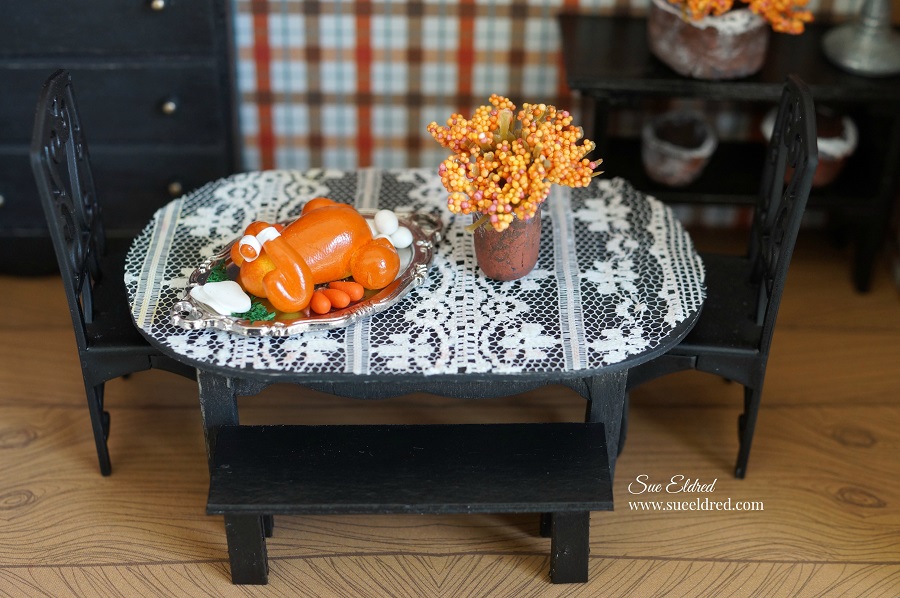
- I created a small vase with playdoh and painted it with acrylic paint after it was completely dried. I added craft glue inside my vase and inserted snippets of artificial flowers.
- I added a platter of turkey on the table. (don’t tell anyone but mine’s really a chicken)
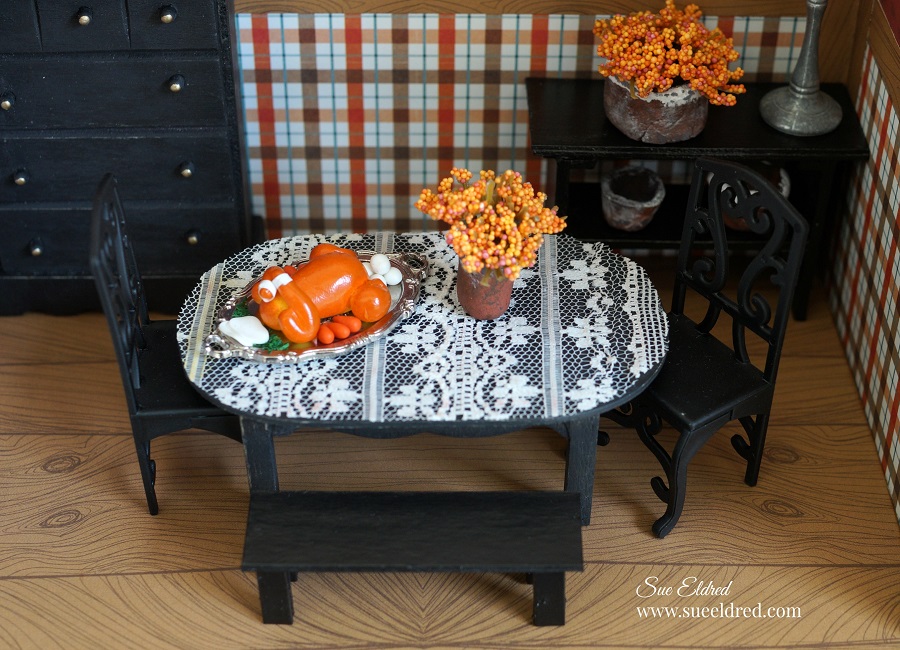
A small little handmade bench for extra seating.

A shelf on the wall with special pewter pieces.
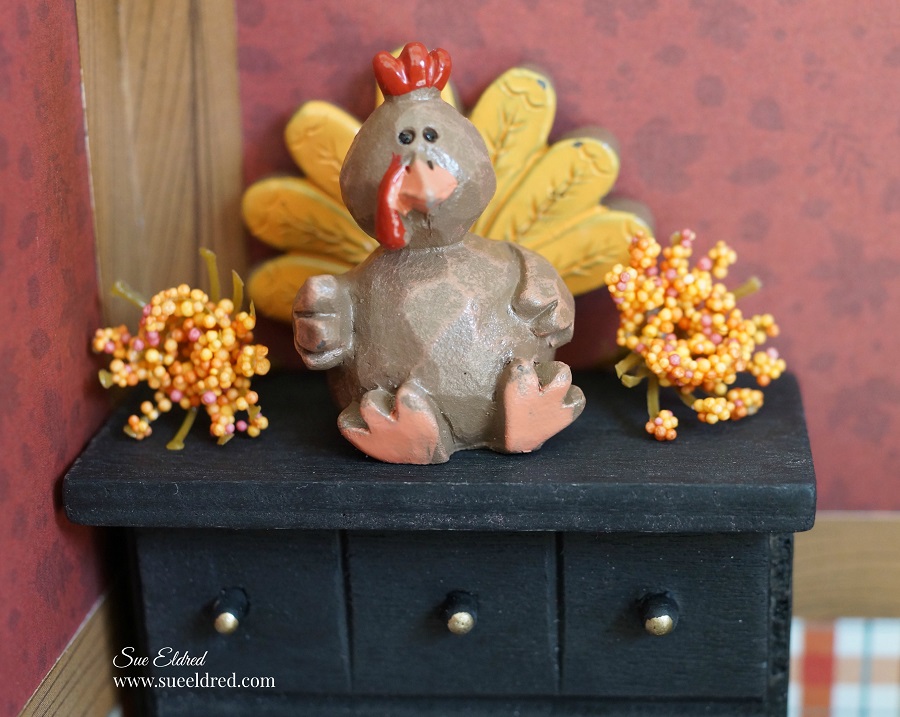
And a cute Turkey Decoration on top the sideboard to make the room more festive.
Happy Thanksgiving!

“This is a sponsored post. As a member of the Xyron Makers Program I have been provided product in exchange for my creative ideas. The views and opinions are my own.

If you liked the Thanksgiving Room you’ll like the Christmas Magic Room I made last year.


