Celebrate with Matte Removable Vinyl

Create Festive Door Decals for the 4th of July!

I was decorating and getting the house ready for our 4th of July Pool Party…

when I got the idea to use my new Matte Removable Vinyl to create 4th of July door decals.

They were super simple to make and they add a fun festive touch.

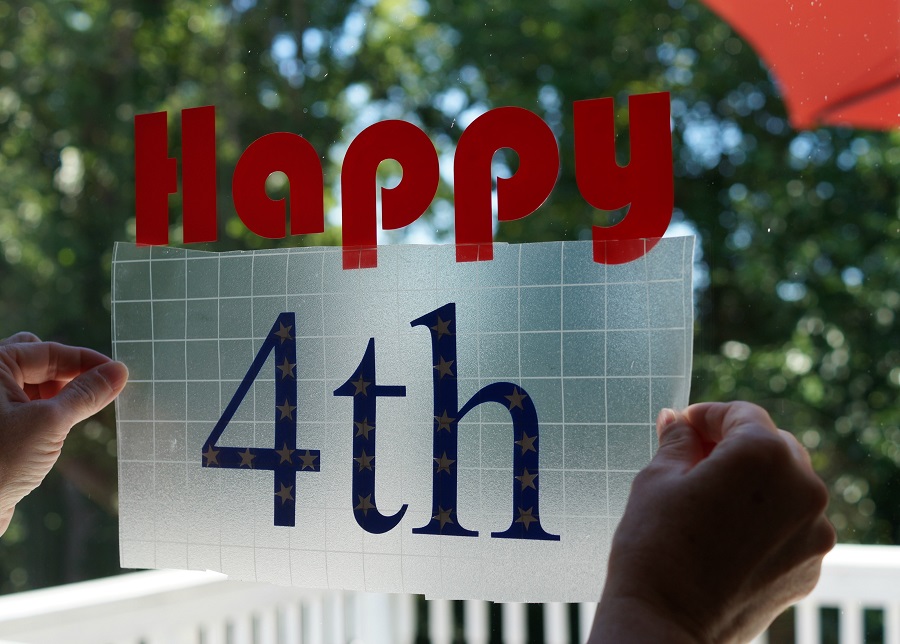
To make my 4th of July Door Decals…

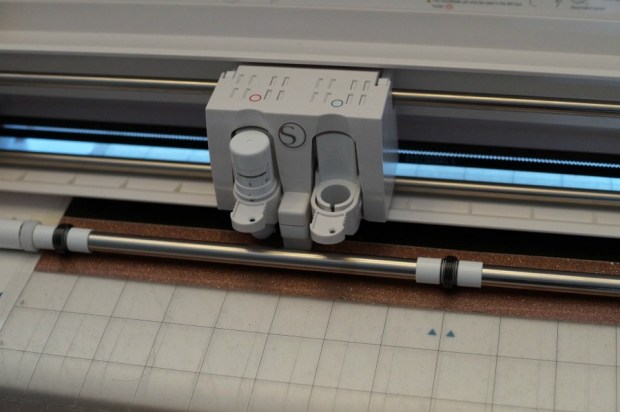
  • I cut the vinyl letters and number using my Silhouette Cameo 3*.
  • I cut additional small white stars to stick onto the blue number.
  • I easily transferred everything onto my door using the Vinyl Transfer Tape*.

I put one onto the backdoor heading into the pool area and the other onto the door leading

into the house from the garage.

Because family don’t use the front door!

I also used the vinyl to jazz up the plain metal tin to hold cutlery.

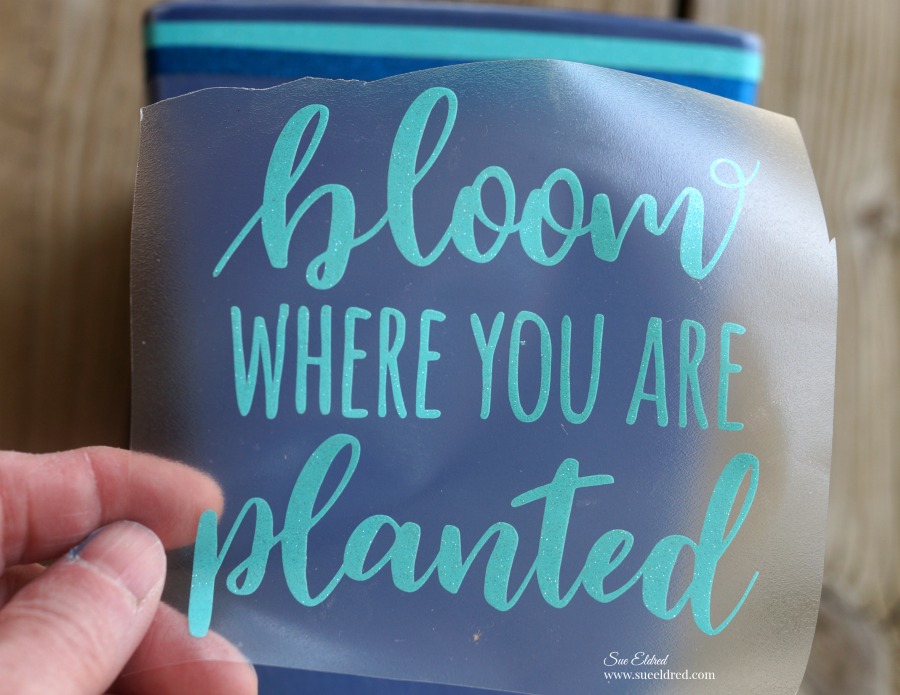
Did you know that this vinyl will remove cleanly for up to two years?

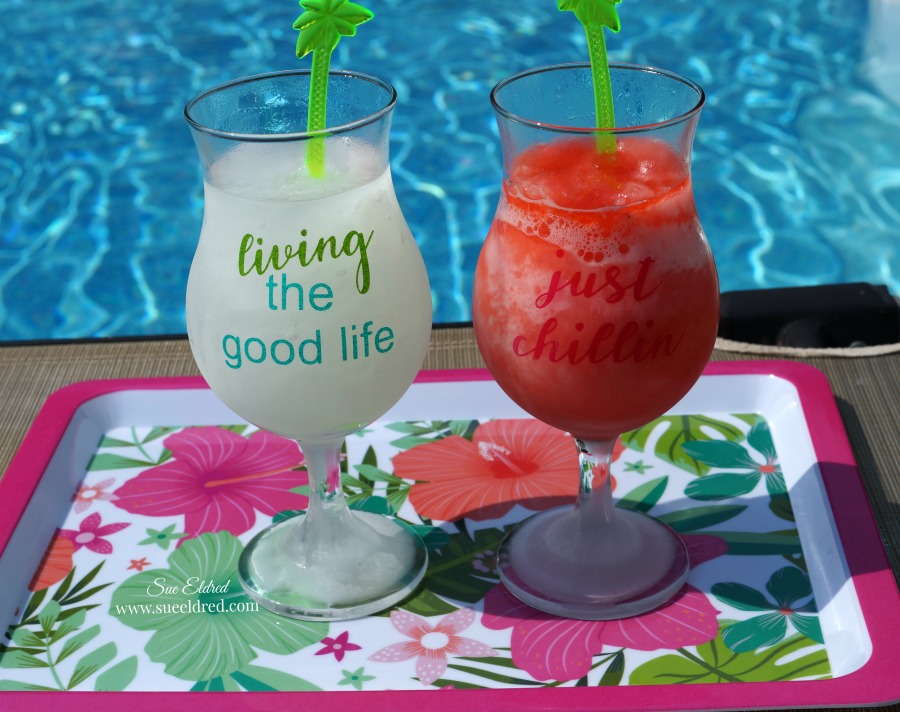
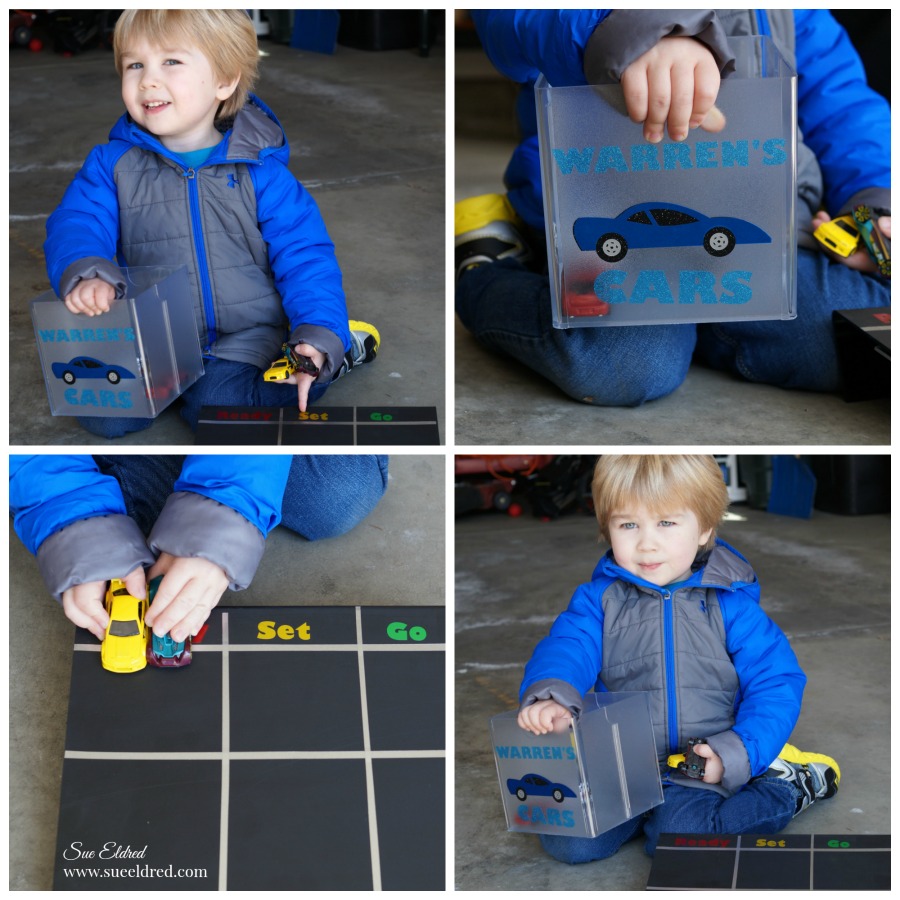
This vinyl  film is great for decorating a kid’s room, a classroom or just about anywhere

you just  need a temporary graphic.

And, with 27 colors available, it’s not hard to find the perfect color for whatever you can

dream up!

“This is a sponsored post.  As a member of the Tape Technologies Design Team I have been provided product and compensation in exchange for my creative ideas.  The views and opinions are my own.

Shop Your Fav Brands at Scrapbook.com

*Disclosure:  This blog uses ads and affiliate links.  If you choose to make a purchase using one of the links, I receive a small commission (at no additional cost to you) that helps offset the costs of maintaining this blog.  Thanks for your support!

Personalized Pool Party Glasses

Keeping Cool and Living the Dream…

Here in the Midwest, summer has turned H-O-T!

And because we have a pool, we get a lot of extra visitors. 

To help us all keep cool…we keep the blender whirling.

This is one of my favorite Summer activities.

Today… I’m participating with several designers of the Designer Craft Connection

in a Designer Challenge using Adhesive Vinyl from Styletech Craft.

For a full list of the participating designer’s projects CLICK HERE.

How to make personalized Pool Party Glasses.                  (*affiliate link)

  • Pick up a couple of inexpensive glasses at Dollar Tree*.   While you’re there…don’t forget to pick up the cute palm tree swizzle sticks.
  • Clean the glasses with warm soapy water to remove any grease or residue.
  • I used my Silhouette Cameo 3* to create and cut the words “just chillin” and “living the good life” out of Self Adhesive Glitter Vinyl Sheets- by Styletech*
  • Remove the background vinyl from the words using a vinyl weeding tool or metal pick.

  • Pick up the words off the backing paper with Vinyl Transfer Tape* and apply directly onto glass.  Rub the words to make sure they’ve stuck before removing the transfer tape.
  • If you can…Wait 4 days for the adhesive to fully cure before using the glass.
  • It is recommended to hand wash only.

Ask for Self Adhesive Glitter Vinyl Sheets- by Styletech from Tape Technologies* at your local Scrapbook Store.

Shop Your Fav Brands at Scrapbook.com

*Disclosure:  This blog uses ads and affiliate links.  If you choose to make a purchase using one of the links, I receive a small commission (at no additional cost to you) that helps offset the costs of maintaining this blog.  Thanks for your support!

Translucent Vinyl Suncatcher

When I received the Translucent Vinyl from Tape Technologies,

I knew it would be perfect for making a Suncatcher.

The translucent vinyl comes in several great colors to choose from.

To make my Suncatcher I used a framed glass sample I rescued from the garbage.

You could also use a small frame and glue the glass into the frame.

To create my shapes I used my Silhouette Cameo*and Jillibean Soup’s Floral Mandala cut file.

*Disclosure:  This blog uses ads and affiliate links.  If you choose to make a purchase using one of the links, I receive a small commission (at no additional cost to you) that helps offset the costs of maintaining this blog.  Thanks for your support!

I used the Vinyl Transfer Tape* to overlay the blue onto the pink.

I then transferred both images onto the glass to create the Suncatcher.

To create a little more sparkle I added adhesive rhinestones onto the glass.

Shop Your Fav Brands at Scrapbook.com

“This is a sponsored post. As a member of the Tape Technologies Design Team I have been provided product in exchange for my creative ideas, views and opinions.”

Ask for Self Adhesive Glitter Vinyl Sheets- by Styletech from Tape Technologies* at your local Scrapbook Store.

DIY Bloom Planters

“bloom where you are planted”

A little Inspiration for my Summer Flowers…

I’m not sure if it’s a subliminal message or a direct request.  (to my plants that is)

BLOOM!

I picked up these beautiful purple flowers over the week-end and decided to spruce up a couple

of plain pots into something special.

FYI…the name of the plant with Campanula, a partial shade loving perennial.

How to make a DIY Bloom planter…              (*affiliate link)

  1.  Paint terra cotta pot with 2 coats of white paint.
  2. Brush a thin layer of purple paint along top band.  (no need to be perfect)
  3. Lightly sand pot for a distressed look.
  4. Using a cut file and the Silhouette Cameo*, cut the saying out of the purple glitter vinyl.
  5. Apply the saying onto the pot using transfer paper.  Smooth into place and remove transfer paper.

Shop Your Fav Brands at Scrapbook.com

*Disclosure:  This blog uses ads and affiliate links.  If you choose to make a purchase using one of the links, I receive a small commission (at no additional cost to you) that helps offset the costs of maintaining this blog.  Thanks for your support!

The blue ceramic planter was plain and simple until I added stripes using the glitter vinyl,

and applied the light blue glittered vinyl words using a Vinyl Transfer Tape*.

Perfect decorative accent for my summer front porch.  (or a great gift idea)


Don’t Miss a Thing…Make Sure to Follow me


Ask for Self Adhesive Glitter Vinyl Sheets- by Styletech from Tape Technologies* at your local Scrapbook Store.

“This is a sponsored post.  As a member of the StyleTechCraft Design Team I have been provided product and compensation in exchange for my creative ideas.  The views and opinions are my own.


A Cup of Attitude

After I finished personalizing my new cup, I proudly ran downstairs to show it to my husband.

“I don’t get it”  was his response.

It’s a cup of Attitude”, I replied.  (I still don’t think he got it.)

I’m generally a very sweet and nice person.  

But sometimes…if you could only hear the snarky comments rolling around in my head,

you just might think otherwise.  I keep it to myself most of the time.  (or at least I try)

The struggle is real.

To personalize my cup…                              (*affiliate links)

  •  I used my Silhouette Cameo* to cut out a cute saying from Jillibean Soup out of translucent

Self Adhesive Glitter Vinyl Sheets- by Styletech from Tape Technologies*

  • I picked up the plain white cup at Dollar Tree* for only $1.00.  (*affiliate link)

Dollar Tree is the perfect place to find inexpensive glassware to personalize with vinyl.

Directions:

  • Clean the cup with warm soapy water to remove any grease or residue.
  • Apply the hot pink glittered  vinyl words onto the cup using a Vinyl Transfer Tape*.
  • Next, add the gray glittered vinyl words.
  • The Vinyl Transfer Tape*  makes it easy to line up the words.
  • Wait 4 days for the adhesive to fully cure before using the cup.
  • It is recommended to hand wash only.  (I have put mine in the dishwasher, just saying.)

If you need to keep your attitude a little more subdued…

the cup also makes a great pen holder.

Shop Your Fav Brands at Scrapbook.com

“This is a sponsored post. As a member of the Tape Technologies Design Team I have been provided product in exchange for my creative ideas, views and opinions.”

*Disclosure:  This blog uses ads and affiliate links.  If you choose to make a purchase using one of the links, I receive a small commission (at no additional cost to you) that helps offset the costs of maintaining this blog.  Thanks for your support!

Shop Amazon Scrapbooking Supplies*

a boy and his cars…

I have this sweet boy in my life that loves cars.

Hotwheels to be exact.  (he’s very brand loyal)

Whenever he walks in my house he puts out his hand to show me the car of the day.

“Grandma, I have a new car to show you, you’re going to love this”…

This one’s Split Vision.  He’s aerodynamic and he goes really fast.”

I imagine he’s going to be a Race Car Driver or something equally cool when he gets older.

This kid always has a car with him wherever he goes.

I watched him at his big brother’s Spring Concert roll his car along the bleachers,

checking to see if it would fit under the boot heel of the guy sitting next to me.

To him… everything’s a potential ramp or tunnel.

For my Deflecto Design Team project this month, I decided to “think like he does” and make

a Deflecto 12″ x 12″ Clear Craft Picture Frame* into a “super cool” ramp for my grandson.

(*Affiliate Link)

I gave the Deflecto Frame* a light sanding with an extra fine sanding block to help the paint

adhere better.  Then, I painted the frame with Rust-Oleum Chalkboard Black Spray Paint*.

I used my Silhouette Cameo* and Glitter Vinyl* from Tape Technologies to create

the words and stripes for “our” new ramp.

Shop Your Fav Brands at Scrapbook.com

And… because you always need more storage for your cars.

I made him a new car box using a Deflecto Stackable Cube Organizer*.

“This is a sponsored post. As a member of the Deflecto Design Team I have been provided product in exchange for my creative ideas, views and opinions.”

*Disclosure:  This blog uses ads and affiliate links.  If you choose to make a purchase using one of the links, I receive a small commission (at no additional cost to you) that helps offset the costs of maintaining this blog.  Thanks for your support!

Shop Amazon Scrapbooking Supplies*

A Creative Mess…

 A Creative Mess is better than idle Tidiness.

I love this saying, it fits me to a tee.

I do like a neat and tidy craft space, but when I’m working on a project, it’s a complete mess.

To create the words…

I created the saying using a design file on my Silhouette CAMEO 3 Wireless Cutting Machine*

using 12″ x 12″ Adhesive Glitter Vinyl Sheets by StyleTech*.  I laid all three of my vinyl colors

down on the cutting mat at the same time and cut my saying with one pass of my machine.

Styletech Craft products brought to you by ATSM Craft 

Disclosure:  This blog uses affiliate links.  If you choose to make a purchase using one of the links, I receive a small commission (at no additional cost to you) that helps offset the costs of maintaining this blog.  Thanks for your support!

I Love Square Frames and a Good Bargain…

I found this 90’s framed print at a garage sale for 25¢ and painted it black.  

I added my words onto a piece of white cardstock using transfer paper.   I adhered the white

cardstock onto an extra piece of glitter vinyl and inserted it into the frame.

A Quick and Easy, Thrifty Home Décor piece for my Crafty Space.

“This is a sponsored post.  As a member of the StyleTechCraft Design Team I have been provided product and compensation in exchange for my creative ideas.  The views and opinions are my own.

How to make a Love Coaster with Easel

A Quick and Easy, DIY, Valentine’s Decoration or Gift.

The “Love Coaster with Easel” is one of the projects that I made at the StyleTechCraft

booth while at Creativation last week.  

Everyone loved how easy it is to make an easel using a clothespin.

Materials Used:              (*affiliate link)

*Disclosure:  This blog uses ads and affiliate links.  If you choose to make a purchase using one of the links, I receive a small commission (at no additional cost to you) that helps offset the costs of maintaining this blog.  Thanks for your support!

To make the Love Coaster…                               

  • You can use Plain White Square Coasters* or…I made my scalloped coaster using a steel rule die and white chipboard.
  • Cut a heart out of Translucent Red Glittered Vinyl from Tape Technologies using a thin metal die.  Apply the glitter heart to the coaster using a transfer paper made for vinyl.
  • Using my Silhouette Cameo Electronic Die Cutting Machine*, I cut the word “love” out of Black Glittered Translucent Vinyl and applied it directly over my heart using transfer paper.
  • I edged the sides of my coaster in silver, using a Silver Leaf Paint Pen*.

How to make an easel using a clothespin.

To make the Easel…

  • Glue a Wooden Clothespin* on the back of the coaster with Rapid Fuse Adhesive*.
  • Pull the clothespin open just enough so that the round metal spring comes slightly out of its groove.  (Some clothespins work better than others so you might need a little luck.)
  • To keep the clothespin from snapping shut…glue the top ends of the clothespin together.

Love Coaster-Sue's Creative Workshop-www.sueeldred.com 1576

A couple of guys at the show made theirs into Valentine’s cards.

I told them all they had to do was add a sweet note inside and, they were set.

Maybe I should have told them including flowers and chocolates is also a good idea.

“This is a sponsored post.  As a member of the StyleTechCraft Design Team I have been provided product and compensation in exchange for my creative ideas.  The views and opinions are my own.

You can now find the full line of StyletechCraft products online at ATSM.

Give the Gift of Amazon Prime*

Next Stop…Creativation 2018

I’m heading West today to Phoenix for warmer weather and the Creativation Trade Show.

While there, I will get to see the latest and the greatest in the Hobby and Craft Industry.

Can you say Creative Overload?

I will be doing make and takes in the Deflecto Booth first thing Saturday morning and again

in the afternoon.  I will be demoing in the Tape Technologies Booth on Monday afternoon.

In between working…I will be walking the show, networking, meeting up with old friends

and hopefully taking lots of pictures to share with you.

After the show is over, I’ll be heading to Sedona, AZ for a little rest and relaxation.

I can’t wait to get out of this cold and snow.    Stay tuned….more to come.

Try Amazon Prime 30-Day Free Trial

*Disclaimer:  This post uses ads and affiliate links.  If you choose to make a purchase using one of the links, I receive a small commission (at no additional cost to you) that helps offset the costs of maintaining this blog.  Thanks for your support!

Happy New Year 2018

Happy New Year 1249

By the time we get through all the Christmas Festivities and Parties….

I’m ready to stay in and eat pizza by the time New Year’s Eve comes along.

Relaxing and low key is the answer.

We may even toast the New Year, that is if he’s still awake.

Happy New Years-Sue's Creative Workshop-www.sueeldred.com 1198

Even though we’re not having a big party, Party Hats are always fun.

I must have been really good this year…

because Santa brought me a new Silhouette CAMEO 3 Wireless Cutting Machine*

I used my new present to whip up some simple party hats

Happy New Years-Sue's Creative Workshop-www.sueeldred.com 1203

I used two strips of Ultra FX Glitter Vinyl from Styletech and laid them side by side.

I made sure my fonts lined up so that I could cut both colors at the same time.

Happy New Years-Sue's Creative Workshop-www.sueeldred.com 1208

  • I also cut a large mat shape from black cardstock and a slightly smaller mat shape using silver metallic vinyl.
  • I used the transfer paper to remove all the letters at once and laid them onto my shiny mat to create my hat.
  • I cut the bottom section of the mat shape and added a small strip of vinyl for extra decoration.  I created a band for my hat from two strips of cardstock and stuck the “happy new year” mat on the front.  (pretty simple)

Happy New Years Hat-Sue's Creative Workshop-www.sueeldred.com 1241

Now it’s a party.  (well sort of)

Shop Amazon Scrapbooking Supplies*

*Disclaimer:  This post is sponsored by Tape Technologies and uses ads and affiliate links.  If you choose to make a purchase using one of the links, I receive a small commission (at no additional cost to you) that helps offset the costs of maintaining this blog.  Thanks for your support!