My friends at Xyron has generously given me a New Xyron 2020 Holiday Bundle to giveaway to one lucky person.
This limited-edition holiday bundle is perfect for gift wrapping over the holidays or anytime. The Xyron Mega Runner lets you wrap packages beautifully, without the messy tape. Have fun making your own labels for any occasion with the Xyron 3” Disposable Sticker Makers. Let Xyron help make your holidays easier!
The Xyron Holiday Bundle Includes:
Red Xyron Mega Runner
Two Xyron 3″ Disposable Sticker Makers with a Blue Snowflake Pattern.
40 Holiday Labels
There are several ways to enter.
Leave a comment on this post telling me you’d like to win.
*Disclosure: This blog uses affiliate links. If you choose to make a purchase using one of the links, I receive a small commission (at no additional cost to you) that helps offset the costs of maintaining this blog. Thanks for your support!
Directions:
Cut a piece of coordinating holiday scrapbook paper to fit inside of the frame.
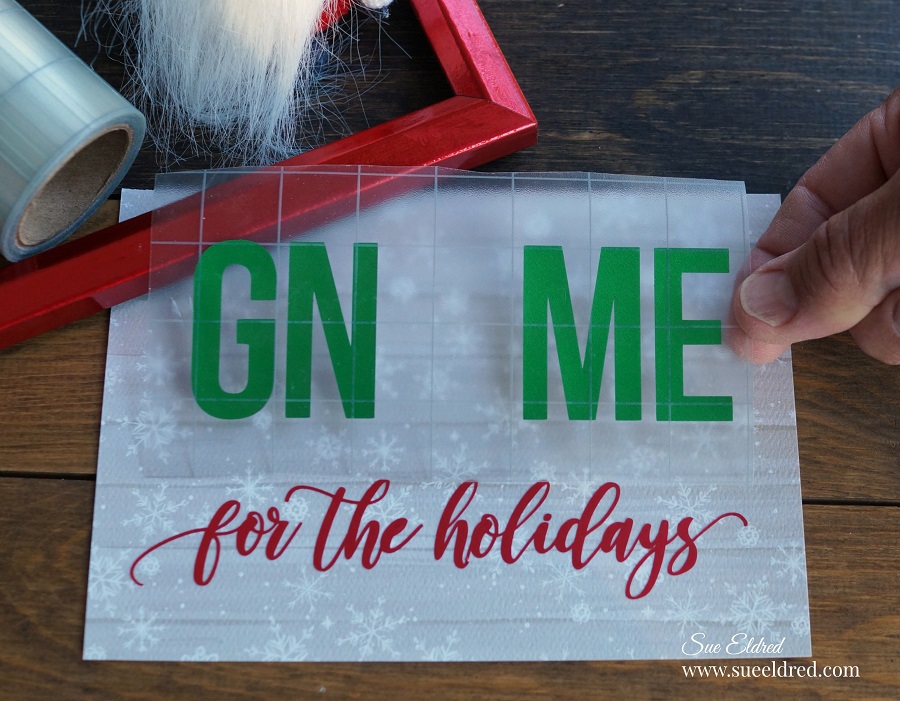
Use the vinyl pick tool to remove the excess vinyl from inside and around the letters and shapes.
Cut a piece of Vinyl Transfer Tape* to fit over the vinyl words. Gently rub over the transfer paper using the squeegee tool. Remove the vinyl from the white liner.
Using the transfer tape, line up the vinyl words onto the scrapbook paper.
Gently rub over the Vinyl Transfer Tape* to make sure all the image has transferred. Remove the transfer tape.
Continue adding the vinyl layers that make up the Gnome.
Add into a fun red metallic frame and enjoy it.
“This is a sponsored post. As a member of the StyleTechCraft Design Team I have been provided product and compensation in exchange for my creative ideas. The views and opinions are my own.
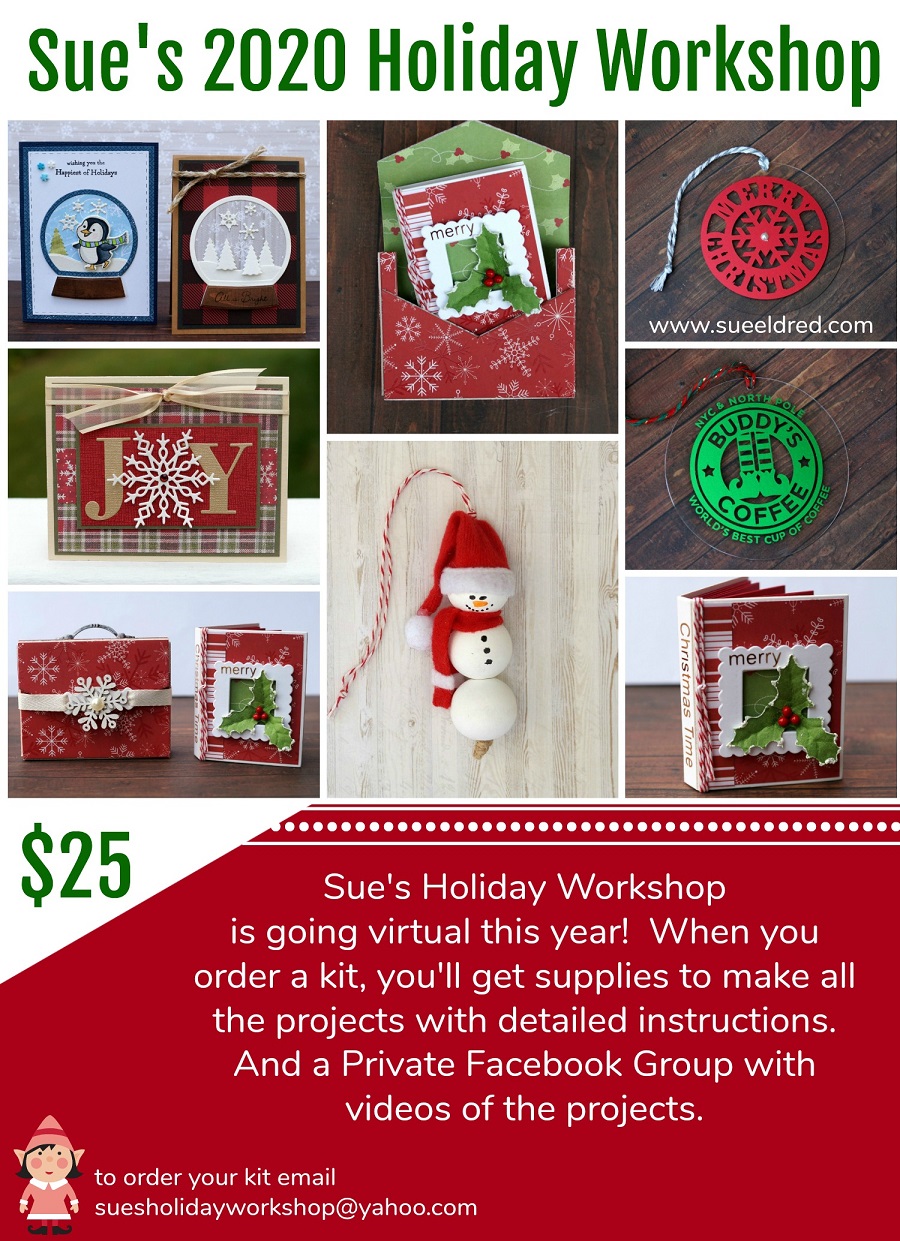
Looking for a little extra Inspiration this Holiday Season? Sue’s Holiday Workshop is going Virtual with a fun Holiday Kit.
Here’s what we’ll be making:
Penguin Snow Globe Card
Snowy Winter Wonderland Snow Globe Card
Holiday Joy Christmas Card
Merry Christmas Time Tiny Book
Snowflake Book Case that holds the Tiny Book
Snowman Santa Wood Bead Ornament
4″ Merry Christmas Snowflake Acrylic Tag Ornament
4″ Buddy’s Coffee Acyrlic Tag Ornament
Included in the Kit:
Card layers and Stamped Pieces. Ribbon, 3D Foam Squares and Envelopes
Covered Chipboard Book Case, Painted Handle, Wood Snowflake Embellishment
Tiny Book Cover, Cut Pieces to Cover the Book, Small Frame, Holly Embellishment, Twine, Gold Vinyl Words
Beads, Santa Hat, Scarf pieces, Twine
Two 4″ Acrylic Circles, Metallic Vinyl Designs, Transfer Tape, Twine, Adhesive Pearl Rhinestones.
I will be creating a special Facebook Group where I will add additional photos and videos of how to make the projects and links to products used. I will also have additional add on kits from previous Workshops to purchase at a greatly reduced price.
You will need to provide: (not included in kit)
Art Markers or Colored Pencils
Scissors
Tape Runner
Craft Glue
The cost of the Kit is $25.00
Shipping is $7.50 for Priority Mail.
There will be a limited amount of kits available, so reserve yours today.
Holiday Workshop Kits will be available November 7th to pick up or ship.
Email: suesholidayworkshop@yahoo.com to reserve your kit.
*Disclosure: This blog uses affiliate links. If you choose to make a purchase using one of the links, I receive a small commission (at no additional cost to you) that helps offset the costs of maintaining this blog. Thanks for your support!
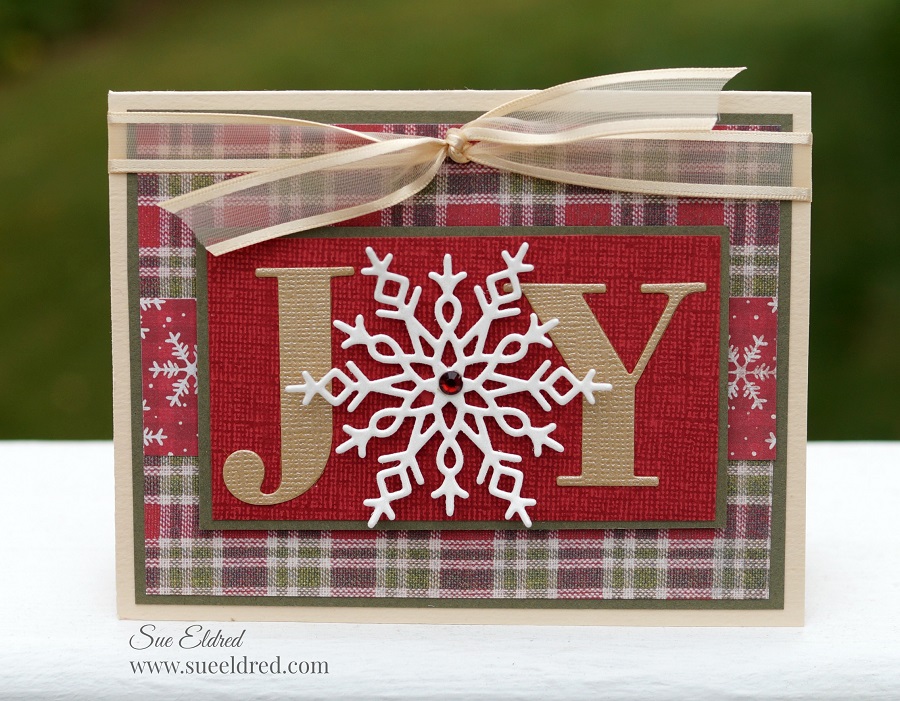
A little Holiday Joy Christmas Card to brighten up your day.
If you like making your own Christmas cards and have a lot to make,
this quick and easy card might be a great choice.
I’m thinking, this simple little card is the one I’ll send this year.
Disclosure: This is a sponsored post for the Maker’s Movement. I have been provided product and compensation in exchange for my creative ideas. The view and opinions are my own.
*Disclosure: This blog uses affiliate links. If you choose to make a purchase using one of the links, I receive a small commission (at no additional cost to you) that helps offset the costs of maintaining this blog. Thanks for your support!
Card Details….
To make my snowflake stand out more. I took a small piece of white ultra metallic glitter vinyland adhered it to a piece of cream cardstock before die-cutting the snowflake. You can’t tell by the picture, but the snowflake has a glittery shimmer.
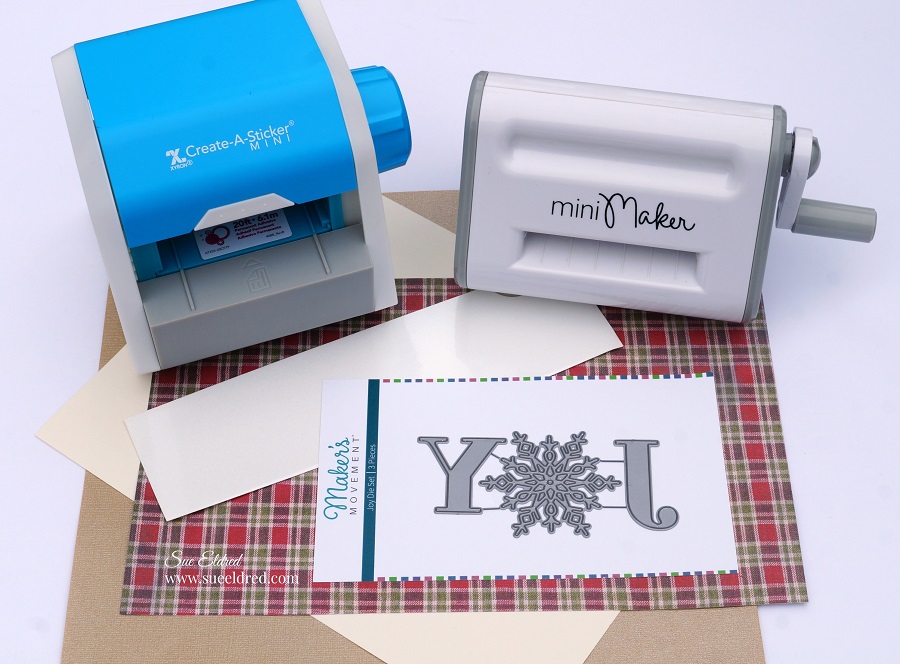
I like to use the Xyron Create-A-Sticker*to add adhesive on the back of the gold cardstock before die-cutting the letters. It makes assembling the card a breeze.
*Disclosure: This blog uses affiliate links. If you choose to make a purchase using one of the links, I receive a small commission (at no additional cost to you) that helps offset the costs of maintaining this blog. Thanks for your support!
Directions:
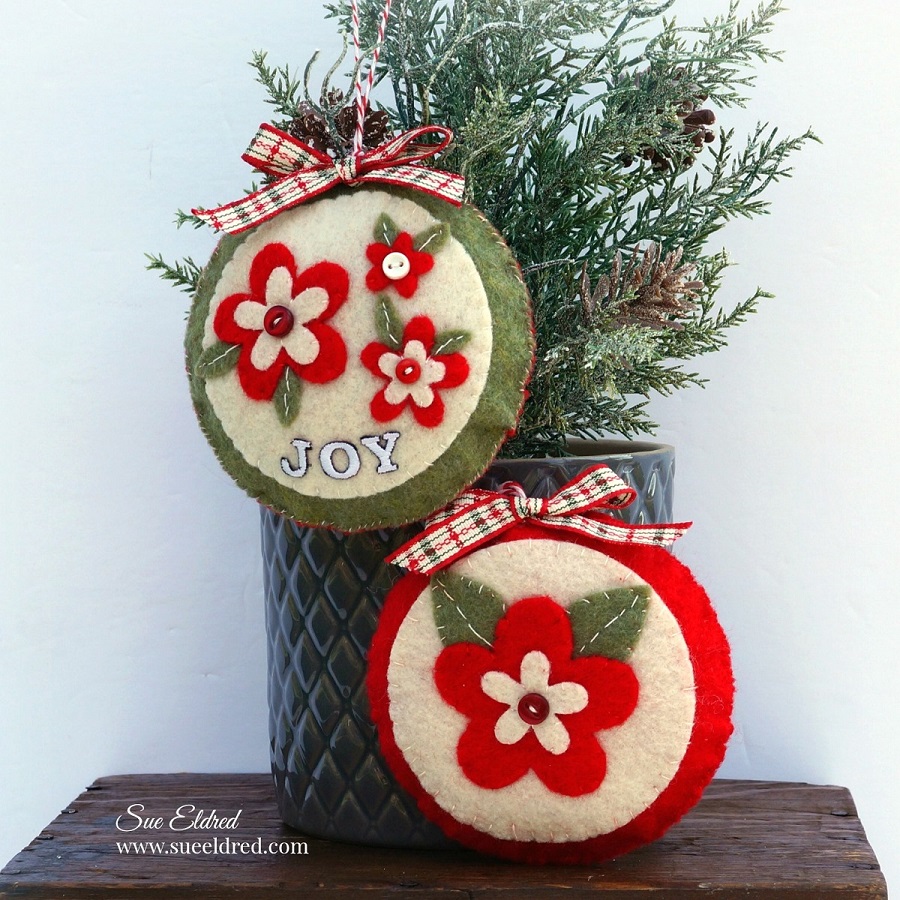
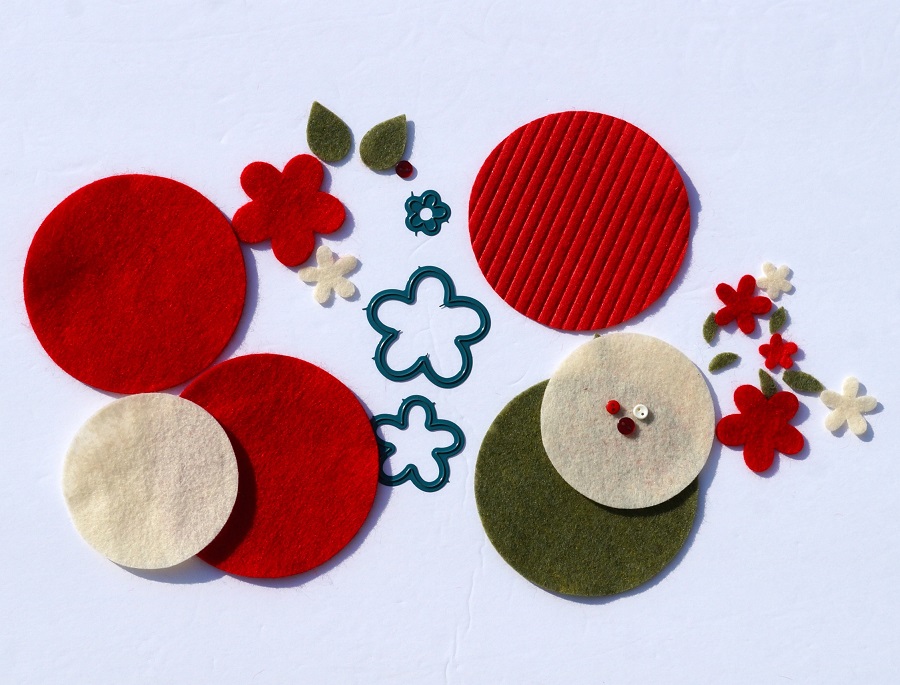
Die-cut the flowers, leaves, and circles out of felt.
Arrange the die-cut pieces on the felt.
Add a small dab of fabri-tac adhesive* under the top felt piece to hold it in place while you do your stitching.
I like to start with the top layer first and work my way down so that I’m not going through as many layers of felt at one time.
Hand sew simple stitches in white and red thread around the pieces.
Use small, close stitches to close the ornament 3/4 of the way closed.
Add a small amount of poly-fil into the center of the ornament and finish sewing it closed.
Use a large hole needle to add twine to the top of the ornament for hanging.
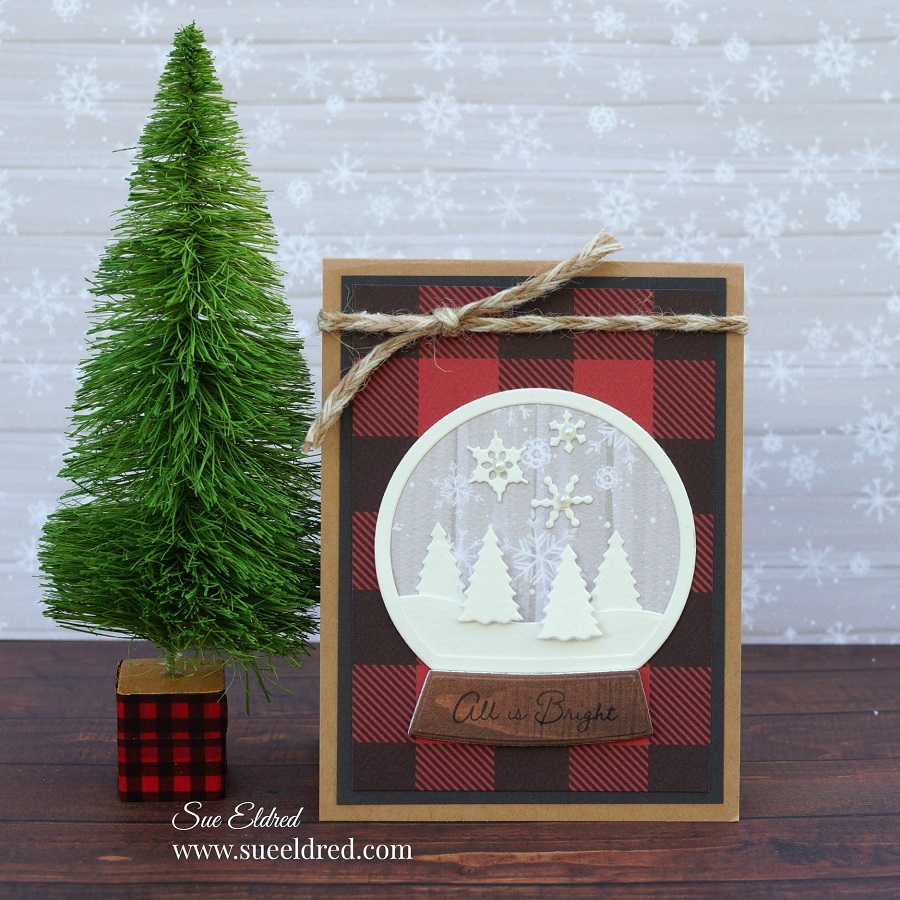
Whether you like a classic style or cute, holiday snow globes are just fun.
Especially when they are made into cards that you can send.
For my cards, I used the Snow Globe stamp and die set from The Maker’s Movement
to make two snow globe cards with two different styles.
Both of these cards could also be made into a cute little shaker cards.
Disclosure: This is a sponsored post for Maker’s Movement. I have been provided product and compensation in exchange for my creative ideas. The view and opinions are my own.
Penguin Snow Globe Card
Stamp the penguin on watercolor paper with a black permanent ink pad.
Use markers, colored pencils, or watercolor to color in the image.
Use the coordinating die to cut out the penguin.
I like to use the Xyron Creative Station* to add adhesive onto my decorative scrapbook paper before die-cutting fine detailed pieces. It makes adhering to detailed pieces like the snow globe outline so much easier to adhere to.
For the base of the snow globe. I adhered a small piece of woodgrain scrapbook paper onto a small piece of double-sided adhesive craft foam.
Adhere all your pieces together and stamp a little greeting on the top of the card.
*Disclosure: This blog uses affiliate links. If you choose to make a purchase using one of the links, I receive a small commission (at no additional cost to you) that helps offset the costs of maintaining this blog. Thanks for your support!
*Disclosure: This blog uses ads and affiliate links. If you choose to make a purchase using one of the links, I receive a small commission (at no additional cost to you) that helps offset the costs of maintaining this blog. Thanks for your support!
Directions:
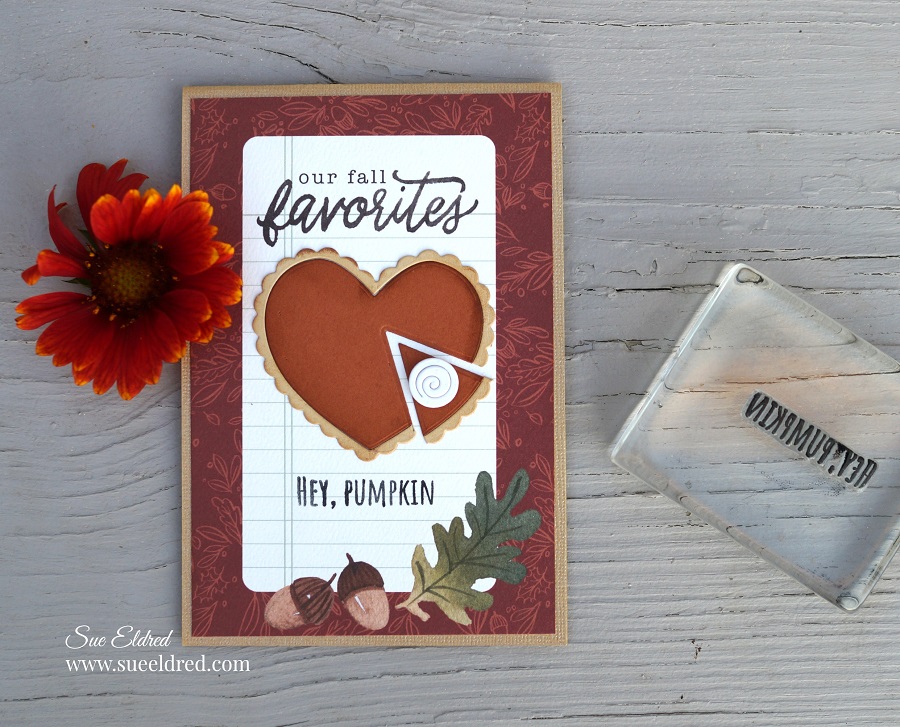
Cut out the “our fall favorites” journal card from the scrapbook paper sheet.
Use mini maker die cut machine and the scalloped heart-shaped die to cut out the pieces for the pie out of cream and burnt orange cardstock.
Cut a white swirl using the small swirl die and the white cardstock.
Tip…I like to run the small pieces of cardstock through the Xyron Create-A-Sticker* before I die cut them. It makes it so much easier to adhere the small pieces onto the card.
Put the finished pie pieces together, and using the small “v ” shaped die, cut a small pie-shaped piece out of the pie.
Adhere the pie pieces onto the “our fall favorites” journaling card. I added a small thin foam mounting squareto add the whipped cream onto the pie.
Stamp the words “Hey, Pumpkin” onto the bottom of the card.
Layer the card onto a piece of gold textured card.
Disclosure: This is a sponsored post for Maker’s Movement. I have been provided product and compensation in exchange for my creative ideas. The view and opinions are my own.
*Disclosure: This blog uses affiliate links. If you choose to make a purchase using one of the links, I receive a small commission (at no additional cost to you) that helps offset the costs of maintaining this blog. Thanks for your support!
Directions:
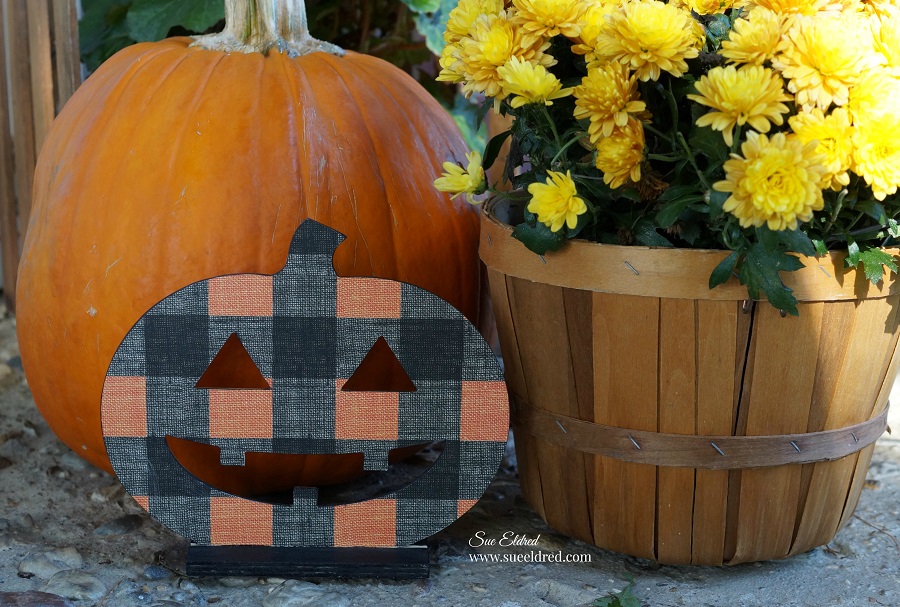
Paint the base of the pumpkin*with black acrylic paint.
Insert the paper design side up into the Xyron Creative Station*. Crank the handle to run the paper through the machine. The Xyron Creative Station* adds complete adhesive covering to the back of the paper. (You could also use a glue stick or liquid glue adhesive.)
Cut the excess paper from the inside and outside of the pumpkin using a craft knife and cutting mat.
Use a sanding block or extra-fine sandpaper to smooth the edges of the cut paper.
Use a black or dark gray marker to add color to the edges of the paper to cover the white core.
Add to your Seasonal Décor and Enjoy!
Dollar Tree Tip…I have come to the conclusion when it comes to “Dollar Tree Holiday Product” that you need to buy them as soon as you see them. (you never know if it’ll be there the next time)
It’s that time of year when thoughts are leaning towards the Holidays.
As a crafter, it’s my favorite time of year to do craft projects.
But, as a blogger, there’s a lot of crafting, creating, and sharing to do.
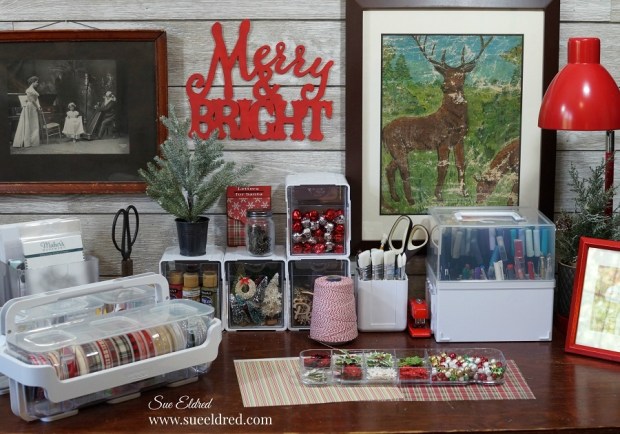
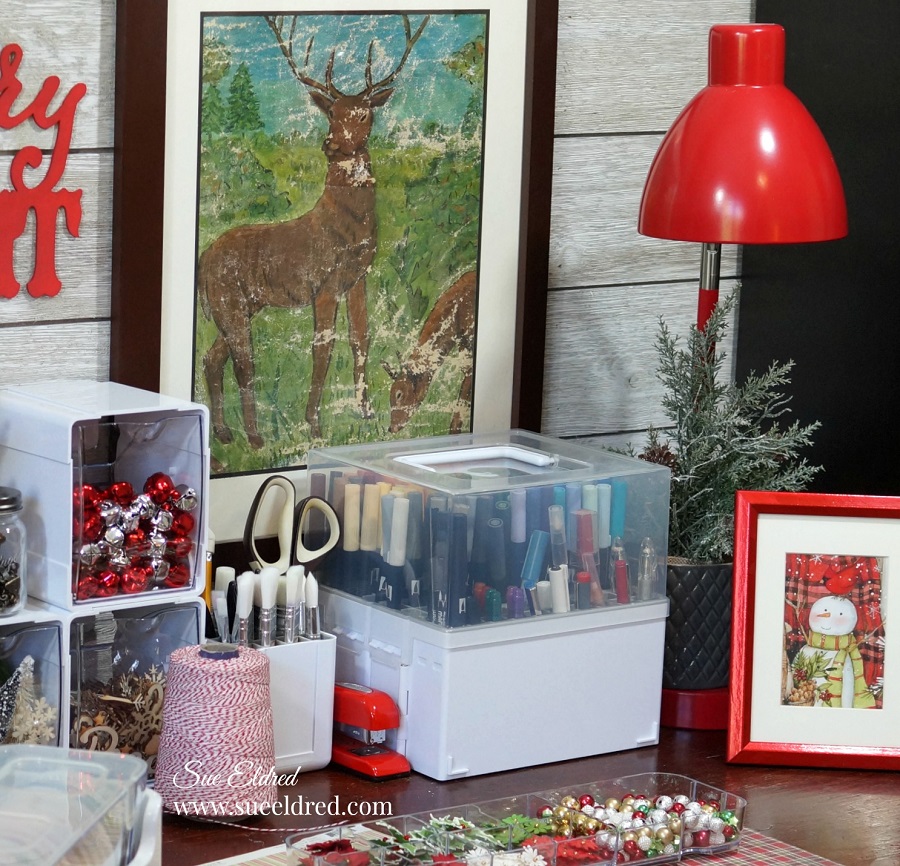
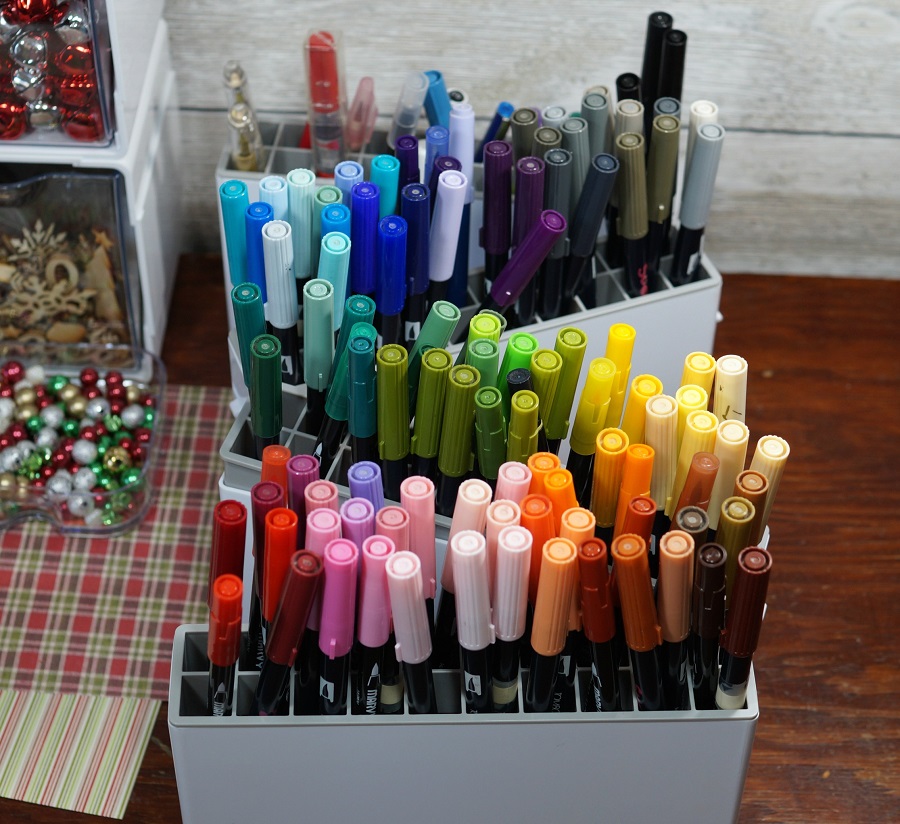
For fun, I thought I’d show how I organize my Craft Supplies for the
Ultimate Holiday Crafting Season.
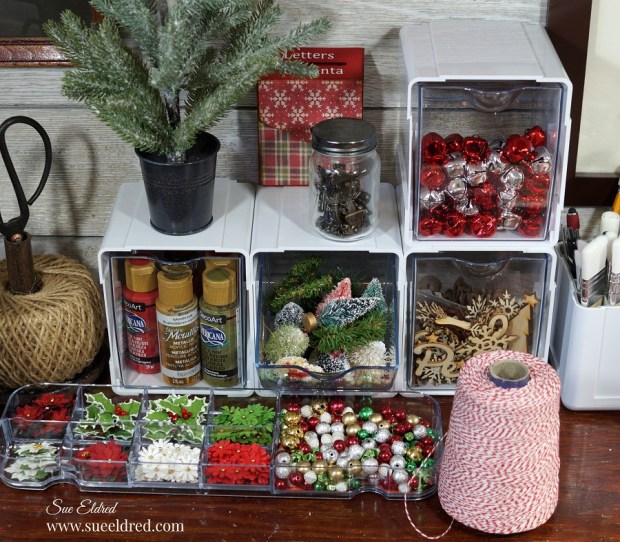
Of course, my go-to storage comes from Deflecto.
Disclosure: “This is a sponsored post. As a member of the Deflecto Design Team I have been provided product and compensation in exchange for my creative ideas, views and opinions.”
To prepare for the busy season ahead, I like to transition my space with
all my Christmas Crafting Supplies conveniently close.
I like to mix a little old with the new to make it interesting.
I never know what will inspire the next project.
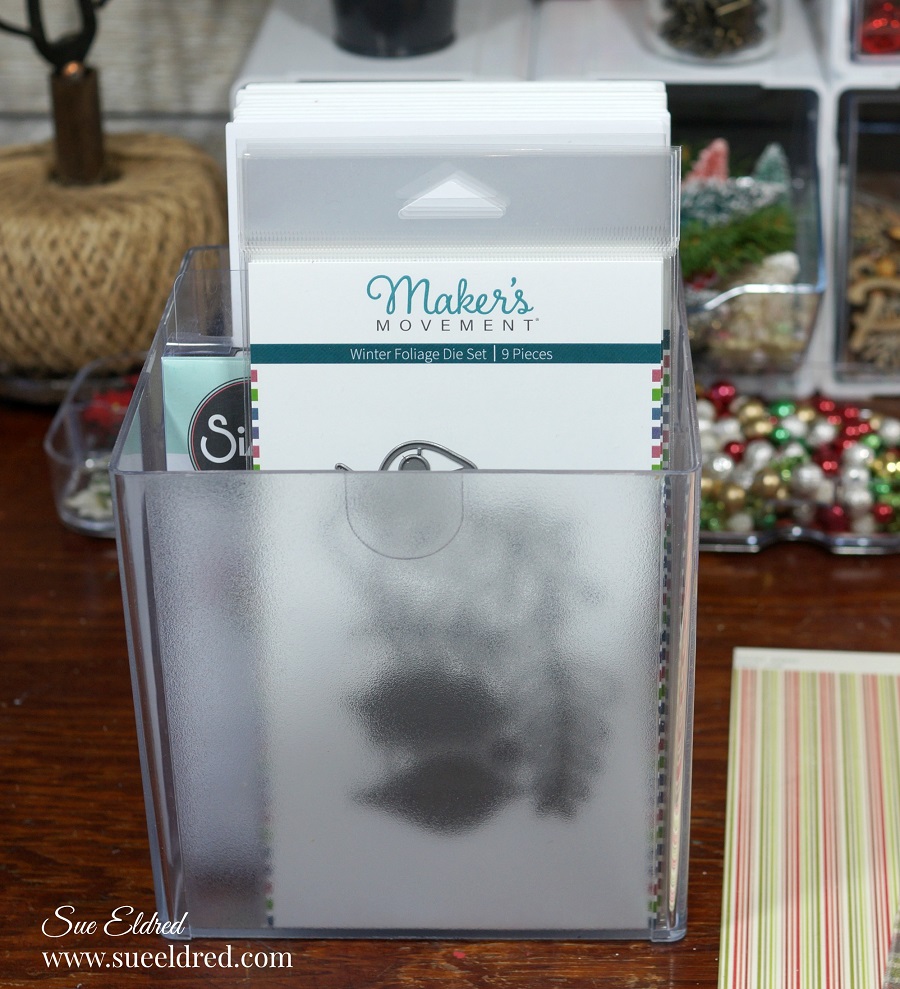
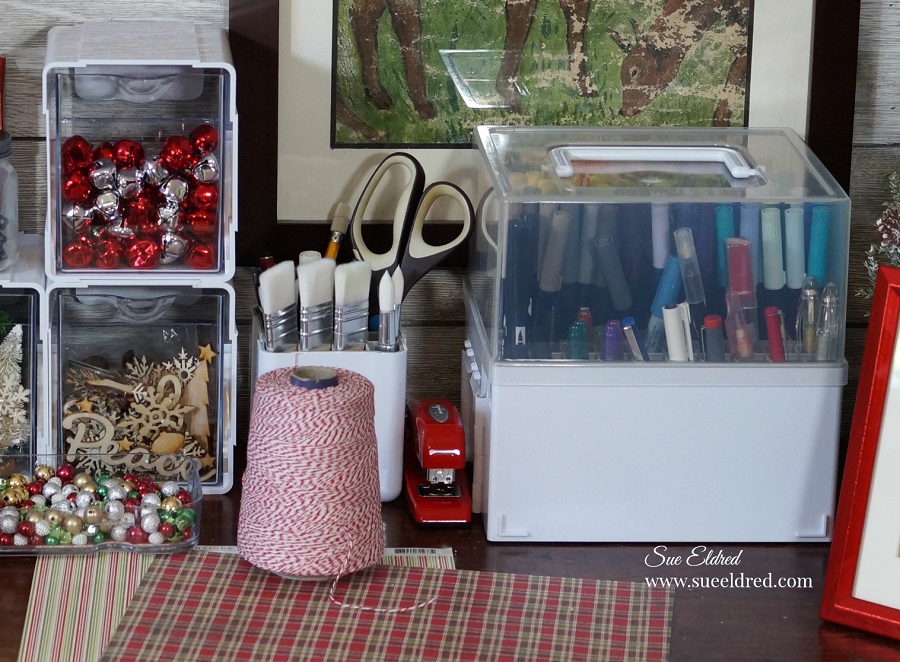
Here a few of the products I used for my Holiday Crafting Organization.
I hope you enjoyed the tour into my Holiday Crafting Organization.
Now it’s your turn to… Update your Holiday Craft Space and enjoy the difference it makes.
*Disclosure: This blog uses affiliate links. If you choose to make a purchase using one of the links, I receive a small commission (at no additional cost to you) that helps offset the costs of maintaining this blog. Thanks for your support!
*Disclosure: This blog uses affiliate links. If you choose to make a purchase using one of the links, I receive a small commission (at no additional cost to you) that helps offset the costs of maintaining this blog. Thanks for your support!
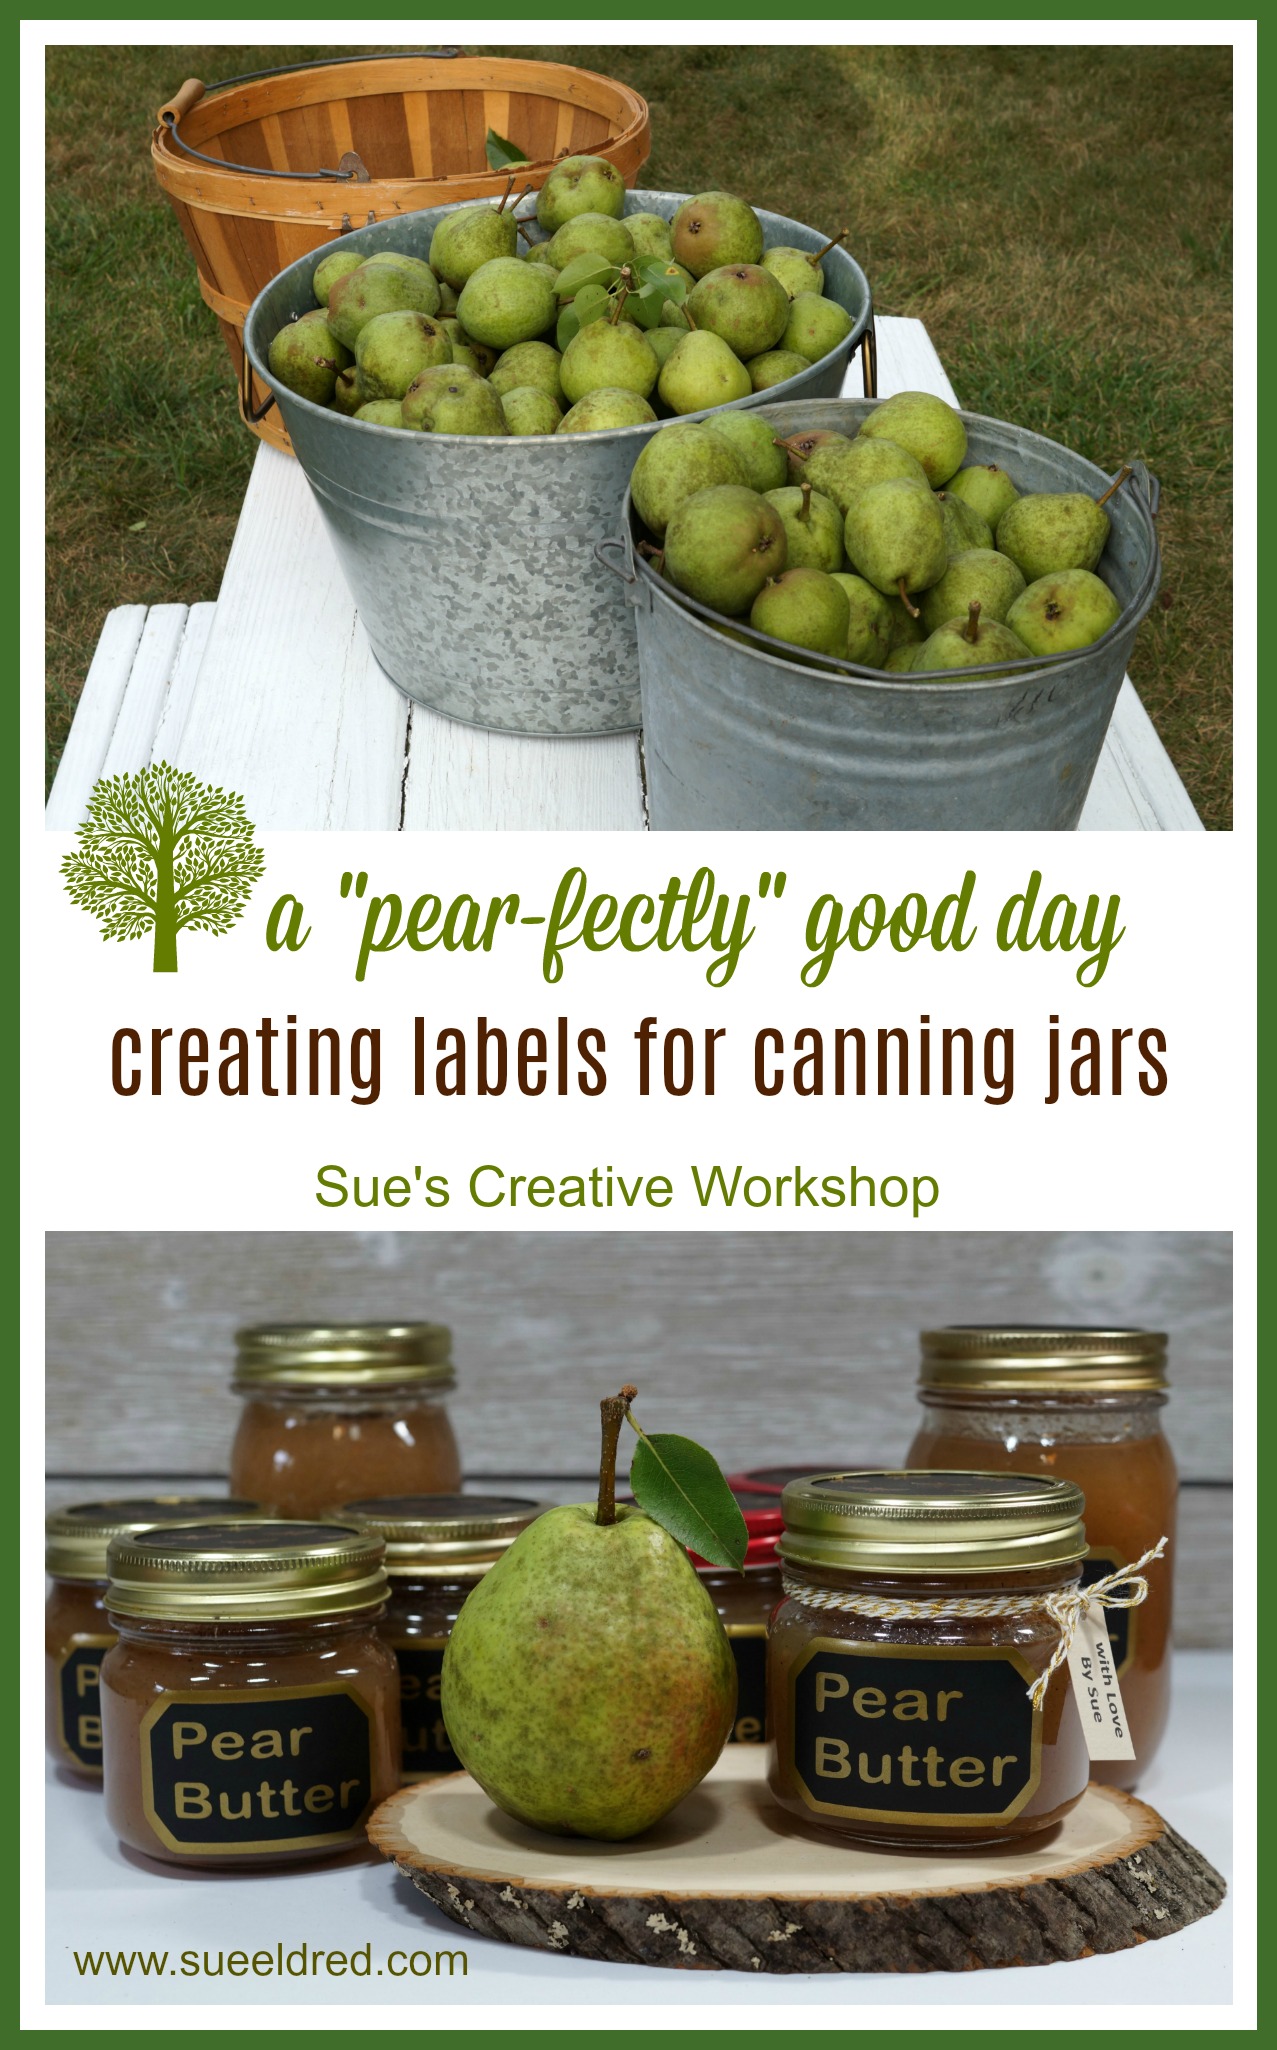
Directions:
Measure and size the SVG label file so that the labels fit the side of the jar.
Cut the labels and the words using the Silhouette Cameo.
Use the vinyl pick tool to remove the excess vinyl inside and around the words.
Use the transfer tape to layer the words and the labels.
I wrapped gold and white twine around the neck of the jar and attached a small tag.
“This is a sponsored post. As a member of the StyleTechCraft Design Team I have been provided product and compensation in exchange for my creative ideas. The views and opinions are my own.



 to cut the pieces out of vinyl.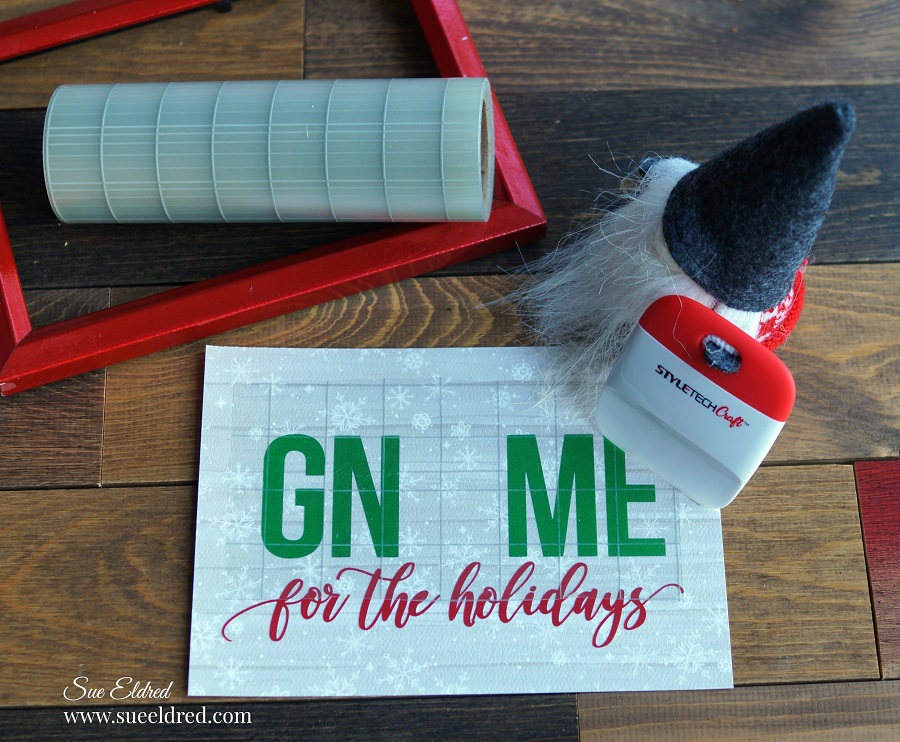








 to add adhesive onto my decorative scrapbook paper before die-cutting fine detailed pieces. It makes adhering to detailed pieces like the snow globe outline so much easier to adhere to.





 *Disclosure: This blog uses ads and affiliate links. If you choose to make a purchase using one of the links, I receive a small commission (at no additional cost to you) that helps offset the costs of maintaining this blog. Thanks for your support!






 or
or






 to keep my jingle bells, small
 that fits into the large section of the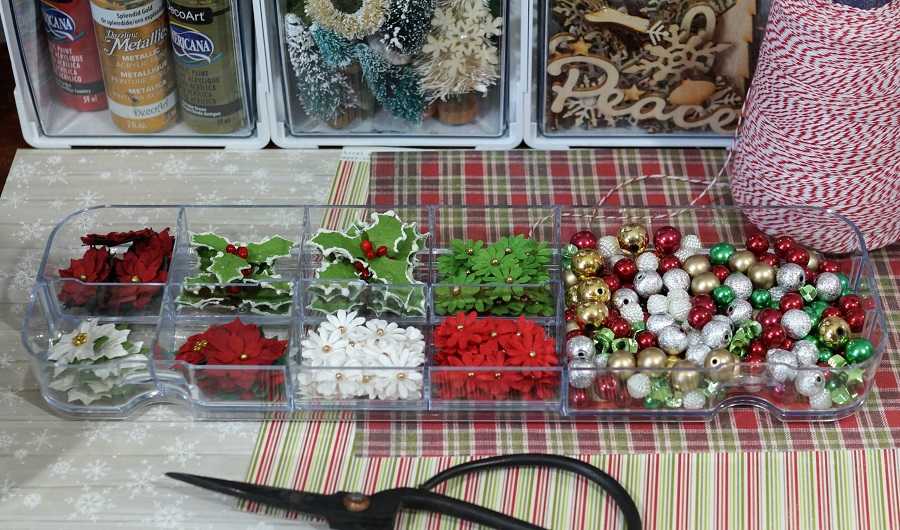


 to punch a perfectly sized circle to fit under the canning ring.