Gnome Gardening with Kids

Gnome Gardening with Kids

One of our favorite Summer traditions is creating our annual Gnome Gardens.

The boys and I look forward to making them every year.

I started the tradition of Gnome Gardening several years ago when Nick was only 3.

You can see our first garden here.

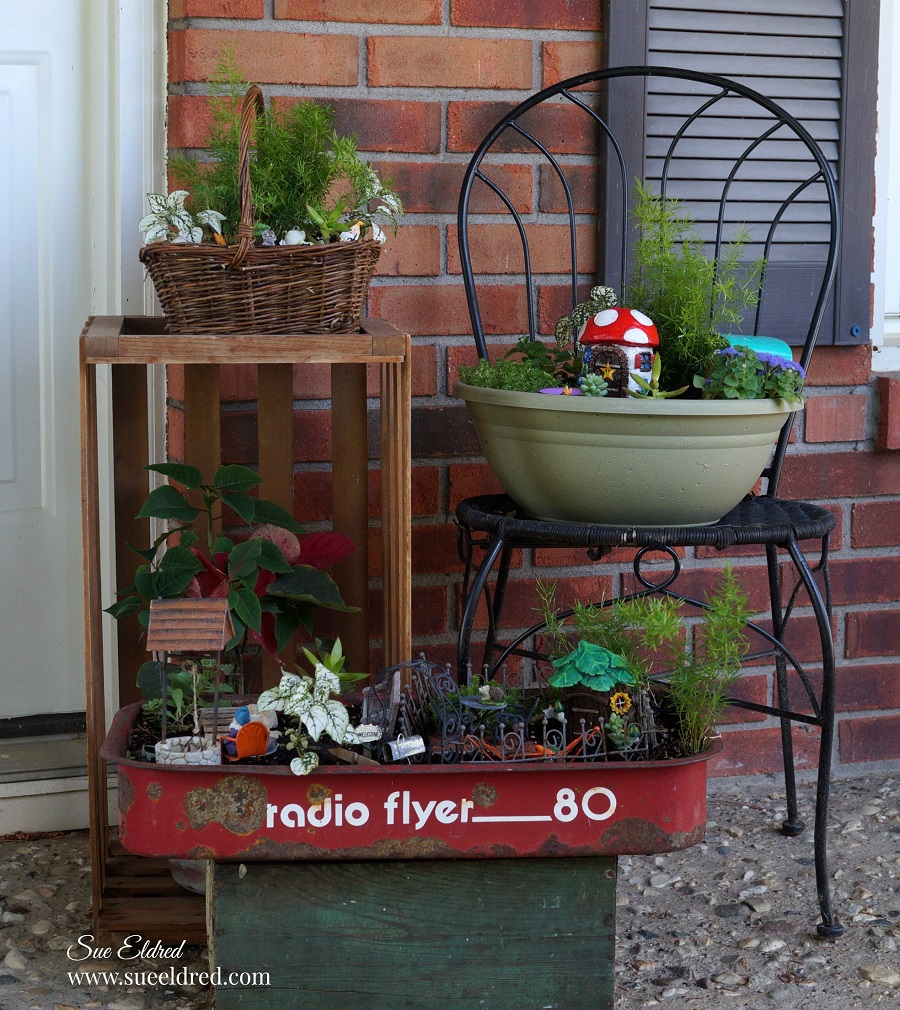
To create our gardens we use a variety of containers and objects we’ve picked up along the way.

For the plants, we use succulents and flowers that won’t grown too big.

I like using Asparagus Ferns to mimic trees.

As mini gardens grow in popularity… there several places you can find accessories

for your gardens.  We like to get something new for our gardens every year.

This year we added items picked up at  Dollar Tree*.

*Disclosure:  This blog uses ads and affiliate links.  If you choose to make a purchase using one of the links, I receive a small commission (at no additional cost to you) that helps offset the costs of maintaining this blog.  Thanks for your support!
This is Nick’s 6th year making Gnome Gardens so he’s pretty proficient with his garden.

Check out last years garden.  (always an adventure)

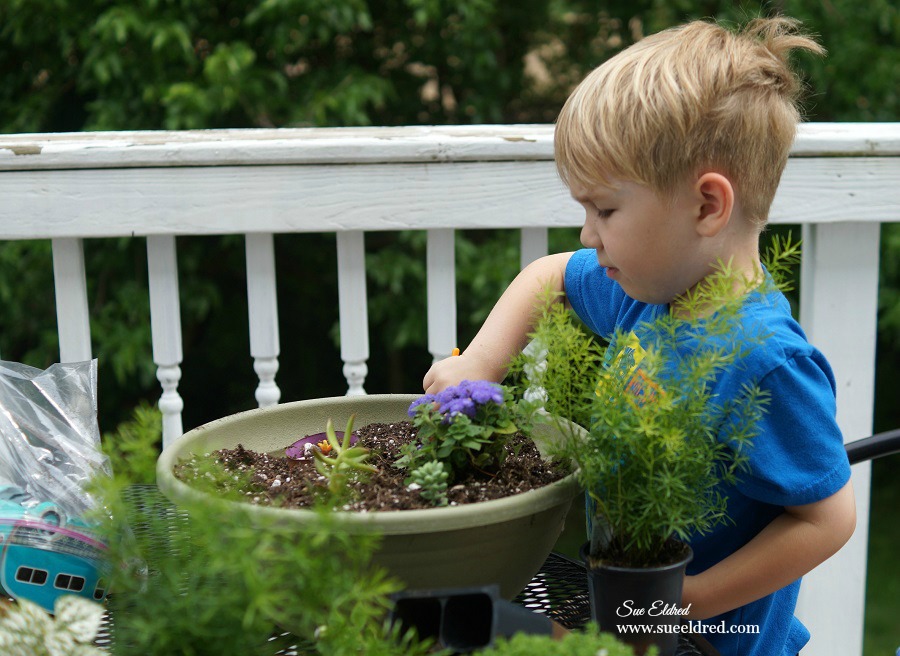
This is Warren’s 3rd year making a Gnome Garden.  

He lets me help him.   (maybe that’s why his is my favorite)

His garden is all about the house placement.

You can see Warren’s first Gnome Garden here.

I love seeing how much they’ve grown from their first gardens.

The extra credit award goes to my daughter-in-law (the boys mom). 

She found this little gnome house at Dollar Tree* and repainted it with a Mario inspired look.

The tiny Camper and firepit was from last years garden and is available at Leisure Arts, Inc.

Leisure Arts Mini Garden Supplies…        (*affiliate link)

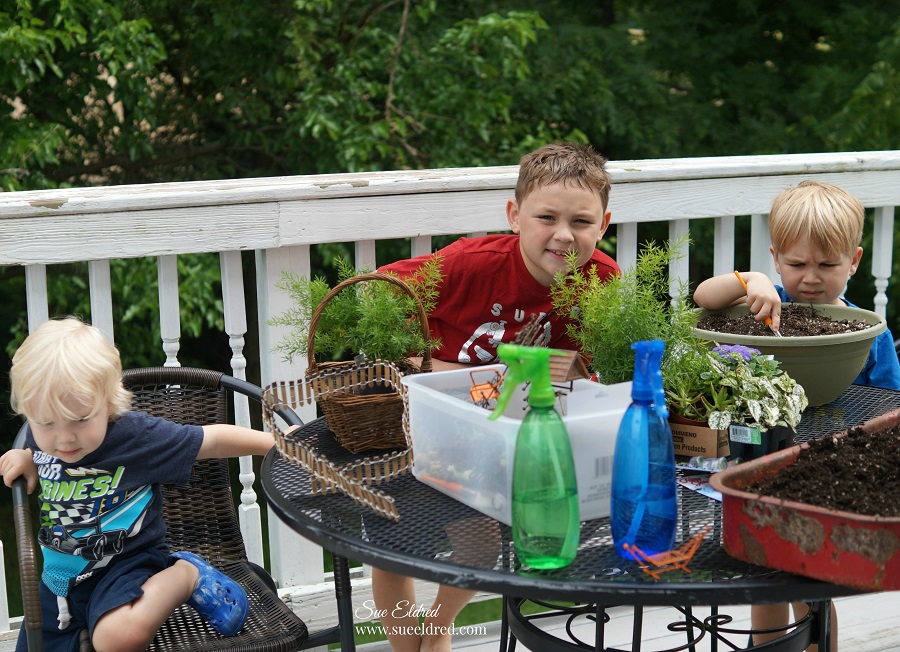
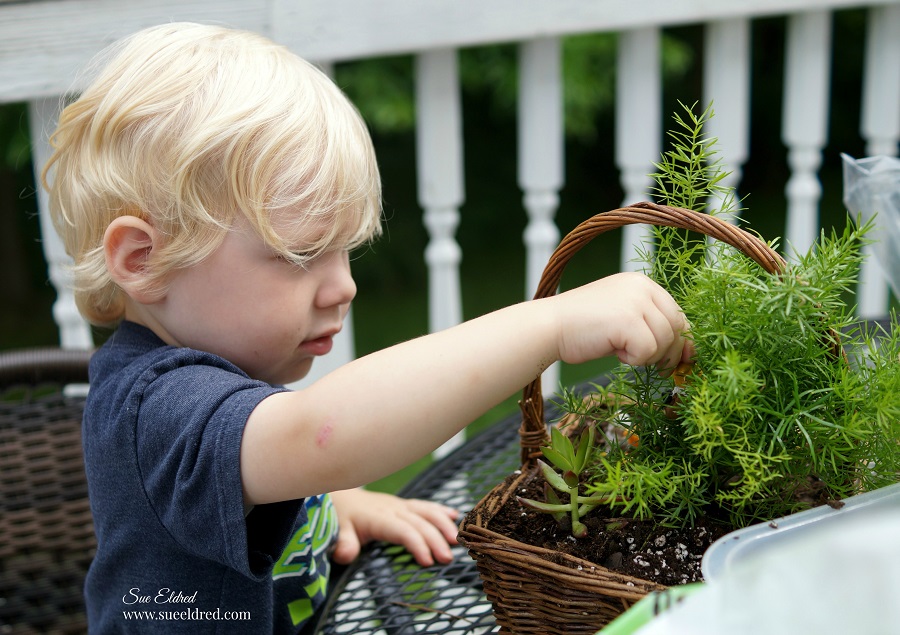
This year was Emerson’s turn for his first Gnome Garden.

He always wants to do everything his big brothers are doing.

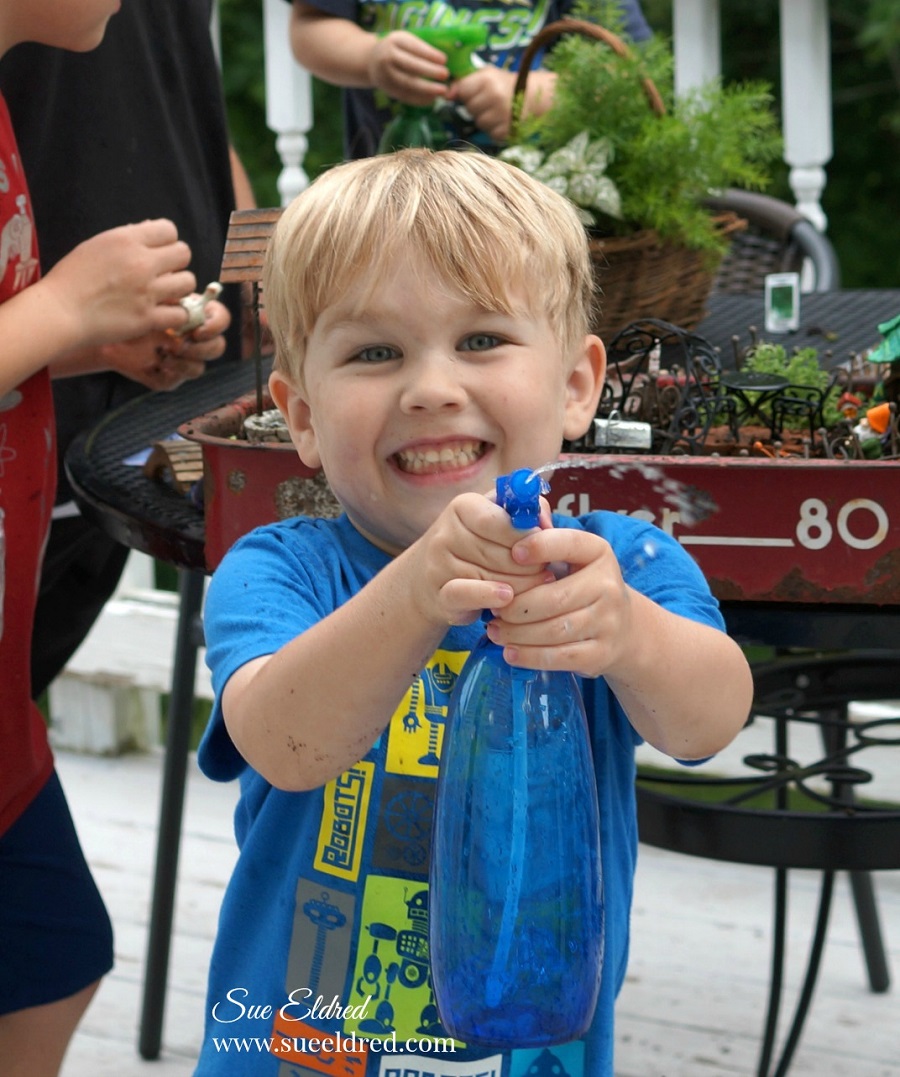
Water bottles are a great item to have when Gnome Gardening. 

It helps the boys control how much water goes on the garden, and they’re fun too.

This little stinker sprayed me as I stuck my head out the window for a quick pic.

(I may have sprayed him first.)

Creating mini Gnome Gardens is a fun and memorable project to make with kids.

We always have a good time.

It gives them something to take care of all summer long.

And…it adds a little whimsy to my front porch.

To create a Gnome Garden you’ll need:

  • Container for your garden. I like finding unusual items like the top of a broken wagon. It adds a little extra whimsy to the garden.
  • Good Potting Soil
  • Small Garden Tools
  • Gnome or Fairy Figures
  • Rocks, Twigs and other found objects
  • Store Bought Accessories such as the gnome houses
  • Succulents
  • Annuals that won’t grow too big or tall
  • I like to use Asparagus Ferns to mimic trees
  • Water Bottle
  1. Start the Gnome Garden by adding potting soil to your container.
  2. Allow the kids to loosen up the soil before adding plants.
  3. Small gardening tools are also fun to have.
  4. Add plants to the container before adding accessories.
  5. I like to add the largest plants first near the back of the container.
  6. Allow the kids to add their special pieces to the garden.
  7. Give the garden a good spray of water using the water bottles.

A Special Thanks to Leisure Arts, Inc. for providing the Mini Garden Supplies. 

Gnome kits

Creating a Summertime Essentials Bag

 With Summer and Vacation time here…

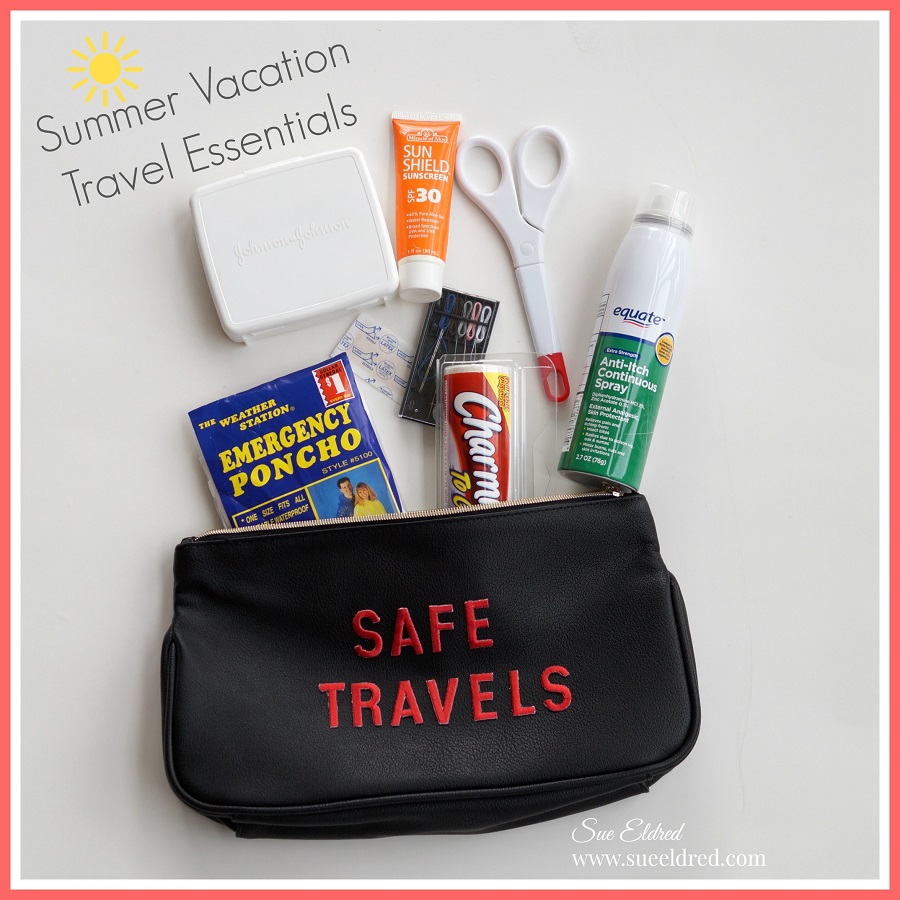
it’s a good idea to make a Safe Travels Essentials Bag to pack in the car.

There are so many things to remember when taking a vacation.

So…whenever we take a road trip I like to pack a few essentials to have handy.

When you have kids you never know what can happen.

For my Safe Travels Bag I used:

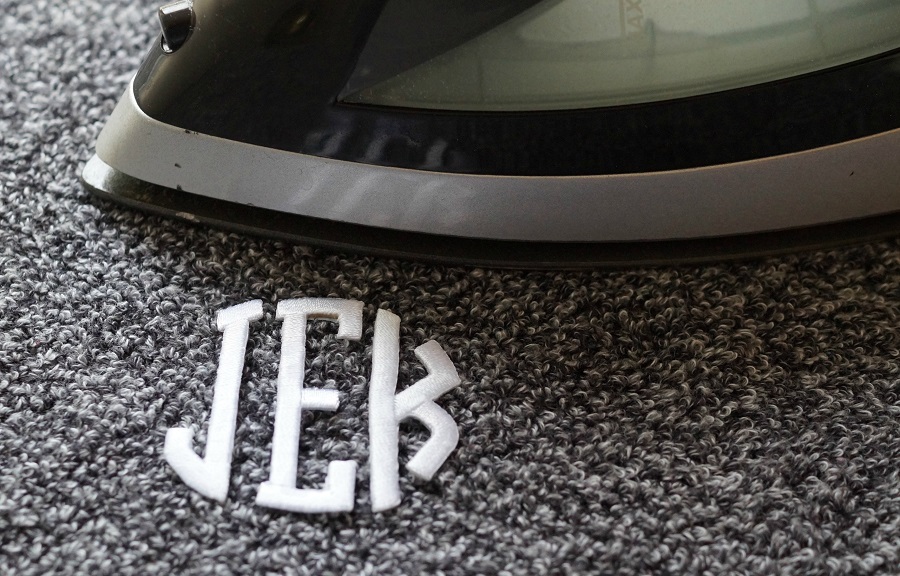
  1. If you use a fabric bag… cover with a soft clean cloth and iron on cotton settings for 30 seconds. Turn bag inside out and iron for an additional 30 seconds.
  2. Because I used a leather bag… I glued the letters onto the bag using a craft glue.

There are so many items that you might need to have on hand this summer.

These are just a few:

  • band-aids or first aid kit
  • sunscreen
  • anti itch spray
  • bug spray
  • rain poncho
  • scissors
  • small sewing kit
  • tweezers
  • toilet paper?


“This is a sponsored post.  As a member of the Joy® Design Team I have been provided product and compensation in exchange for my creative ideas.  The views and opinions are my own.

Look for Joy® iron-on embroidered alphabet letter sheets at your local craft store.

Shop Your Fav Brands at Scrapbook.com

*Disclosure:  This blog uses ads and affiliate links.  If you choose to make a purchase using one of the links, I receive a small commission (at no additional cost to you) that helps offset the costs of maintaining this blog.  Thanks for your support!

Crafting with Nick…Under the Sea

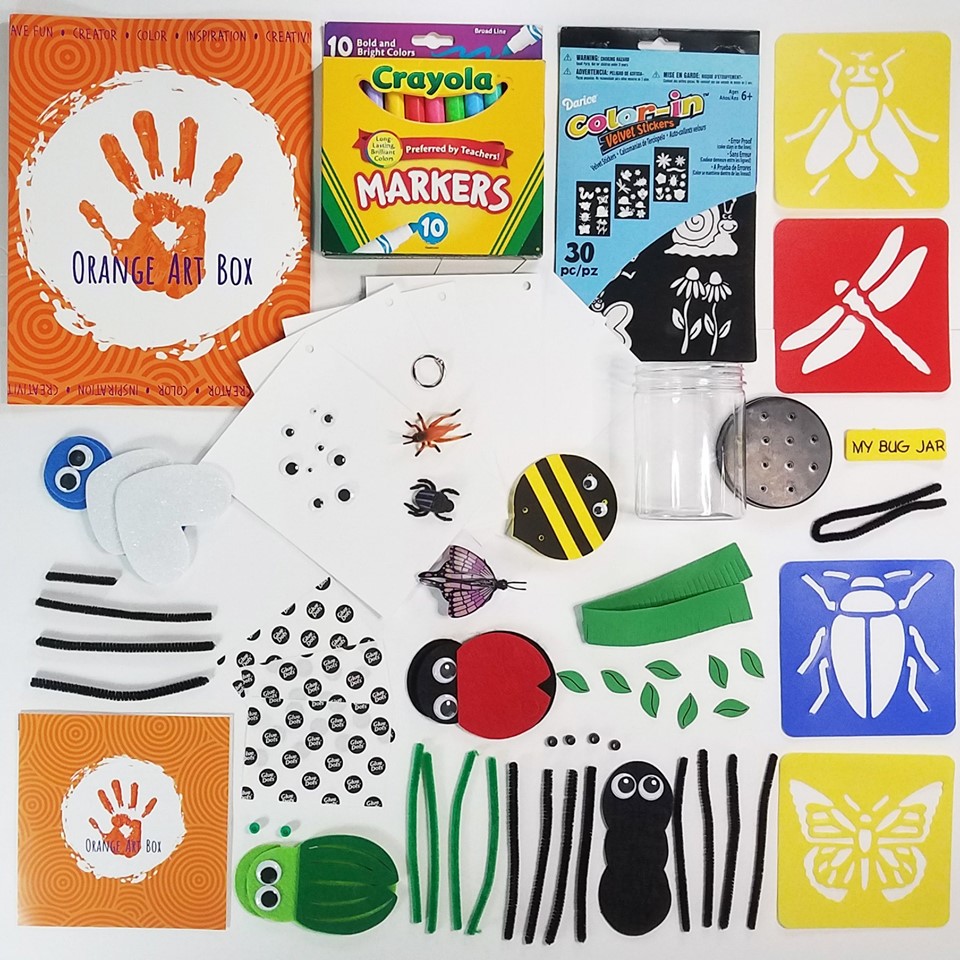
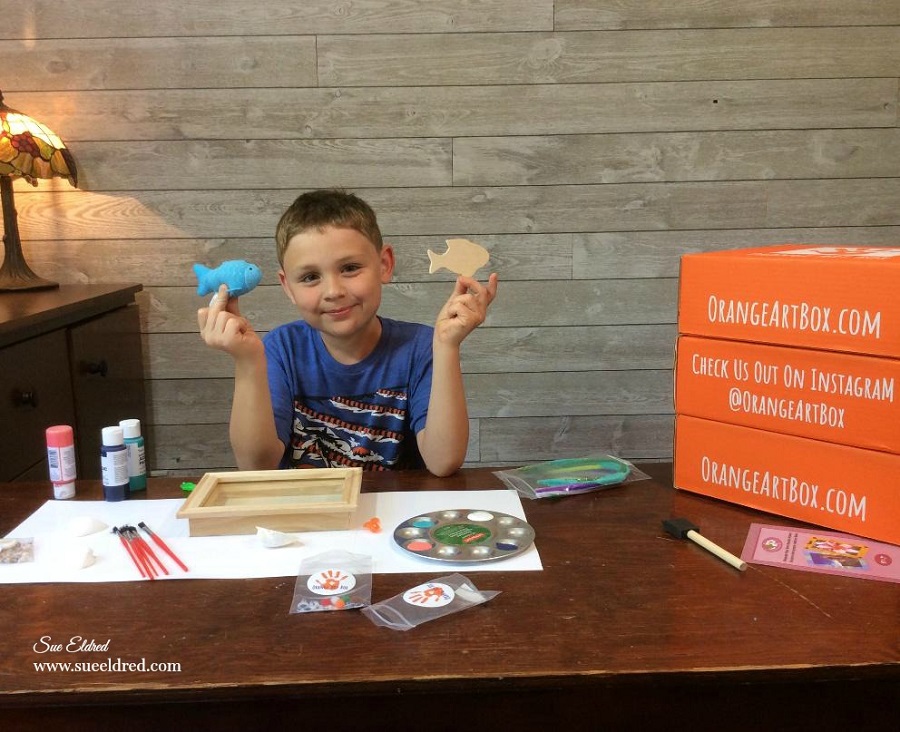
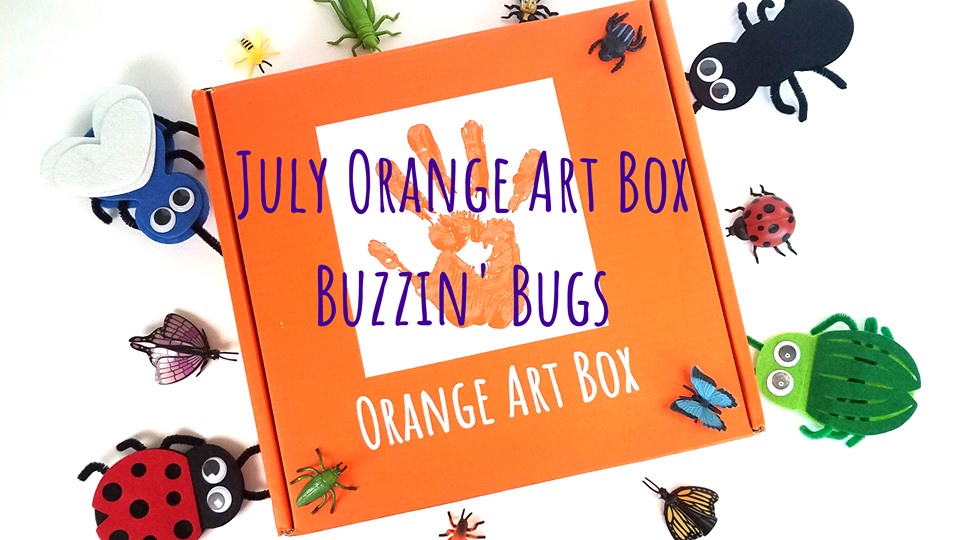
Nick’s back with a fun project using the June Orange Art Box.

I think this month’s kit has been our favorite Orange Art Box so far.

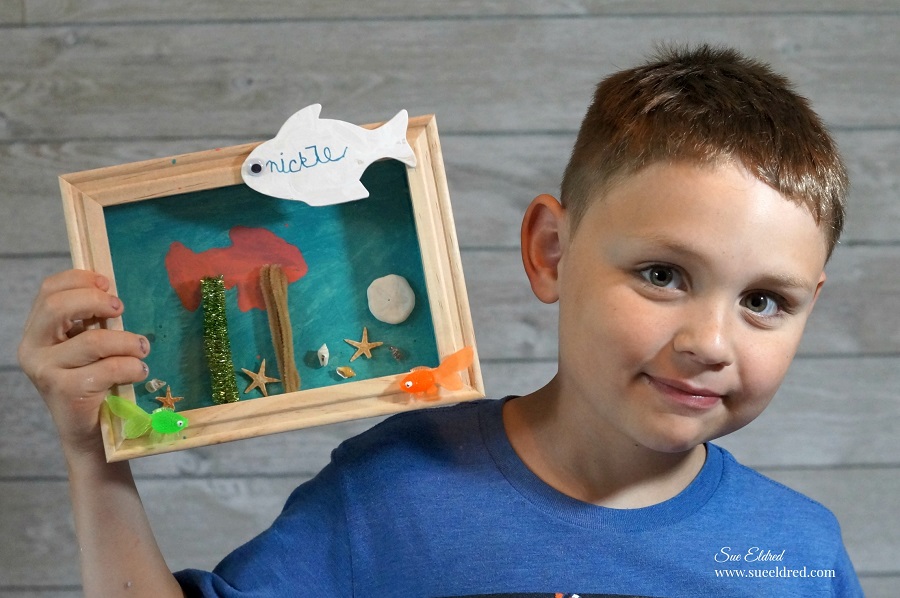
The theme for the June Box is “Under the Sea” and Nick had a really fun

time creating his fish inspired Shadow Box.

Check out Nick’s video below.

The Orange Art Box is a subscription art box for kids.

*Disclosure:  “This is a sponsored post.  I have been provided product in exchange for my creative ideas.  The views and opinions are my own.”   

Nick’s finished project.

I think the Shadow Box would make a great vacation memory project with a cute beach

photograph included inside the frame.

Dear New Family…

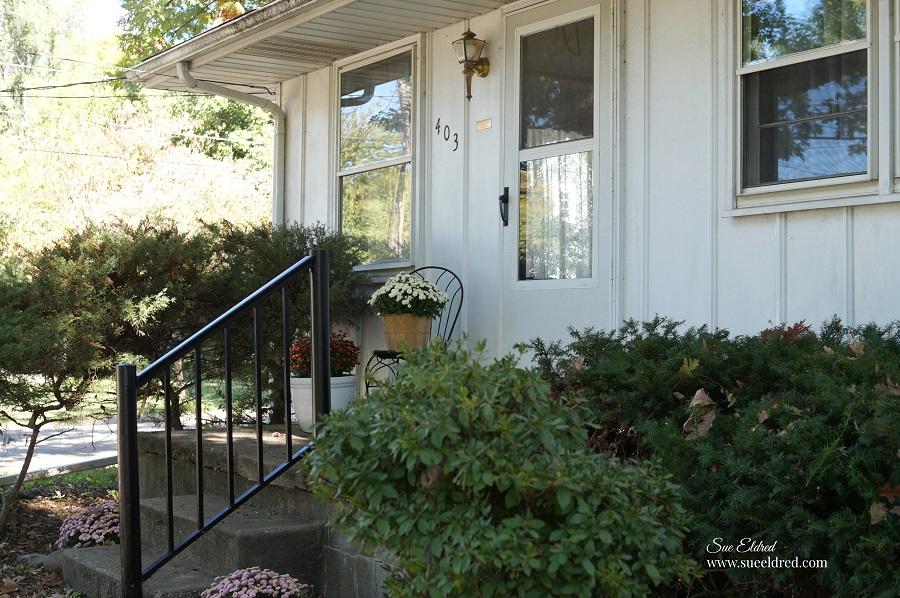
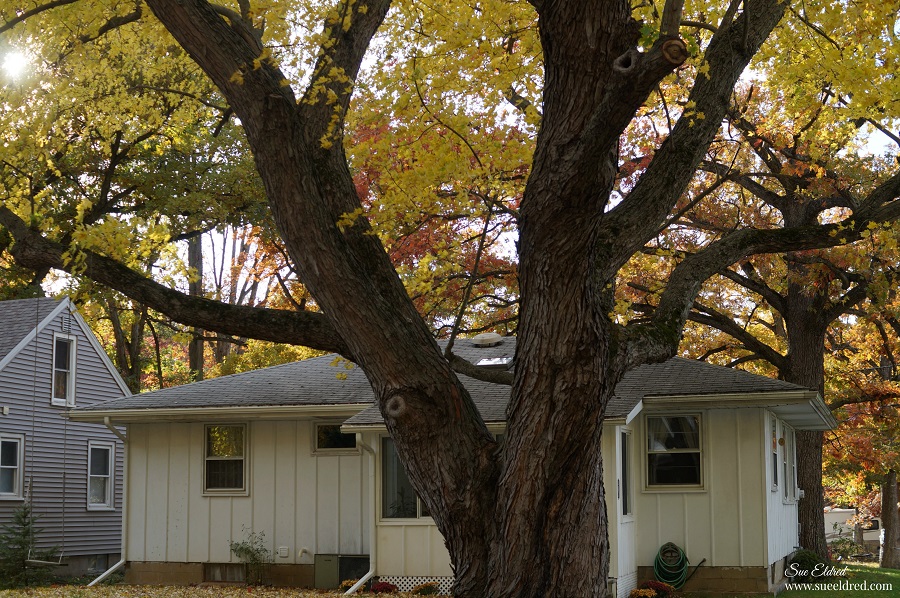
Last week we closed on the sale of our childhood home.

It was bittersweet.

There are so many memories and stories behind this house I felt like I wanted the new

homeowner to know a little more about the house and how special it was to a lot of people.

So, I penned this note.

I may even send a version of the letter to them.  (I just happen to know their address.)

Dear New Family,

As you start this new chapter in your life and move into your new home,

there are a few things I would like you to know.

Your house was built by my parents 60 years ago when dad was only in his twenties.

My parents happily raised their family of 5 kids in this home.

This small abode has held a lot of love and was the last home for each of my parents.

Dad lived here in this house until 3 weeks before his death at age 86

and for 5 quiet years by himself without my Mom.

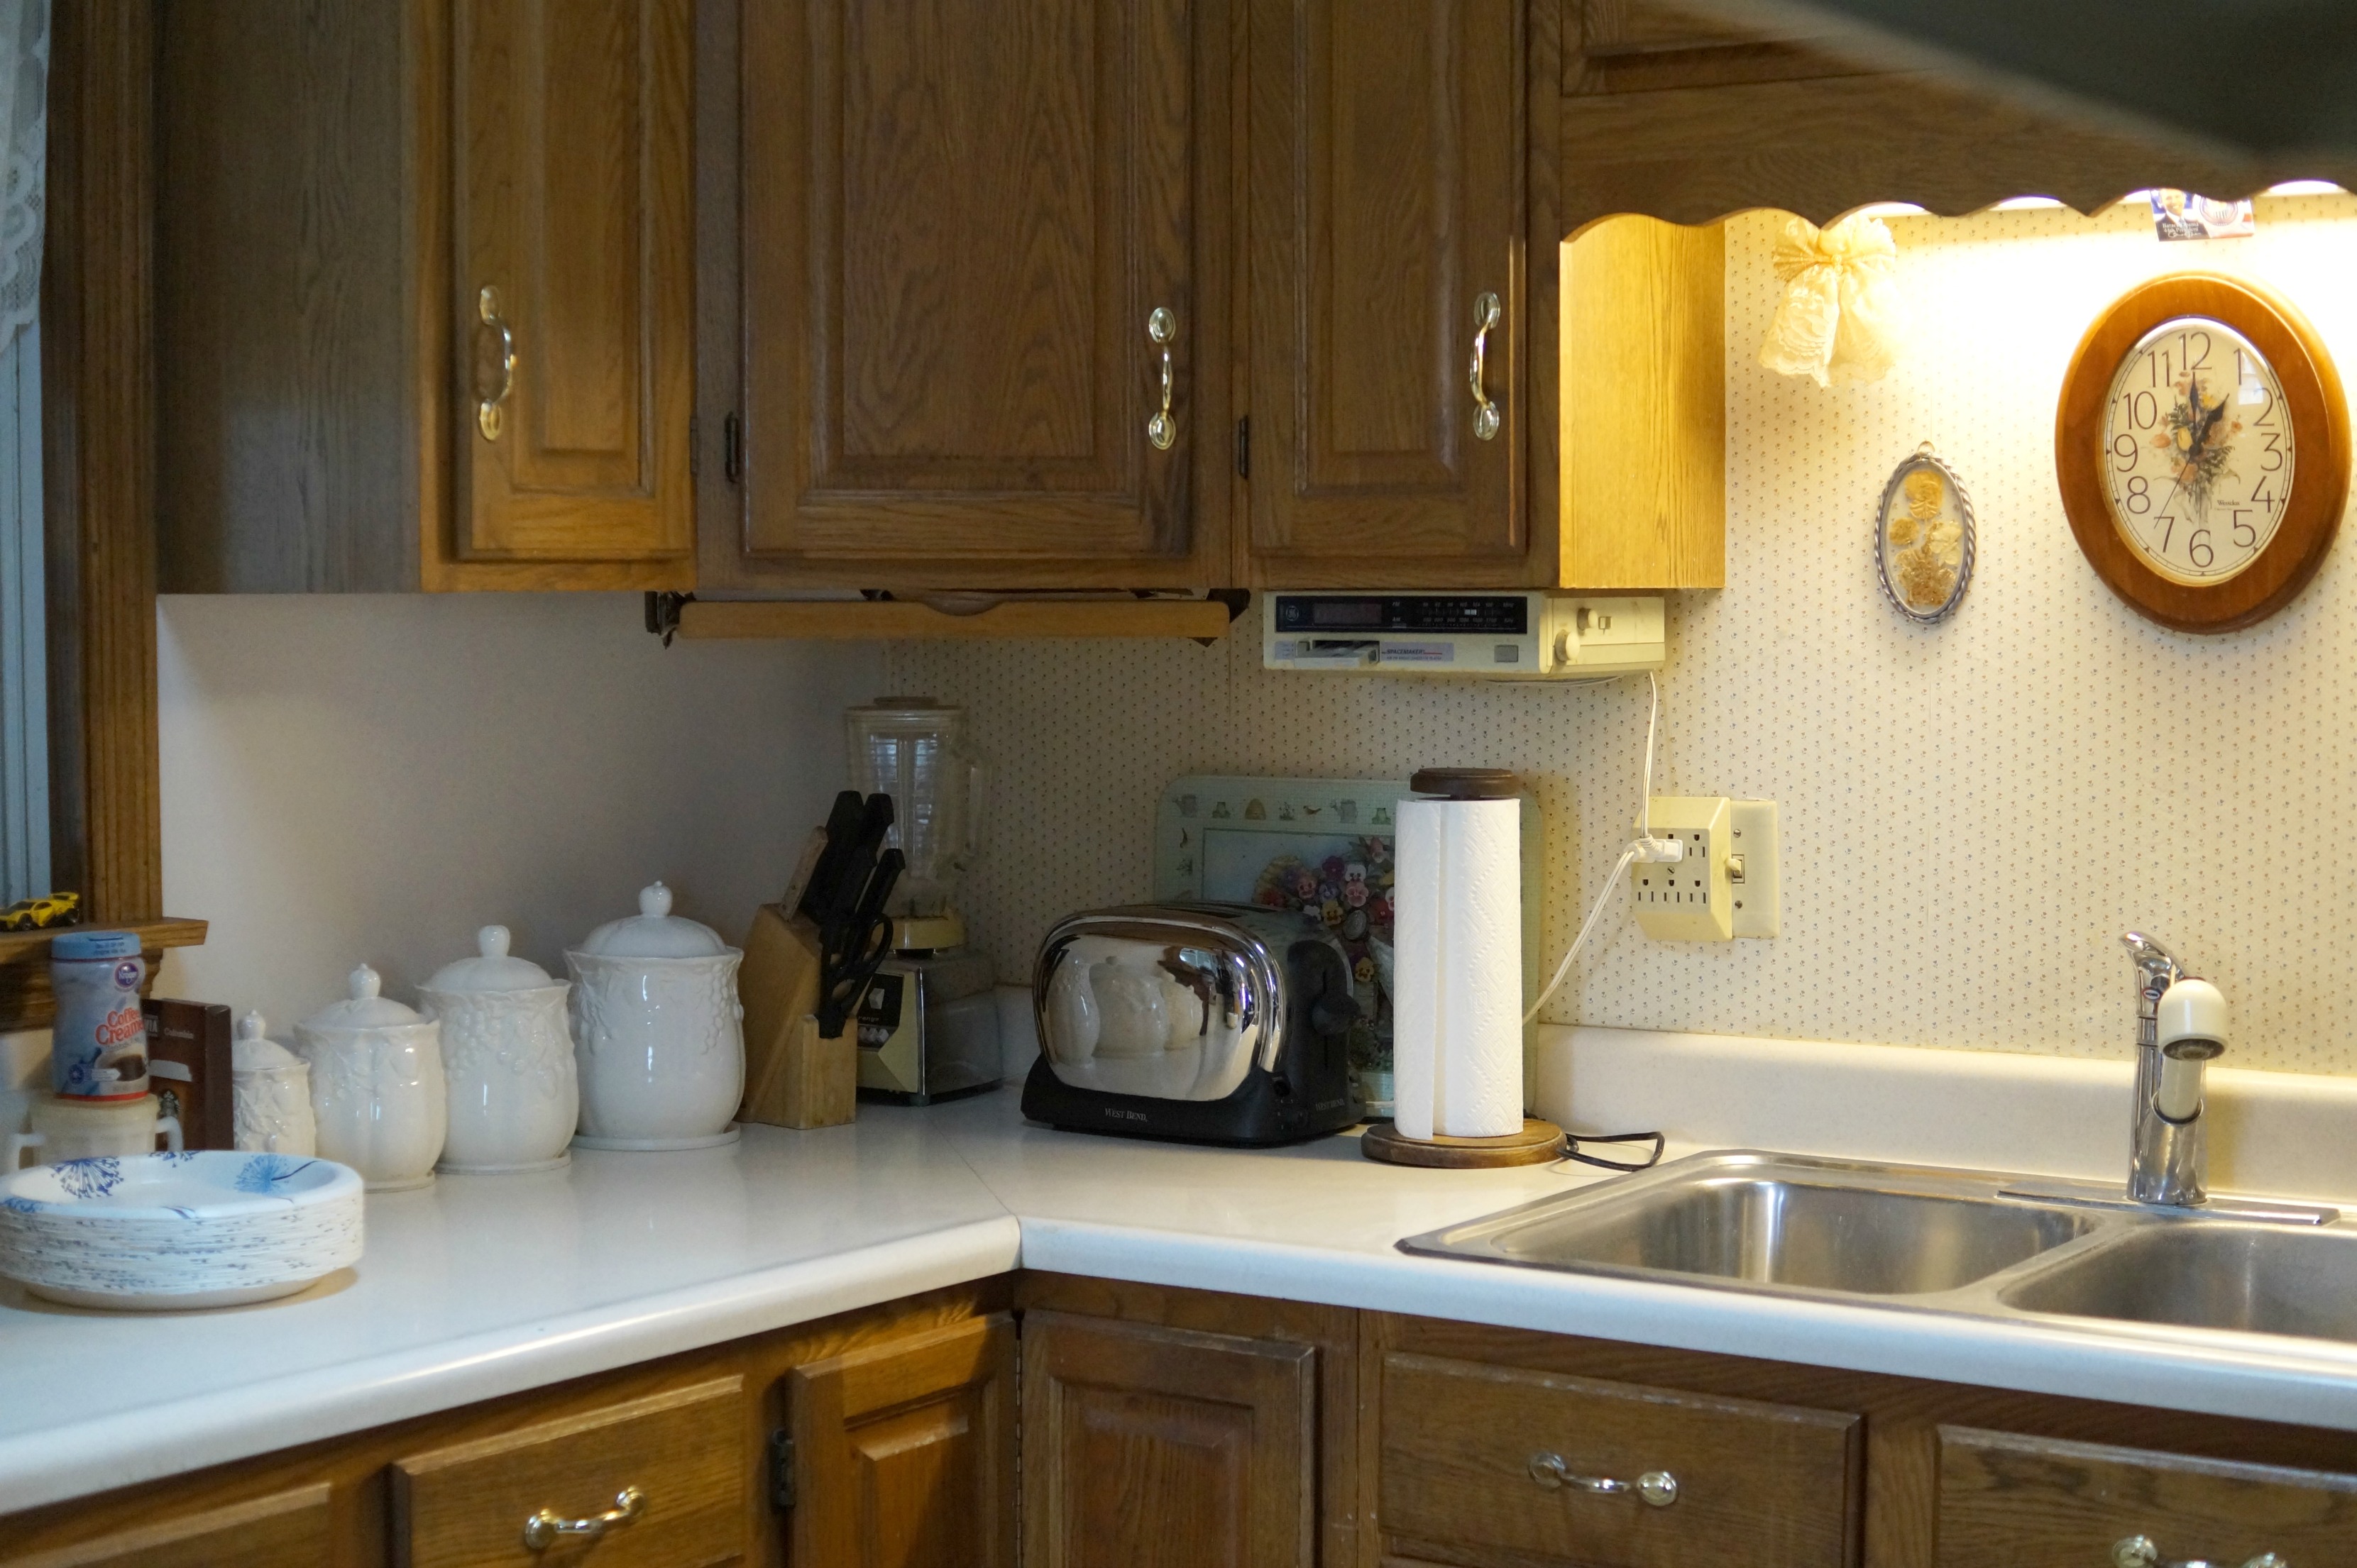
So…as you settle into your cramped little kitchen,

I want you to imagine my mom cooking dinner each night for a family of seven.

(Although I won’t say she never complained.)

And as our family expanded and grew she would host weekly Sunday

dinners for up to 20 people and then some.

Because when it came to my family there was always room for one more.

When you sit in your living room and decide the best way to arrange furniture.

I want to tell you there once sat a piano that taught all 5 kids how to play.

The one and only small bathroom with the odd blue bathtub,

there used to be a blue toilet and a sink to match.

And…usually someone standing outside waiting their turn.

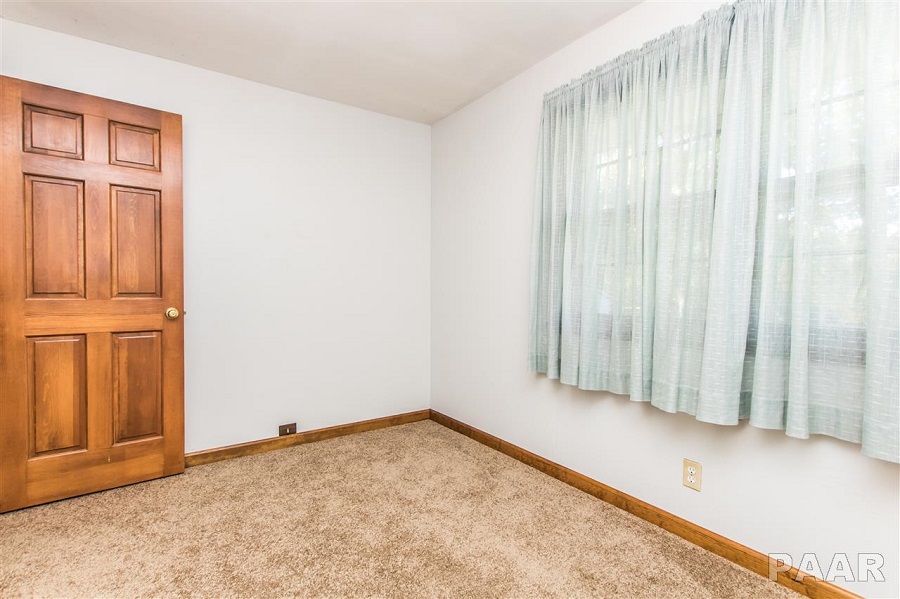
Those small little bedrooms, I’ve slept in them all.

The bigger one in the basement,  you didn’t get that room until the one ahead of you

got married and moved out.

The large basement laundry room with the turquoise checkered floor, those are vintage 60’s

original and used to be mom’s first kitchen while the upstairs was being built.

Dad took his time building this house trying to pay for materials it as he needed them.

(They lived the first couple years in the basement.)

The giant old maple tree out back with the swing isn’t as old as you might think.

It’s only around 45 years old.

I thought until just a few years ago that I had planted that tree.

Only to find out that mine had died and Dad had replaced it with that one.

When we were kids we played all summer and fall in the woods behind the house.

Back then there was no homes and we thought they belonged to everyone.

In your small little yard, it wasn’t unusual for it to hold half the neighborhood kids.

Mom would pass out Kool-Aid and Dad was the one who would fix things that broke.

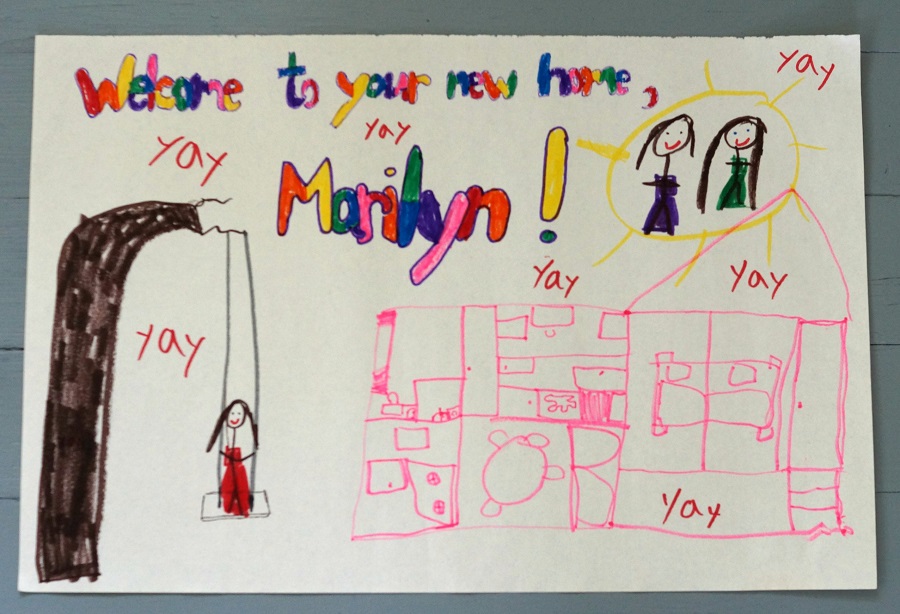
I heard through my niece that you have a little girl.

It makes us happy to know there will be kids living here again.

Dad always said some little family will need this small house.

We also want you to know it was really hard for us to give up this place,

because while all five us kids all have homes much larger than this one,

we will always consider this our very special home.

It will always hold a special place in our hearts.

So as you learn all the nuances and get used to its smells,

we hope this home will bring you as much love, faith and laughter

as it has brought each one of us.

Sincerely,

the middle kid who loved it a lot

P.S.  I signed my name in the attic.

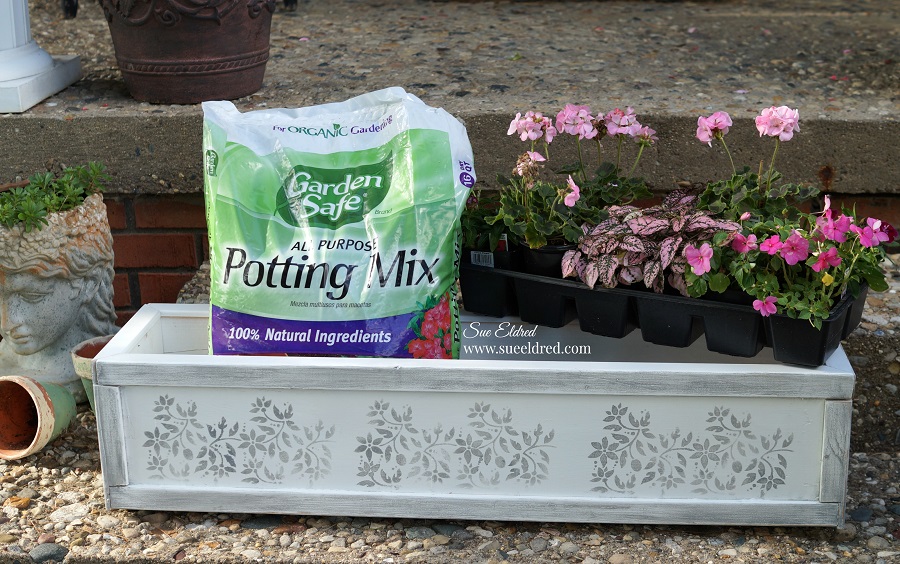
The Ugly Planter Box

It’s true…I have a soft spot in my heart for sweet old gentlemen. 

(and apparently, so does my husband)

While on a call, my husband met this nice older gentleman.

The two began to talk and one thing leads to another and my husband walks away

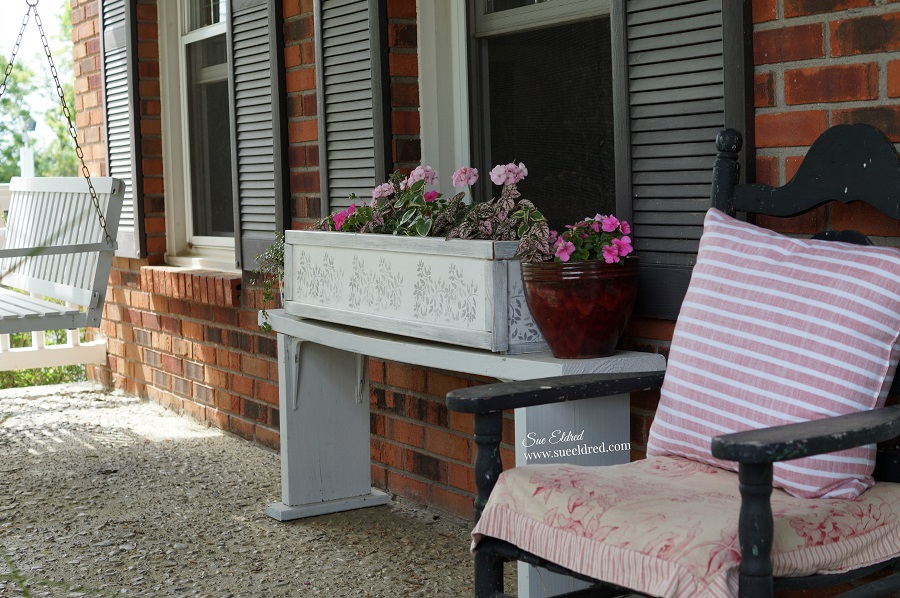
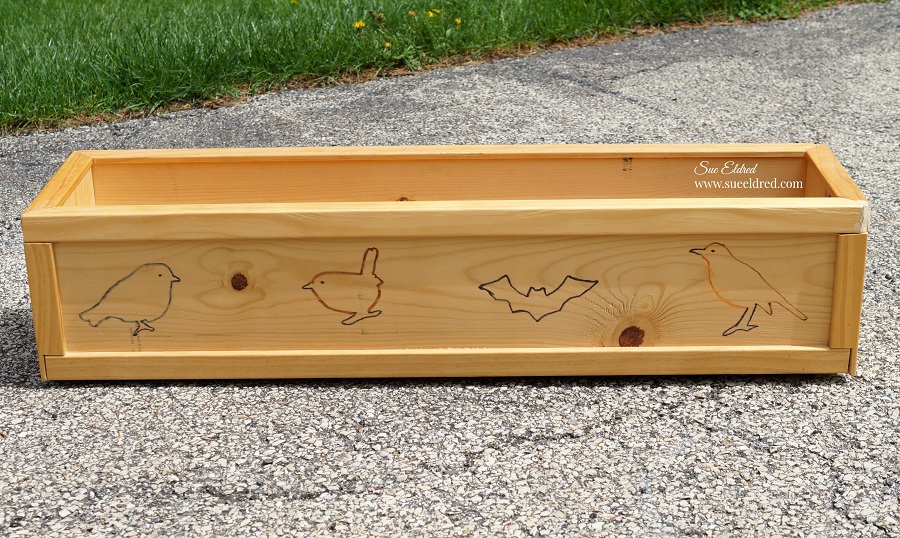
with this wood planter box that the gentleman had made.

“This is a sponsored post.  I have been provided product from Wagner and DecoArt in exchange for my creative ideas.  The views and opinions are my own.

Stenciled Wood Planter Box

As he unloaded it from the car he actually apologized.   (it’s like he doesn’t know me at all)

It was a little unique with the hand drawn pictures on the side.

But, I thought it was great.

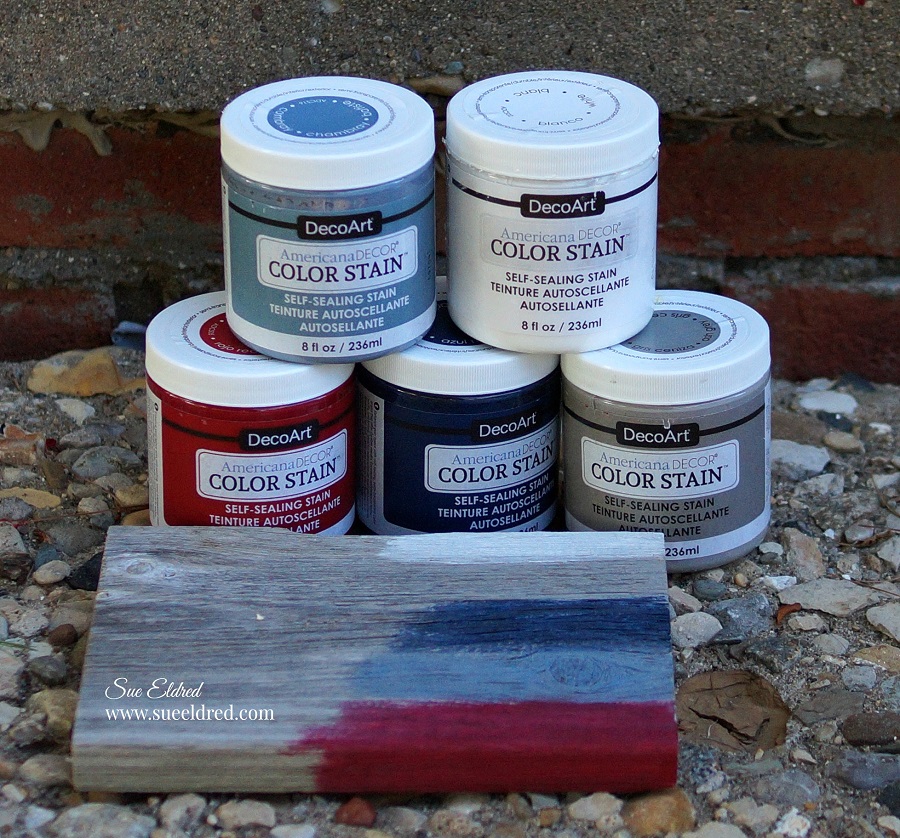
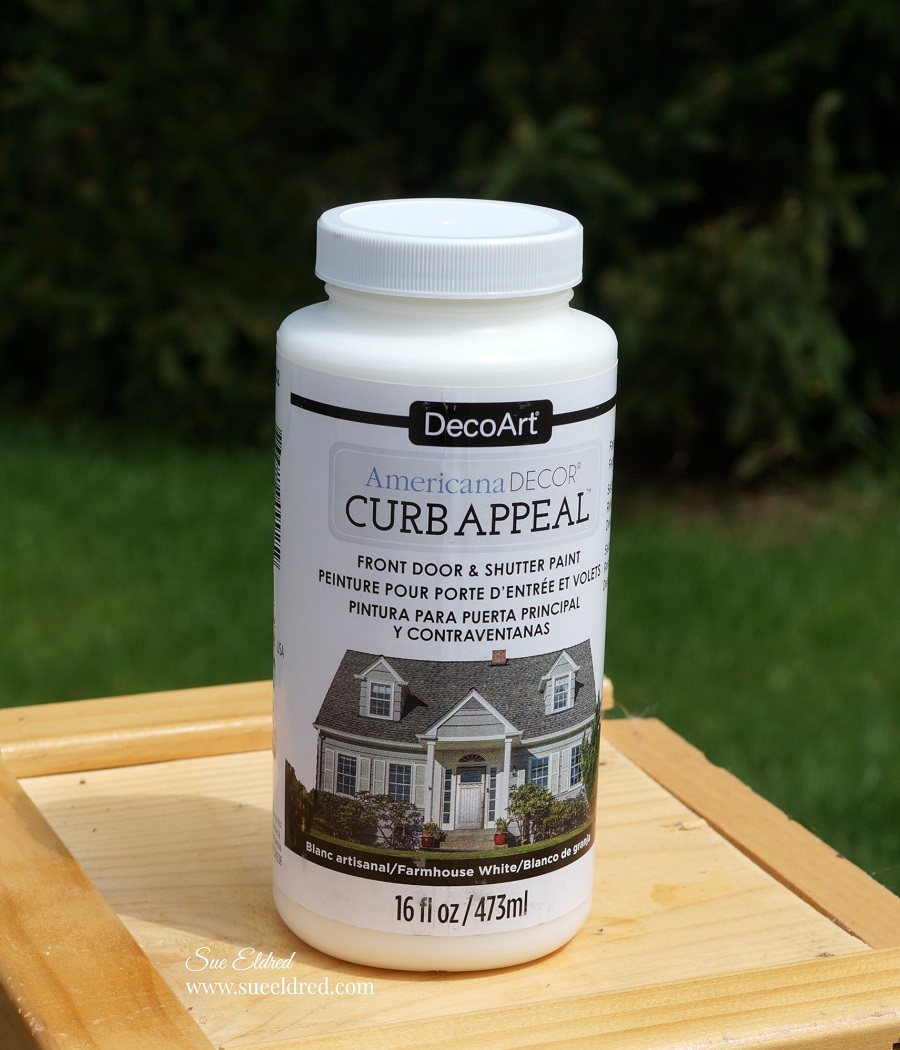
All it needed was a couple coats of Farmhouse White Curb Appeal Paint from DecoArt*.

Shop Your Fav Brands at Scrapbook.com

*Disclosure:  This blog uses ads and affiliate links.  If you choose to make a purchase using one of the links, I receive a small commission (at no additional cost to you) that helps offset the costs of maintaining this blog.  Thanks for your support!

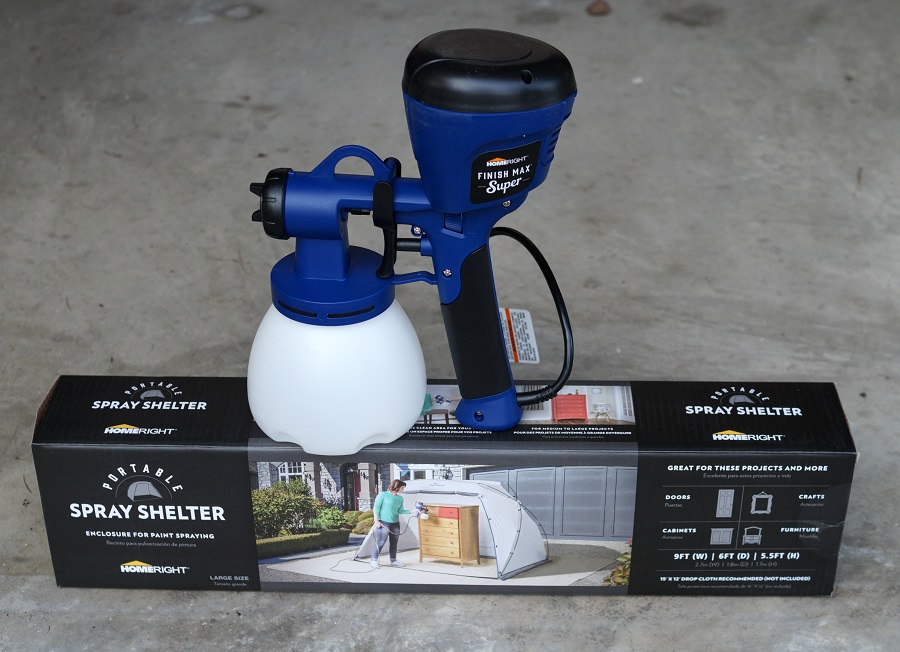
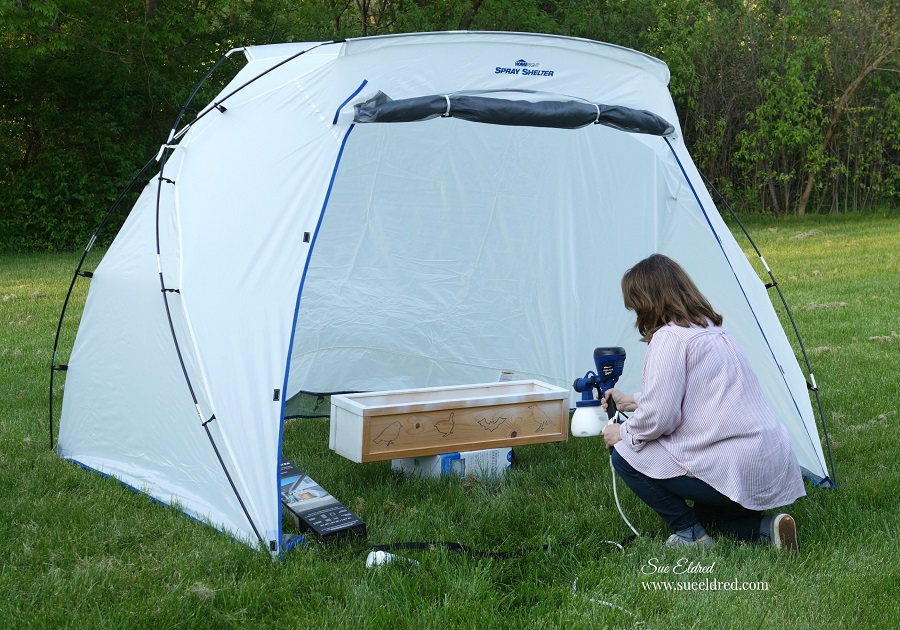
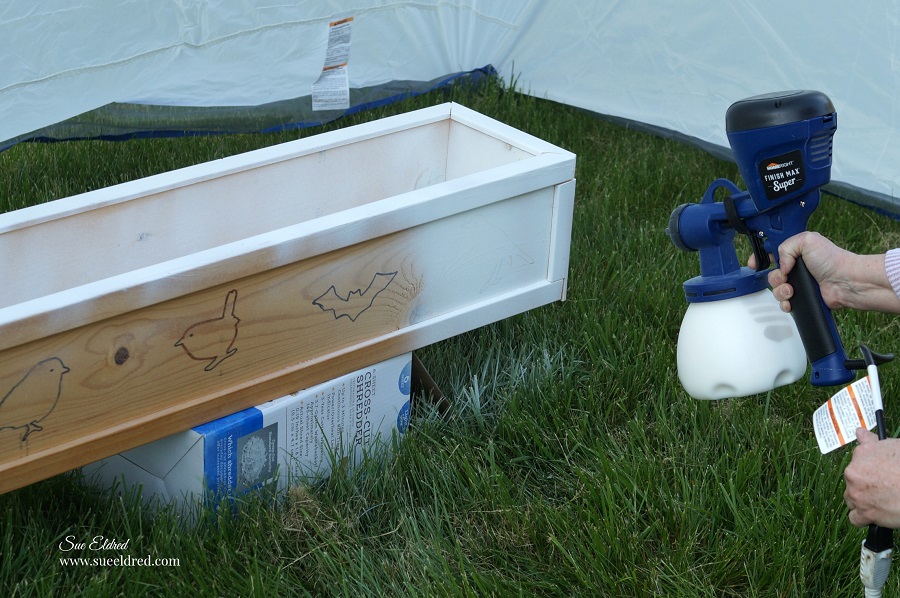
Earlier this year… I received the HomeRight Super Finish Max Extra Power Painter*

along with the HomeRight Large Spray Shelter* from the awesome folks at Wagner.

I’ve been wanting these for a while now and have been eagerly waiting for the weather to turn

nice and the rain to stop so that I could use them.

With the exception of trying the sprayer at the Creativation Trade Show,

it was the first time I’d used a power sprayer.  It was super easy to use and clean up.

And…it comes with three sprayer tips for different uses.

The portable spray tent is great to use on days with a little breeze or even indoors.

I can’t wait to use it on even bigger projects.

Ok, I’ll admit, because of the marker drawings on the side it took more than a couple coats.

It really was easy to use and the Curb Appeal Paint dried really quick.

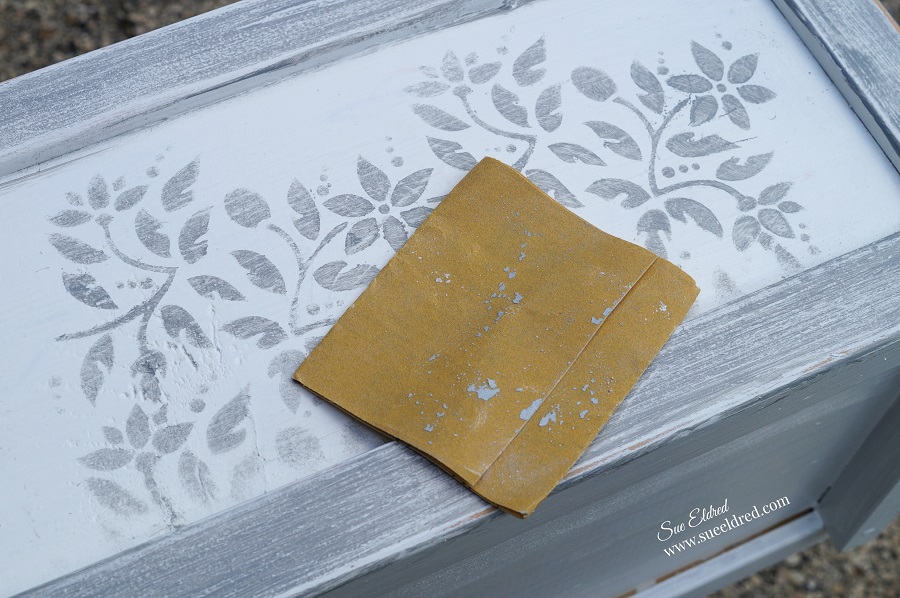
After all the coats of paint were dry I gave the box a light sanding to make it smooth.

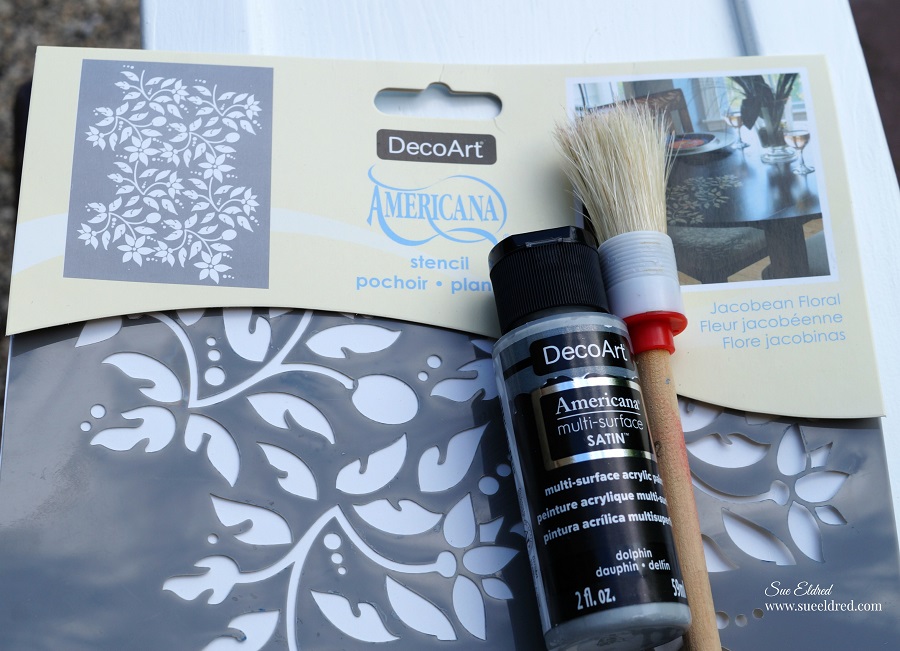
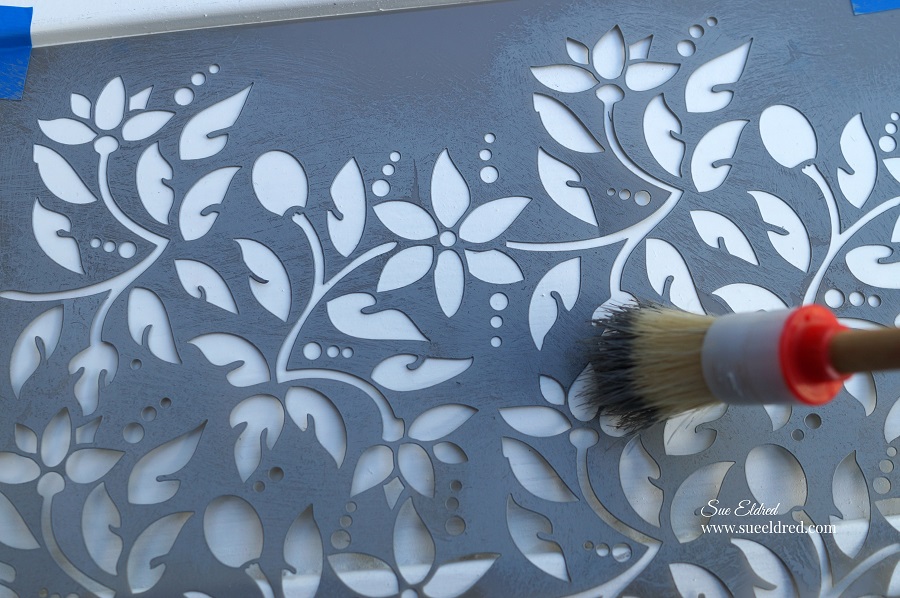
The box looked a little too plain, so I decided to stencil a design on the sides.  

To stencil the design…

  • Position the stencil onto the box and tape down the edges with removable painter’s tape to keep the stencil from moving.  Use stipple brush to apply paint inside open stencil areas.
  • Carefully remove stencil from box.  Make sure there is no excess paint that’s seeped under the stencil before moving the stencil to the next area on the box.

  • I painted the edges of the box with a thin layer of “dolphin” paint.
  • After everything was completely dry I lightly sanded the box with a piece of extra fine sand paper.  The sand paper gives the box the worn and weathered look I was going for.

Now onto the fun part, the fruits of my labor.

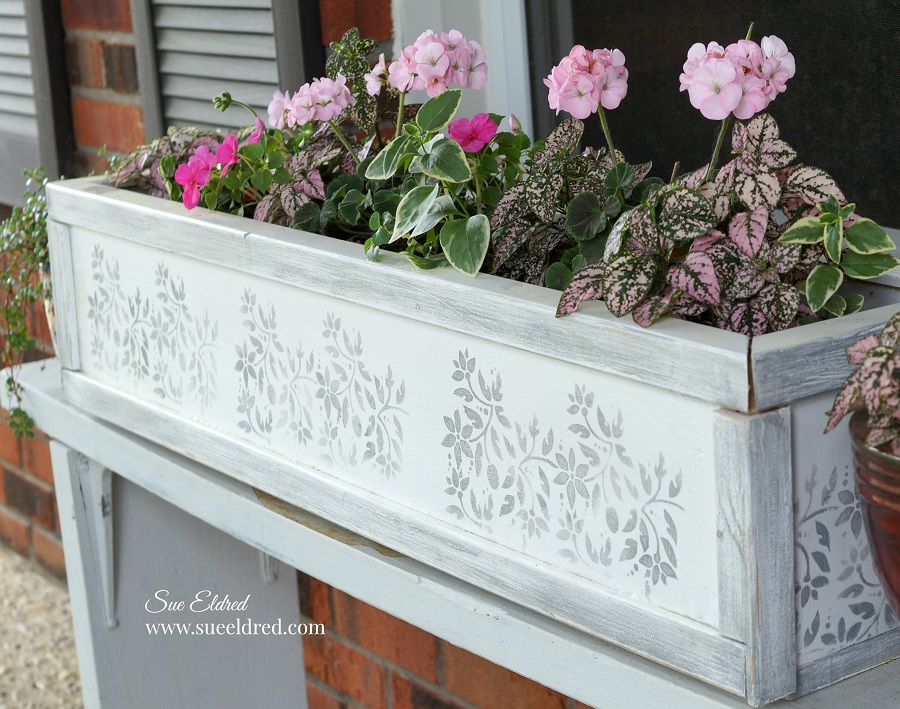
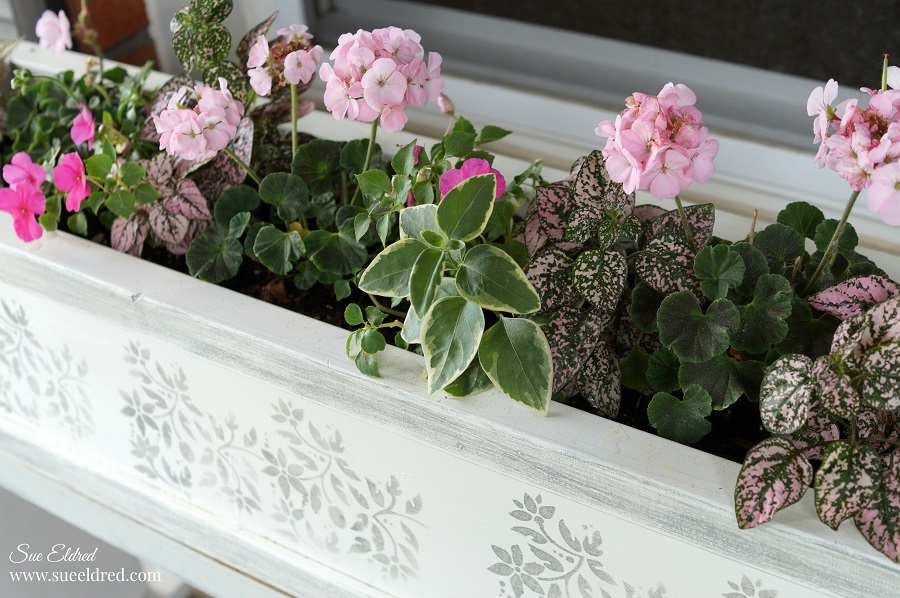
I picked soft pink geraniums, vincas, pink coleus and vinca vines to fill my flower box.

I put the box on an old white bench and sat it in front of my window.

It’s one of the first things I see as I come down the stairs in the morning.

I love how soft and delicate the flowers look inside the box.

It’s a great addition to my front porch.  

And to think my husband apologized for bringing it home.  (I think it’s lovely.)

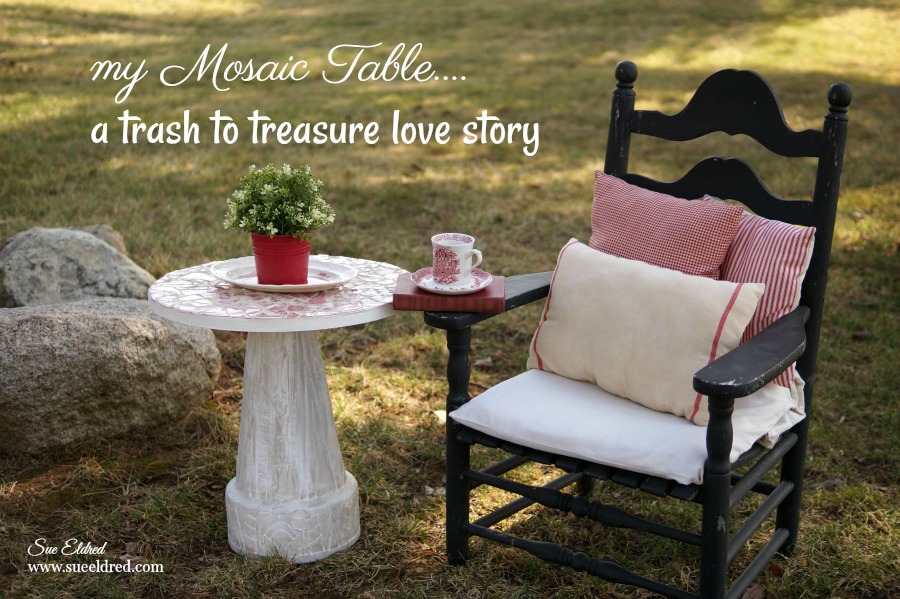
If you liked this post you might like to read  A Trash to Treasure Love Story
Simple Summer Vase

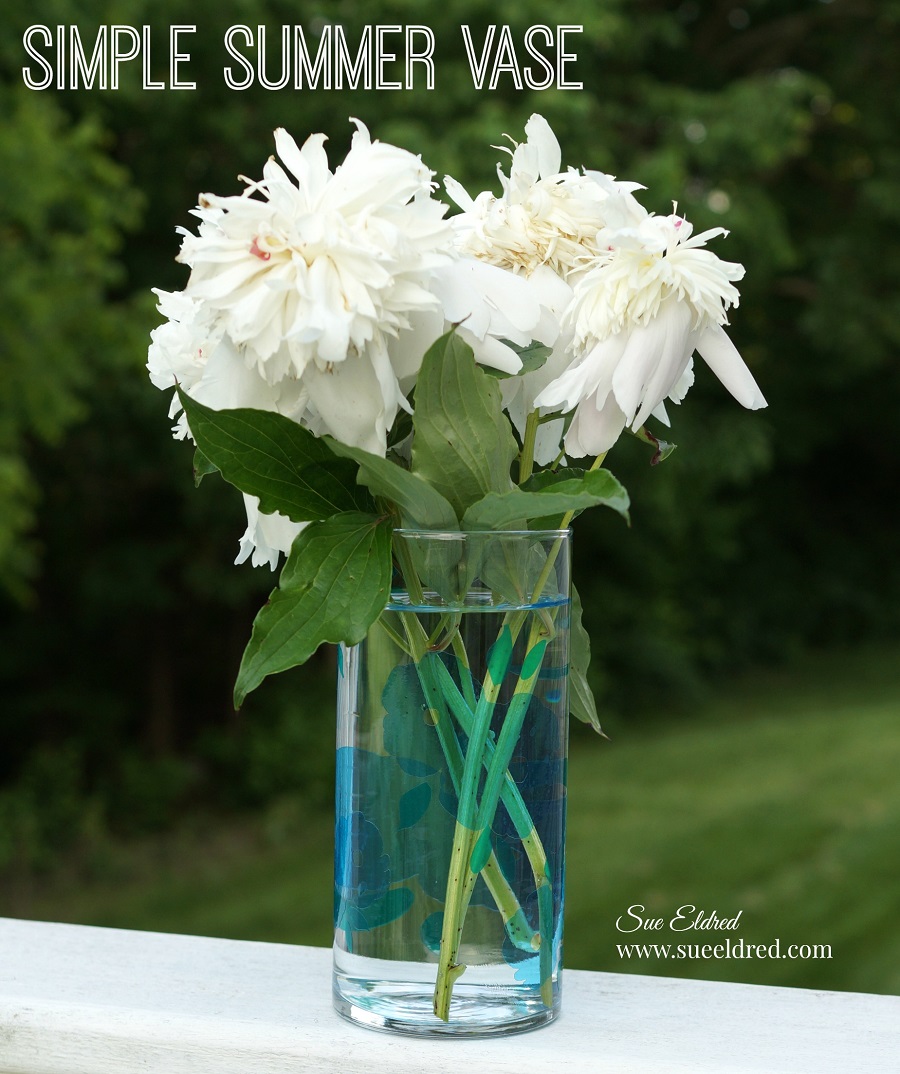
Create a Simple Summer Vase using Transparent Adhesive Vinyl from StyleTechCraft.

Transparent vinyl is great when you just want to add a subtle touch of color.

It’s great for using on windows, glassware and just about anywhere else you want a unique look.

To create my Simple Vase I used:       (*affiliate links)

Directions:

  1. Cut several flower shapes using the Silhouette Cameo* and the Sky-Blue Transparent Vinyl.  Don’t have a electronic die cutter?  The transparent vinyl can be cut using various metal dies.
  2. Cut leaves out of the teal vinyl.
  3. Using the weeding tool, I carefully removed the negative spaces in and around the flowers and leaves.
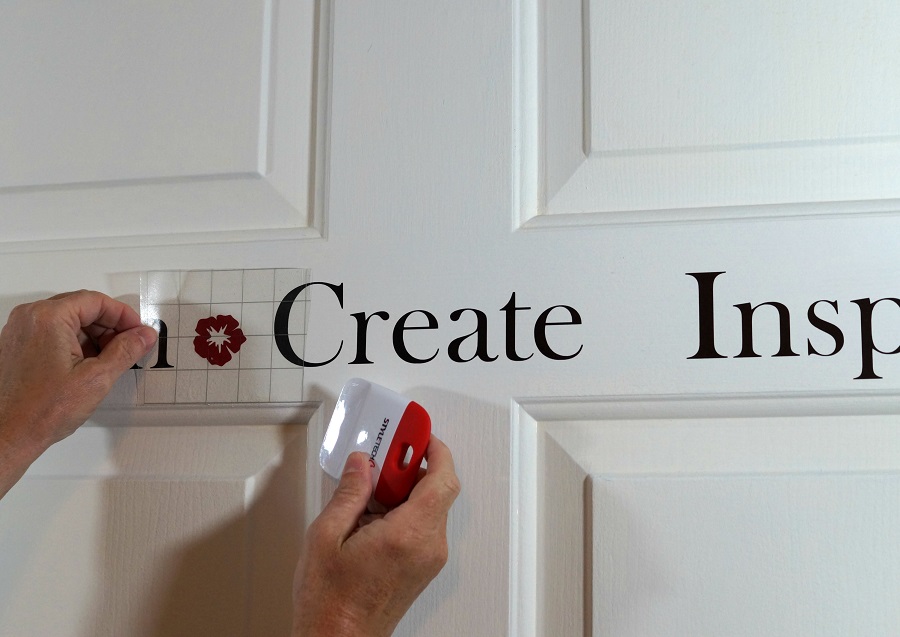
  4. Place a piece of Vinyl Transfer Tape* over the flower image.  Apply transfer tape onto the cylinder vase and rub over the vinyl using a vinyl scraper tool to eliminate bubbles.
  5. Remove transfer tape.
  6. Repeat with the leaves.

Allow vinyl to cure for several days.  (Hand washing is recommended.)

I added a piece of white paper inside the vase so you can see the pattern better.

It’s hard to see in this picture the variation between the sky blue and teal vinyl.

“This is a sponsored post.  As a member of the StyleTechCraft Design Team I have been provided product and compensation in exchange for my creative ideas.  The views and opinions are my own.

You can now find the full line of StyletechCraft online at ATSM.

Nick and Warren’s May Orange Art Box

The adventure continues with Nick and Warren and the Orange Art Box for May.

May’s Orange Art Box is all about birds, birdhouses and feathers.

As you can tell by the silly video below that the boys enjoyed themselves.

The Orange Art Box is a subscription art box for kids.

Enjoy the boy’s silly video.

*Disclosure:  “This is a sponsored post.  I have been provided product in exchange for my creative ideas.  The views and opinions are my own.”  

Gift Giving with Joy

A Blanket for Peyton…

Make a simple gift personal by adding a little “Joy” to your gift with iron-on embroidered letters.

You will need:

Directions:

  1. Set iron to cotton setting, approx. 350° or follow blanket care label.
  2. Remove letters from sheet.  Position letters with shiny side down on blanket.
  3. Cover letters with a fine cloth.  With firm pressure iron cloth over the letters for 25 seconds.
  4. Turn blanket over and iron the back of the letters for 25 seconds.  Allow to cool for 1 minute before handling.
Look for Joy® iron-on embroidered letters and floral appliqués at your local craft store.

“This is a sponsored post.  As a member of the Joy® Design Team I have been provided product and compensation in exchange for my creative ideas.  The views and opinions are my own.

Shop Your Fav Brands at Scrapbook.com

*Disclosure:  This blog uses ads and affiliate links.  If you choose to make a purchase using one of the links, I receive a small commission (at no additional cost to you) that helps offset the costs of maintaining this blog.  Thanks for your support!

Storing Guy Stuff with Style

Getting to the nuts and bolts of Guy Storage.

Just because it’s in the Garage doesn’t meant it can’t have a little style.

After watching every episode of Tidying Up and a few episodes of Hoarders,

I’ve got the urge to organize everything.

I’ve been going through the house bit by bit (not quite the Marie Kondo way).

It’s going to take some time.

There are so many storage options out there.

When it comes to organizing all the bits and pieces out in the garage,

I’m a fan of Deflecto’s Tilt Bin Storage.

For this project I decided to add a little personalization using StyletechCrafts polished metal

adhesive vinyl and Interlocking Tilt Bins* from Deflecto.

Disclaimer:  This blog uses ads and affiliate links.  If you choose to make a purchase using one of the links, I receive a small commission (at no additional cost to you) that helps offset the costs of maintaining this blog.  Thanks for your support!

For a little masculine style…

I measured and cut the black polished metal vinyl* to add to the top of the bins.

I did the same with silver polished metal vinyl* to the sides of the bins.

Using my Silhouette Cameo Wireless Cutting Machine* and a SVG cut file

I cut the frames, words and background.
Using Vinyl Transfer Tape* I applied the silver frames onto the black background.

(I created the black background by cutting a slightly bigger frame and using the inside.)
The bins are interlocking and stackable.

Great for little storage needs in the garage, craft room, nursery, kitchen and even the kid’s room.

Wherever you need a little extra storage.

The nice thing about the interlocking tilt bins* is that you can use just one or use several.

You can also hang them on the wall or use them with a mounting bar*.

Storing Guy Stuff with Style.

I love adding a little personalization to everyday items.

Storing Guy Stuff with Style-Sue's Creative Workshop www.sueeldred.com 2609

“This is a sponsored post.  As a member of the StyleTechCraft Design Team I have been provided product and compensation in exchange for my creative ideas.  The views and opinions are my own.

You can now find the full line of StyletechCraft online at ATSM.


You can purchase the Deflecto Interlocking Tilt Bins* by themselves or as a set of four from Amazon*.  Use on table, mount direct to wall or hang using the Deflecto Mounting Bar* (sold separately).

Orange Art Box Giveaway

Got a Creative Kid in you Life?  

Looking for something different to keep them busy this summer?

I’m giving away the May Orange Art Box Kit to one lucky person.

To enter all you need to do is leave a comment telling me who you’d give the kit to.

Deadline to enter is tomorrow, Wednesday 5-01-19    (US only)

For extra chances you can also leave a comment on my Facebook and Instagram pages.

Here’s a silly video of my grandson’s opening up the April Orange Art Box.

To see what the boys made click here.

If you are looking for something different for your kids to do this summer

you might want to look into the Orange Box Kit.

It’s available to purchase as a 1, 3, 6 or 12 month subscription.

Perfect gift for that budding artist.

*Disclosure:  “This is a sponsored post.  I have been provided product in exchange for my creative ideas.  The views and opinions are my own.”