A Mother’s Day Plate for Mom.

A Mother's Day Plate for Mom

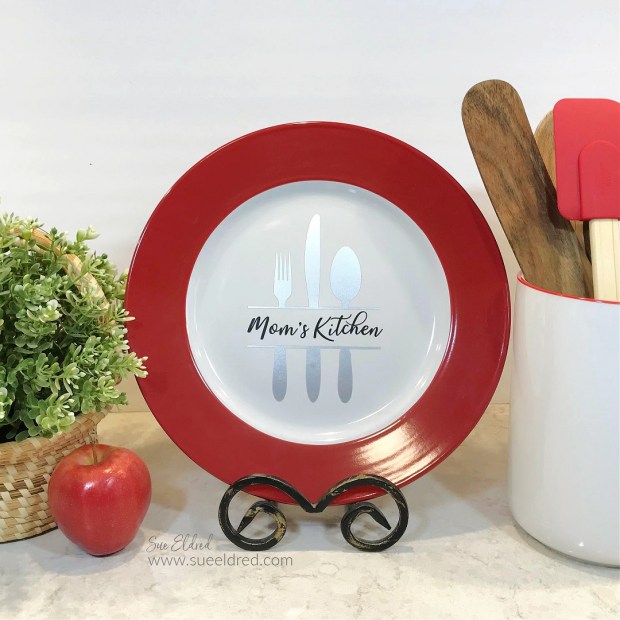
A quick and easy Mother’s Day project with StyleTechCraft Adhesive Vinyl.

Remember when we were in grade school, and we painted clay pots for Mother’s Day?

Mom always said the best gifts were from the heart.

So, this year, show Mom just how much you love her with an upgraded handmade gift.

Quick and Easy Mother's Day Plate for Mom-Sue's Creative Workshop www.sueeldred.com 3181

This project can be made by anyone with an electronic die-cutting machine.  

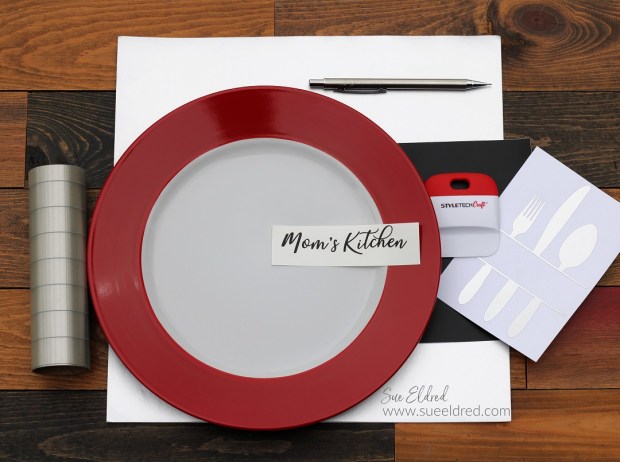
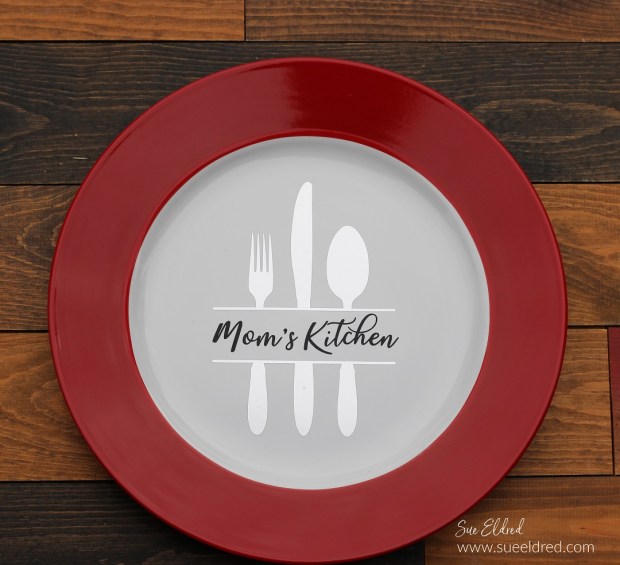
I picked up the red plate at Dollar Tree* to match my kitchen.  (This one’s for me.)

With the vinyl supplies that I already had on hand, I’ve invested $1.25 so far.

Here’s what I used: 

*Disclosure:  This blog uses ads and affiliate links.  If you choose to make a purchase using one of the links, I receive a small commission (at no additional cost to you) that helps offset the costs of maintaining this blog.  Thanks for your support!

Mother's Day Plate for Mom

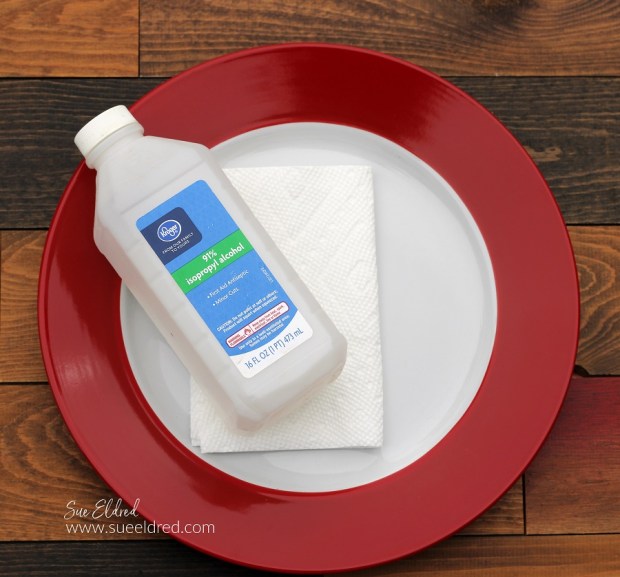
  • To begin, wipe the surface of the plate with the alcohol to remove any oils.

Mother's Day Plate for Mom

StyletechCraft products brought to you by ATSM Craft*

Mother's Day Plate for Mom

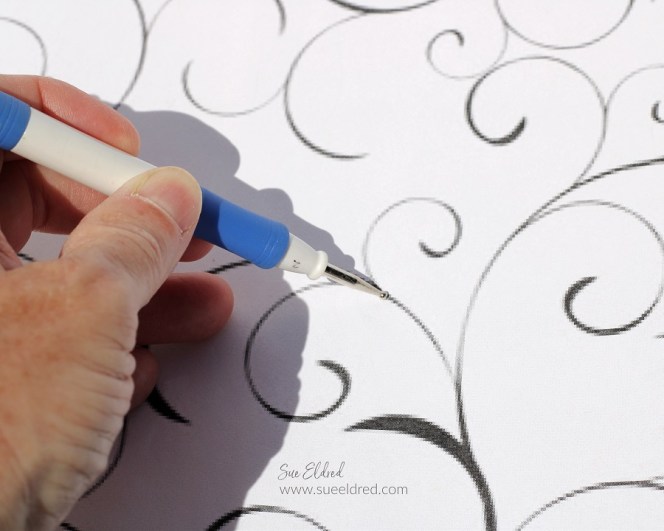
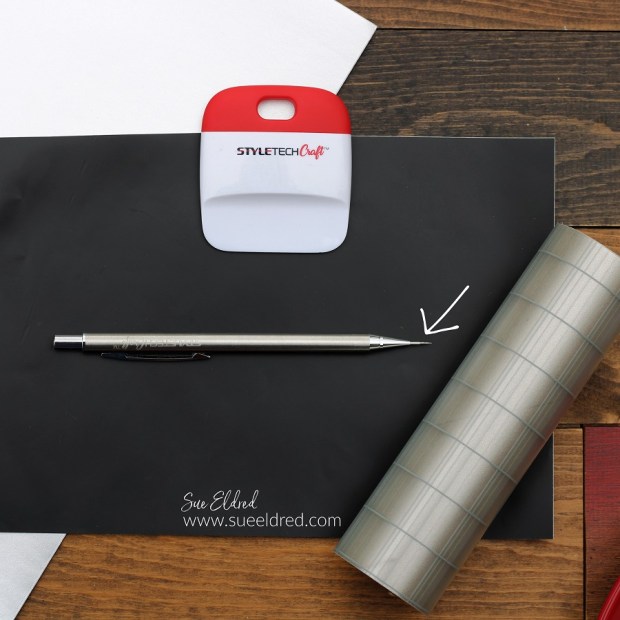
Check out this New Weeding Tool From StyleTechCraft*.

It looks like a retractable pencil, but with a nice pointy end.

It is so easy to use.  A real game changer when it comes to weeding vinyl.

Mother's Day Plate for Mom

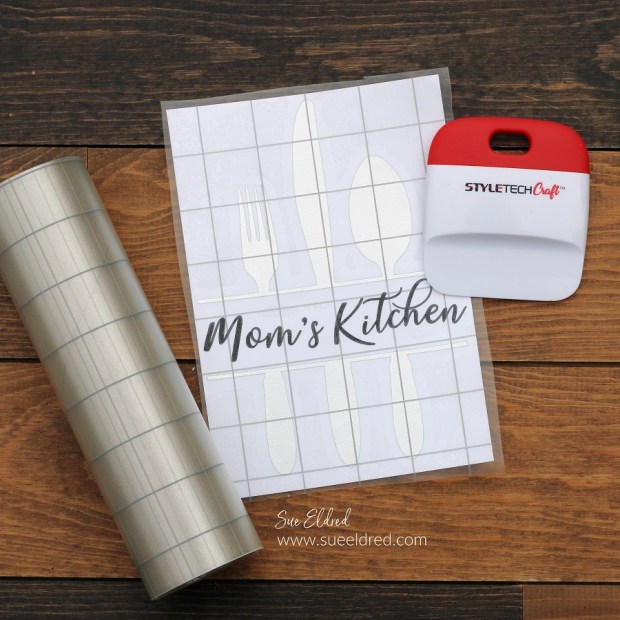
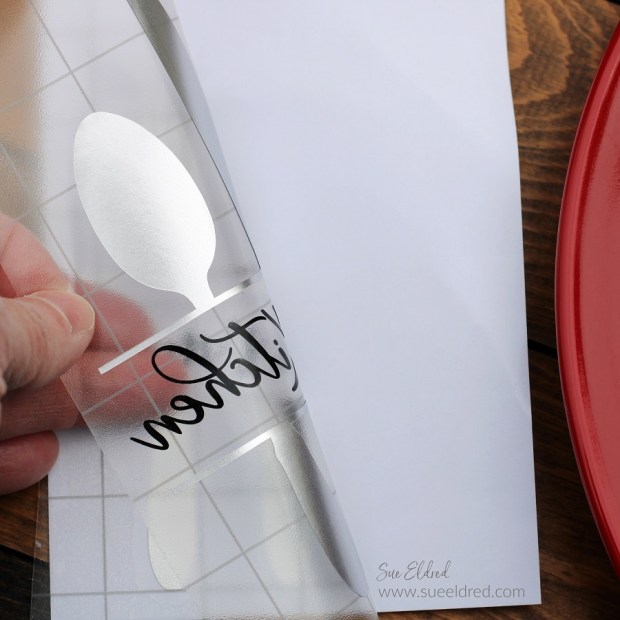
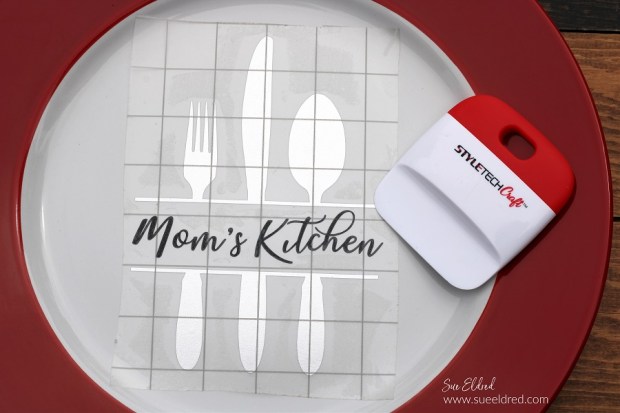
  • Lay the transfer paper over the vinyl image.
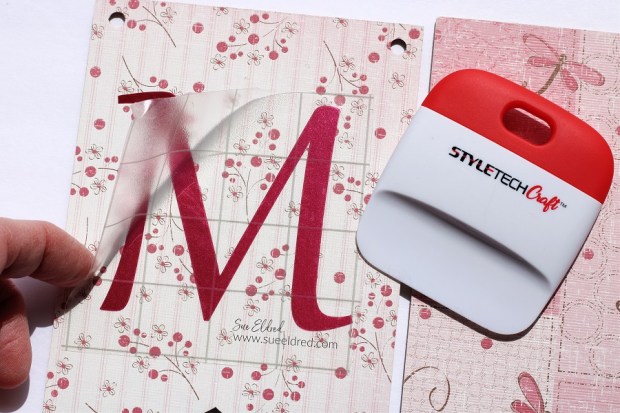
  • Rub over the transfer paper with a vinyl scraper tool.
  • Remove vinyl from the white backing.

Mother's Day Plate for Mom

  • Use StyleTechCraft Vinyl Transfer Tape* to adhere the vinyl onto the front of the plate.
  • Gently rub the transfer paper and remove it from the plate.
  • It is best to Hand Wash Plate Only.

Mother's Day Plate for Mom

A last minute, quick and easy Mother’s Day Plate for Mom.

If you’re that overachiever kid, you can add a plate hanger or stand.

“This is a sponsored post.  As a member of the StyleTechCraft Design Team I have been provided product and compensation in exchange for my creative ideas.  The views and opinions are my own.

Mae’s Baby Shower Banner

Mae's Baby Shower Banner

Mae’s Baby Shower Banner

This past weekend we held a baby shower for my daughter

and soon-to-be granddaughter Mae.

The theme was April Showers Brings Mae Flowers.

My daughter gave me full permission to do “my thing.”

Everything was pink and flowery. (I had fun.)

One of the decorations that I made was a banner with my granddaughter’s name.

It was a simple project that we used along with a few balloons and giant rosettes

to create a place to take photos.

Mae's Baby Shower Banner

If you’re interested in making a banner for your next party here’s what I used: 

*Disclosure:  This blog uses ads and affiliate links.  If you choose to make a purchase using one of the links, I receive a small commission (at no additional cost to you) that helps offset the costs of maintaining this blog.  Thanks for your support!

Mae's Baby Shower Banner

  • Cut the scrapbook paper slightly larger than the wood banner pieces.
  • Place the scrapbook paper design side on the Xyron Creative Station®*. 
  • Turn the handle of the Creative Station to run the paper through.  As it runs through, it adds complete adhesive covering on the underneath side of the paper.

Mae's Baby Shower Banner

Mae's Baby Shower Banner

Mae's Baby Shower Banner

Mae's Baby Shower Banner

I wanted to keep the banner pieces simple. 

But you could add all kinds of flowers and embellishments to make it special.

Mae's Baby Shower Banner

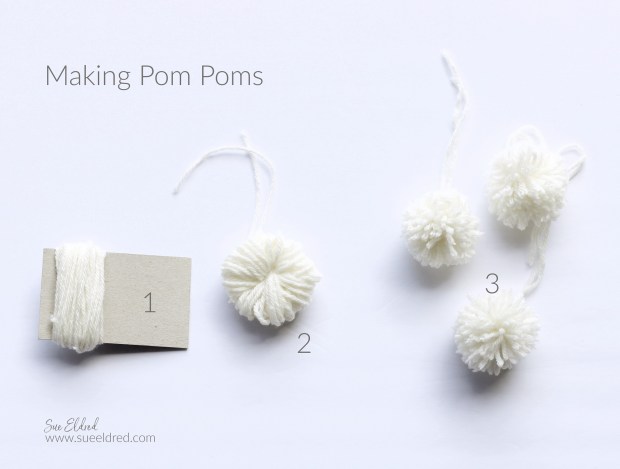
How to make small pom-poms:

  1. Cut a small piece of matboard or cardboard approx. 2 inches. Loosely wrap the yarn around the matboard 50 times.
  2. Slide the wrapped yarn off the matboard and tightly tie the middle of the loops with a second piece of yarn.
  3. Cut all the loops with a pair of scissors. (Leave the second piece of yarn long.) Give the pom-pom a shake. Then the fun part, give the pom-pom a haircut, trimming all the ends the same size.

Mae's Baby Shower Banner

  • I added the banner pieces and wood beads onto a long piece of pink ribbon.
  • I spread the banner pieces to make room and tied the pom-poms directly onto the ribbon. Trim the long strings of the pom-poms.

Mae's Baby Shower Banner

I found these Cute Floral Pails* at Dollar Tree* and filled them with pansies. 

They were the perfect addition to our Spring themed baby shower.

Mae's Baby Shower Banner

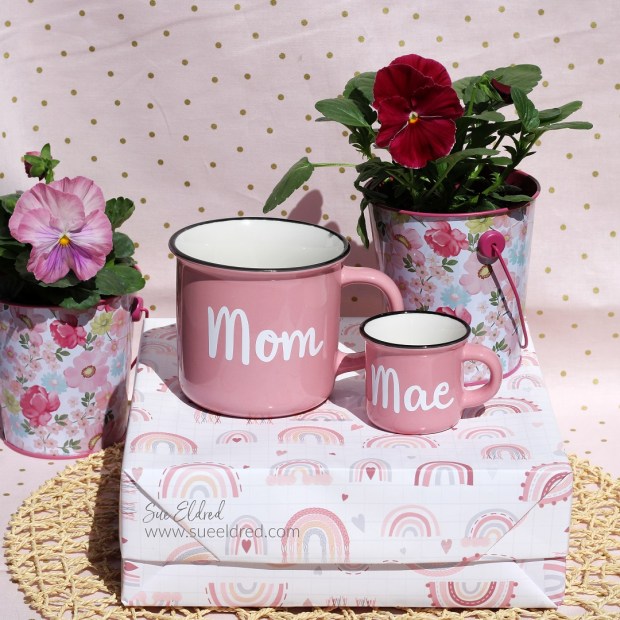
I picked up these cute pink mugs at Hobby Lobby and used StyleTechCraft White Glossy Vinyl

to make the words for the Mom and Mae cups.

I used the Mom mug during the shower to hold pink cutlery.

It was so much fun planning this party.

I’ll be sharing more details of the shower soon.

“This is a sponsored post.  As a member of the StyleTechCraft Design Team I have been provided product and compensation in exchange for my creative ideas.  The views and opinions are my own.

Home Sweet Home Shadow Box

Home Sweet Home Shadow Box Frame

The Home Sweet Home Shadow Box was made with Eileen Hull’s

New Shadow Box Dies and Elements from Sizzix.

Home Sweet Home Shadow Box Frame

I used a combination of several of the new dies to make my Home Sweet Home Shadow Box.

The shadow box was die-cut using a thick kraft cardstock. (110 lbs.)

I added double-sided adhesive foam behind the house, grass, flowers, and sign to

make it dimensional. I used toothpicks cut and painted white behind the picket fence

and inserted them into tiny holes poked into the base of the shadow box.

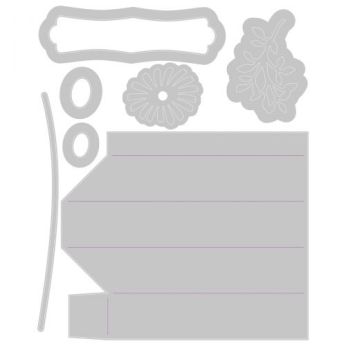
665935 Sizzix Shadow Box Elements by Eileen Hull

♥ 665935 Sizzix Shadow Box Elements, 12 pcs. Thinlet Die Set*

♥ This Die set includes four houses along with a range of decorative elements to make your designs pop. The Shadowbox Elements Die set works hand in hand with the Sizzix Thinlits Shadow Box Frames #2 by Eileen Hull to create a beautifully detailed center piece within the Shadowbox.

*Disclosure:  This blog uses ads and affiliate links.  If you choose to make a purchase using one of the links, I receive a small commission (at no additional cost to you) that helps offset the costs of maintaining this blog.  Thanks for your support!

665938 Sizzix Shadow Box Frame #1 by Eileen Hull 665938 Sizzix Shadow Box Frame #1

♥ 665938 Sizzix Shadow Box Frames #1, 7 pc. Thinlet Die Set*

665939 Sizzix Shadow Box Frames #2 by Eileen Hull

♥ 665939 Sizzix Shadow Box Frames #2, 3 pc. Thinlet Die Set*

Eileen Hull/Sizzix Chapter 2 Release Party

Check out the Designers Links below for even more ideas. 

There is a giveaway too! Comment on each participating designer’s blog and during the live on Tuesday and let us know what you would create with these dies, and you will be entered to win one of the items in the Chapter 2 release!

Eileen Hull Designs

Eileen Hull Educator Logo

“This is a sponsored post.  As a member of the Eileen Hull Educator Team, I have been provided product in exchange for my creative ideas.  The views and opinions are my own.

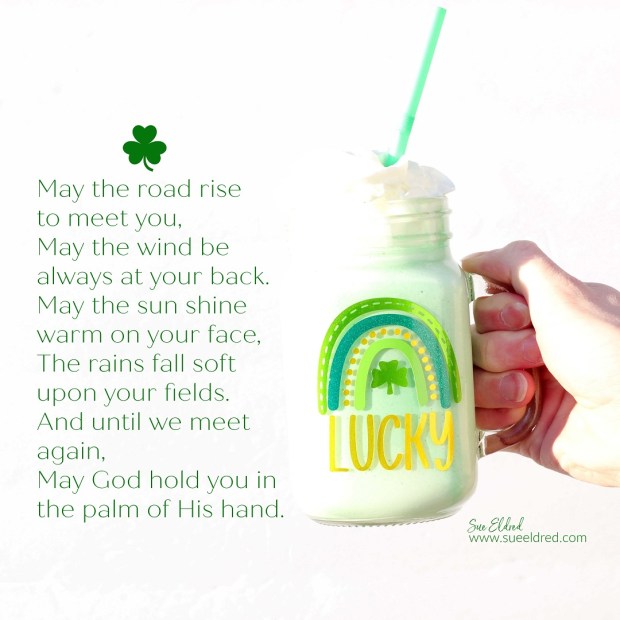
My Lucky Mug

My Lucky Mug

Everyone’s Irish on St. Patrick’s Day.

Whether you’re toasting with green beer or a minty green shake,

Make St. Patrick’s Day a little more special with StyleTechCraft vinyl.

My Lucky Mug made with StyleTechCraft Vinyl.

I love ♥ adding vinyl to everyday items.

I found these clear mason jar mugs at Dollar Tree* and decided to pick up a

few to create a little St. Patrick’s Day fun.

Did you know, Dollar Tree* is the perfect place for finding

inexpensive glassware to make any occasion special?

Buy Your Crafting Supplies Now at The Dollar Tree!

My Lucky Mug made with StyleTechCraft Vinyl.

Materials Used:     (*affiliate links)

*Disclosure:  This blog uses ads and affiliate links.  If you choose to make a purchase using one of the links, I receive a small commission (at no additional cost to you) that helps offset the costs of maintaining this blog.  Thanks for your support!

To create my Lucky Mug…

I used a cute “Lucky Rainbow” image from the Silhouette Store

and a variety of StyleTechCraft vinyl and cut it using my

Silhouette Cameo Electronic Die Cutting Machine*.My Lucky Mug made with StyleTechCraft Vinyl.

Happy St. Patrick’s Day!

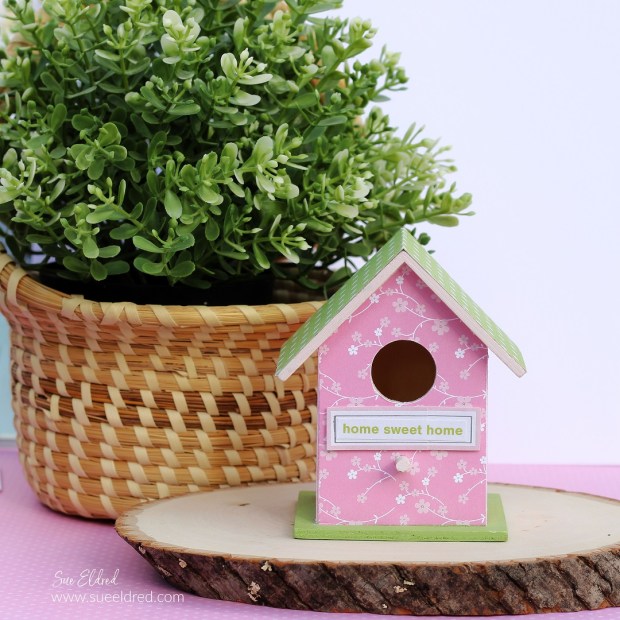
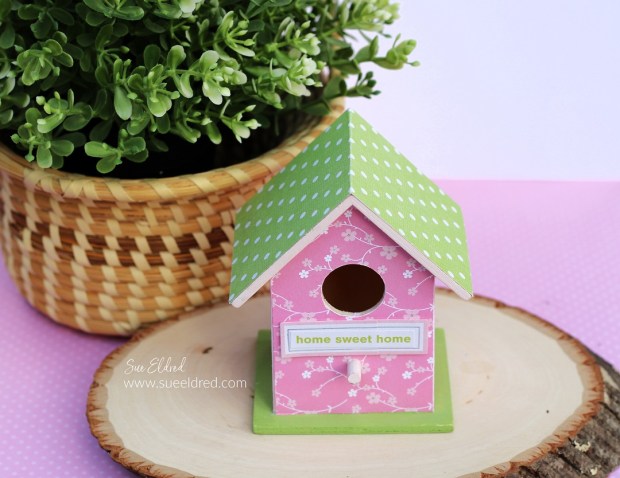
Make it Spring with Dollar Store Birdhouses

Making it Spring with Dollar Store Birdhouses

How to make a cute little birdhouse for your Indoor Spring Decorations.

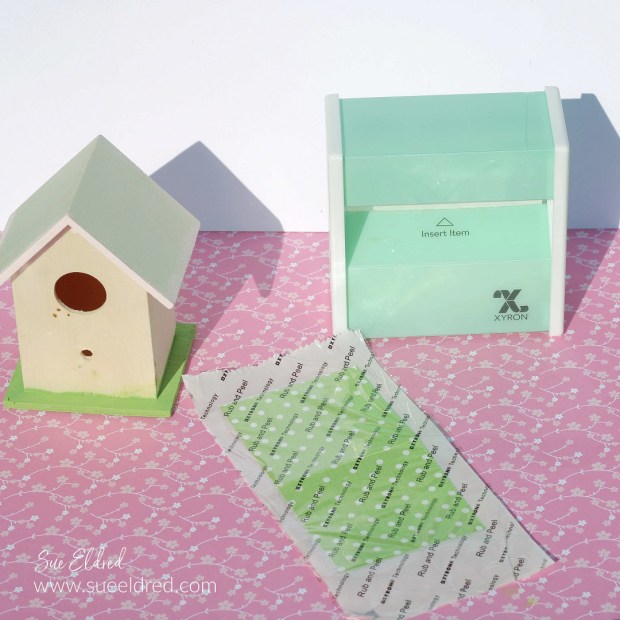
Made from an inexpensive Dollar Tree* wood birdhouse and scrapbook paper.

Making it Spring with Dollar Store Birdhouses

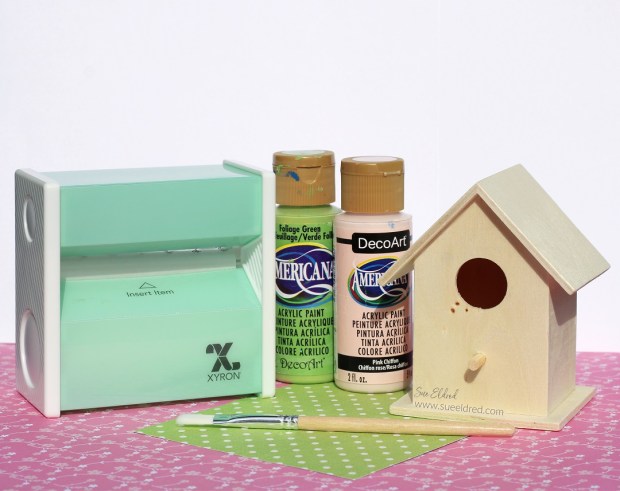
Materials Used:  (*affiliate links)

*Disclosure:  This blog uses ads and affiliate links.  If you choose to make a purchase using one of the links, I receive a small commission (at no additional cost to you) that helps offset the costs of maintaining this blog.  Thanks for your support!

Make it Spring with Dollar Store Birdhouse

Directions:

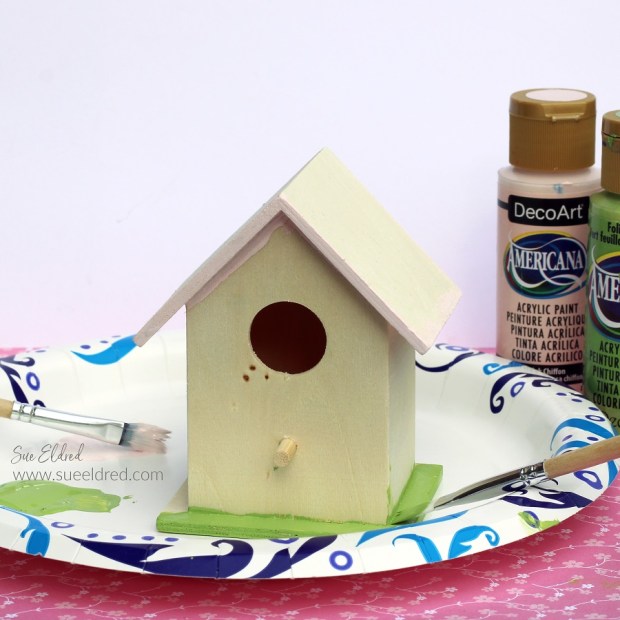
  • Paint the base of the birdhouse, the ridge, and the underside of the roof with acrylic paint.

Make it Spring with Dollar Store Birdhouse

  • Remove the perch from the birdhouse.
  • Paint the birdhouse perch with coordinating acrylic paint.

Make it Spring with Dollar Store Birdhouse

  • I purposely choose a birdhouse with a simple roofline. 
  • Measure and cut a piece of decorative scrapbook paper for the roof.
  • Place the paper into the 3″ Xyron Disposable Sticker Maker* design side up and gently pull it through. As the scrapbook paper goes through the sticker maker, it adds a layer of adhesive under the paper.
  • Rub and peel the protective coating from the paper. Place onto the top of the birdhouse. Rub over the paper to ensure that it is securely attached to the wood.

Make it Spring with Dollar Store Birdhouse

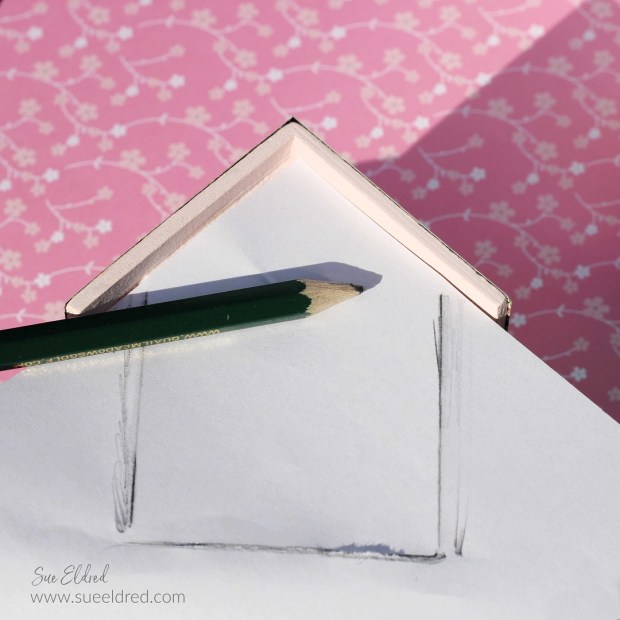
  • Create a template for cutting the paper. Lay a piece of copy paper with the point in the top corner of the birdhouse. Gently fold over the edges of the copy paper to make a crease line or use a pencil to trace around the edge.
  • Cut out the template.

Make it Spring with Dollar Store Birdhouse

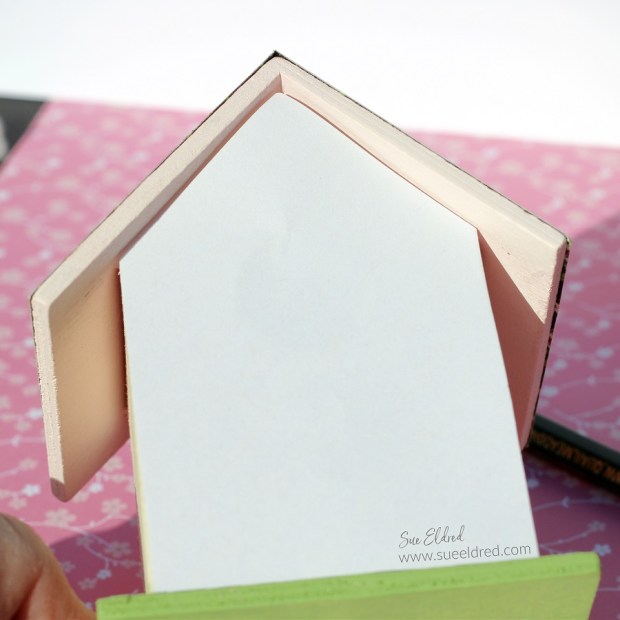
  • It’s a good idea to lay the template onto the birdhouse to double-check the size.
  • Use the template and trace onto decorative scrapbook paper.  Cut along traced lines.
  • Place the paper into the 3″ Xyron Disposable Sticker Maker* design side up and gently pull it through.
  • Measure and repeat for all four sides.

Make it Spring with Dollar Store Birdhouse

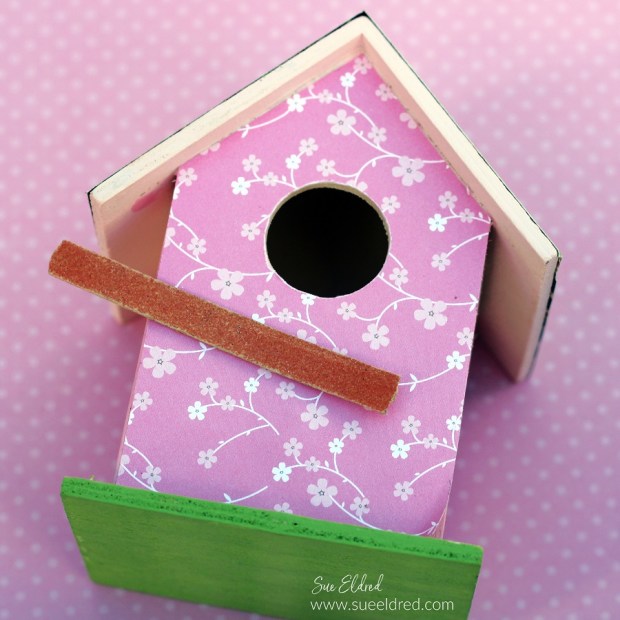
  • Cut around the center hole and smooth using a nail file.
  • Re-poke the perch hole and reinsert the perch.

Make it Spring with Dollar Store Birdhouse

  • Add cute little word stickers to embellish the birdhouse.

Make it Spring with Dollar Store Birdhouse

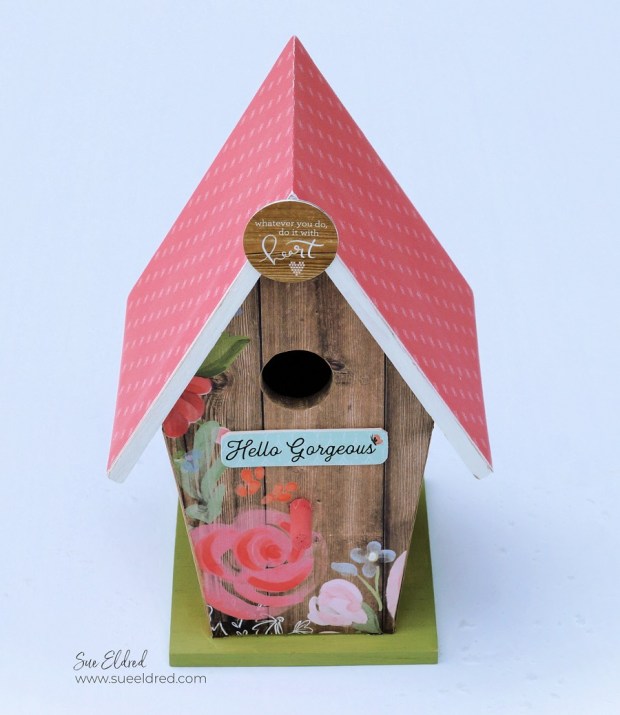
Here are a few more Mini Birdhouses I created for Xyron last year.

They are so fun to make and decorate.

Make it Spring with Dollar Store Birdhouse

I made this one using a large wood birdhouse picked up at Michael’s Craft Store.

I covered it with paper from Echo Park’s Farmhouse Market Collection.

Mae’s Treasure Box

Mae's Treasure Box made using Eileen Hull Sizzix XL Scoreboard Book Box Die

I wanted to share a little more about how I made Mae’s Treasure Box.

I am getting my first granddaughter, Mae, sometime in May.

(To say I’m excited is a bit of an understatement.)

Mae’s Treasure Box is a little box that her mom can slip into the top drawer

of her dresser and add all the little snippets of babyhood that she wants to save.

Mae's Treasure Box made using Eileen Hull Sizzix XL Scoreboard Book Box Die

As some of you may know…

I currently have three adorable, sweet, and loving grandsons in my life.

I wouldn’t trade them for the world.  But after all the trucks and blue stuff,

I’m excited that I’m finally getting a little “pink” in my life.

Mae's Treasure Box made using Eileen Hull Sizzix XL Scoreboard Book Box Die

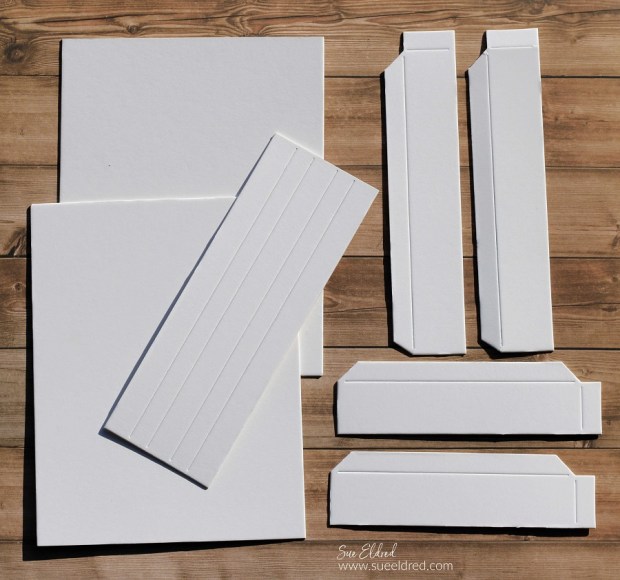
The “treasure box” was made using Eileen Hull’s New Book Box Die*.

I dug deep into my hoard of paper and found this sweet blue and pink floral paper.

It reminds me of Vintage Florals from the ’40s or ’50s.

Mae's Treasure Box made using Eileen Hull Sizzix XL Scoreboard Book Box Die

To make the treasure box:  

Mae's Treasure Box made using Eileen Hull Sizzix XL Scoreboard Book Box Die

  • I used the Xyron Creative Station* to add adhesive to the back of my paper before sticking it to the matboard.  (Usually, I adhere the paper to the matboard before die-cutting.)

*Disclosure:  This blog uses ads and affiliate links.  If you choose to make a purchase using one of the links, I receive a small commission (at no additional cost to you) that helps offset the costs of maintaining this blog.  Thanks for your support!

Mae's Treasure Box made using Eileen Hull Sizzix XL Scoreboard Book Box Die

Mae's Treasure Box made using Eileen Hull Sizzix XL Scoreboard Book Box Die

Mae's Treasure Box made using Eileen Hull Sizzix XL Scoreboard Book Box Die

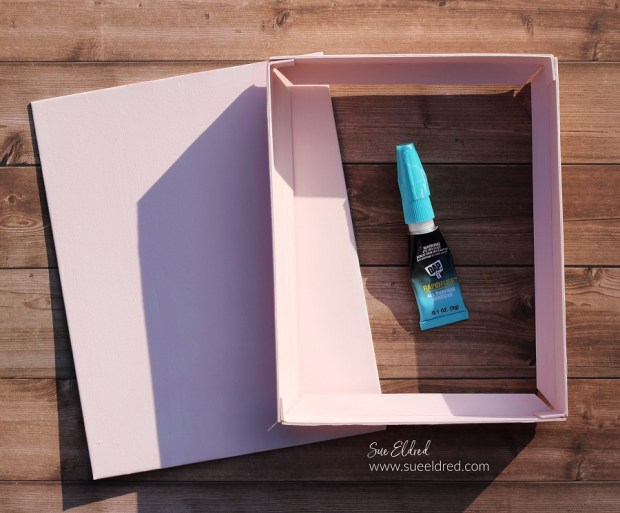
  • Apply adhesive to the bottom tabs.

Mae's Treasure Box-Sue's Creative Workshop www.sueeldred.com 2039

  • Glue the sides to the bottom rectangle.

Mae's Treasure Box made using Eileen Hull Sizzix XL Scoreboard Book Box Die

  • I added an extra piece of Mat Board* covered with matching paper to fit inside the box to cover up the side tabs.
  • I glued a pink glittery chipboard letter M on the inside corner of the box.

Mae's Treasure Box made using Eileen Hull Sizzix XL Scoreboard Book Box Die

Eileen Hull Educator Logo

Disclosure:  This is a sponsored post for Eileen Hull and Sizzix.  As an Eileen Hull Educator, I have been provided product in exchange for my creative ideas.  The view and opinions are my own. 

Pot of Gold Party Favors

Pot of Gold Party Favors

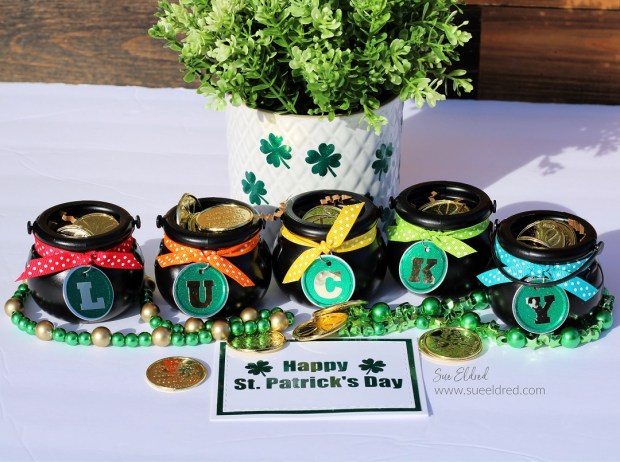
Celebrate St. Patrick’s Day with these cute pots of gold party favors.

A quick and simple little party favor for your guests.

Fill with all kinds of goodies and chocolate coins.

Gwen Studios Logo

Disclosure:  This is a sponsored post for Gwen Studios.  I have been provided product in exchange for my creative ideas.  The views and opinions are my own.

Pot of Gold Party Favors

Materials Used:

I found the little Black Cauldrons* at Dollar Tree with their St. Patrick’s Day display.  I knew they would look cute as little pots of gold under rainbows of ribbon.  (And don’t forget to get a few extra to save for next Halloween.)

*Disclosure:  This blog uses ads and affiliate links.  If you choose to make a purchase using one of the links, I receive a small commission (at no additional cost to you) that helps offset the costs of maintaining this blog.  Thanks for your support!

Pot of Gold Party Favors

To personalize the Pots of Gold…

Solid and Polka Dot Grosgrain Ribbon Pack, 24 Bright Colors, 3/8" x 48 Yards by Gwen Studios

If you love ribbon, you can find the variety pack of Polka Dot Grosgrain Ribbon Pack by Gwen Studios* at Walmart or Walmart.com.

Crafty IKEA Cabinet Makeover

Crafty IKEA Cabinet Makeover

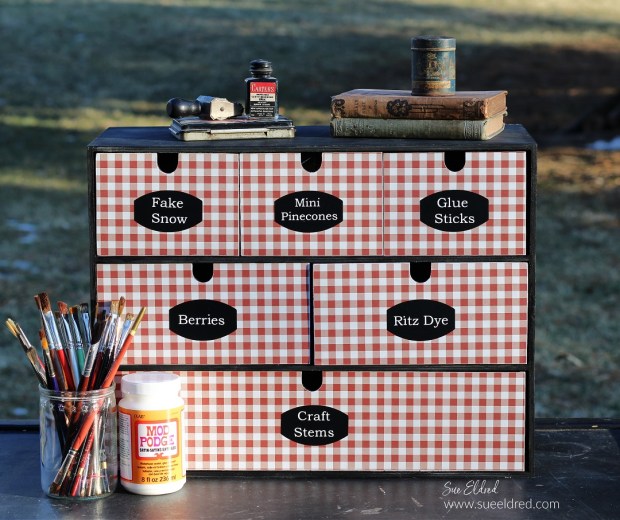
Give a basic IKEA storage cabinet a little personality with a crafty makeover.

I’m a little bit of a neat freak.  I geek out when I find a good storage piece.

I found this IKEA Moppe Mini Storage Chest* on a recent IKEA trek.

The mini cabinet was the perfect solution to replace an old decrepit plastic one.

“This is a sponsored post.  As a member of the StyleTechCraft Design Team I have been provided product and compensation in exchange for my creative ideas.  The views and opinions are my own.

Crafty IKEA Cabinet Makeover

If you don’t have an IKEA store close, you can get the IKEA Moppe Cabinet*

on Amazon for a bit more.

The IKEA MOPPE mini chest with drawers is a true classic with its many drawers

and timeless style.  It’s made of untreated wood that you can paint and

decorate as you like, over and over again.

Crafty IKEA Cabinet Makeover

Here’s what I used Used:   (*affiliate links)

*Disclosure:  This blog uses ads and affiliate links.  If you choose to make a purchase using one of the links, I receive a small commission (at no additional cost to you) that helps offset the costs of maintaining this blog.  Thanks for your support!

Crafty IKEA Cabinet Makeover

Directions:

  • Lightly sand the surface of the cabinet with a Sanding Block* to smooth away any rough spots.
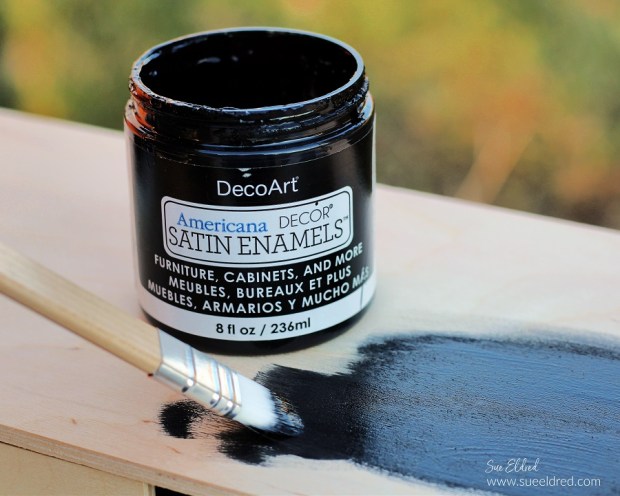
  • Paint the cabinet and drawers with Classic Black Deco Art Americana Decor® Satin Enamels*.
  • You may need to give it a second coat. (I didn’t paint the inside of the cabinet or drawers.)
  • Lightly sand over the paint to smooth the grain of the cabinet.
  • Wipe the cabinet with a clean, soft rag to remove any dust.

Crafty IKEA Cabinet Makeover

Crafty IKEA Cabinet Makeover

Crafty IKEA Cabinet Makeover

  • I used Red Gingham Paper* to cover the front of my cabinet. The red gingham matches the decor in my craft room and is a simple pattern to match. (This is important if you want to line up your design.)
  • Brush a coat of Mod Podge Satin Decoupage Glue* over the drawer front. Make sure to get the Mod Podge to the edges of the drawer.
  • Lay the paper onto the drawer and smooth. Allow the Mod Podge to dry.

Crafty IKEA Cabinet Makeover

  • Place the drawer onto a cutting mat and cut away the excess paper using a craft knife.

Crafty IKEA Cabinet Makeover

  • Sand away any rough-cut edges using a sanding block on the edge of the drawers.

Crafty IKEA Cabinet Makeover

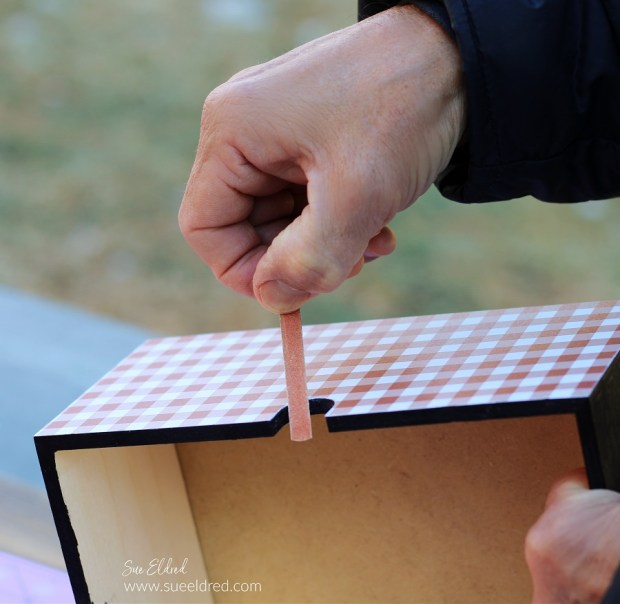
  • A small nail file is great for getting into small to reach places.

Crafty IKEA Cabinet Makeover

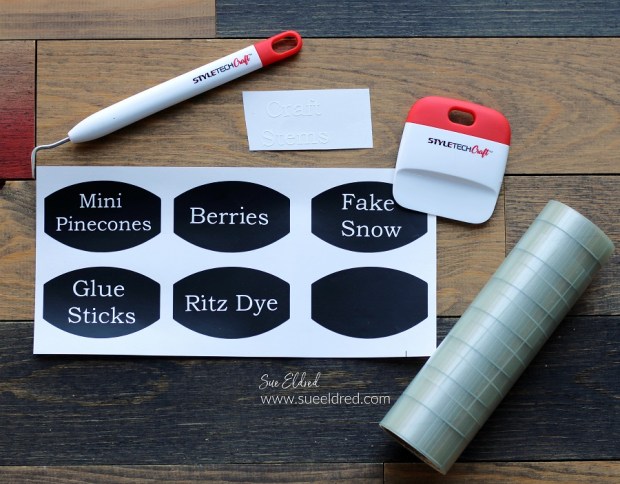
Place the labels onto the drawer fronts and fill them with all your goodies.

Crafty IKEA Cabinet Makeover

Don’t judge me for my weird categories.

Crafters have a lot of random stuff to store, and this cabinet holds a lot of stuff.

Crafty IKEA Cabinet Makeover

You could use wallpaper, stencils, metal hardware to customize this into the perfect organized cabinet. 

Don’t Miss a Thing…Make Sure to Follow me

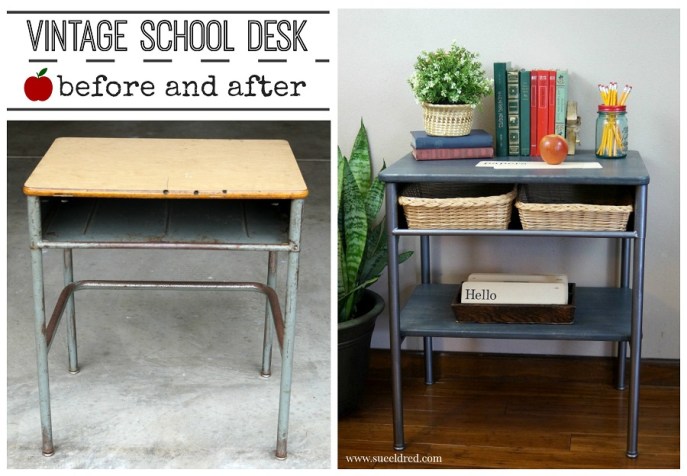
Vintage School Desk Make-Over Before and After-Sue's Creative Workshop


Simple Heart Shaker Card

Simple Heart Shaker Card

Shake things up this Valentine’s Day with a cute Simple Heart Shaker Card

made with the Simple Heart Shaker Die Set from The Maker’s Movement.

Maker's Movement

Disclosure:  This is a sponsored post for The Maker’s Movement.  I have been provided product and compensation in exchange for my creative ideas.  The view and opinions are my own. 

Simple Heart Shaker Card

Materials Used:     (*affiliate link)

*Disclosure:  This blog uses ads and affiliate links.  If you choose to make a purchase using one of the links, I receive a small commission (at no additional cost to you) that helps offset the costs of maintaining this blog.  Thanks for your support!

Simple Heart Shaker Card

How to make a Simple Heart Shaker Card

  • Start with a 5″ x 5″ white card base.
  • Die-cut the pieces for the shaker element using the Always & Forever paper pad.

Simple Heart Shaker Card

  • Cut 3¼” x 3¼” piece of striped paper, die-cut the heart shape in the center of the striped paper.
  • Cut a 3¼” x 3¼” piece of Valentine’s words.
  • Die-cut a silver heart border using silver adhesive vinyl or silver cardstock.
  • Die-cut a pink gingham frame using the scalloped frame die.

Love You Forever Valentine's Day Card

  • To create the dimensional rose on the front of the card, “fussy cut” a large and small rose from the rose background paper found in the paper pad.
  • Place a small a thin 3D foam square* under both roses and adhere the smaller rose to the top of the larger rose.

Simple Heart Shaker Card

  • Adhere the scalloped gingham frame to the front of the striped paper with the heart cut-out.
  • Cut a 3¼” x 3¼” piece of clear acetate.  Remove the protective coating off of the acetate and adhere to the back of the heart-opening.
  • Adhere the silver heart border to the front of the acetate inside the heart-opening.
  • Die-cut the adhesive craft foam using the square foam cutter die.  You’ll need to use one that is larger than the heart-opening.
  • Adhere the craft foam square to the back of the acetate.
  • Cut a 4½” x 4½” rose background layer and adhere to the center of the white card.
  • Adhere the Valentine words layer to the center of the rose background layer.
  • The easiest way to add the shaker sprinkles is to place the sprinkles onto the middle of the valentine words layer.  Remove the protective coating from the back of the foam square frame and place the layers over the shaker sprinkles and onto the white card.

Simple Heart Shaker Card

  • Adhere the dimensional rose to the front of the card at the top of the heart.
  • Cut the tiny words “You are the best” using the Valentine’s word paper and adhere to the bottom of the gingham frame.
  • Add valentine’s greeting (found in the Always & Forever paper pad) to the inside of the card.

Creating Backgrounds with Gel Press

Creating Backgrounds with Gel Press

I was recently reintroduced to the Gel Press, a reusable gel printing plate.

I’d seen the Gel Press in action a few years ago and even briefly tried my hand at it.

The Gel Press is a fun and creative way to make backgrounds.

This month, the Eileen Hull Teams collaborated with Gel Press

to create some awesome samples.  Check out Eileen’s Blog Here.

gel-press-logo

Disclosure:  This is a sponsored post for Gel Press.  I have been provided product in exchange for my creative ideas.  The view and opinions are my own. 

Creating Backgrounds with Gel Press

Materials Used:  (*affiliate links)

*Disclosure:  This blog uses ads and affiliate links.  If you choose to make a purchase using one of the links, I receive a small commission (at no additional cost to you) that helps offset the costs of maintaining this blog.  Thanks for your support!

Creating Backgrounds with Gel Press

I watched several Gel Press videos online before jumping right in.
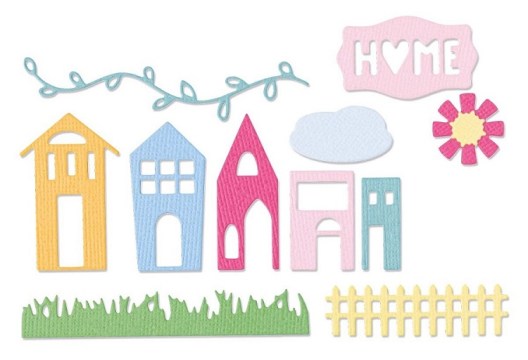
I was impressed with the idea of using die-cuts to make backgrounds

and used a few of Eileen’s Dies to make mine.

Creating Backgrounds with Gel Press

Here’s how I made the Snowflake Background:

  • Start with several colors of acrylic paint and use a Brayer* to blend the paint onto the gel press.
  • Place the Snowflake die-cuts (cut using the Wreath & Snowflake Thinlet Die Set*) directly onto the paint.
  • Place a white piece of paper onto the gel press and press over the cardstock to remove the excess paint.
  • Remove the snowflake die-cuts.  Place another piece of cardstock over the Gel Press to pick up the remaining paint and patterns.

Creating Backgrounds with Gel Press

I die-cut another snowflake in blue and adhered it to the background to create this card.

I used the Eileen Hull Sweater Embossing Folder* to create the background layer.

Creating Backgrounds with Gel Press

I also tried the same technique using dye inkpads instead of paint.  

I used small inkpads and dabbed them all over the gel press.

Use a Brayer* to blend the inks before adding the snowflake die-cuts.

Creating Backgrounds with Gel Press

Use the Xyron Creative Station* to adhere the snowflake background paper

to Mat Board*. Die-cut the mat board using the Tiny Book Die to create

this sweet little album.  (This tiny album measures 2 1/4″ x 3″.)

Creating Backgrounds with Gel Press

The perfect mini-album to add those snowy day pictures.

Creating Backgrounds with Gel Press

Create a simple accordion out cardstock for the inside pages of the album.

Interested in learning more about using the Gel Press?  Check out this video.