
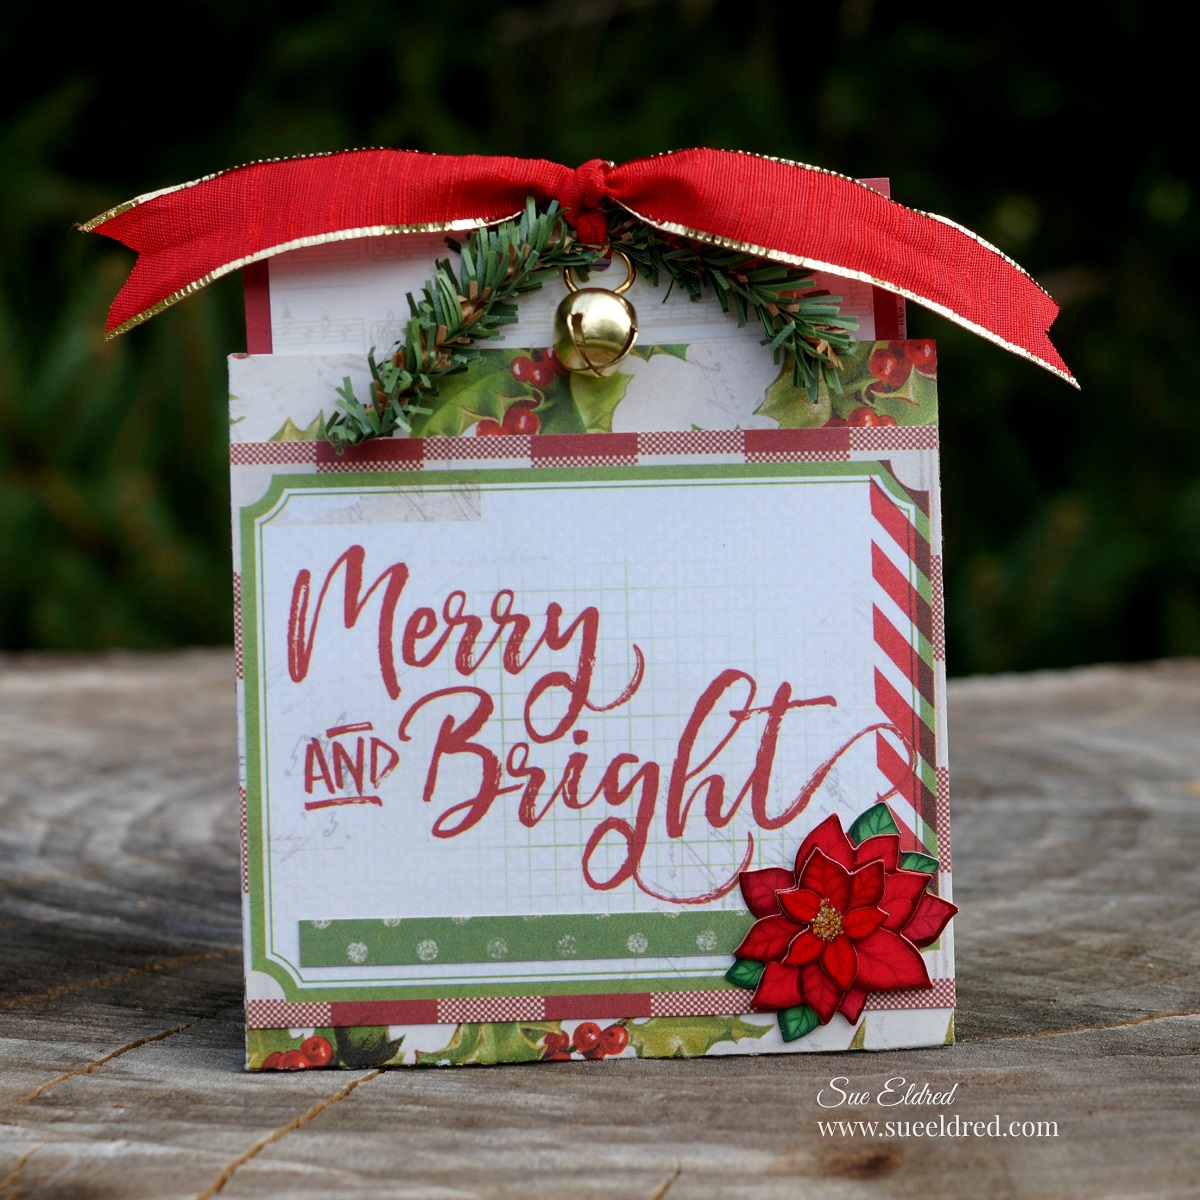
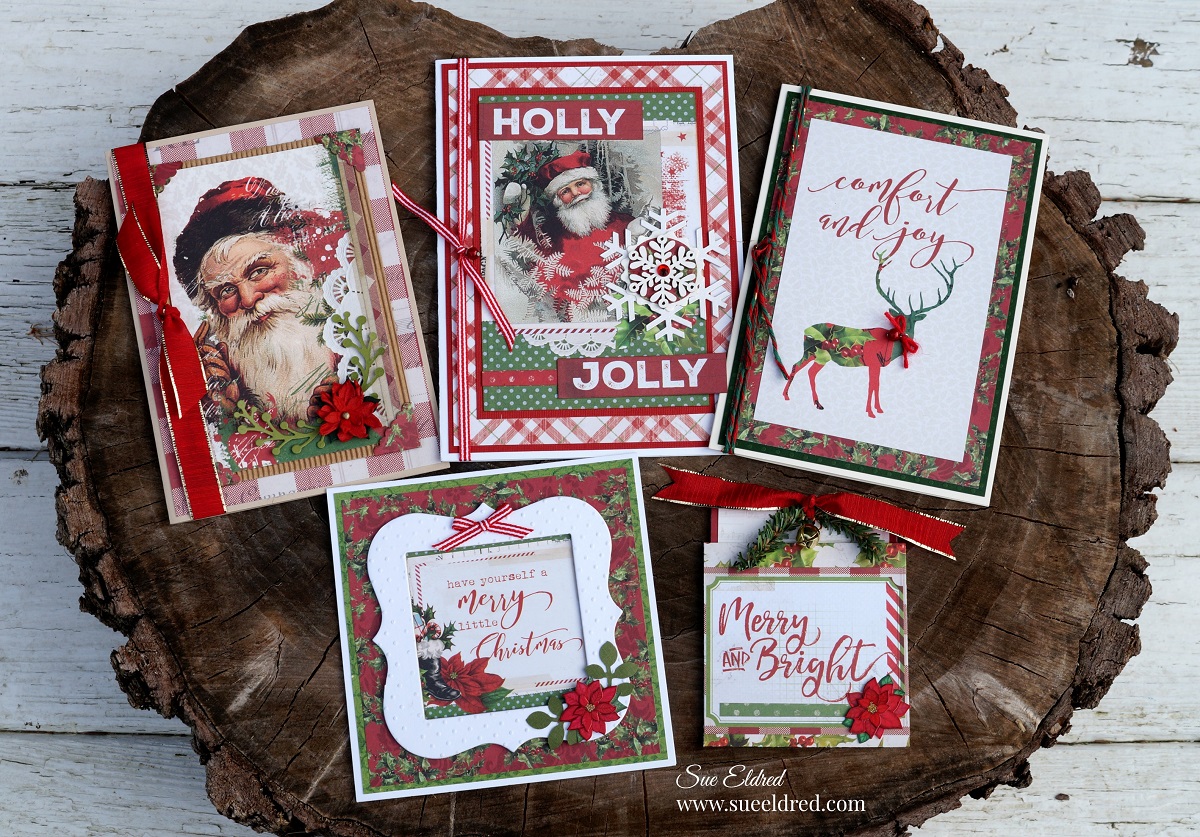
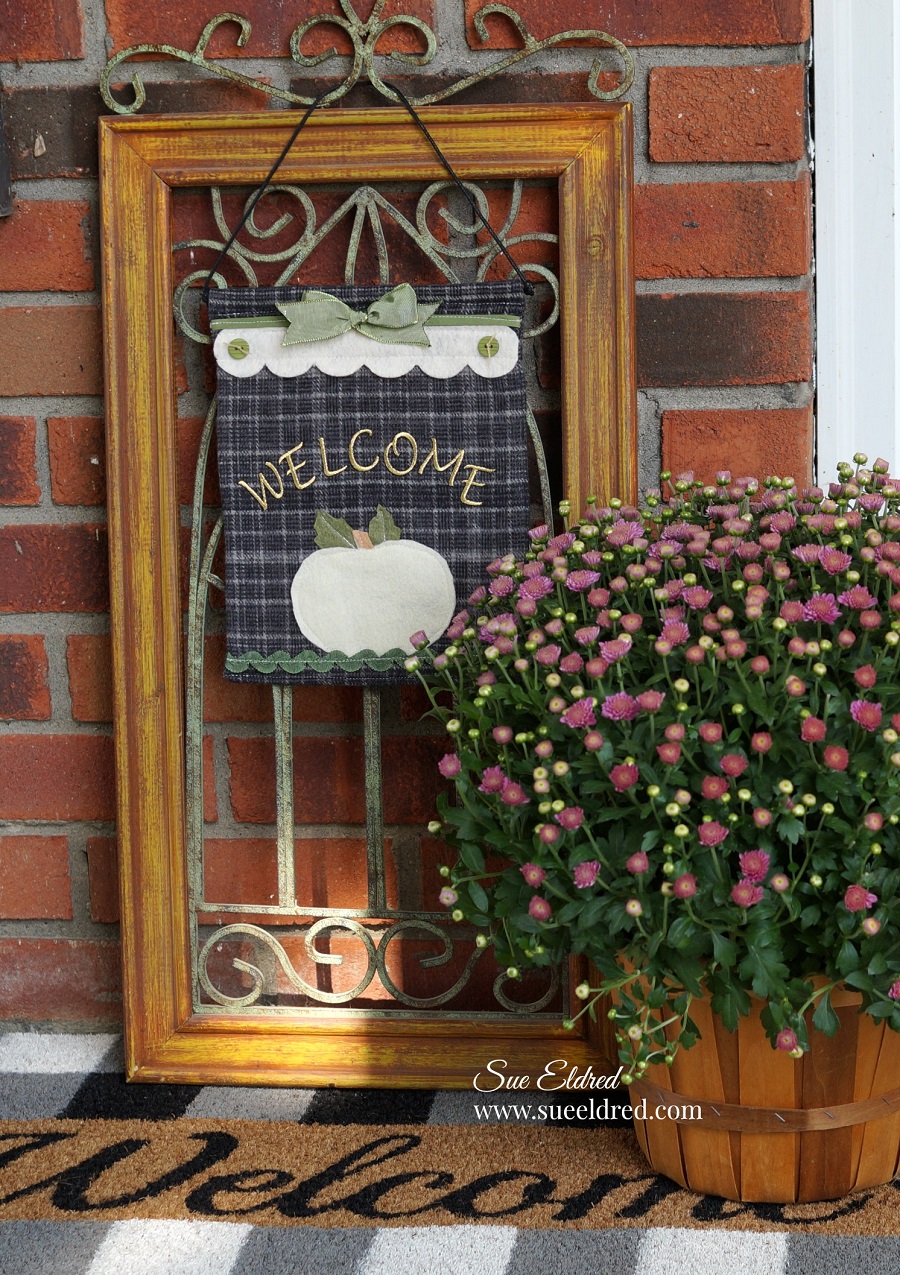
Create a sweet Home Décor Banner with Rose Appliques and letters.
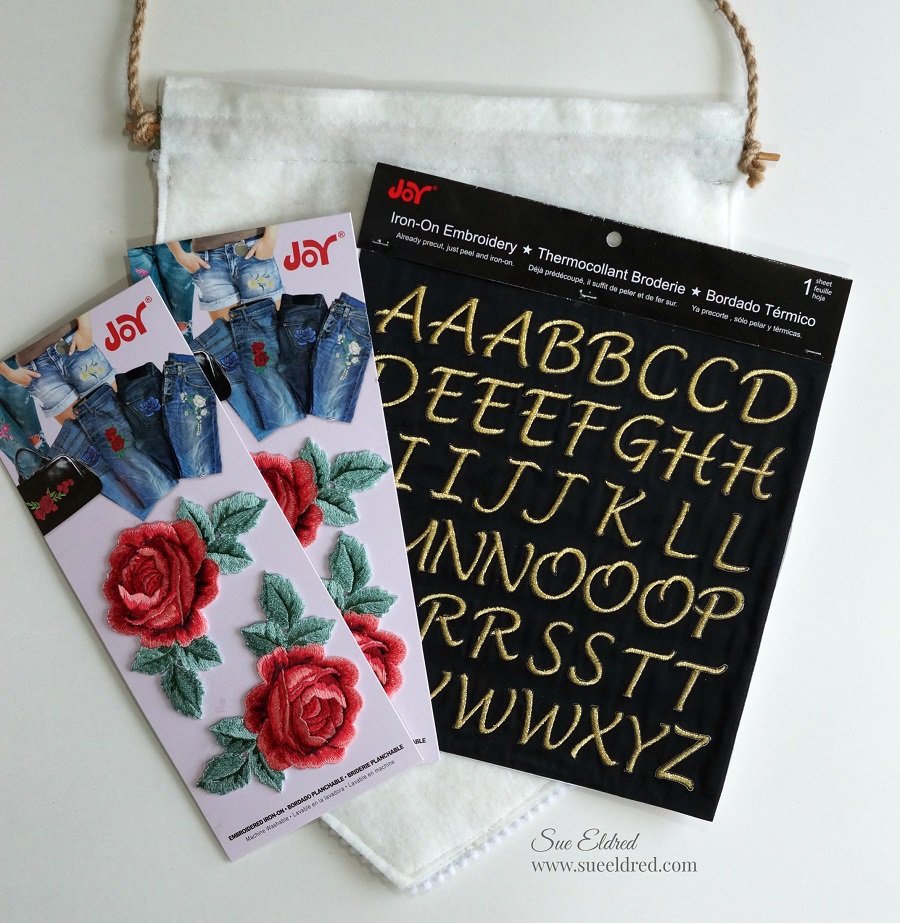
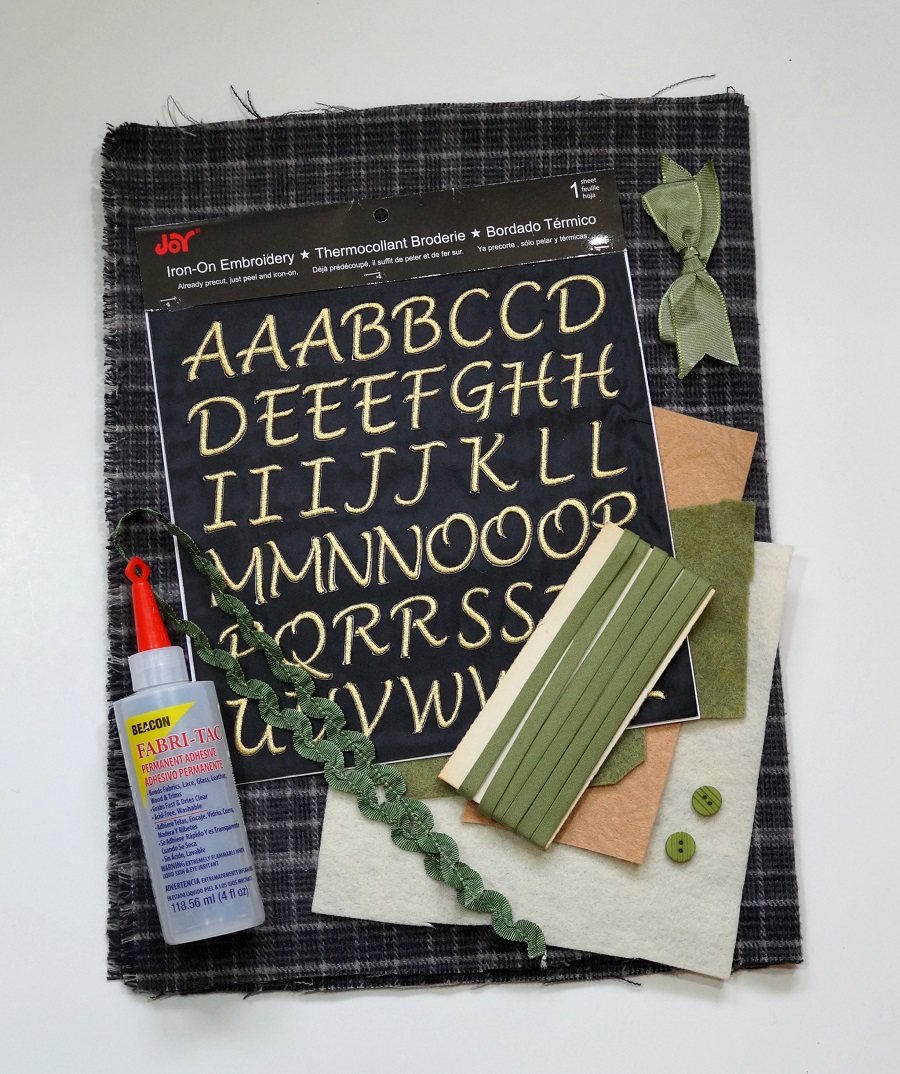
To make the Love Makes a Family Banner you’ll need: (*affiliate links)
- Two packages of Joy Rose Appliques
- Joy JOY8501 Letter Shop Letter Iron On Sheet, 1″, Metallic Gold*
- 10″ x 14″ White Felt
- Gold Trim
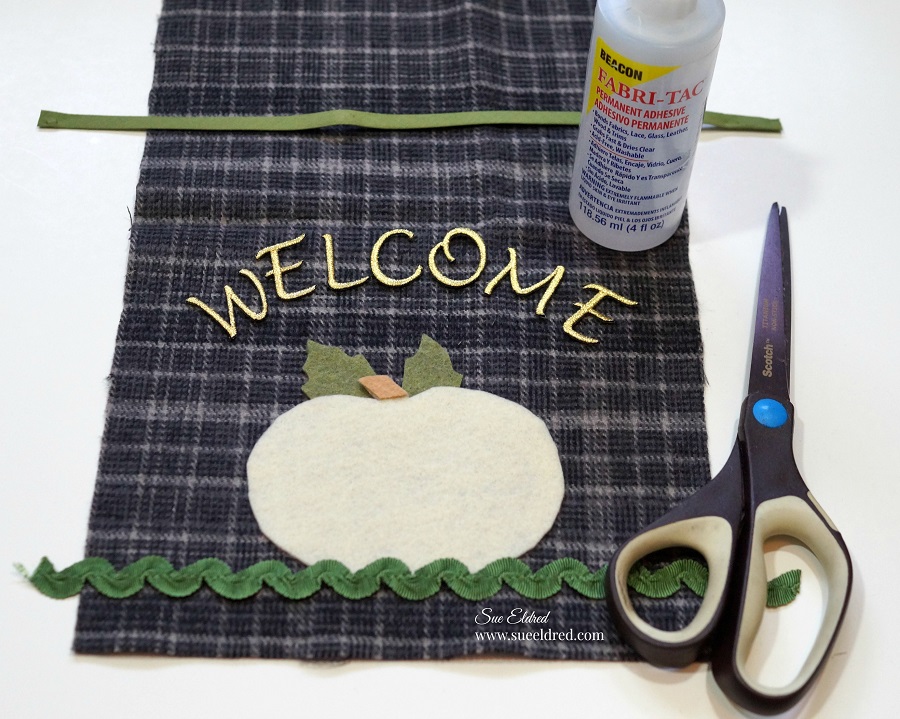
- Beacon 3 in 1 Glue*
- Wood Dowel Rod*
- Jute Twine*
Directions:
- Create a banner by folding the white felt in half lengthways. Cut diagonally across the bottom from the center fold to a point approx. 3″ from the bottom corner on the outer edges.
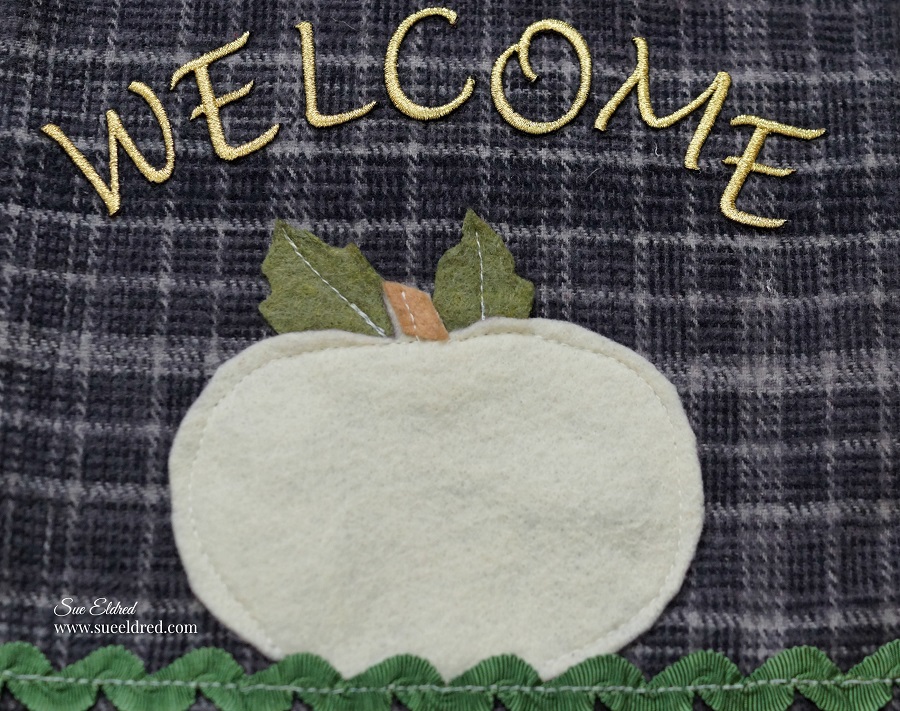
- Set iron to cotton setting, or follow garment care label. Position Rose Appliques and letters with shiny side down on felt.
- Cover with a fine cloth. With firm pressure, iron over cloth for 30 seconds. Turn banner over and iron the back of the letters for 30 seconds.
- Cut down 1″ longer than the banner.
- Glue or sew the top of the banner over the wood dowel.
- Glue gold trim to top of the banner.
You can find Joy® iron-on, embroidered letters, floral appliques at your local craft stores.

“This is a sponsored post. As a member of the Joy® Design Team I have been provided product and compensation in exchange for my creative ideas. The views and opinions are my own.

*Disclosure: This blog uses ads and affiliate links. If you choose to make a purchase using one of the links, I receive a small commission (at no additional cost to you) that helps offset the costs of maintaining this blog. Thanks for your support!


