The Home Sweet Home Shadow Box was made with Eileen Hull’s
New Shadow Box Dies and Elements from Sizzix.

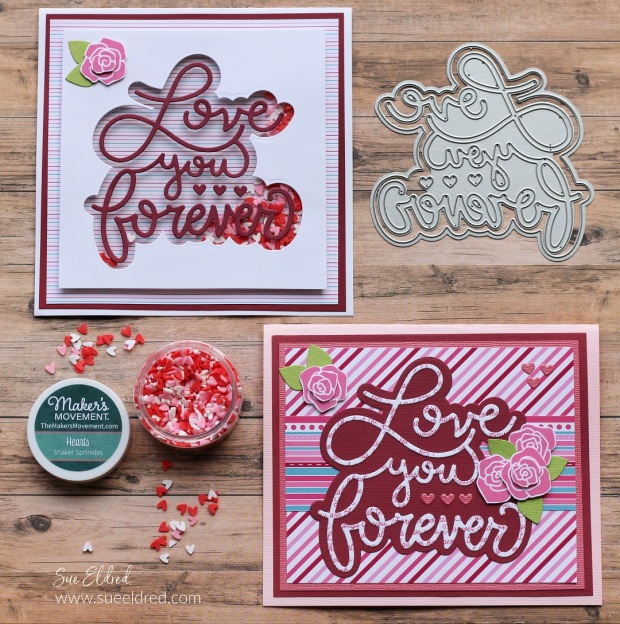
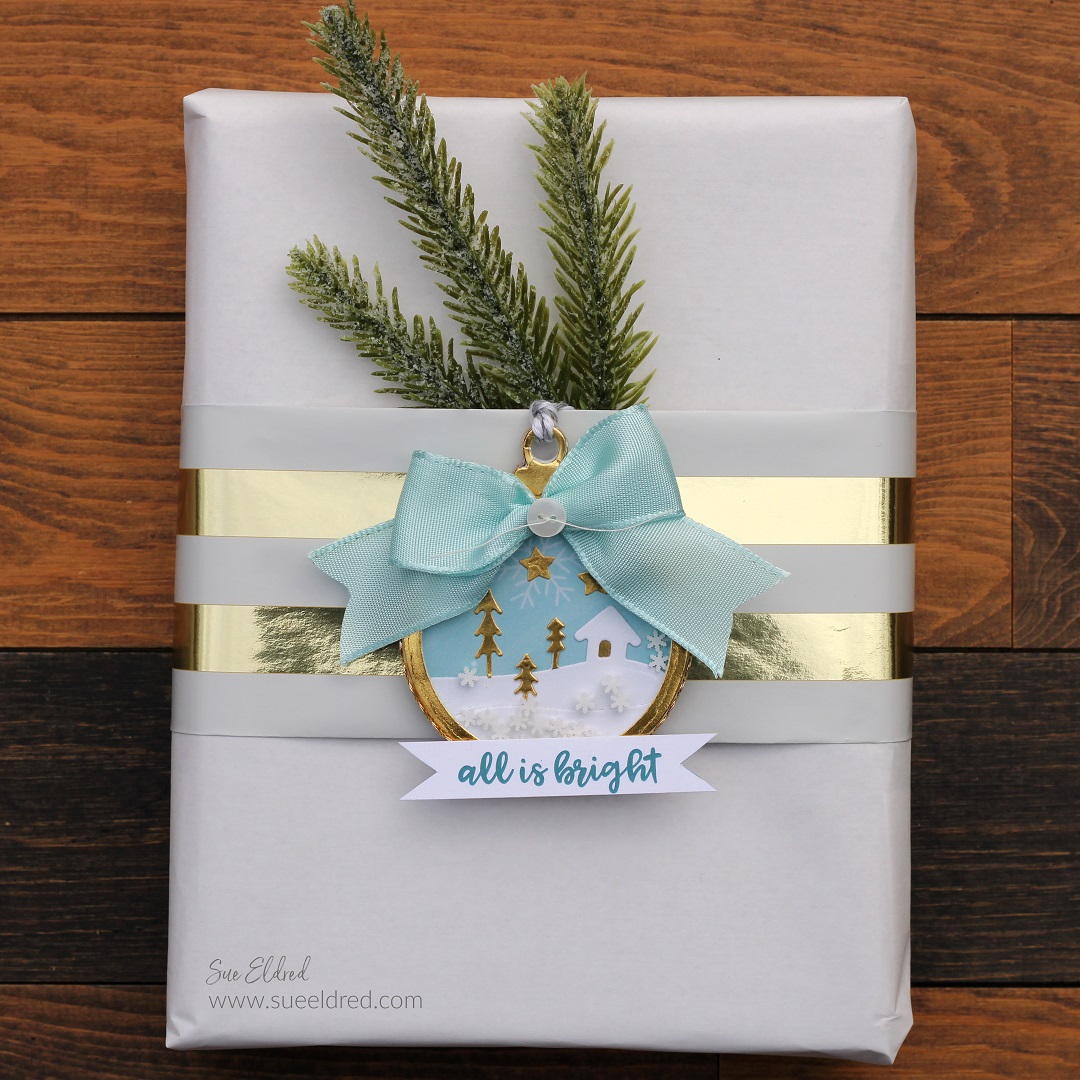
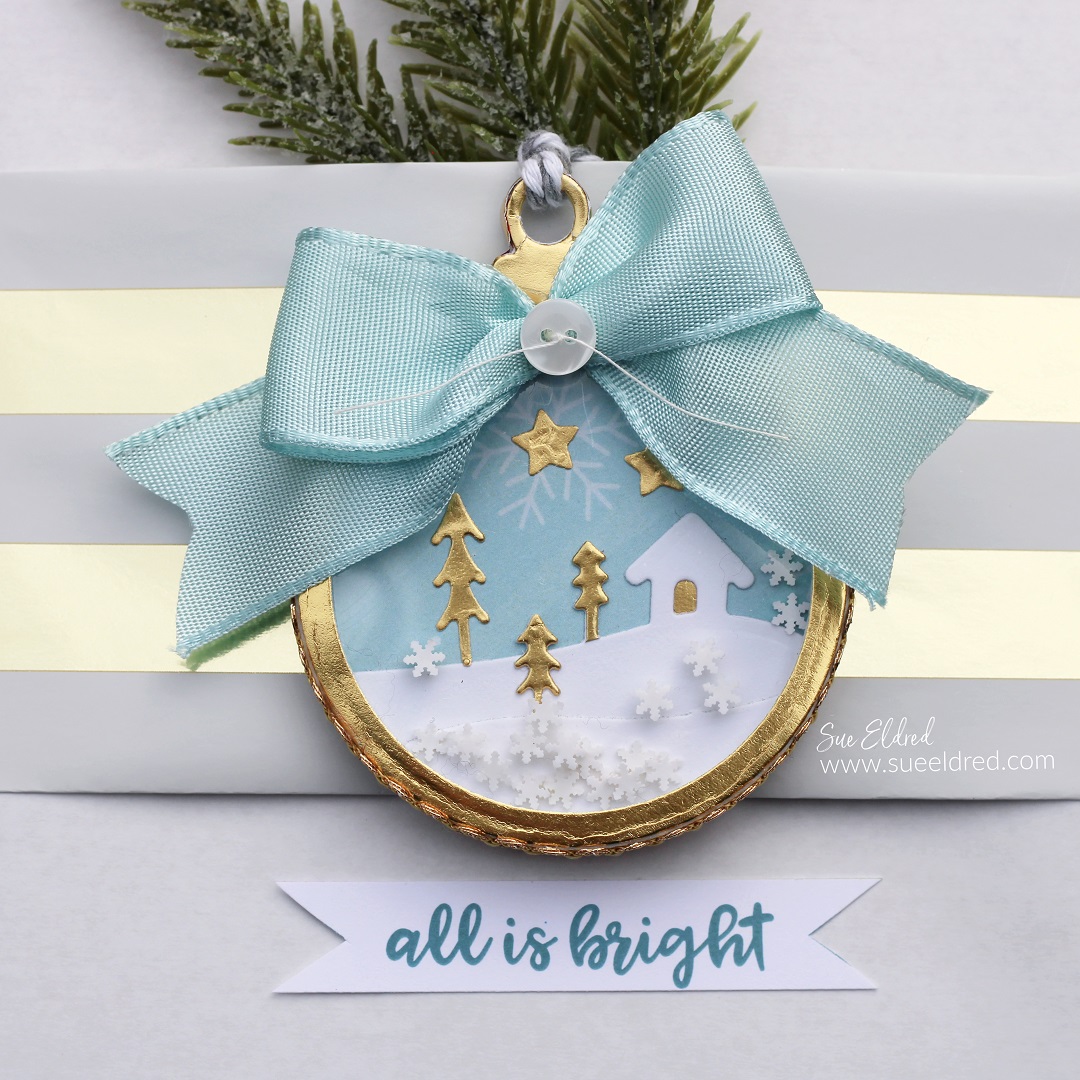
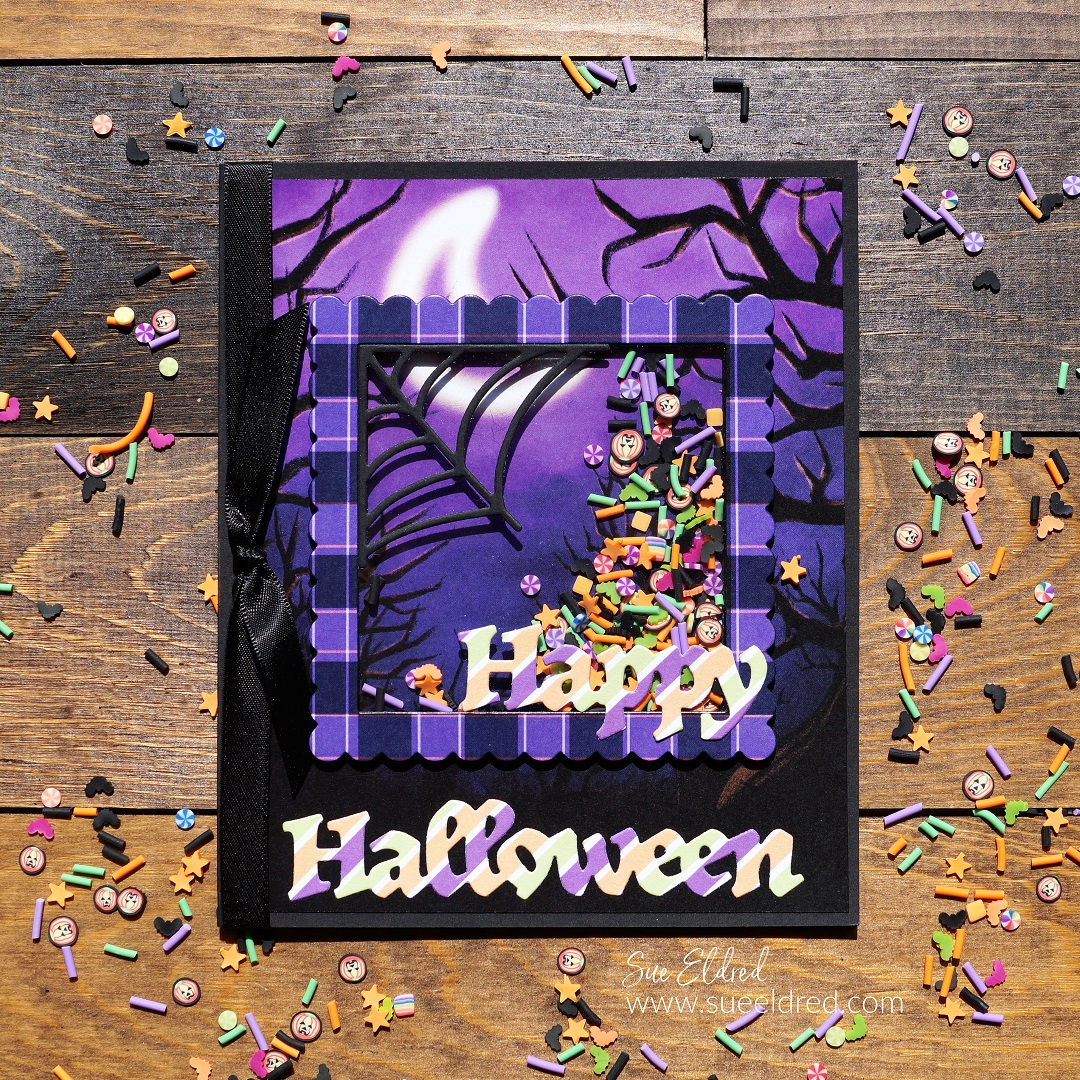
I used a combination of several of the new dies to make my Home Sweet Home Shadow Box.
The shadow box was die-cut using a thick kraft cardstock. (110 lbs.)
I added double-sided adhesive foam behind the house, grass, flowers, and sign to
make it dimensional. I used toothpicks cut and painted white behind the picket fence
and inserted them into tiny holes poked into the base of the shadow box.
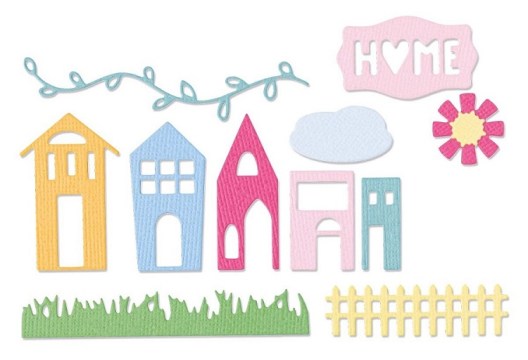
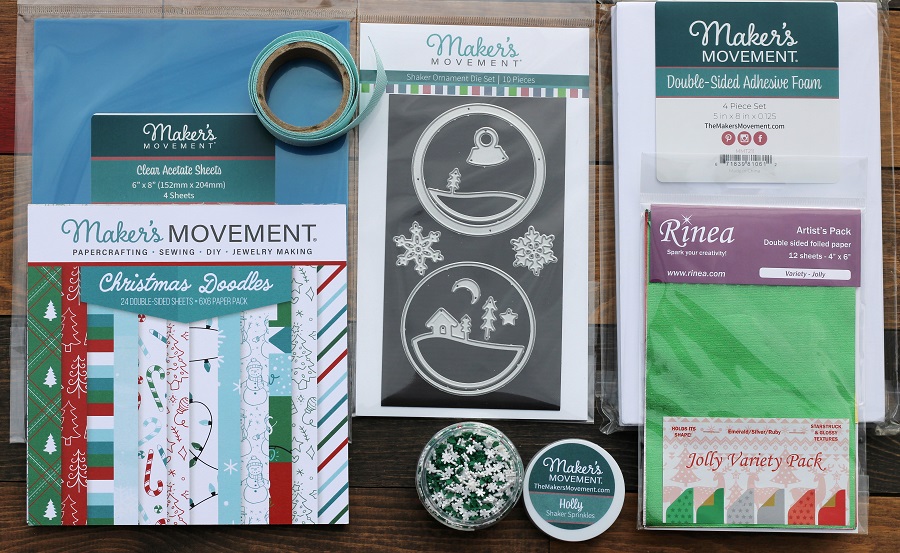
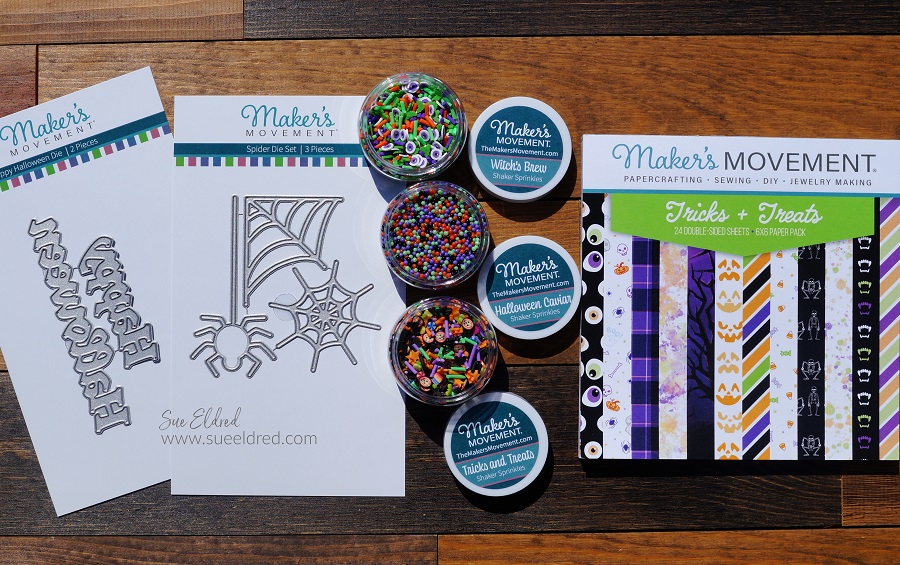
♥ 665935 Sizzix Shadow Box Elements, 12 pcs. Thinlet Die Set*
♥ This Die set includes four houses along with a range of decorative elements to make your designs pop. The Shadowbox Elements Die set works hand in hand with the Sizzix Thinlits Shadow Box Frames #2 by Eileen Hull to create a beautifully detailed center piece within the Shadowbox.

*Disclosure: This blog uses ads and affiliate links. If you choose to make a purchase using one of the links, I receive a small commission (at no additional cost to you) that helps offset the costs of maintaining this blog. Thanks for your support!


♥ 665938 Sizzix Shadow Box Frames #1, 7 pc. Thinlet Die Set*

♥ 665939 Sizzix Shadow Box Frames #2, 3 pc. Thinlet Die Set*

Check out the Designers Links below for even more ideas.
There is a giveaway too! Comment on each participating designer’s blog and during the live on Tuesday and let us know what you would create with these dies, and you will be entered to win one of the items in the Chapter 2 release!
Jennie Atkinson
Karen Bearse
Pam Bray
Sue Eldred (you are here)
Maggi Harding
Lisa Hoel
Jenny Marples
Tonya Trantham
Elizabeth Robinson
![]()
“This is a sponsored post. As a member of the Eileen Hull Educator Team, I have been provided product in exchange for my creative ideas. The views and opinions are my own.