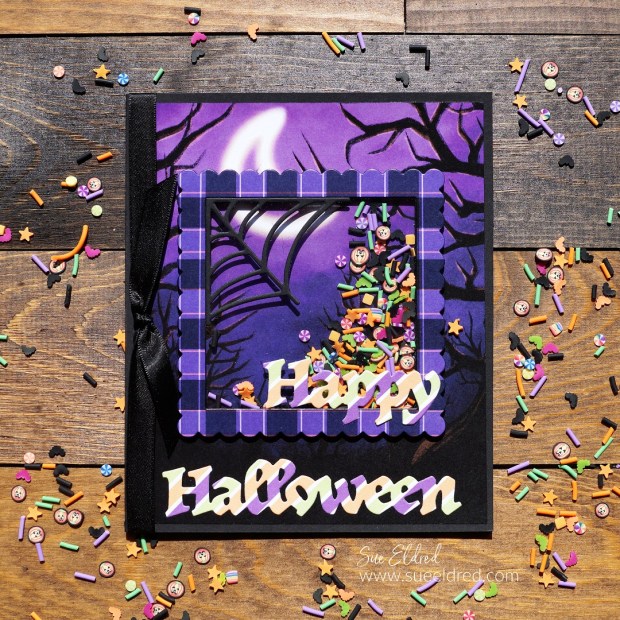
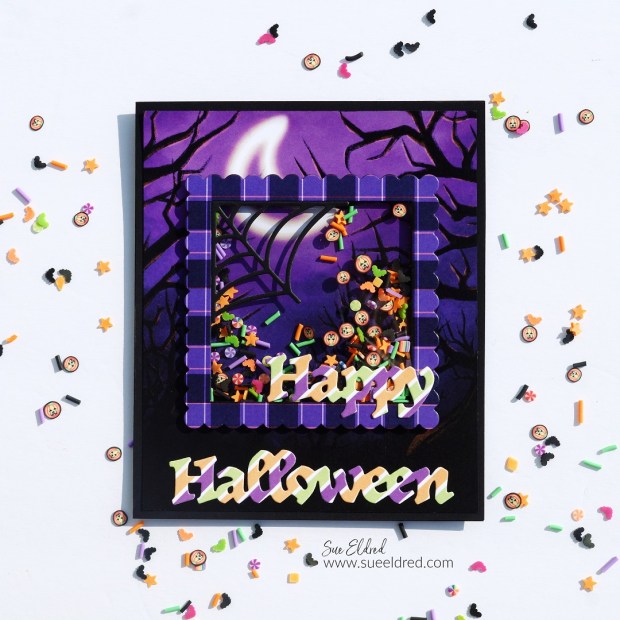
How to Make a Not So Spooky Halloween Shaker Card.
When it comes to anything Halloween, I like it more “cute” than scary. (big chicken here)
This Not So Spooky Halloween Shaker card uses Dies and Shaker Sprinkles from
The Maker’s Movement’s New Halloween Collection.

Disclosure: This is a sponsored post for The Maker’s Movement. I have been provided product and compensation in exchange for my creative ideas. The view and opinions are my own.

Materials Used: (*affiliate link)
- M12630 Spider Die Set
- M12678 Happy Halloween Die Set
- Halloween Shaker Sprinkles
- Tricks & Treats Paper Pad
- MOD287 Nested Scalloped Square Frames Die Set
- MVD206 Foam Cutter-Square Die
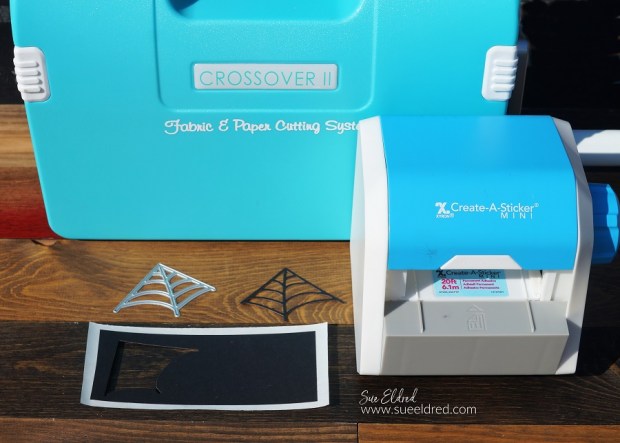
- Crossover II Die-Cutting System*
- MMT211 Double Sided Adhesive Foam
- MMT212 Clear Acetate Sheet
- Marvy DecoColor Black Calligraphy Paint Marker*
- Xyron Create a Sticker Mini*
- Xyron Tape Runner*
*Disclosure: This blog uses ads and affiliate links. If you choose to make a purchase using one of the links, I receive a small commission (at no additional cost to you) that helps offset the costs of maintaining this blog. Thanks for your support!

Directions:
- I used the Halloween Scene from the Tricks and Treats paper pad for the base of my card. I cut off a 1/2″ off both sides of the paper, making it 5″ x 6″. (The finished card measures 5 1/4″ x 6 1/4″.)
- Die-cut a large scalloped square frame out of the purple plaid paper from the paper pad.
- Die-cut a large foam square using the foam cutter die. The foam square will fit under the scalloped square frame.
- Because I didn’t want the white sides of the foam showing in my shaker element, I used black calligraphy (chisel point) paint marker to color the outside and inside of the foam square. Place the foam square onto the card base. (as shown above)
- Add “Tricks and Treats” shaker sprinkles into the center of the foam square.
- Cut a 3 1/4″ x 3 1/4″ piece of clear acetate. Remove the blue protective covering from both sides of the acetate.
- Remove the top protective coating from the foam square and place the acetate onto the foam.
- Add adhesive under the purple plaid scalloped square and place it over the acetate lined up with the foam square.
Die-Cutting Tip…
- When cutting small die-cut pieces, I like to run the paper through the Xyron Create a Sticker Mini*. After die-cutting, they become little stickers. That makes applying the die-cuts a whole lot easier.

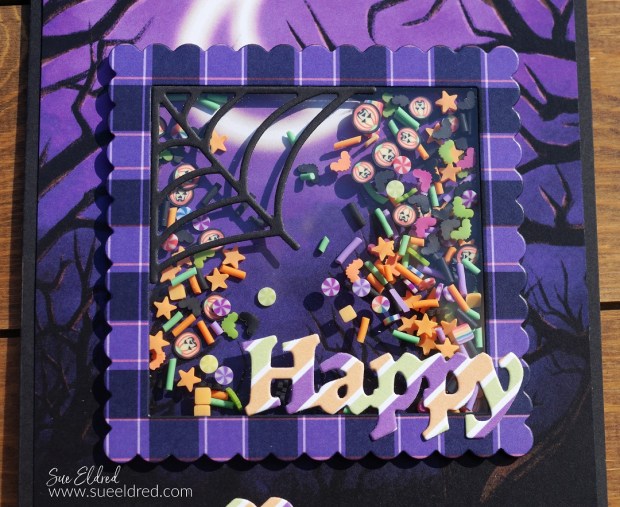
- Apply the Spider Web die-cut onto the inside corner of the shaker element.
- Add the words “Happy Halloween” onto the front of the card.
I enjoy making cards with dimension and movement.
I think this is one of the simplest shaker cards I’ve made so far.
If you love making shaker cards, make sure to check out all the dies and cute shaker sprinkles
that are available from The Maker’s Movement.
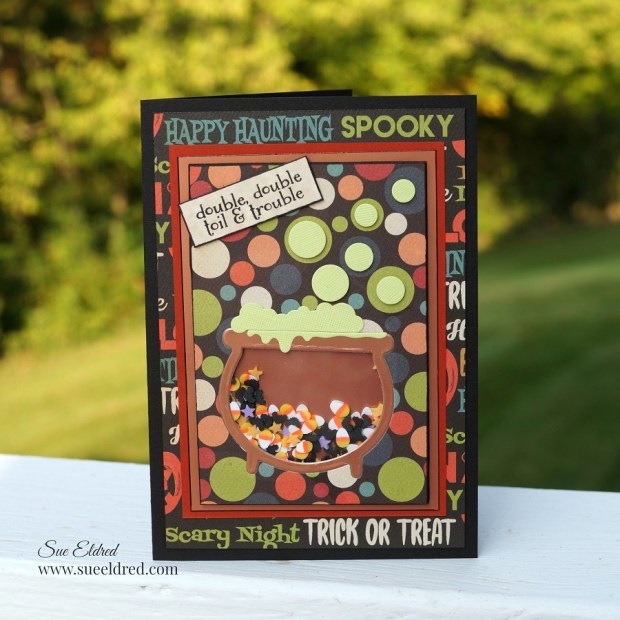
Toil & Trouble Halloween Shaker Card.
This is the Halloween Shaker Card I made last year. You can see how it was made here.

